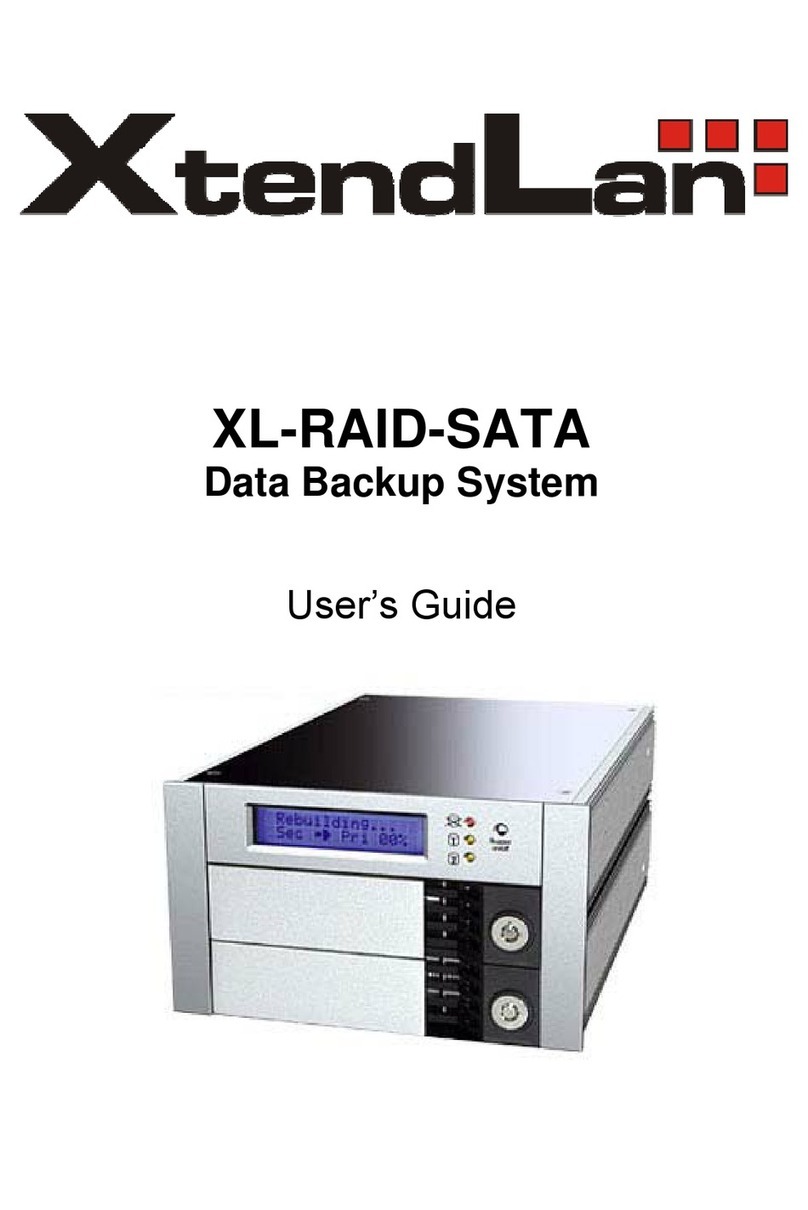
Echoii Q510 User manual

Front Cover:
Wireless Storage Q510
Quick Guide
First Page:
Product Introduction
Q510 is a cloud disk which design for the Smartphone and tablet.
Main function:
1. Wireless sharing:
Q510 can let you realize sharing the Movie, Music, Photo and Document with your friends or
family via Smartphone, Tablet or PC.
2. Wireless extension and back-up of storage:
Expand the storage of your intelligent terminal with 64Gb/32Gb/16Gb build-in memory. At the
same time it also can connect with SD/TF/U-disk/portable HDD additional storage device.
Back-up the data easily.
3. Wireless router:
When connecting with Modem, 3G network dongle or Wi-Fi signal then it will be a wireless
router for your different terminal.
4. Power bank (5000mAh):
Charge your device with big battery, it even supports all the smart phone and tablet of mainstream,
like iPhone, iPad, Android device etc.
5. Portable storage and Card reader:
Also can connect with PC via data cable and have the SD/CF card slot.
The Second Page:
Client software introduction:
The client software which design by Echoii R&D team support 4 mainstream operating system.
Below is the list of file format can be support:
IOS 4.3 or higher level OS is necessary for I phone, I pad, I pod.
Audio:
Video:
Picture:
Doc:

Android 2.1 or higher level OS is necessary forAndroid device.
Window XP or higher level OS is necessary for windows PC or device.
Mac OS X10.7 or higher level OS is necessary for Macbook.
The Third Page:
Hardware description :
1. Ports and keys direction:
Fourth Page:
Name Sign Description
Connect with U-disk, 3G network device, portable HDD and charging output.
WAN/LAN port, connect with Modem, router or PC.
Used on charging put-in or connect with PC for data transmission.
Three switch Wireless on switch: wireless sharing and wireless router.
Off switch: turn off the wireless work and change to normal storage mode.
Power bank switch: turn on the power bank mode.
Power capacity button Showing the balance power capacity when touch the button
Reset button To restore the device to default setting after keep pressing for 5 seconds
TF card slot Slot for insert TF card
SD card slot Slot for insert SD card
Ventilation hole For heat dissipation
2. LED light direction:
The Fifth Page:
LED name LED sign Description
Ethernet light Shut down: without connection
Keeplighting:connectedwithEthernet
Flashing:DatatransmissionwithEthernet
Wi-Filight Shutdown:withoutWi-Fiwork
Keeplighting:connectedwithWi-Fi
Flashing:DatatransmissionwithWi-Fi
Battery capacity light The light sign is divided into 4 levels to display the battery balance
capacity when you press the TEST button. The light flashing
means charging or less power.
3. Specifications:

Power Spec.: 5V/1A can be used on Charging smartphone and tablet.
Item Dimension:
Core of Battery: Polymer lithium battery
Battery capacity: 5000mAh
4. Accessories:
Name Spec. description Qty
Datacable chargeitemandconnectfordatatransmission 1pc
5. User manual
This quick guide only for your first time use, please read the user manual to know the use details
of the product. Please Login Echoii official website: http://www.echoii-cloud.com/en/products.asp
to download the user manual in service columns.
6. FAQ:
Please Login Echoii official website: http://www.echoii-cloud.com/en/js.asp or call our official
No.: 4000-611-784 for after sales service.
The sixth page:
Product Quick User Guide
1. Install the Client.
First step: Download the Echoii Client
(1) Apple user (Include Mac, iPhone, iPad, iTouch):
Search the Echoii cloud in the App store and free download the software.
(2) Android user:
Search the Echoii cloud in Google play and download the software. It’s also can be download
from our official web site: http://app.echoii-cloud.com/download
Scan the two-dimension code to download the client from web site.
(3) Windows user:
Download from Echoii official web site: http://app.echoii-cloud.com/download
Second step: Install the client and confirm installation success.
Third step: Run the client software, the detail please check in the client: System setting --- user
guide or Help title.
2. Wireless sharing and back-up:
E920 can let you realize sharing the Movie, Music, Photo and Document with your friends or
family via Smartphone, Tablet or PC. Expand the storage of your intelligent terminal with
64Gb/32Gb/16Gb build-in memory. At the same time it also can connect with
SD/TF/U-disk/portable HDD additional storage device. Back-up the data easily.

Page 7:
Operation:
First step: Switch on the Wi-Fi button.
Second step: Open setting in your Smartphone or tablet then connect with default SSID ECHOII
through Wi-Fi signal.
Third step: Run the Echoii client software and press the “Connect” icon.
Forth step: You can browse the files in Echoii and play the movie, music directly after connect
successful. Under this step you also can carry out other operation such as: add, delete, upload,
download etc. The same action also can be operated in Web multimedia management page.
3. Wireless router:
When connecting with Modem, 3G network dongle or Wi-Fi signal then it will be a wireless
router for your different terminal.
Please kindly noted: Only one way for network could be available each time.
1. Echoii have the memory function after you choose connect with wireless router or wireless
relay.
2. It’s will change to 3G mode when you plug in the 3G dongle and will get back normal router
mode when you pull off the dongle.
Page 8:
(1) Normal router Mode:
Connect with modem or router through internet cable and set the PPPOE, DHCP or static IP mode
to make dial-up connection.
Operation:
First step: Connect with router or modem through internet cable.
Second: Connect with Echoii through Wi-Fi signal. Login the Echoii WEB page from Browser.
Choose WAN setting – PPPOE/DHCP/ Static IP – enter dial-up name and code then press the
Enter button.
( IP address for item 10.10.1.254 User name: echoii password: echoii )
Third step: Enter the system status bar to check if the dial-up connection completely. Then the
terminal device can connect with internet.
(2) The 3G wireless route:
Connect with 3G net through USB 3G dongle, Echoii will auto change to 3G mode and connect
with 3G net when the dongle insert the USB slot.
Page 9:
Operation:
First step: Insert the 3G SIM card into the USB dongle.

Second step: Inert the dongle into the USB slot.
Third step: Connect with Echoii through Wi-Fi signal then check the 3G connection from device
WEB page. User can surf the internet if the connection complete.
(3) Wireless relay
Echoii can connect with Wi-Fi freely, end user can enjoy internet and wireless storage easily.
Operation:
First step: Connect with Echoii through Wi-Fi signal.
Second step: Login the device WEB page and set the operating mode to Bridge then scan the
wireless network in wireless relay page.
Third step: Choose the network and enter the user name and password.
Forth step: After connect successful, it will display “connected” then user can surf the internet.
Page 10:
3. Power bank
Charge your smartphone and tablet (include all brand like I phone, android, Pad etc) and support
display the battery capacity with 4 levels.
Operation:
First step: Please be sure the Echoii item have enough power before charging.
Second step: Switch the button to charging side.
Third step: Please be sure charging the terminal device through the original data cable from Echoii
package
4. Portable storage and Card reader
Quick transfer the data through data cable and support SD/TF card reader function.
Operation:
First step: Switch the button to Off side.
Second step: Insert the SD card into the card slot
Third step: Connect with computer through the data cable from Echoii package.
Page 11:
Forth step: The computer system will identified and display a icon on the taskbar
Fifth step: Enter My Computer and find the Echoii drive letter then user can begin transfer the
data.
5. Power supply mode and charge method
E920 have 2 power supply mode:
1. Supply for DC adapter(5V/1A)
2. Supply for battery
Charge method operation:
First step: Switch the button to OFF side

Second step: Connect with adapter or PC USB slot through data cable.
Third step: The battery LED light is flashing means charge work in progress and full light means
charge complete.
Important tip:
Please store the item in a cool dry place and give a charge every 3 month if it never used.
Statement
This equipment has been tested and found to comply with the limits for a Class B
digital device, pursuant to part 15 of the FCC rules. These limits are designed to
provide reasonable protection against harmful interference in a residential installation.
This equipment generates, uses and can radiate radio frequency energy and, if not
installed and used in accordance with the instructions, may cause harmful interference
to radio communications. However, there is no guarantee that interference will not
occur in a particular installation. If this equipment does cause harmful interference to
radio or television reception, which can be determined by turning the equipment off
and on, the user is encouraged to try to correct the interference by one or more of the
following measures:
-Reorient or relocate the receiving antenna.
-Increase the separation between the equipment and receiver.
-Connect the equipment into an outlet on a circuit different from that to which the receiver is
connected.
-Consult the dealer or an experienced radio/TV technician for help.
To assure continued compliance, any changes or modifications not expressly approved by the
party Responsible for compliance could void the user’s authority to operate this equipment.
(Example- use only shielded interface cables when connecting to computer or peripheral devices).
RF warning statement:
The device has been evaluated to meet general RF exposure requirement. The device can be used
in portable exposure condition without restriction.
Caution!
The manufacturer is not responsible for any radio or TV interference caused by
unauthorized modifications to this equipment. Such modifications could void the user
authority to operate the equipment.
Table of contents
