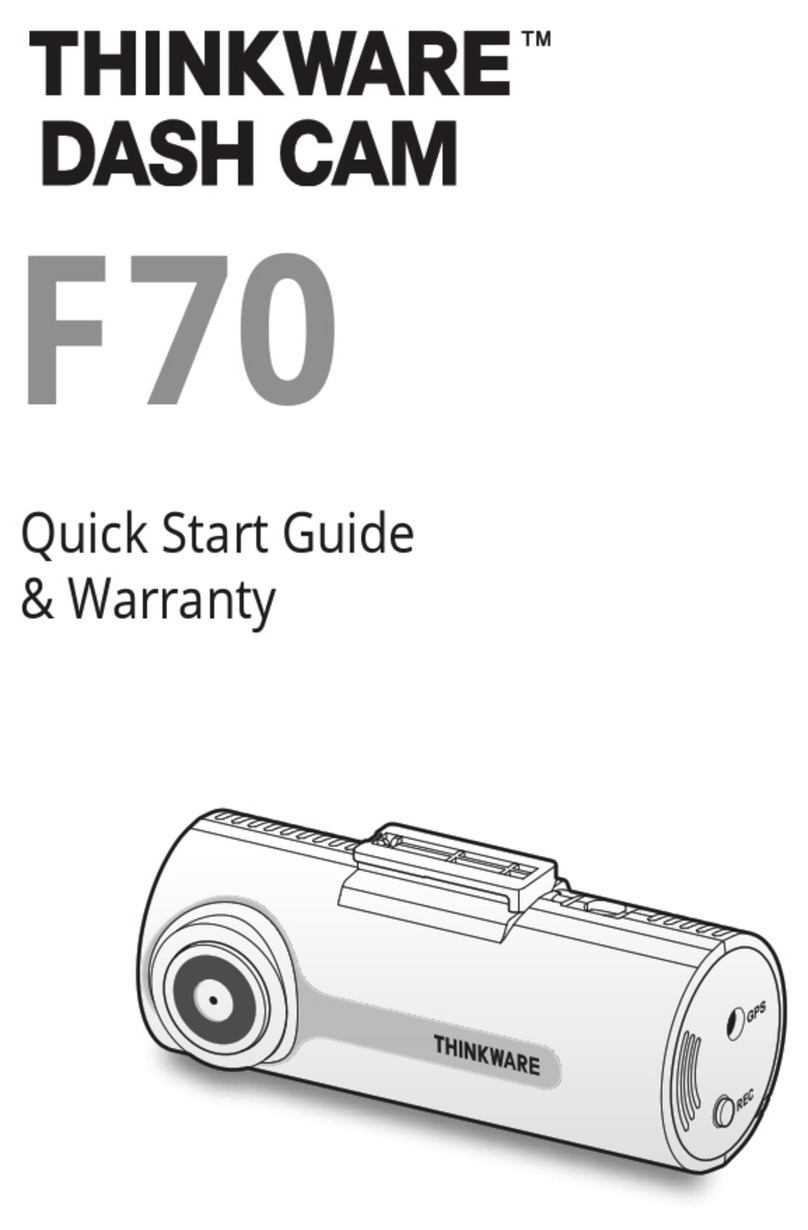
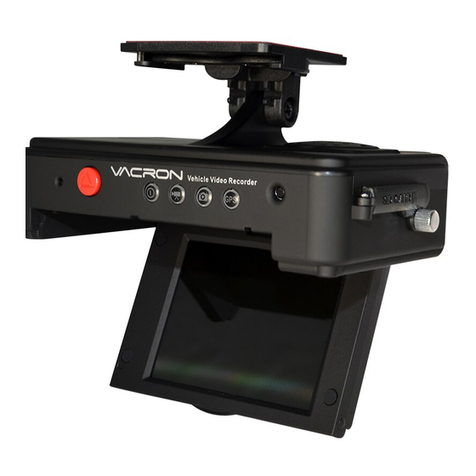
Echomaster DC-27-G User manual

User Manual
Dash Camera with 2.7” Display & GPS
DC-27-G

2
Installation Guide
tel - 1-800-477-2267
Introduction
Box Contents Key Features
u2.7” 16:9 LED Screen
u1080p Hight Denition Recording @ 30FPS
uBuilt in G-Sensor
uInternal Microphone
uHDMI Output (cable not included)
uDVR Camera
uPower Adapter
uWindshield Mount
uUSB Cable
uGPS Antenna
uManual
Thank you for purchasing your EchoMaster DVR Dash Camera.
Drive, record and share with geolocation. Capture that shareable moment
on your next roadtrip or safeguard yourself with a video witness during an
unexpected event.
Please ensure you read and understand all aspects of this manual before
using your EchoMaster Dash Camera.
DC-27-G
Dash Camera with 2.7” Display & GPS

3
tel - 1-800-477-2267
Installation Guide
Dash Camera Functions
Button Functions
POWER
MENU
OK
MODE
UP
DOWN
RESET
Press and hold to power on. Press and hold to power off
Enter menu for all functions
Press to conrm / select an option
Press to change the modes (Photo, Video, Playback)
Move Up
Move Down
Reset
FunctionsKey
DC-27-G
Dash Camera with 2.7” Display & GPS
1. USB /Charging Port 2. GPS Antenna Port 3. Power
4. Reset Button 5. Microphone 6. 2.7” TFT/LCD Screen
7. Power / Charge LED 8. Lens 9. Speaker
10. Forward Facing LED Light 11. OK Button 12. HMDI Output
13. Mode / Menu Button 14. Up Button 15. Micro SD Card Slot
16. Down Button

4
Installation Guide
tel - 1-800-477-2267
LED Indicators
POWER
CHARGING
The GREEN LED will illuminate when the unit is on
The RED LED will illuminate when charging
FunctionsLight
Operating Instructions
Power On & Power Off
Press and hold the power key to power on. When on, press and hold the button
again to turn off. When the battery is low, the device will alert you and power off
automatically. When power is supplied to the USB port the device will turn on and
start recording automatically. When power is removed the device will save the current
recording and shut down automatically.
Charging
The device can be charged by a USB port of a computer or alternatively via the
supplied cigarette lighter adaptor.
Inserting & Removing a Micro SD card
To insert a micro SD card push it into the slot unit it clicks into place. Please note that
the card will only t into the slot in one orientation. To remove the card push it in
slightly until a click is heard and then release. The SD card will then pop out.
Basic Operation
There are 3 modes for the device
uVideo mode uCapture mode uPlayback mode
When the device is powered up it will automatically enter the video mode and
commence recording.
DC-27-G
Dash Camera with 2.7” Display & GPS

5
tel - 1-800-477-2267
Installation Guide
Video Mode
If the unit is not currently recording then pressing the OK button will start recording,
pressing it again will stop recording. During recording you can use the UP and DOWN
buttons to zoom IN and OUT.
Video Mode
Loop Record
EV
Recording
Time
Resolution
Micro SD
Battery
Time
Date
G-Sensor
Record Audio
To enter the video menu rst you must stop recording and then press
the M button. The Settings available in this menu are as follows:
DC-27-G
Dash Camera with 2.7” Display & GPS

6
Installation Guide
tel - 1-800-477-2267
Resolution
This changes the image quality of the recording. For full HD you should set this to
1080FHD. Other options available are 720P, WVGA and VGA
Loop Record
This option sets the recording segment time. This means that each segment of
recording will be the set length and then a new segment will be started. You can also
turn this off which will then set the unit to record a single video le until the SD card is
full at which point it will overwrite the SD card from the beginning.
HDR
Setting the HDR to ON (recommended) will provide a more vibrant image with more
dened colors.
Exposure
You can adjust the exposure of the lens to any of the following values;
+2.0, +5/3, +4/3, +1.0, +2/3, +0.0, -1/3, -2/3, -1.0, -4/3, -5/3, -2.0
Motion Detection
When this setting is turned on the camera will detect any movement within its view
and start recording automatically. The recording will stop 10 seconds after movement
stops. For this feature to work the camera must remain powered even if the vehicle is
ignition is turned off.
Record Audio
The unit records audio via the built-in microphone. This can be turned off by selecting
OFF in this menu.
Date Stamp
If switched on this feature will display the recording date and time on any recording.
If switched off this will not be shown (although it will still be displayed on screen)
G-Sensor
The unit has a built-in G-Sensor which, when triggered, will lock the current recording
le and prevent it from being overwritten. The sensitivity of this sensor can be
adjusted in this menu.
DC-27-G
Dash Camera with 2.7” Display & GPS

7
tel - 1-800-477-2267
Installation Guide
Capture Mode
If the unit is not currently recording then pressing the OK button will start, pressing it
again will stop recording. During recording you can use the UP and DOWN buttons to
zoom IN and OUT.
Capture Mode
Anti-Shake
Exposure
White Balance
ISO
File Name
File Size
Quality
Micro SD
Battery
Pressing the M button in capture mode will enter the menu which will provide you with
the following options (see next page)
DC-27-G
Dash Camera with 2.7” Display & GPS

8
Installation Guide
tel - 1-800-477-2267
Capture Mode
In this menu you can set a timed delay for image capture of 2, 5 or 10 seconds.
Resolution
The highest resolution available is 12 megapixels but you can reduce the quality to
save on storage space if necessary. The other options available are 10MP, 5MP, 3MP,
2MP, 1.3MP and VGA (640x480).
Sequence
Turning on this option will put the camera into burst mode where each press of the OK
button will take 3 pictures in succession.
Quality
This adjusts the picture quality. Changing this setting can save on SD card space.
Sharpness
This will change the sharpness of the image. Changing this setting will not affect the
amount of space taken up by each picture.
White Balance
It is recommended to leave this setting ON. However 4 modes are available for
tailoring the lens to specic conditions. They are as follows: Daylight, Cloudy,
Tungsten and Fluorescent.
Color
Using this setting you are able to take pictures in Color, Black & White or Sepia.
ISO
It is recommended to leave this setting on AUTO but 3 other options are available
should you wish to change the sensitivity to light. They are 100, 200 & 400.
Exposure
This can be used in combination with ISO to achieve certain results in different
conditions.
Anti-Shaking
This will turn on or off the built-in stability function (recommended to leave set to ON).
Quick Review
OFF, 2 seconds, 5 seconds. This changes the length of time that an image is displayed
on screen for review after a picture has been taken.
Date Stamp
Turning this ON will place a date stamp on all images taken.
DC-27-G
Dash Camera with 2.7” Display & GPS

9
tel - 1-800-477-2267
Installation Guide
Playback Mode
When in playback mode you can use the UP and DOWN buttons to scroll through the
stored images and videos. Press OK to play or display the selected content. Pressing
the M button will enter the menu where the actions below can be completed.
Capture Mode
File Name
Resolution
Date
Time
Battery
PausePlayback
Delete
CURRENT will delete the selected le, ALL
will delete all stored images and videos.
Protect
This allows you to lock or unlock either the
selected le or all les. When a le is locked
it cannot be overwritten
Slide Show
In this menu you are able to playback all
stored images and videos in a sequence.
The time setting adjusts the length of time
that each image is displayed in the
slide show.
DC-27-G
Dash Camera with 2.7” Display & GPS

10
Installation Guide
tel - 1-800-477-2267
DC-27-G
Dash Camera with 2.7” Display & GPS
Settings Menu
Pressing the M button twice in any mode will take you to the device settings page
where the following options are available.
Date/Time
Allows you to set the current date and time.
Auto Power Off
This allows the device to remain powered for a certain amount of time after
power is removed. Selectable between 3, 5 or 10 minutes. You can also turn this
feature off.
Beep Sound
This will turn off the beep sound that is heard when scrolling through the menus.
Language
Allows you to choose one of the following languages for the on screen displays
and menus; English, French, Spanish, Portugese, German, Italian, Simple Chinese,
Traditional Chinese, Russian, Japanese.
Frequency
This adjusts the playback frequency when viewed on a Television or Monitor
(50 or 60Hz).
Format
Selecting this will format and erase all contents on the inserted SD card.
Default Setting
This will reset all settings to the factory defaults.
Version
This displays the current software version on the device.
Sockets
Mini USB Port
This can be used to connect the
device to a PC when used as a
webcam. The following menu will
appear when connected this way.

11
tel - 1-800-477-2267
Installation Guide
DC-27-G
Dash Camera with 2.7” Display & GPS
Open Screen Captures
Open File
Show/Hide Map
Take Screenshot
Settings
GPS Coordinates
If you wish to view the video in fullscreen then double click on the main video image.
GPS Playback software
Insert the supplied CD into your PC disc drive and follow the on screen instructions to
install the Playback software onto your PC.
Double click on the shortcut icon for ‘Driving Recorder Player’ to open the software.
Click on the ‘Open File’ icon and choose which les you would like to view.
The rst chosen le will automatically begin playing.
If you wish to take a screenshot then use the camera icon. This will take a sequence
of screenshots and save them in a folder which can be accessed by clicking the
screenshot folder icon.
The screenshot below illustrates the basic on screen commands.
A. Mass storage: You will be able to read,
copy and delete any of the stored les.
B. PC camera: This will allow you to use the
device as a webcam via your PC
(compatible with Windows 2000 and newer).
HDMI Output
This allows images and videos to be displayed on a TV with HDMI input.
(Please note: the HDMI cable is not supplied)

tel - 1-800-477-2267
15500 Lightwave Drive, Suite 202, Clearwater, Florida 33760
EchoMaster is a Power Brand of AAMP Global.
EchoMaster.com
Table of contents
Other Echomaster Dashcam manuals
