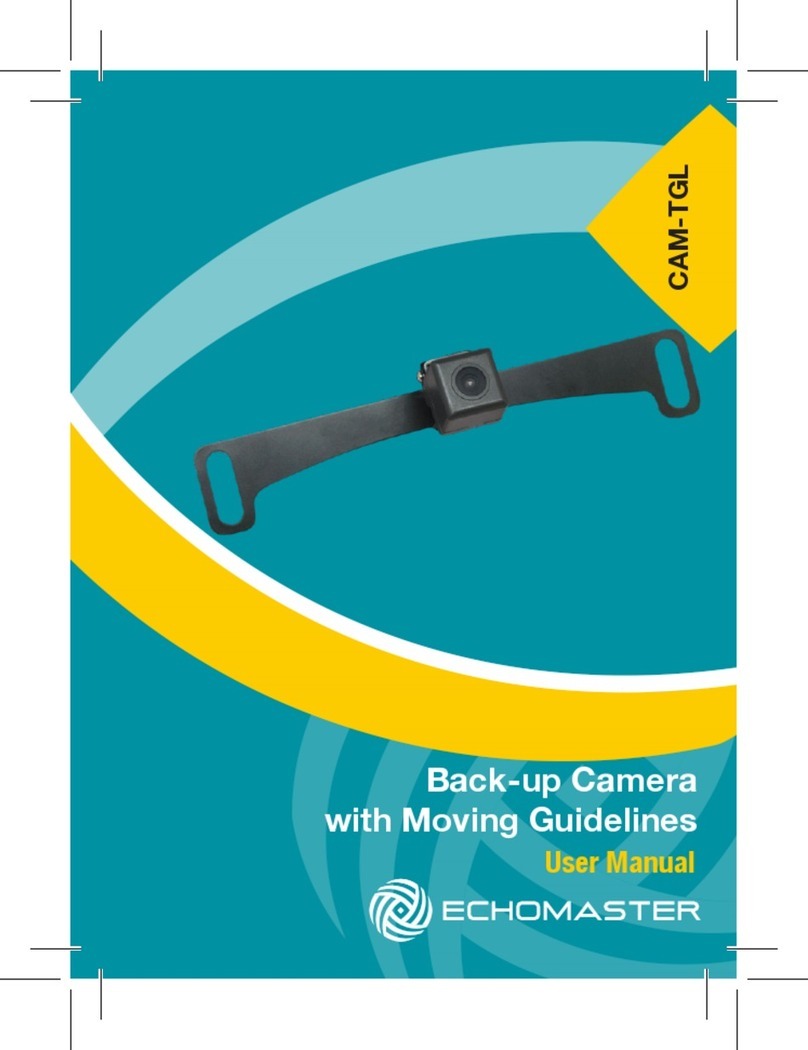
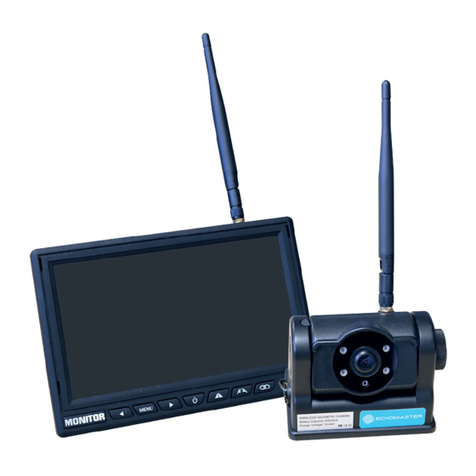
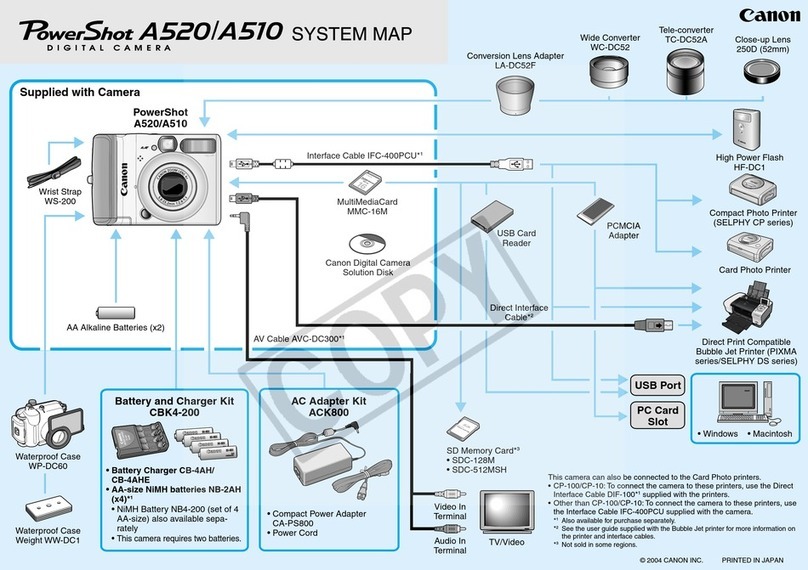
Echomaster CAM-WLP User manual

Wireless
Back-up
Camera
User
Manual
~
ECH
□
MASTER

2
Thank you for purchasing the
EchoMaster Wireless Back-up Camera
EchoMaster Cameras are designed
to
improve safety by providing high quality
images
of
surrounding areas and obstacles
in the vicinity
of
the vehicle. This may help
improve vehicle maneuvering capabilities
by
displaying blind spots
or
areas
not
normally visible
to
the driver.
Please ensure you read and understand all
aspects
of
this manual before installing
or
using your EchoMaster products.

3
What's
Included:
►
Camera
►
Wireless
Receiver
►
Power
Harness
►
Mounting
Brackets
►
Installation
Hardware
►
User
Manual
Features:
►
1/3"
CMOS
sensor
►
Operates
at
0.1
LUX
►
140°
viewing
angle
►
Operation
frequency:
2.4GHz
►
Water/Debris-proof
rating:
IP67
email -support@aampglobal com
tel -866-931-8021

4
Installing
the
Camera:
-
License
Plate
Mount
Step 1
Remove the screws that hold the
license plate
to
the vehicle and remove
the license plate.
(Fig
1J
Step2
Find
an
opening (or drill a small hole)
to
feed the camera cable into the
vehicle.
!Rg
2J

5
email -support@aampglobal com
tel -866-931-8021

6
Camera ON
Trigger Output
+12V
input
Ground
input
Video
Output
Step3
Position the camera mounting bracket
behind the license plate.
Insert the screws to hold the camera
and license plate
in
place.
(Fig
3J
Step4
Secure the license plate to the vehicle
using the screws removed
in
Step
1.
Steps
Route the camera's power wires
to the vehicle's reverse lamp wires
and connect using supplied
T-Tap
connectors.
•
see
Camera Wiring Diagram

7
Camera ON
Trigger Output
+12V
input
Ground
input
Video
Output
Rg3
SAFETY
Camera
Wiring
Diagram:
Red
=+
12
v
(when
in
re
v
erse)
Black =Ground
Vehicle's
Reverse
Wire
Vehicle's
Ground Wire
(Found at reverse lamp)
email -support@aampglobal com
tel -866-931-8021

8
Installing
the
Camera:
-
Lip
Mount
Step 1
Find
an
opening (or drill a small hole)
to
feed the camera cable into the
vehicle.
(Fig
4!
Step2
Position the camera mounting bracket
on vehicle lip and screw into place.
(Rg5)
Step3
Connect to the monitor.
(see instructions on page
10)

9
Fig5
Mounts to vehicle lip
SAFETY
email -support@aampglobal com
tel -866-931-8021

10
Installing
the
Wireless
Receiver:
Step 1
Locate a suitable location to mount
the wireless receiver -make sure it is
mounted away from any moving parts.
Secure using double-sided tape
or
wire
ties.
Step2
Connect the Yellow RCA from the
wireless receiver to the camera input
of
the radio or monitor.
Step3
Connect the receiver's power wires
to
an
accessory 12V source. The Red wire
coming from the receiver's Yellow RCA
should only be used
to
trigger the radio
or
monitor
to
show the camera image.

11
Compatible with aftermarket radios, factory radios,
and rearview mirror monitors.
Gro
u
nd
+12V
input input
Camera
ON
Tr
i
gger
Output
c
a;
~
E
0
0
"'
Video
Output
c
6
~
E
E
0
0
\g,
email -support@aampglobal com
tel -866-931-8021

12
Operation:
Step 1
Connect the camera and receiver as
explained earlier
in
the manual.
Step2
Once powered the receiver will show
the startup logo for one second and
then enter into waiting mode (red
LED
flashes slow) for one minute. If
the camera image is not detected in
that time the receiver will enter into
standby mode
(LED
will turn off).

13
Step3
Once the vehicle is shifted into
reverse and a video signal is detected
(red LED will flash fast), the receiver
will automatically turn on (LED will be
solid red) and display the image. At
this time the 12Vtrigger output wire
will energize
to
activate the monitor.
email -support@aampglobal com
tel -866-931-8021

14
Pairi,!lQ
the
camera
to
the
receiver:
Note: The camera and receiver have been
paired together from the factory. There
should be no need
to
pairthe
two
upon initial
installation. Should you need
to
pair the
two
please use the following steps
to
do
so.
Step 1
Power on the receiver.
Step2
Press and hold the button located on
the receiver for 3 seconds. The indicator
light on the receiver will start flashing
red fast, indicating that the receiver
is
in
pairing mode. This indicator will
continue
to
flash for 30 seconds
or
until
it pairs with the camera.

15
Step3
Power the camera on by shifting the
vehicle into reverse -it will begin the
pairing process. When the camera
and receiver successfully pair, the
LED
on the receiver will illuminate
solid red and the camera image
will be shown on the screen. If the
receiver does not detect the camera
signal within 30 seconds, the pairing
process will end.
Firmware
Version:
With the vehicle
in
reverse and the
camera image on the screen press the
button on the receiver three times. The
firmware version
for
the camera
(TX)
and
receiver
(RX)
will be displayed on the
screen for 5 seconds.
email -support@aampglobal com
tel -866-931-8021

16
Receiver (RX)
Output Signal CVBS (480p x 272p)
Trigger Output Voltage 12V (200mA)
Communication
Distance
150ft (Outdoor, no
obstructions)
Power Supply 12V DC <100 mA
Operating Temp -4°F~149°F / -20°C~65°C
Camera (TX)
SensorType 1.3" CMOS PC1058
Illumination 0.1
LUX
Viewing Angle 140°
Water/Debris-Proof IP67
Power Supply 12V DC <130 mA
Operating Temp -4°F-149°F
/-20°C-65°C
Operation Frequency 2.
4GHzlSM
Receiver (RX)
Output Signal
Trigger Output Voltage
Communication
Distance
Power Supply
Operating Temp
CVBS (480p x 272p)
12V(200mA)
150ft (Outdoor, no
obstructions)
12V
DC
<100 mA
-4°F-149°F / -20°C-65°C

17
Dimensions (mm)
Receiver
Camera Power Supply
Receiver (RX)
Output Signal CVBS (480p x 272p)
Trigger Output Voltage 12V (200mA)
Communication
Distance
150ft (Outdoor, no
obstructions)
Power Supply 12V DC <100 mA
Operating Temp -4°F~149°F / -20°C~65°C
'..
--·
□
;
4
__
_
··-·
---
-~-'
-~
~--
-·
··
1
-
-~-'
-~~ --
.,
i
i ~
~
-~
:
::2
1
1_,_ f -~
....
_(
__
___
___
email -[email protected]
tel -866-931-8021

18
Notes:

19
email -support@aampglobal com
tel -866-931-8021

~
ECHDMASTER
email -[email protected]
(US)
tel -866-931-8021
EchoMaster
is
a Power Brand
of
AAMP Global.
EchoMaster.com
Table of contents
Other Echomaster Digital Camera manuals
