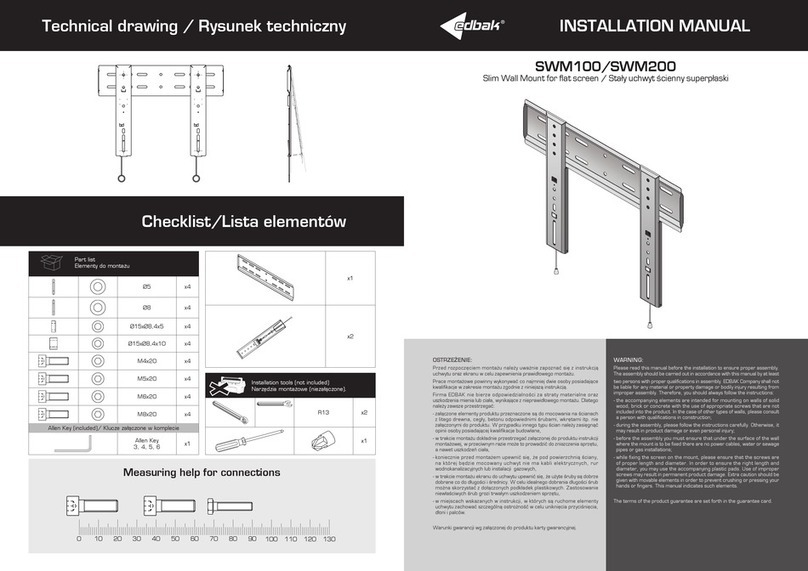
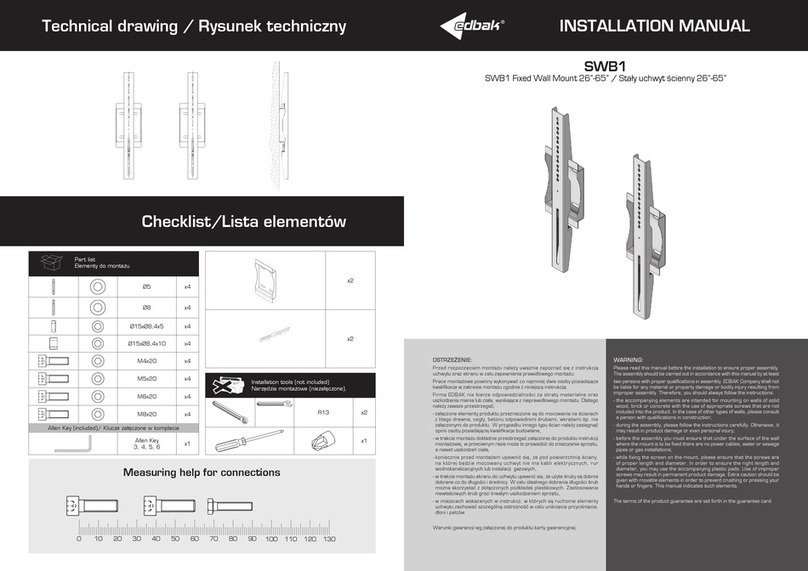
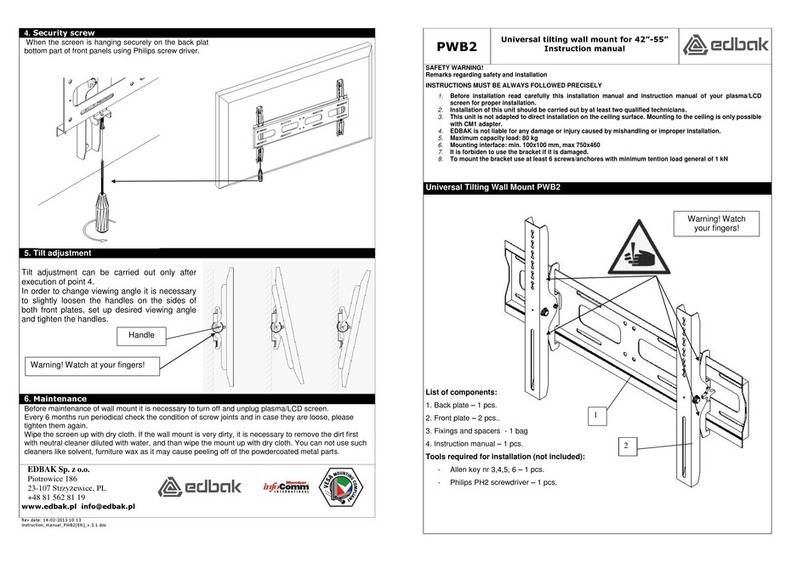
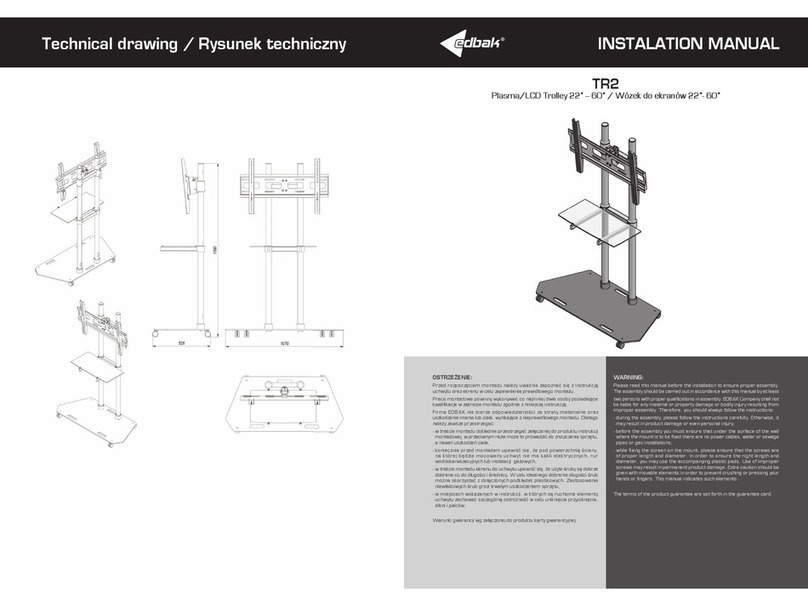
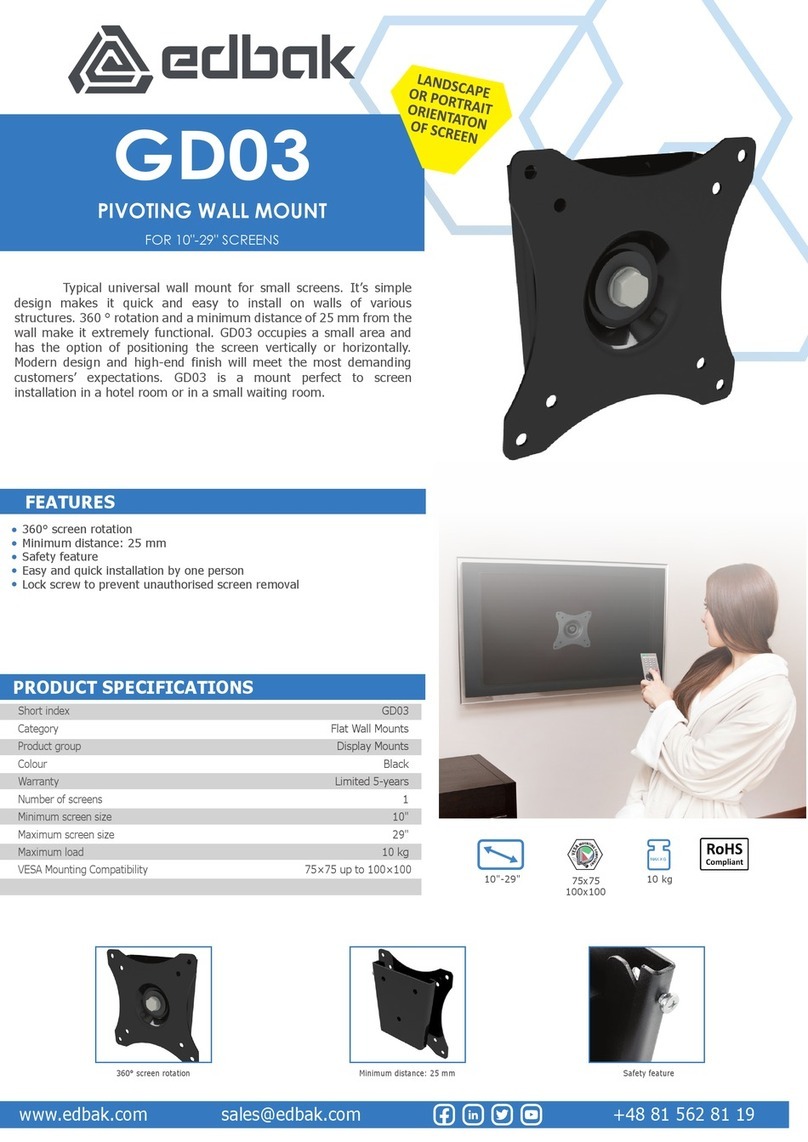
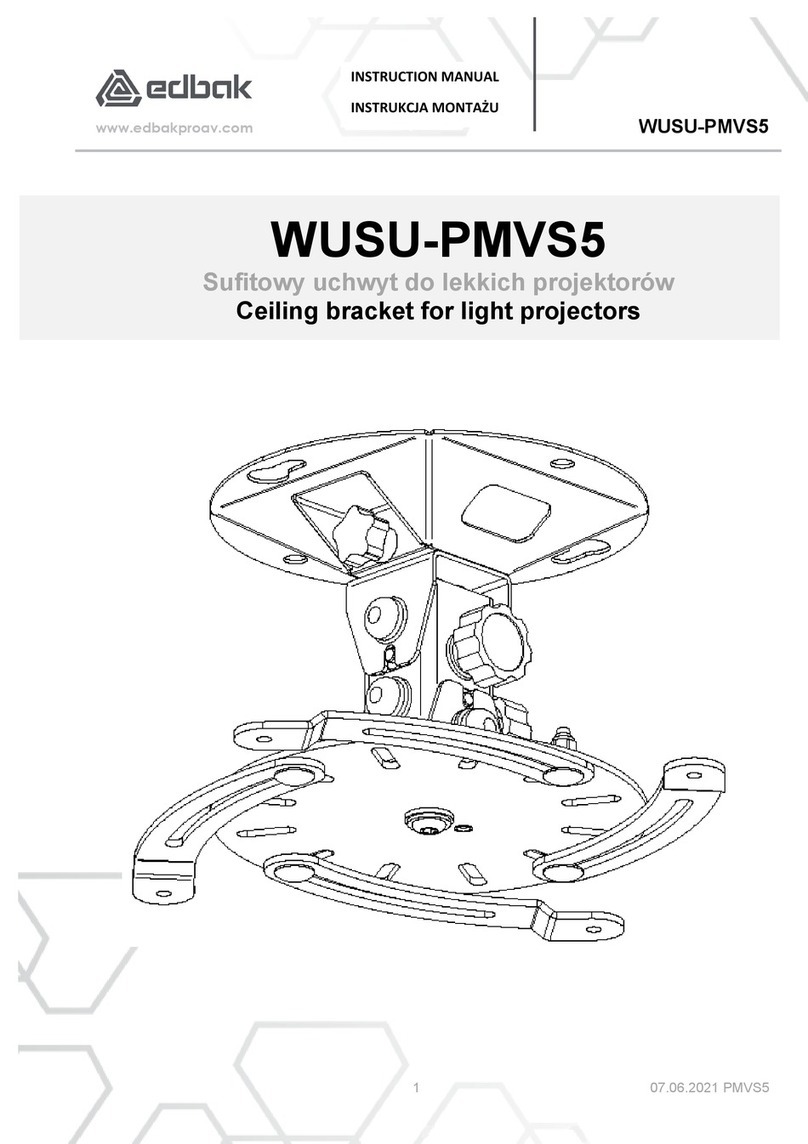
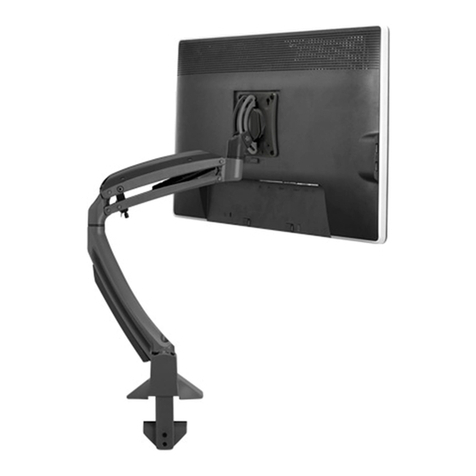
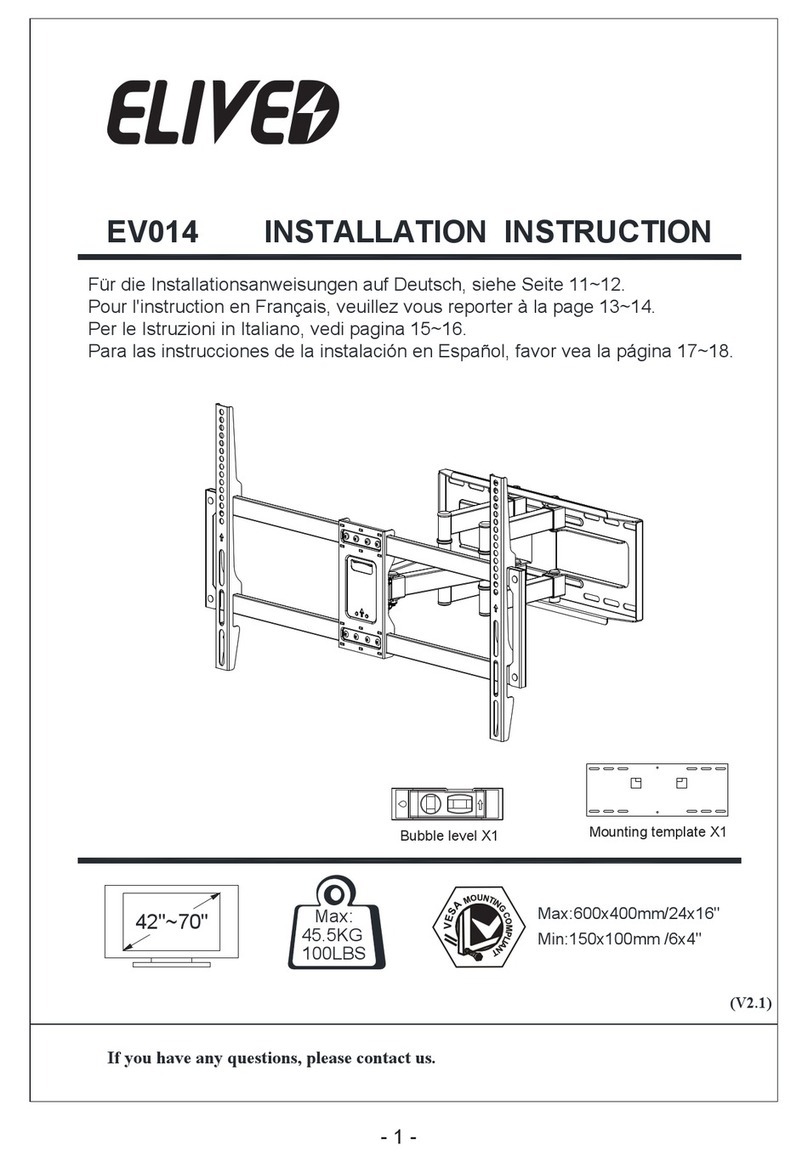
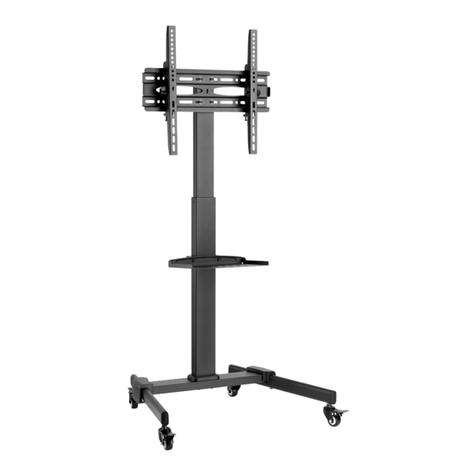
Edbak WSTD-STDV100 User manual

WSTD-STDV100
22.03.2022 STDV100 PL-EN 1.1
1
INSTRUCTION MANUAL
INSTRUKCJA MONTAŻU
WSTD-STDV100
Stand do ekranów 40 – 75”
Stand for monitors 40 –75”

WSTD-STDV100
22.03.2022 STDV100 PL-EN 1.1
2
INSTRUCTION MANUAL
INSTRUKCJA MONTAŻU
Ostrzeżenie
Przed rozpoczęciem montażu należy uważnie zapoznać się z instrukcją obsługi w celu
zapewnienia prawidłowego montażu. Prace montażowe powinny wykonywać co
najmniej dwie osoby posiadające kwalifikacje w zakresie montażu zgodnie z niniejszą
instrukcją. Firma EDBAK nie bierze odpowiedzialności za straty materialne oraz
uszkodzenia mienia lub ciała, wynikające z nieprawidłowego montażu. Dlatego należy
zawsze przestrzegać:
-w trakcie montażu dokładnie przestrzegać załączonej do produktu instrukcji
montażowej, w przeciwnym razie może to prowadzić do zniszczenia sprzętu, a
nawet uszkodzeń ciała,
-koniecznie przed montażem upewnić się, że pod powierzchnią, na której będzie
mocowane urządzenie nie ma kabli elektrycznych, rur wodnokanalizacyjnych lub
instalacji gazowych,
-w miejscach wskazanych w instrukcji, w których są ruchome elementy uchwytu
zachować szczególną ostrożność w celu uniknięcia przyciśnięcia, dłoni i palców.
Niniejszy sprzęt może być użytkowany przez dzieci w wieku co najmniej 8 lat i przez
osoby o obniżonych możliwościach fizycznych, umysłowych i osoby o braku
doświadczenia i znajomości sprzętu, jeżeli zapewniony zostaje nadzór lub instruktaż
odnośnie do użytkowania sprzętu w bezpieczny sposób, tak aby związane z tym
zagrożenia były zrozumiałe. Dzieci nie powinny bawić się sprzętem. Dzieci bez nadzoru
nie powinny wykonywać czyszczenia i konserwacji sprzętu.
Warning Please read this manual before starting the installation to ensure
correct assembly. The assembly should be carried out in accordance with this manual
by at least two fully qualified people. The EDBAK Company shall not be liable for any
injuries or damage to material or property caused by incorrect assembly. Hence, please
ensure that:
-during the assembly all the instructions are followed carefully. Failure to do so may
result in damage to the product or property, or even personal injury;
-before assembly there are no power cables, or water, sewage or gas pipes in the
area of the ceiling where the mount is to be fixed;
-extra caution should is taken with movable parts in order to avoid crushing or
pinching your hands or fingers. The movable parts are identified in this manual.
This equipment may be used by children of at least 8 years of age and by persons of
diminished physical, mental capacity and lack of experience and knowledge of the
equipment if supervision or instruction is provided regarding the safe use of the
equipment so that the hazards involved are understood. Children without
supervision should not perform cleaning and maintenance of the equipment.

WSTD-STDV100
22.03.2022 STDV100 PL-EN 1.1
3
INSTRUCTION MANUAL
INSTRUKCJA MONTAŻU
BUDOWA UCHWYTU/ EQUIPMENT STRUCTURE

WSTD-STDV100
22.03.2022 STDV100 PL-EN 1.1
4
INSTRUCTION MANUAL
INSTRUKCJA MONTAŻU
WYMIARY UCHWYTU/ EQUIPMENT DIMENSIONS

WSTD-STDV100
22.03.2022 STDV100 PL-EN 1.1
5
INSTRUCTION MANUAL
INSTRUKCJA MONTAŻU
INSTRUKCJA OBSŁUGI/ INSTRUCTION MANUAL
1. ROZPAKOWANIE / UNBOXING
Po dostawie, należy sprawdzić zawartość opakowania:
oczy dostarczony uchwyt dotarł w stanie nieuszkodzonym, czy nie zawiera widocznych wgnieceń
ani zadrapań.
oczy dostarczone są śruby i narzędzia umożliwiające montaż uchwytu
After delivery, check the contents of the package:
omake sure that the delivered bracket is undamaged and that there are no visible dents or
scratches.
omake sure that the screws, expansion plugs and Allen keys are delivered

WSTD-STDV100
22.03.2022 STDV100 PL-EN 1.1
6
INSTRUCTION MANUAL
INSTRUKCJA MONTAŻU
W skład zestawu wchodzą następujące elementy:
The set includes:
1. Podstawę
2. Kompletną belkę poprzeczną
3. Śłup główny
4. Woreczek z zestawem montażowym
1. The base
2. Complete crossbeam
3. The main column
4. The bag with an assembly set

WSTD-STDV100
22.03.2022 STDV100 PL-EN 1.1
7
INSTRUCTION MANUAL
INSTRUKCJA MONTAŻU
2. MONTAŻ PODSTAWY DO SŁUPA GŁÓWNEGO / MOUNTING THE BASE TO THE MAIN
COLUMN
Montaż uchwytu należy rozpocząć od przykręcenia 3 śrubami stożkowymi M10x40 słupa głównego
do podstawy. Podstawę należy obrócić w taki sposób, aby stożkowe pogłębienia otworów znalazły
się w spodniej części podstawy. Za pomocą klucza ampulowego o rozmiarze 6mm przykręcić
podstawę do słupa.
The mounting of the bracket should begin with screwing the main column to the base with three
M10x40 conical bolts. The base should be rotated so that the countersunk holes are on the underside
of the base. Use a 6mm Allen key to screw the base to the column.

WSTD-STDV100
22.03.2022 STDV100 PL-EN 1.1
8
INSTRUCTION MANUAL
INSTRUKCJA MONTAŻU
3. ODZNACZANIE I WIERCENIE OTWORÓW KOTWIĄCYCH *opcja / MARKING AND DRILLING
AN ANCHOR HOLES * an option
STDV100 jest standem wolnostojącym, producent zaleca jednak aby w miejscach:
- o nasilonym ruchu komunikacyjnym
- gdzie panują silne przeciągi
- gdzie istnieje zwiększone ryzyko kradzieży lub przewrócenia standu
stand został przykotwiony do podłoża.
Zalecany rozmiar kołków rozporowych to fi12x60mm.
STDV100 is a free-standing stand, but the manufacturer recommends that in places:
- with heavy public traffic
- where there are strong drafts
- where there is an increased risk of the theft or overturning of the stand
the stand has been anchored to the ground.
The recommended size of the wall plugs is 12x60mm.

WSTD-STDV100
22.03.2022 STDV100 PL-EN 1.1
9
INSTRUCTION MANUAL
INSTRUKCJA MONTAŻU
4. ZDJĘCIE ZAŚLEPKI / PLUG REPLACING
W momencie gdy podstawa stoi pewnie na podłożu, należy pewnym ruchem pociągnąć umieszczoną
na górze słupa zaślepkę i ją zdjąć.
When the base is firmly on the ground, pull the plug on top of the column and remove it.

WSTD-STDV100
22.03.2022 STDV100 PL-EN 1.1
10
INSTRUCTION MANUAL
INSTRUKCJA MONTAŻU
5. ZAMOCOWANIE BELKI POPRZECZNEJ NA SŁUPIE / FIXING THE CROSS-BEAM ON THE
COLUMN
Po zdjęciu zaślepki na górze słupa odsłonięte zostaną specjalne rowki, w które należy wsunąć 4 wpusty
delikatnie przykręcone do zaczepu belki poprzecznej. W celu ułatwienia montażu belki do słupa, należy
zdjąć ramiona VESA z belki poprzecznej.
After removing the plug on the top of the column, special grooves will be exposed, into which 4 keys
should be inserted, delicately screwed to the crossbeam catch. To facilitate mounting the beam to the
column, remove the VESA arms from the crossbeam.

WSTD-STDV100
22.03.2022 STDV100 PL-EN 1.1
11
INSTRUCTION MANUAL
INSTRUKCJA MONTAŻU
6. PRZYKRĘCENIE BELKI DO SŁUPA / SCREWING THE BEAM TO THE POST
W momencie gdy belka znajduje się na ustalonej wysokości należy ją bezzwłocznie przykręcić na
stałe. W tym celu należy dokręcić cztery śruby grzybkowe znajdujące się na bokach mocowania belki.
Następnie można zamocować zaślepkę na końcu słupa.
When the beam is at the set height, it should be immediately screwed on permanently. To do this,
tighten the four mushroom head bolts on the sides of the beam mounting.
Then attach the plug to the end of the column.

WSTD-STDV100
22.03.2022 STDV100 PL-EN 1.1
12
INSTRUCTION MANUAL
INSTRUKCJA MONTAŻU
7. MONTAŻ RAMION DO TELEWIZORA / MOUNTING THE ARMS TO THE TV
Telewizor ułożyć delikatnie na miękkim i równym podłożu, ekranem do dołu. Następnie, korzystając
z dołączonego do uchwytu zestawu śrub i podkładek przykręcić ramiona VESA do monitora.
Place the TV set gently on a soft and even surface with the screen facing down. Then, use the set of
screws and washers provided with the bracket to attach the VESA arms to the monitor.

WSTD-STDV100
22.03.2022 STDV100 PL-EN 1.1
13
INSTRUCTION MANUAL
INSTRUKCJA MONTAŻU
8. MONTAŻ TELEWIZORA NA STANDZIE / MOUNTING THE TV ON A STAND
W tym momencie możliwe jest zawieszenie monitora na belce poprzecznej. Należy upewnić się że
haczyki w ramionkach w pewny sposób zawiesiły się na występie belki.
Należy starać się aby monitor wisiał centralnie na środku standu.
At this point, it is possible to hang the monitor on the cross beam. Make sure that the hooks in the
arms are securely attached to the beam tongue. Try to keep the monitor centered in the center of the
stand.

WSTD-STDV100
22.03.2022 STDV100 PL-EN 1.1
14
INSTRUCTION MANUAL
INSTRUKCJA MONTAŻU
9. ZABLOKOWANIE RAMION NA BELCE / LOCKING THE ARMS ON THE BEAM
W celu zabezpieczenia przed niekontrolowanym przesuwaniem monitora na belce, należy wkręcić
śrubokrętem krzyżakowym dwa wkręty wystające na dole ramion VESA.
To prevent uncontrolled movement of the monitor on the beam, tighten the two screws protruding
at the bottom of the VESA arms with a Phillips screwdriver.

WSTD-STDV100
22.03.2022 STDV100 PL-EN 1.1
15
INSTRUCTION MANUAL
INSTRUKCJA MONTAŻU
10. PODŁĄCZENIE PRZEWODÓW ZASILAJĄCYCH / CONNECTING THE POWER CABLES
Gdy monitor wisi pewnie na standzie można podłączyć do niego przewody zasilająco-sygnałowe.
When the monitor hangs securely on a stand, you can connect power and signal cables to it.

WSTD-STDV100
22.03.2022 STDV100 PL-EN 1.1
16
INSTRUCTION MANUAL
INSTRUKCJA MONTAŻU
W celu estetycznego poprowadzenia przewodów wzdłuż słupa można je schować w kanale
zamaskowanym gumową zaślepką, poprowadzoną z góry do dołu słupa. Przewody sygnałowo-
sterujące należy przepchnąć w głąb słupa, aż schowają się za gumką. Na dole słupa przewody należy
wyprowadzić z rowka.
In order to route the cables neatly along the column, they can be hidden in a channel masked with a
rubber plug, led from the top to the bottom of the column. The signal and control cables should be
pushed into the column until they hide behind the rubber band. At the bottom of the column, lead
the wires out of the groove.

WSTD-STDV100
22.03.2022 STDV100 PL-EN 1.1
17
INSTRUCTION MANUAL
INSTRUKCJA MONTAŻU
11. ZAMOCOWANIE PLAYERA NUC *opcja / NUC PLAYER ASSEMBLY *an option
Jeżeli klient zamierza sterowaćwyświetlanym na ekranie obrazem za pomocą minikomputera NUC,
na tylnej części belki poprzecznej znajduje się specjalny zaczep, na którym komputer taki może być
zaczepiony.
If the customer intends to control the image displayed on the screen using the NUC minicomputer,
there is a special hitch on the rear part of the cross beam, on which the computer can be attached.

WSTD-STDV100
22.03.2022 STDV100 PL-EN 1.1
18
INSTRUCTION MANUAL
INSTRUKCJA MONTAŻU
12. UWAGI OGÓLNE/ GENERAL COMMENTS
oPrzeznaczenie produktu: stand do ekranów 40 –75”
oMiejsce użytkowania: wewnątrz pomieszczenia
oStosować wyłącznie dołączony do standu zestaw śrub i tulejek dystansowych.
oProducent nie ponosi odpowiedzialności za szkody powstałe na mieniu i zdrowiu z powodu
błędnie lub niedbale wykonanego montażu uchwytu.
GENERAL COMMENTS
oIntended use: stand for monitors 40-75”
oPlace of use: indoor
oUse only the set of bolts and sleeves supplied with the stand
oThe manufacturer is not responsible for damage to property and health due to incorrect or
carelessly performed mounting of the bracket.
Other Edbak TV Mount manuals
