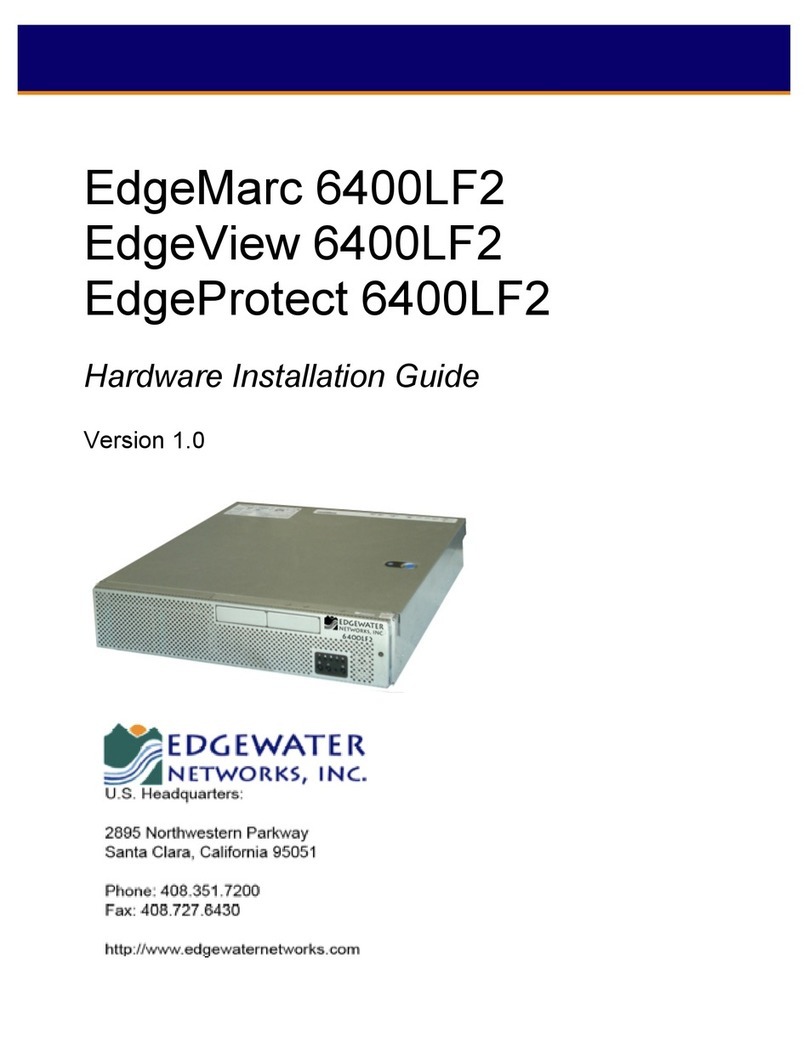
Edgewater Networks EdgeView 5300LF Instruction Manual

Edgewater Networks / 2895 Northwestern Parkway, Santa Clara, CA 95051
EdgeView 5300LF
System Administration
Guide
Version 1.0

1
Copyright (c) 2011, Edgewater Networks, Inc.
Edgewater Confidential, All Rights Reserved
Part Number: EWN017-02-J001
This document is protected by copyright and distributed under licenses restricting its use,
copying, distribution , and decompilation. No part of this document may be reproduced in
any form by any means without prior written authorization of Edgewater Networks, Inc.
Documentation is provided “as is” without warranty of any kind, either express or implied,
including any kind of implied or express warranty of non-infringement of the implied
warranties of merchantability or fitness for a particular purpose.
EdgeMarc is a trademark of Edgewater Networks, Inc. in the United States and other countries. Any other
trademarks appearing in this manual are owned by their respective companies.
Export Notice
This product, software and related technology is subject to U.S. export control and may be subject to
export or import regulations in other countries. Purchaser must strictly comply with all such laws and
regulations. A license to export or re-export may be required by the U.S. Department of Commerce.
Regulatory Compliance
This product was tested to comply with FCC standards for home and office use.
Software Version
This documentation was written for EdgeView software version 11.2.
Release Date
June 13, 2011
Licensing
Use of this product is subject to Edgewater Networks Software License Agreement.
Portions of this product include software sponsored by the Free Software Foundation and are covered by
the GNU GENERAL PUBLIC LICENSE.
See the VOS for EdgeMarc User Manual for more information regarding licenses.
Typographical Errors
This publication could include technical inaccuracies or typographical errors, for which Edgewater
Networks never can or shall be held liable. Changes are made periodically to the information herein;
these changes will be incorporated in new releases of this publication. Edgewater Networks may make
improvements or changes in the product or products described in this publication at any time, without
prior notice.
Documentation Feedback
Edgewater Networks considers your satisfaction with this documentation a priority. If you would like to
provide us with feedback regarding your experience with our documentation or should you have any other
quality-related comment concerning its delivery, please visit the following URL:
http://www.edgewaternetworks.com/feedback.htm

1
Additional EdgeView Publications
•EdgeView 5300LF Hardware Installation Guide
•Getting Started with the EdgeView 5300LF
You can download these documents and additional application notes to help you configure, administer,
and troubleshoot your EdgeView appliance from http://www.edgewaternetworks.com/kb.

1
Contents
Before You Start ............................................................................................................... 1!
Standalone System: ........................................................................................................ 1!
High Availability System (in addition to that described for Standalone System): ............ 2!
Main Menu......................................................................................................................... 2!
Exit To CLI Prompt Or Exit Login Session..................................................................... 2!
Rebooting and Shutting down EdgeView ...................................................................... 3!
System Configuration ...................................................................................................... 5!
Configuring Network Cards (IP Address And Default Gateway).................................. 7!
Configuring Hostname And DNS Servers...................................................................... 10!
Configuring Network Date And Time.............................................................................. 12!
Configuring Outbound Mail Settings.............................................................................. 16!
Creating and Loading System Configuration XML........................................................ 20!
Installing and Configuring High Availability (HA) ......................................................... 23!
Heartbeat Configuration .................................................................................................. 25!
Unison (File Replication) Configuration........................................................................... 31!
MySQL Configuration ...................................................................................................... 32!
Troubleshooting using Sanity and Health Check Tools............................................... 34!

1
Overview
The EdgeView appliance provides a text-based system administration menu (also referred to as the
“Menu”) to allow the system root user to configure EdgeView for initial deployment and to perform various
administrative tasks. The “system root user” is normally the System or Network Administrator at a
company charged with the task of configuring servers on the corporate network.
The Menu is intended to replace the use of SuSE Linux's YaST administration tool to configure services
on the EdgeView such as IP addresses, default gateway, DNS servers and more.
The root user will receive the Menu upon console or SSH login to the EdgeView server. This document
describes the features of the Menu, including the following core functions:
•Rebooting and Shutting down EdgeView
•Configuring Network Cards (IP Address And Default Gateway)
•Configuring Hostname And DNS Servers
•Configuring Network Date And Time
•Configuring Outbound Mail Settings
•Creating and Loading System Configuration XML
•Installing and Configuring High Availability (HA)
•Troubleshooting using Sanity and Health Check Tools
Before You Start
Before you begin the actual configuration of your EdgeView system, we recommend that you read
through this entire document to gain a better understanding of the overall configuration requirements.
You will also need to have handy some information about how EdgeView will be addressed on your
network, including:
Standalone System:
●Port 1 (eth0) Network IP Address and Netmask
●Port 3 (eth2) Network IP Address and Netmask - OPTIONAL if desired for use as management
interface
●Default Gateway
●DNS Servers
●Hostname for your EdgeView
●Domain that EdgeView will join
●Network Time Server used by EdgeView (or use default)
●Outgoing Mail Server Adress and User Connection Settings

2
High Availability System (in addition to that described for Standalone
System):
●Port 2 (eth1) Network IP Address and Netmask - for non-geographic redundant systems if default
is not desired
●Virtual IP Address - for non-geographic redundant systems that will use a common address in
primary mode
Main Menu
Prerequisite Task: Login in to the CLI using the root account. For instructions about how to login in to
the CLI using the console or SSH, refer to the EdgeView 5300LF Hardware Installation Guide.
Upon root login to the CLI via the console or SSH, you will receive the following Main Menu:
The text-based menu is designed to run on the console of the EdgeView SuSE Linux server using only a
keyboard. Simply use the UP and DOWN arrows on your keyboard to move inside the menu to scroll the
various menu options. To access the button bar below the options, use the TAB key (this will toggle back
to the options as well). Once inside the button bar, use the LEFT and RIGHT arrow keys to choose the
desired button then press ENTER to perform the action.
Exit To CLI Prompt Or Exit Login Session
Choose option #1 to exit the Menu and access a system CLI prompt (logged in as the root user):

3
You should not need to access the system CLI under normal circumstances. You can return to the Menu
by typing “menu” on the CLI. If you wish to exit the login session completely, you may also choose option
# 2 from the Main Menu (or type “exit” on the CLI).
Rebooting and Shutting down EdgeView
To reboot or shutdown your EdgeView server, simply arrow down to option #5 from the Main Menu and
click <Select>:
This will bring up a screen titled “Reboot or Shutdown” as shown below:

4
To Reboot EdgeView, choose option #1 and click <OK>. Select <Yes> when you are asked to confirm
the action as shown:
To Shutdown your EdgeView, choose option #2 from the Reboot or Shutdown menu:

5
Select <Yes> when you are asked to confirm the action as shown:
System Configuration
To perform the necessary configuration steps for the deployment of an EdgeView server, choose option
#3 (“System Configuration”) from the Main Menu and click <Select> as shown:

6
You will receive the “System Configuration Menu” as shown:
To return to the Main Menu, simply choose option #1 and click <Select>.

7
Configuring Network Cards (IP Address And
Default Gateway)
Select option #5 from the “System Configuration Menu” to configure the network cards on your EdgeView
system. You will receive a confirmation screen as shown:
Choose <Yes> to continue. You will now begin a series of screens to configure each network interface
available on your EdgeView system. The number of interfaces may vary depending on your specific
platform, but the configuration method is the same for each interface. We will detail the configuration of
the first network interface (eth0) on your system.
Initially, you need to define whether the interface will attain an IP address from your network using DHCP
or whether you wish to set the IP address manually (static). Since EdgeView is a server on your network,
you will want your EdgeView server to have a static eth0 IP address. This prevents the IP address from
changing upon reboot (as could be the case with DHCP). Using a static IP address allows the devices on
your system that are managed by EdgeView and the users that access EdgeView to access EdgeView at
a common address on your network.
Use the UP and DOWN arrows in the eth0 Protocol screen to highlight the desired protocol and use the
SPACEBAR to select the protocol, then TAB and click ENTER. If you have chosen Static as your desired
protocol, you will receive the eth0 IP Address and Netmask configuration screen as shown:

8
The default address for your eth0 interface is 192.168.1.1.
Confirm or enter the IP Address and Netmask for your eth0 interface and click <OK> to continue. You will
be taken to the next appropriate interface for your platform:
If you wish to configure that interface, simply click <Yes> and you will receive the appropriate interface
protocol selection screen as described above. The most common network card setup with EdgeView is
to use eth0 as the WAN-side address (Internet side) and eth1 or eth2 as the LAN-side address (internal
network side). If your system is configured as non-geographic redundant High Availability, you should
use eth1 for the HA heartbeat interface as described in the High Availability section of this document.
Once all of the interfaces have been configured (or if you choose to skip the last interface), you will
receive a confirmation to configure the EdgeView system default gateway as shown below:

9
Select <Yes> if you wish to add a default gateway on your EdgeView server. If you use static IP
addresses for your network interfaces, you should always configure a default gateway as shown on the
screen below:
Enter the default gateway and then click <OK> to begin the system configuration process:
You should reboot your EdgeView once network card configuration is complete.

10
Configuring Hostname And DNS Servers
Select option #6 from the “System Configuration Menu” to configure the Hostname and DNS servers on
your EdgeView system:
You will receive the Host Name and Domain Name screen where you can enter the hostname and
domain name of your EdgeView system based on the naming practices of your network.
If you are configuring an HA system, the standard practice (but not required) is to number each node
member of the HA cluster using a zero-based index. For example, the primary (or “master”) EdgeView
server of an HA cluster would normally be called “edgeview0” and the secondary machine would normally
be called “edgeview1”. You may use other hostnames besides EdgeView as well. The Domain name for
the servers in your network is typically your corporate domain (for example, “mycompany.com”).
Click <OK> to continue to the DNS server settings menu as shown below:

11
You may specify static IP addresses for your network name servers (most common) or you may allow
DHCP to configure the name servers for you. If you choose to use the static server setting, you will
receive a screen to enter the DNS servers as shown below:
You will next be allowed to enter an optional search list of DNS servers. The search list is normally
determined by the local domain name. This means that the system will attempt to find a host that does
not have a domain name using the primary domain name of the system as configured above. For
systems with multiple sub-domain names, you may enter those in the search order and the system will
attempt to resolve a hostname that does not have a domain name using the search list.

12
If you changed the previous hostname and domain name (or change the default settings) you will receive
a notice that a reboot is required as shown below. We strongly suggest you reboot at this time. If you are
implementing a high availability configuration, you are required to reboot prior to configuring HA.
Configuring Network Date And Time
Your EdgeView system ships initially using the BIOS system clock as the source to keep time (also
known as the “local” clock). We strongly recommend that you use a network time server (NTP) to keep
time on your EdgeView system. This is because your EdgeView collects data from various network
devices and the time read from those devices need a central time mechanism in order to provide better
synchronization. Select option #7 from the “System Configuration Menu” to configure network date and
time on your EdgeView system:

13
To configure NTP to start at boot, choose the “Now and On Boot” option under the “Start NTP Daemon”
sub-section of the General Settings section as shown below:
You will need to delete the default local Synchronization Type (“Undisciplined Local Clock”) by clicking
the Delete button. Next, click the Add button as shown:

14
You will need to select “Server” from the next screen as shown below:
Continue to the next screen and choose “Public NTP Server” for the NTP server. If your company uses a
local NTP server, you may also choose the “Local NTP Server” option and designate that server
according to your company policy.

15
If you choose to use a public NTP server, you will now need to designate the server of your choice as
shown below:
Click [OK] to confirm the server setting and then [OK] again to complete the final network time
configuration steps and you will be returned to the System Configuration Menu.

16
Configuring Outbound Mail Settings
EdgeView utilizes the postfix mail transfer agent to send email messages for a variety of system activity.
Choose option #8 from the System Configuration Menu to configure postfix beyond the default settings in
order to customize outbound mail from your EdgeView server with the following features:
●routing mail through a company mail server (relay host)
●customizing the From header of the message (envelope masquerading)
●substituting local user accounts to an email address (user masquerading)
Table of contents
Other Edgewater Networks Network Hardware manuals

Edgewater Networks
Edgewater Networks EAP3030/1-I User manual

Edgewater Networks
Edgewater Networks EdgeView 6400LF2 Manual

Edgewater Networks
Edgewater Networks EdgeMarc 5300LF2 User manual

Edgewater Networks
Edgewater Networks EdgeProtect 7300 Installation instructions

Edgewater Networks
Edgewater Networks EAP3030/1-O User manual

Edgewater Networks
Edgewater Networks EdgeMarc 2900e Manual

Edgewater Networks
Edgewater Networks EdgeMarc 6400LF2 Manual