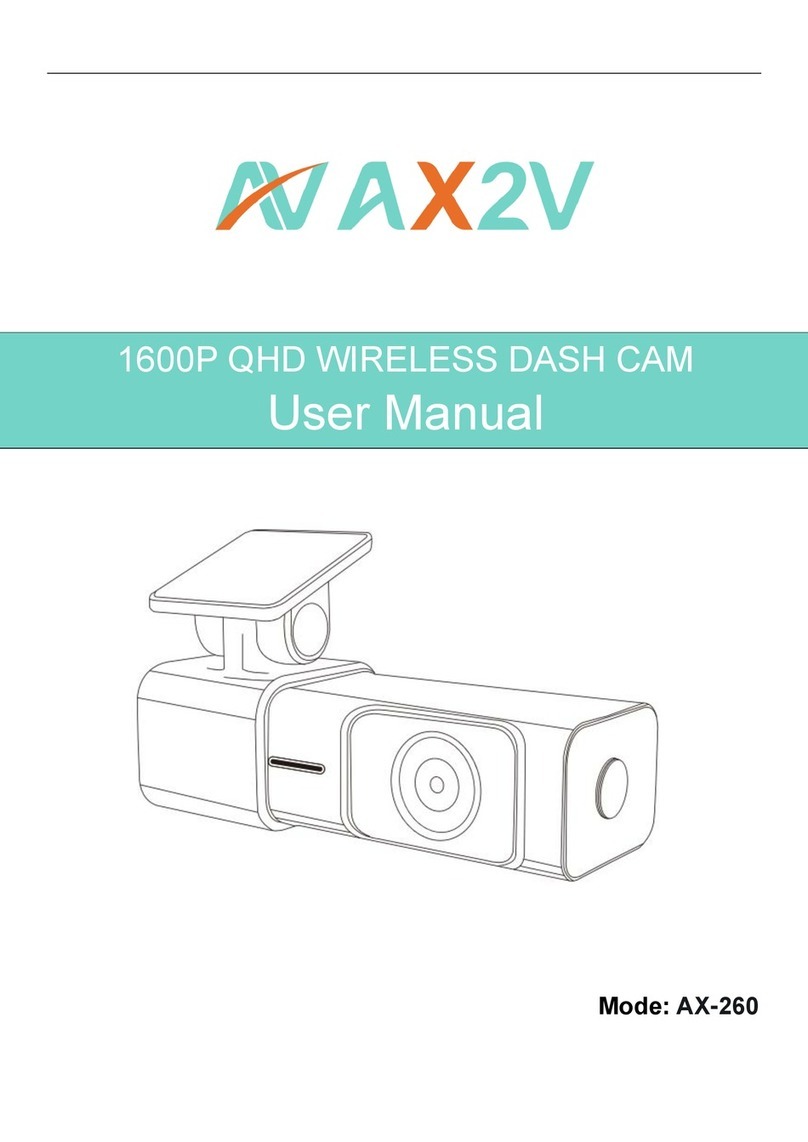
Eeyelog E730 User manual

USER MANUAL
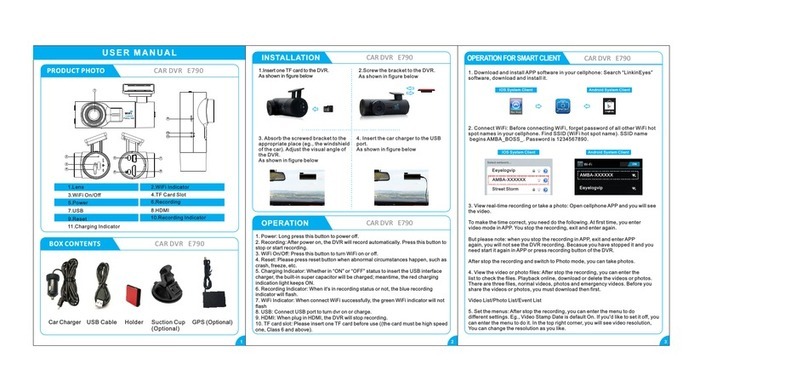
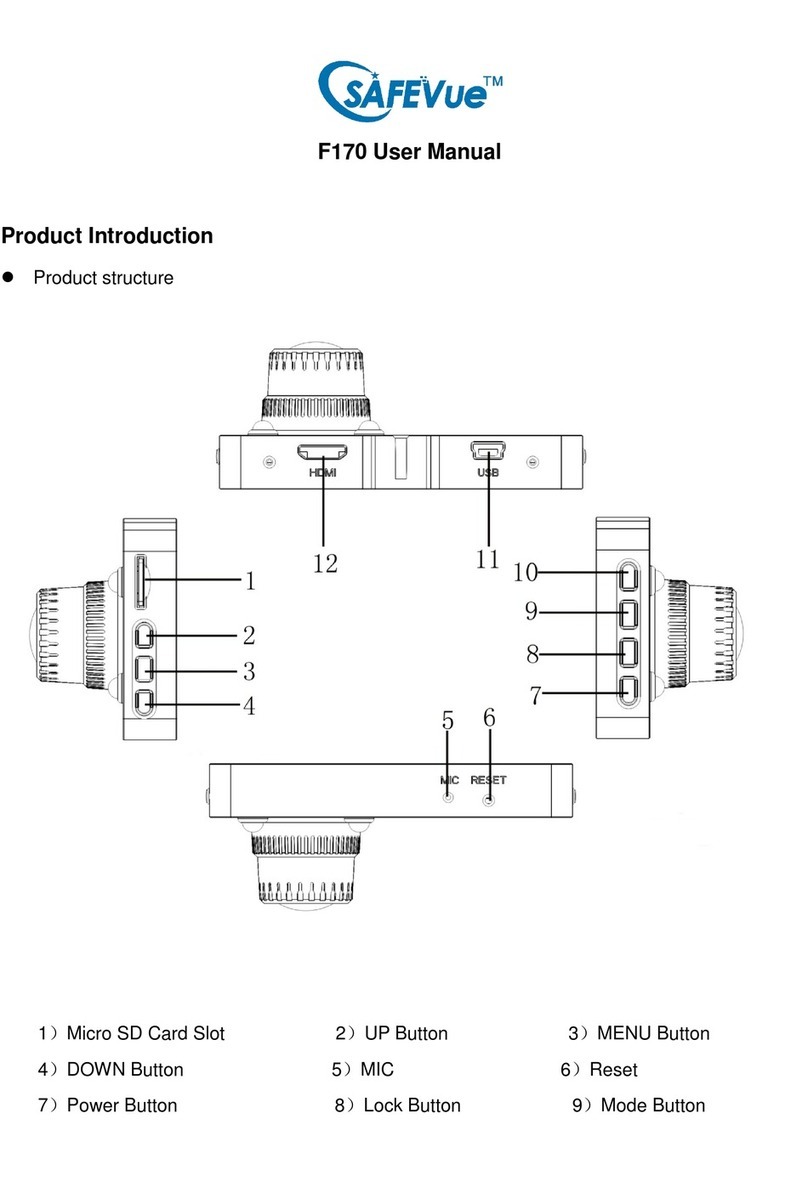
Dashboard Camera Illustration
1) Menu
2) Mode
3) UP/MIC
4) Down/EV
5) Left / LED Button
6) Right
) Power Button
A. To power it on, press the button once, press it again to
turn off the display (this will NOT power it off)
B. To power off the dash camera, hold the press for 3s
8) Record / Snapshot / Confirm
9) GPS
10) Red Indicator (Charging)
11) Blue Indicator (Recording)
12) Green Indicator (GPS) – Extra GPS Module Required
13) Lens
14) LED Light (Night Vision)
15) USB Port
16) HDMI Output
1 ) Reset
18) Micro SD Card Slot
19) DC IN (Where you onne t your ar harger)
Interfa e
Illustration
1) Movie Camera Icon: Indicating camera is in Recording
Mode
2) Battery: Indicating the remaining power for the device,
charge your camera when the power is low
3) Micro SD Card: When the card is properly inserted, it
shows up. Otherwise it will be a “X”
4) G-Sensor: The higher the blue color stands, the more
sensitive
5) Motion Detection: This icon shows up only when it is
enabled
6) Lock: This Icon shows up when collision/vibration occurs
and followed by device mandatory file protection (see G-
Sensor)
) Microphone: It only shows up in Recording Mode, press the “Left/MIC” button to turn it On/Off
8) GPS: External GPS Module required for GPS option
9) HDR: When resolution is set to 1920x1080@30P HDR, it appears.
10) Speed Limit: Preset speed limit (GPS Module required)
11) ADAS: Only appears when it is enabled
12) LED: On/Off
13) EV: Exposure Value, “+” means brighter, “-“ means dimmer
14) Video Resolution
15) Loop Recording: 3 Minutes (for the current setting)
Installation:
1) Shut vehicle engine off.
2) With Power Off, insert the Micro SD Card (not provided) into the card slot.
3) Affix the DVR mounting frame (the suction cup) to the windshield (clean the windshield before placing mounting frame). Check
the FAQ to see where you should affix the mounting. Adjust camera position to ensure it is not blocking driver’s view.
4) Connect the car charger to “DC IN”, start the engine, check if DVR Dash Camera has been installed correctly. (If DVR Dash Camera
has been installed correctly, device will enter video recording mode automatically when engine starts.)

A essing Files via a PC:
1) Connect the DVR to a PC with the included USB cable via “USB Port” (NOT “DC IN”)
2) The “Removable disk” icon will appear on the computer’s taskbar
3) The recorded files will be stored similar the contents of a flash drive
A essing Files via TV:
1) Connect the DVR to TV with a HDMI cable (NOT INCLUDED), make sure your DVR is power on
2) On your TV you should see the same screen as the one on your car DVR
3) Go to Preview Mode (Stated Below) and choose your desired file
Operating Instru tions
RECORDING MODE
To enter the recording mode, you should insert the Micro SD Card to the device, power it on by wiring a USB cable to “DC IN” port,
and it will automatically enter recording mode. You will see a “Red Blinking icon” as well as a “Movie Camera icon” when it is in
recording mode. If the DVR is in recording mode (red blinking icon on), Stop the re ording by shortly pressing the “Record /
Snapshot / Confirm” button, then press the “Menu” button to enter the menu. (Press the up/down buttons (MIC/EV) for moving in
menus; press Left/Right to navigate between “Record Setting” and “System Setting”. Press the “Record / Snapshot / Confirm” button
to confirm/select)
Video Resolution: [2560x1080@30P 21:9, 2304x1296@30P 16:9, 1920x1080@30P 16:9, HDR 1920x1080@30P 16:9,
1280x 20@30P 16:9]
Image Quality: [Super Fine, Fine, Normal]
Meter Mode Setting: [Center-weighted average metering, Spot metering, and Average metering]
Anti-Fli ker: [Auto / 50Hz / 60Hz]. Choose the correct frequency for the power line to avoid flickering
Stamp Setting: [On / Off], When it is ON, date/time/plate number (preset) will appear on the recording files
ADAS Dete t: [On / Off] for Advanced Driver Assistance Systems. See below:
A: Lane-Departure-Warning-System (LDWS): If lane-changing occurs, warning picture will appear to warn the driver
B: Low-Light-Warning-System, it will remind you to turn on the headlight if you drive in low-light condition
C: Driver-Fatigue-Warning-System, device will send a warning picture and warning tone to the driver when continuous driving (more
than 4 hours) is detected, followed by the same every two hours.
Re ord Time: This provides [1min/3min/5min] Loop Setting
Time Zone: Set the time zone for different country.

AE Bias: EV Settings, to make the footage or snapshot brighter or dimmer
Speed Warning Setting: [Off/80KMH/120KMH] - External GPS module is required for such function
LED Setting: [On/Off] - Turn on and off the LED in front of the Dash Camera
G Sensor Setting: [Off/Low/Medium/High] - This refers to the sensitivity. Under G-Sensor mode, when an impact is detected the
footage will be saved anyways
Motion Dete tion: [On/Off] - Under Motion Detection mode, the Dash Camera records automatically when it senses movement
Language Setting: English, Russian, Simplified Chinese, Traditional Chinese
Re ord Mode Setting: Auto Record (when powered on), Manual Record
System Mode: NTSC/PAL
Driver ID Setting: Set up the plate number for the car
Time Setup: Set up the date and time display for the recording
Format: Format your memory card
Default Setting: This is used to load the default settings
Ba k Light Off Setting: Device will automatically turn off the display after certain amount of time, also called screen saver
Delay Power Off: Device will automatically power off (when you unplug the power supply) after certain amount of time
Beep Sound Setting: On/Off. Turn on/off the sound
Version Info: Firmware version of the device
PHOTOGRAPHIC MODE
To enter photographic mode, shortly press “Mode” button. If the DVR is in Recording Mode (with a red blinking icon), you need to
stop the recording by shortly pressing the “Record / Snapshot / Confirm” button, then shortly press the “Modes” button again. In the
upper left corner of the display, notice that the “Movie Camera icon” has changed into an icon of a “Picture Camera”. Shortly press
“Record / Snapshot / Confirm” button to take a photo. Go to the menu for Photographic Mode by shortly pressing the “Menu”
button.
Photo Resolution: 4M (2688x1512 16:9) or 9M (4000x2250 16:9) or 13M (4800x2 00 16:9)
Image Quality: Super Fine, Fine, Normal
Stamp Setting: On/Off. Whether or not the snapshot will come with Date/Time/Plate Number or not
PREVIEW MODE
To enter the Preview Mode, shortly press the “Mode” button when you are in the “Photographic Mode”. Go to the menu for Preview
Mode by shortly pressing the “Menu” button”
Play Mode Setting: [Play One, Play All, Repeat One, Repeat All]
Delete File: Delete the selected file
Other Eeyelog Dashcam manuals
