Date Stamp - On/Off for optional, default is on.
Show the date and time on recorded videos.
Press to choose “Date Stamp”, press OK to adjust it to ”Off or On”.
Audio - Off, On for options, default is on.
Press to choose “Record Audio”, press OK to adjust it to ”Off or On”.
Volume - Mute, Low, Middle, High for options, default is Middle
Press to choose “Volume”, press OK and then press or to choose “Mute, Low,
Middle or High”, press OK to confirm and then press to exit.
Motion Detection - OFF, LOW, MIDDLE, HIGH for optional, default is off
Press to choose “Motion Detection”, press and then press or to choose “OFF,
LOW, MIDDLE or HIGH”, press OK to confirm and then press to exit.
G-sensor - OFF, LOW, MIDDLE, HIGH for optional, default is Middle
Press to choose “G-sensor”, press OK and then press or to choose “OFF, LOW,
MIDDLE or HIGH”, press OK to confirm and then press to exit.
Parking Monitor - OFF, LOW, MIDDLE, HIGH for optional, default is off
Press to choose “Parking Monitor”, press OK and then press or to choose “OFF,
LOW, MIDDLE or HIGH”, press OK to confirm and then press to exit.
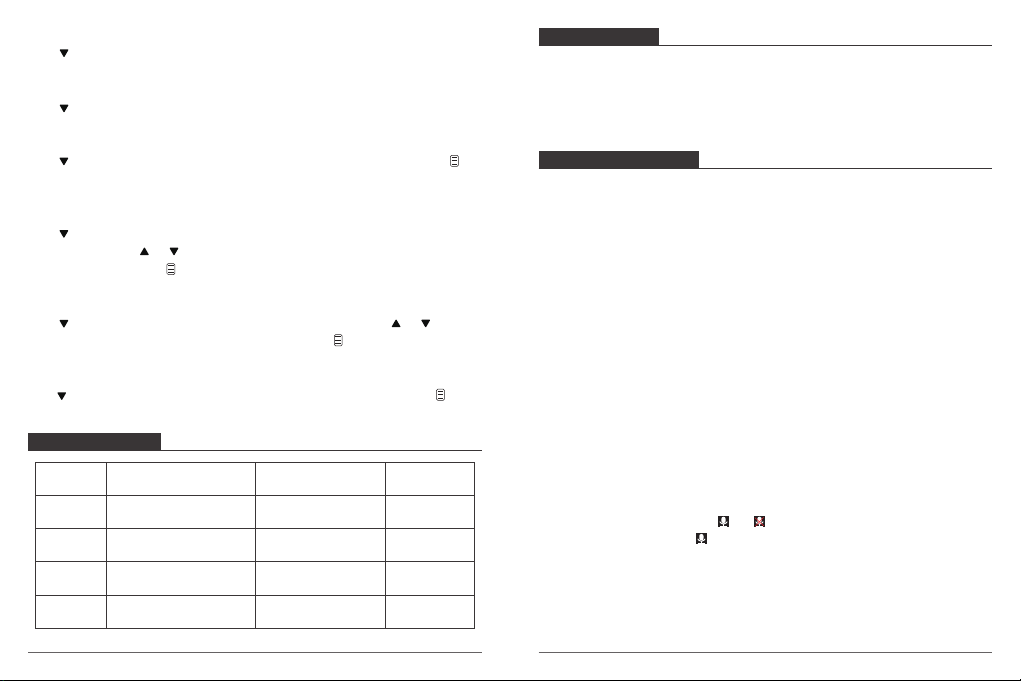
System Settings
Press twice to enter into the System settings interface.
System settings
Time Setting
1 minute
Off
English
Screen Saver
Auto Power Off
Language
Time Setting - YY/MM/DD; MM/DD/YY;DD/MM/YY 3 mode for optional
Default is MM/DD/YY mode.
Press to choose “Time Setting”, press OK to enter this settings. Short press OK button
few times until it turn to the “MM/DD/YY” on bottom, choose the time/day mode you
want. Then press or to adjust the number of moth/day/year and hour/minute/
second one by one, press OK to confirm and switch to next. After you set all the number
right, Press and then choose to “Cancel” or “Confirm” your settings for this time.
Screen Saver - Off, 1 Minute, 3 Minutes , 5 Minute for optional, default is 1 Minute.
Press to choose “Screen Saver” option, press OK , and then press or to choose
off/1minute/3minute/5minutes option, press OK to confirm and then press to exit.
Auto Off - Off, 3 Minute, 5 Minutes, 10 Minute for optional, default is Off. The dash cam
will automatically turn off when you set this option to 3 Minute, 5 Minutes , 10 Minute.
Press to choose “Auto Off” option, press OK , and then press or to choose off
/ 3minute / 5minute / 10minutes option, press OK to confirm and then press to exit.
Language - Set the language of dash cam, default is English.
Press to choose “Language” in settings, press or to choose the language you
need, press OK to confirm and then press to exit.
12 13