EL-4KPM-V88-A268-18G USER MANUAL
05
EDID Control
EDID (Extended Display Identification Data) is a data structure that is used between a display and a source. This data is used by the source to find
out what audio and video resolutions are supported by the display then from this information the source will discover what the best audio and video
resolutions that need to be output.
While the objective of EDID is to make connecting a digital display to a source a simple plug and play procedure, issues do arise when multiple
displays or video Matrix switching is introduced because of the increased number of variables.
By pre-determining the video resolution and audio format of the source and display device you can reduce the time need for EDID hand shaking
thus making switching quicker, and more reliable.
Configuration of Matrix EDID settings can be acheived in one of three ways:
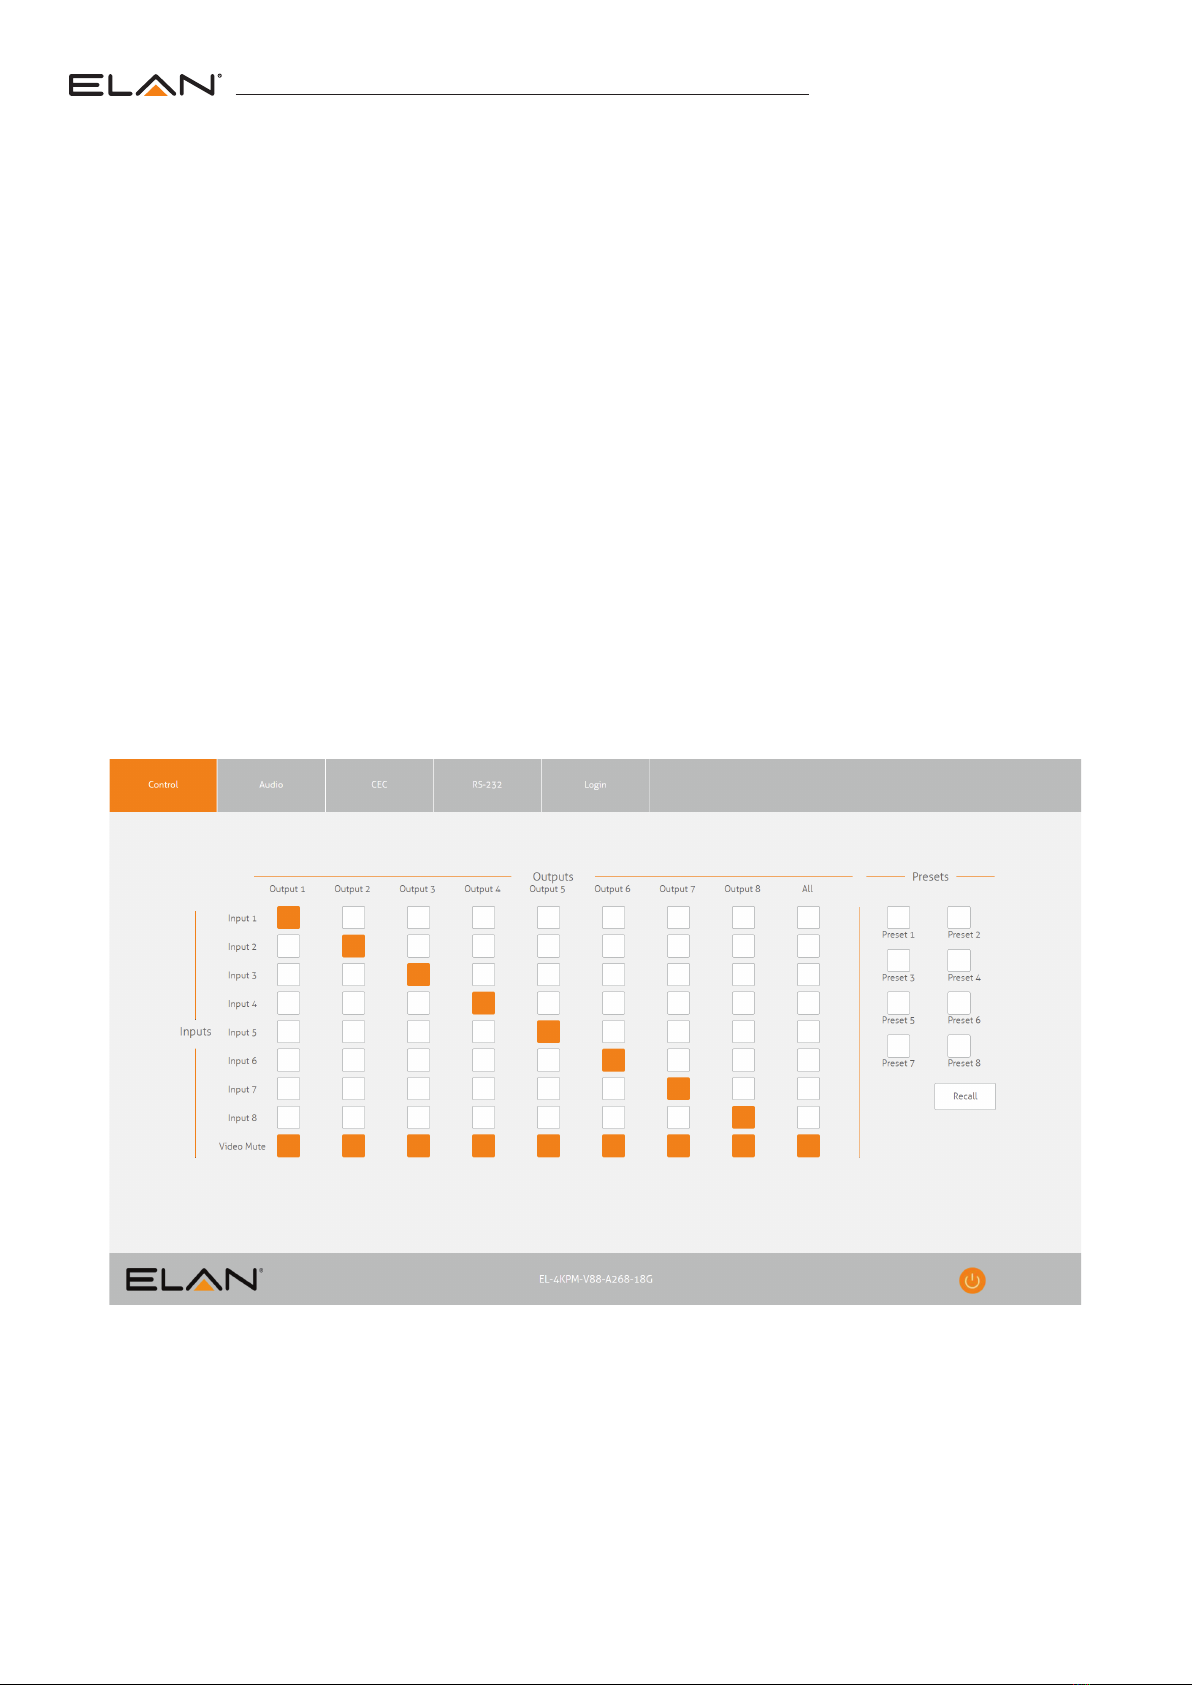
1Using Matrix web browser interface
2Using Matrix Front Panel (see below)
3Using Matrix EDID dipswitches (see product User Manual)
4Using Matrix EDID dipswitches (see below)
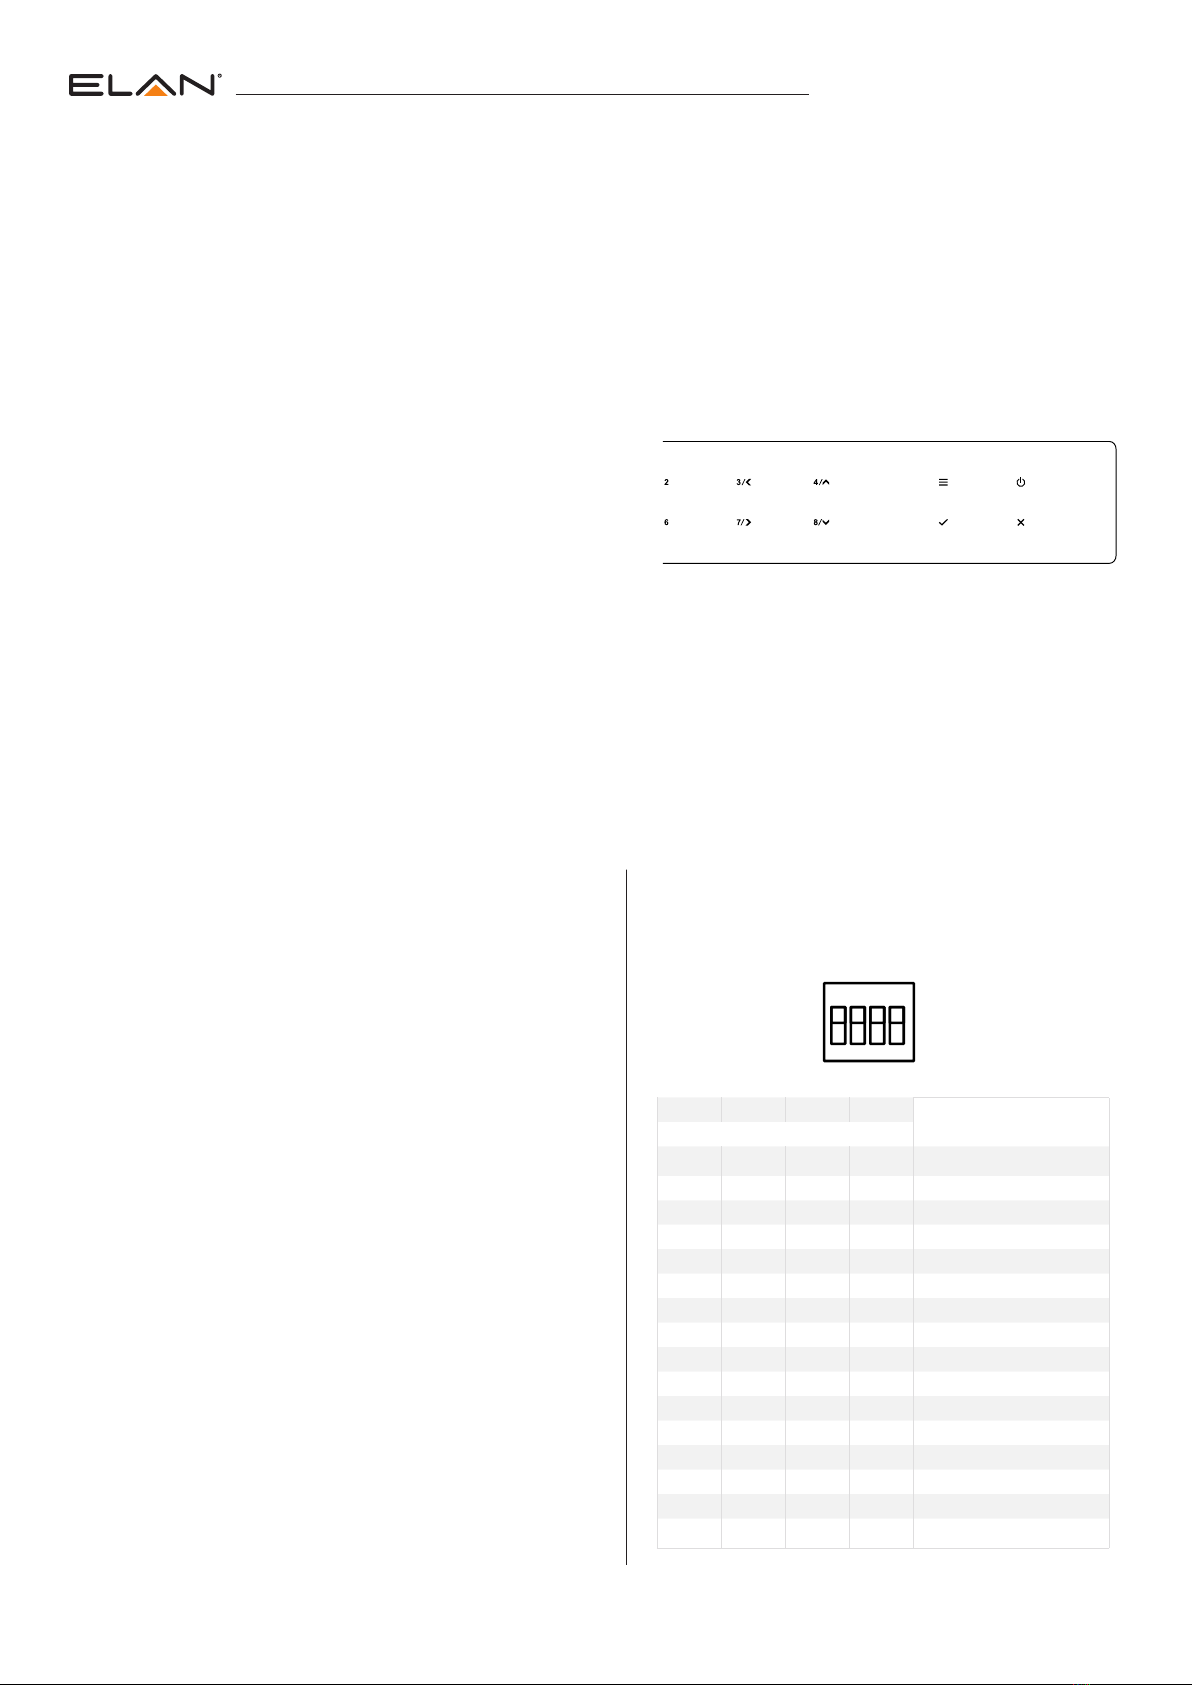
To configure the EDID via Matrix Front Panel:
a. Press the MENU button
b. Scroll down to ‘EDID Management’. Press the SELECT button to enter into EDID configuration mode
c. Scroll through EDID management options and select ‘Built-In EDID’ or ‘Copy Output xx’
Built-IN EDID Selection:
d. Select the input you wish to fix the EDID on (1-8) or select ‘All’. Use UP/DOWN buttons to toggle the selection and press
the SELECT button to move to EDID selection
e. Select video resolution + audio format required (4K, 1080p, 3D, 2ch, 5.1 etc). Use UP/DOWN buttons to toggle the selection and press
the SELECT button to apply. The SELECT button LED will flash orange when complete
Copy Output EDID:
f. Select the HDBaseT output you wish to copy the EDID from. Use UP/DOWN buttons to toggle the selection and press the SELECT button
to move to the input selection that you wish to copy the EDID to
g. Select the HDMI input (1-8) or select ‘All’ to copy to all HDMI inputs. Press the SELECT button to apply
To configure the EDID via RS-232/Telnet API:
Configuration of the EDID settings for each input can be achieved
using the following API commands to specify the required EDID.
Please see the section on RS-232 and Telnet API at the end of this
manual for connectivity information:
EDID xx DF zz Set Input xx EDID To Default EDID zz
xx = Input On Product (00 Refers To ALL Inputs, 02 = Input 2 Etc)
zz = 00 : HDMI 1080p@60Hz, Audio 2CH PCM (Default)
01 : HDMI 1080p@60Hz, Audio 5.1CH DTS/DOLBY
02 : HDMI 1080p@60Hz, Audio 7.1CH DTS/DOLBY/HD
03 : HDMI 1080i@60Hz, Audio 2CH PCM
04 : HDMI 1080i@60Hz, Audio 5.1CH DTS/DOLBY
05 : HDMI 1080i@60Hz, Audio 7.1CH DTS/DOLBY/HD
06 : HDMI 1080p@60Hz/3D, Audio 2CH PCM
07 : HDMI 1080p@60Hz/3D, Audio 5.1CH DTS/DOLBY
08 : HDMI 1080p@60Hz/3D, Audio 7.1CH DTS/DOLBY/HD
09 : HDMI 4K@30Hz 4:4:4, Audio 2CH PCM
10 : HDMI 4K@30Hz 4:4:4, Audio 5.1CH DTS/DOLBY
11 : HDMI 4K@30Hz 4:4:4, Audio 7.1CH DTS/DOLBY/HD
12 : HDMI 4K@60Hz 4:2:0/4K@30Hz 4:4:4, Audio 2CH PCM
13 : HDMI 4K@60Hz 4:2:0/4K@30Hz 4:4:4, Audio 5.1CH DTS/DOLBY
14 : HDMI 4K@60Hz 4:2:0/4K@30Hz 4:4:4, Audio 7.1CH DTS/DOLBY/HD
15 : HDMI 4K@60Hz 4:4:4, Audio 2CH PCM
16 : HDMI 4K@60Hz 4:4:4, Audio 5.1CH DTS/DOLBY
17 : HDMI 4K@60Hz 4:4:4, Audio 7.1CH DTS/DOLBY/HD
18 : DVI 1280x1024@60Hz, Audio None
19 : DVI 1920x1080@60Hz, Audio None
20 : DVI 1920x1200@60Hz, Audio None
21 : HDMI 1920x1200@60Hz, Audio 2CH PCM/6CH PCM
22 : User EDID 1
23 : User EDID 2
3210 EDID Type
Combination of DIP positions
0000 1080p 60Hz 2.0ch
0001 1080p 60Hz 5.1ch
0010 1080p 60Hz 7.1ch
0 0 1 1 1080i 60Hz 2.0ch
0 1 0 0 1080i 60Hz 5.1ch
0 1 0 1 1080i 60Hz 7.1ch
01104K 60Hz 4:2:0 2.0ch
0 1 1 1 4K 60Hz 4:2:0 5.1ch
1 0 0 0 4K 60Hz 4:2:0 7.1ch
1 0 0 1 4K 60Hz 4:4:4 2.0ch
1 0 1 0 4K 60Hz 4:4:4 5.1ch
1 0 1 1 4K 60Hz 4:4:4 7.1ch
1100DVI 1280x1024@60Hz
1101DVI 1920x1080@60Hz
1110DVI 1920x1200@60Hz
1111 Software EDID
To configure the EDID via DIP Switch:
To configure the global EDID for all inputs via the DIP switch, use
the settings below. Note this will override and disallow any EDID
settings configured via the web GUI.
IR OUTPUT
CONTROL
IR CTRL TCP / IP RS-232 EDID
1
0
3210
12345678GLOBAL
RS-232
12345678
AUDIO INPUT
OPTICAL L/R
IR INPUT
1234 5678GLOBAL
OPTICAL 1 OPTICAL 2 OPTICAL 3 OPTICAL 4 OPTICAL 5 OPTICAL 6 OPTICAL 7 OPTICAL 8L/R 1 L/R 2 L/R 3 L/R 4 L/R 5 L/R 6 L/R 7 L/R 8
AUDIO OUTPUT
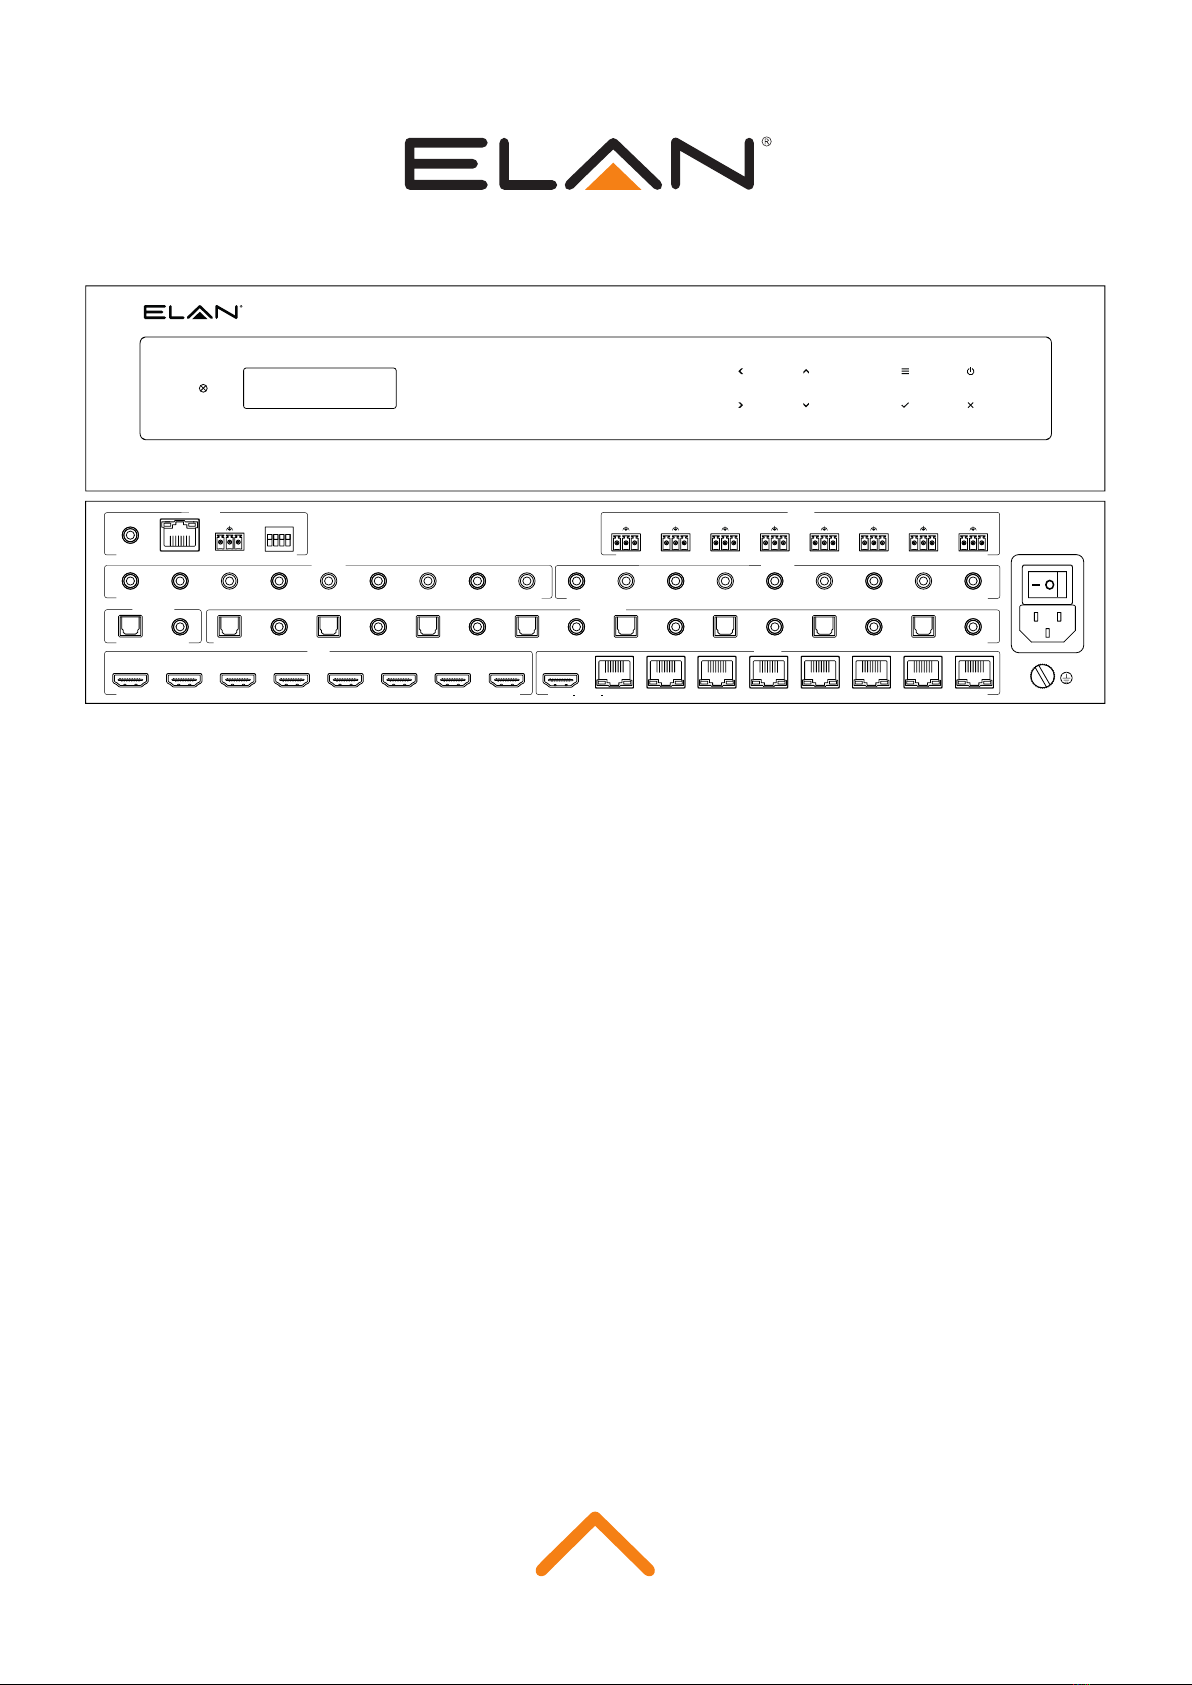
HDMI 1
INPUT
HDMI 2 HDMI 3 HDMI 4 HDMI 5 HDMI 6 HDMI 7 HDMI 8
OUTPUT
HDBT 2 HDBT 3 HDBT 4 HDBT 5 HDBT 6 HDBT 7 HDBT 8HDMI 1 HDBT 1
MIRRORED
TX RXTX RXTX RXTX RXTX RXTX RXTX RXTX RXTX RX
100-240V ~, 2.5A, 50/60Hz