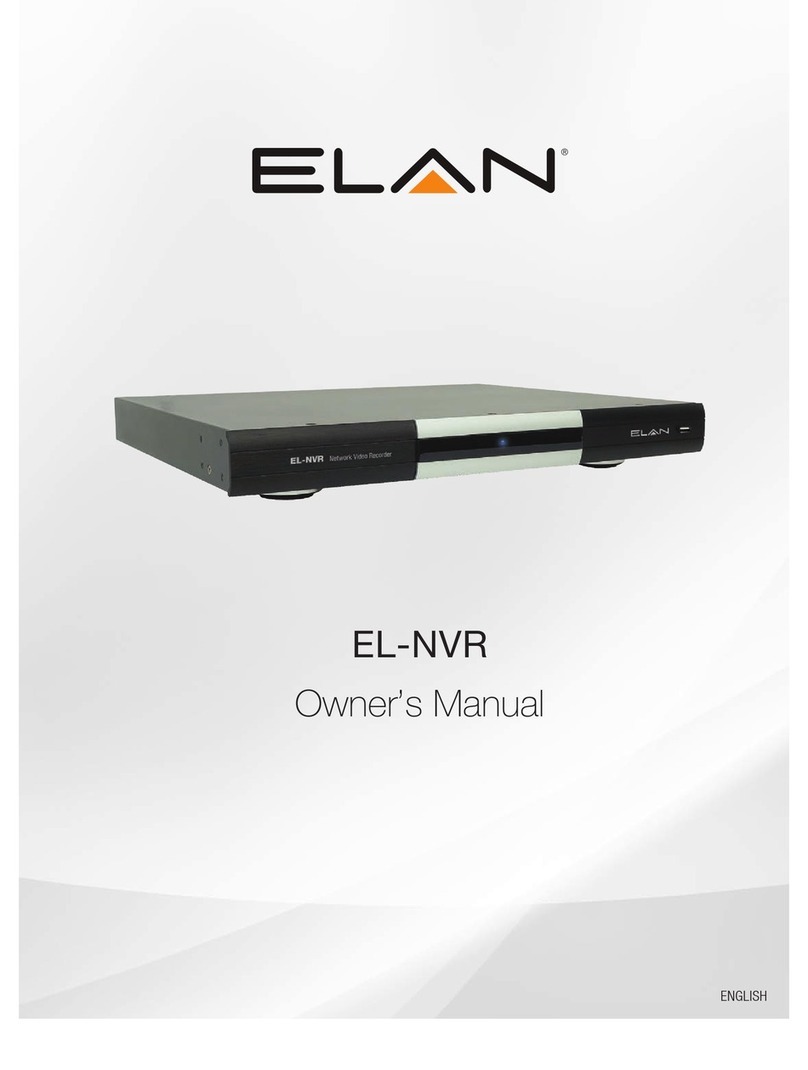
Elan EL-NVR User manual

EL-NVR
Quick Start Guide

ABOUT THIS DOCUMENT
This document includes instructions for basic operating the EL-NVR 5-Megapixel Series Network Video Recorder.
ELECTROMAGNETIC COMPATIBILITY (EMC)
This equipment generates, uses and can radiate radio frequency energy and, if not installed and used in accordance
with the instructions, may cause harmful interference to radio communications. However, there is no guarantee that
interference will not occur in a particular installation.
If this equipment does cause harmful interference to radio or television reception, which can be determined by turning
the equipment off and on, the user is encouraged to try to correct the interference by one or more of the following
measures: Re-orient or relocate the receiving antenna. Increase the separation between the equipment and receiver.
Connect the equipment to an outlet on a different circuit to the receiver. Consult your dealer or an experienced radio/
TV technician for assistance. Shielded (STP) network cables must be used with this unit to ensure compliance with
EMC standards.
NOTE:
This equipment has been tested and found to comply with the limits for a Class B digital device, pursuant to part
15 of the FCC Rules. These limits are designed to provide reasonable protection against harmful interference in a
residential installation. This equipment generates, uses and can radiate radio frequency energy and, if not installed
and used in accordance with the instructions, may cause harmful interference to radio communications. However,
there is no guarantee that interference will not occur in a particular installation. If this equipment does cause harmful
interference to radio or television reception, which can be determined by turning the equipment off and on, the user
is encouraged to try to correct the interference by one or more of the following measures:
• Reorient or relocate the receiving antenna.
• Increase the separation between the equipment and receiver.
• Connect the equipment into an outlet on a circuit different from that to which the receiver is connected.
• Consult the dealer or an experienced radio/TV technician for help.
Changes or modifications not expressly approved by the party responsible for compliance could void the user’s
authority to operate the equipment.
2www.elanhomesystems.com
QUICK START GUIDE EL-NVR

FEATURES
•Standalone NVR
•Supports 5-megapixel and 1080p 60 FPS H.264 IP cameras
•Up to 6 Mbps incoming network throughput
•Full HD 1080p HDMI and VGA output
•Compatible with iOS and Android devices via the ELAN mobile app
Caution
• Do not drop or strike the equipment
• Do not install the equipment near open flames or heat sources
• Do not expose this unit to rain, moisture, smoke or dusty environments
• Do not cover the opening of the unit with cloth or plastic or install this unit in a poorly ventilated place.
Allow 10 cm between this unit and its surroundings
• Do not continue to operate the unit under abnormal conditions such as detection of smoke,
strange smell, or malfunctioning screen while power is turned on
• Do not touch the power connection with wet hands
• Do not damage the power cord or leave it under pressure
• To avoid unnecessary magnetic interference, do not operate this unit near magnets,
speaker systems, etc.
• All connection cables must be grounded properly
CAUTION
RISK OF EXPLOSION IF BATTERY IS REPLACED WITH AN INCORRECT TYPE.
DISPOSE OF BATTERIES ACCORDING TO THE INSTRUCTIONS.
3
contact techsupport@elanhomesystems.com
QUICK START GUIDE EL-NVR

21
4www.elanhomesystems.com
PRODUCT OVERVIEW
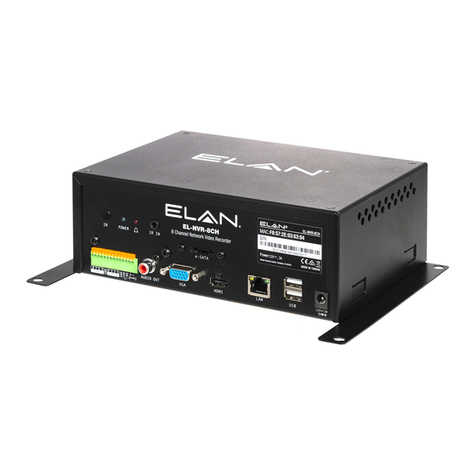
Professional 1U 19” 4Bay Non-RAID NVR
1. VGA output connector
2. HDMI output connector
3. USB port
4. Power switch
5. Power socket
6. RJ-45 Gigabit connector
7. AUDIO OUT
8. eSATA connector
9. RJ-45 Gigabit connector
10. Digital I/0
11. Keyboard-in connector
QUICK START GUIDE EL-NVR
1. POWER LED, blue, power on/off indicator
LAN LED, green, LAN activity indicator
HDD LED, green, blinking, HDD activity indicator
ALARM LED, red, blinking, indicator of triggered alarms
2. USB port
FRONT VIEW
REAR VIEW

5
contact techsupport@elanhomesystems.com
BEGINNING USING THE NVR
IMPORTANT!!
If you are installing an ELAN Cameras and/or ELAN NVR with an ELAN Controller, please refer to the
“ELAN Surveillance” Integration Note for setup and software configuration. ELAN Integration Notes
are served through the ELAN tools and on elanhomesystems.com/dealer-resources.
The software configuration information in this document can be used to extend device control
parameters for use within an ELAN controller environment, or be used to operate this hardware
independent of an ELAN controller.
The information shown on the top of the screen is described as follows:
0.00 /1000 (100) Mbps: The left side of the slash is the combined transmission rate of all channels,
and the right side your network speed.
HDD 1 (2): Shows the current number of the hard drive being used for recording, and the storage
capacity used.
QUICK START GUIDE EL-NVR
You will see the following screen through HDMI or VGA connection
once you power on the NVR:

BEGINNING USING THE NVR (CONTINUED)
Move your cursor slightly to display the NVR controls (as shown in the image below):
At the upper-left corner of the screen is the NVR controls, which are:
PLAYBACK/BACKUP
SCHEDULE
MANUAL RECORDING
NVR SETTINGS
FREEZE
ALARM EVENT
6www.elanhomesystems.com
QUICK START GUIDE EL-NVR

NVR SETTINGS
If you access the NVR SETTINGS for the first time, you will see Setup Wizard on the screen as
below, which provides you with quick configurations for the NVR, including language, password,
date, time, storage, network, P2P, and camera. Please follow the instructions to finish necessary
setup and start recording. To prevent the wizard from appearing again, be sure to check
No longer use Setup Wizard.
To run the Setup Wizard manually, go to NVR SETTINGS> SYSTEM > MAINTENANCE,
and click Run to start Setup Wizard.
FREEZE
Click to freeze the real-time video, and the icon will be highlighted in blue when the video is frozen.
ALARM EVENT
Click to enter the ALARM EVENT screen, where the options
include MOTION/SENSOR/MANUAL EVENT.
Then, click the drop-down menu at the top to sort the events by date or channel. Double-click an
event log of your choosing, or choose an event before clicking Playback at the upper-right corner
of the screen to view or back up the selected video clip. Click any event before choosing USB or
E-mail to export the video to a storage device or send notification email to a pre-determined
email address.
7
contact techsupport@elanhomesystems.com
QUICK START GUIDE EL-NVR

PLAYBACK/BACKUP
Click to enter the following screen for playback and backup. You can expand and collapse the upper
timeline by YEAR, MONTH, DAY, HOUR, and MINUTE. On the upper timeline, drag and select the
time you want to start playing recorded video; drag from the timeline at the bottom of the screen to
select the backup range.
For more details, please refer to the NVR User Manual on www.elanhomesystems.com/dealer-resources.
8www.elanhomesystems.com
QUICK START GUIDE EL-NVR

SCHEDULE/MANUAL RECORDING
Indicates whether the current recording setting is scheduled recording or manual recording. Click the
icon to switch.
Below shows the controls at the bottom of the screen:
Click to activate a specific DO output.
Note: This function is available depending on models.
Indicates whether the current split-screen controls are for HDMI or VGA.
Click to broadcast your message through a microphone.
Click to activate the sequential mode, which will show videos channels in the order you specify.
Controls for the number of split-screens.
9
contact techsupport@elanhomesystems.com
QUICK START GUIDE EL-NVR
BASIC NVR SETTINGS
If you skipped Setup Wizard, which is not required if integrating with an ELAN controller,
you may need to change some basic settings before starting to record.
Set up Display Language
In NVR SETTINGS, click the gear icon at the upper-right corner to switch system display language.
Format Hard Drives
In NVR SETTINGS > SYSTEM > STORAGE > HDD MGT.,
select the device to format and click Format.
Adjust Date and Time
In NVR SETTINGS > SYSTEM > TIME, make sure system time is correctly set.
Configure Network Environment
In NVR SETTINGS > NETWORK > GENERAL, enter the required information such as IP Mode,
IP Address, Subnet Mask, Default Gateway, Primary DDNS, etc. according to your network environment.
Connect to Cameras
In NVR SETTINGS > CAMERA > GENERAL, click WS-Discovery to start searching for cameras in the
local network. Select a camera from list, and click Select to show the camera feed on the corresponding
channel. Click Apply for the changes to take effect.
Start to Record
To activate continuous recording, make sure the desired channel’s Record Mode in NVR SETTINGS
> RECORD > GENERAL is set to Schedule; Schedule Table in NVR SETTINGS > RECORD >
SCHEDULE is set to Always; Overwritten in NVR SETTINGS > RECORD > ADVANCE is set to On.
Note: For more details, please refer to the NVR User Manual
on www.elanhomesystems.com/dealer-resources
10 www.elanhomesystems.com
QUICK START GUIDE EL-NVR
NOTES

10019494 Rev-A2, 03/2018
main:
1 (800) 472-5555 - US
1 (707) 283-5900 - International
1 (707) 283-5901 - Fax
tech support:
web:
elanhomesystems.com
ELAN 1800 S McDowell Blvd., Petaluma, CA 94954, USA
ELAN®is a registered trademark of Nortek Security & Control. All rights reserved.
©2018 Nortek Security & Control.
Table of contents
Other Elan Network Hardware manuals
Popular Network Hardware manuals by other brands

Cambium Networks
Cambium Networks cnWave user guide

Graperain
Graperain G4418 Hardware manual

Moxa Technologies
Moxa Technologies Airworks AWK-3131A-M12-RCC Quick installation guide

Cradlepoint
Cradlepoint ARC CBA850 product manual

NETGEAR
NETGEAR UTM5 - ProSecure Unified Threat Management... null

Huawei
Huawei OptiX RTN 950A Quick installation guide