Elari NanoPods User manual

USER MANUAL
EN
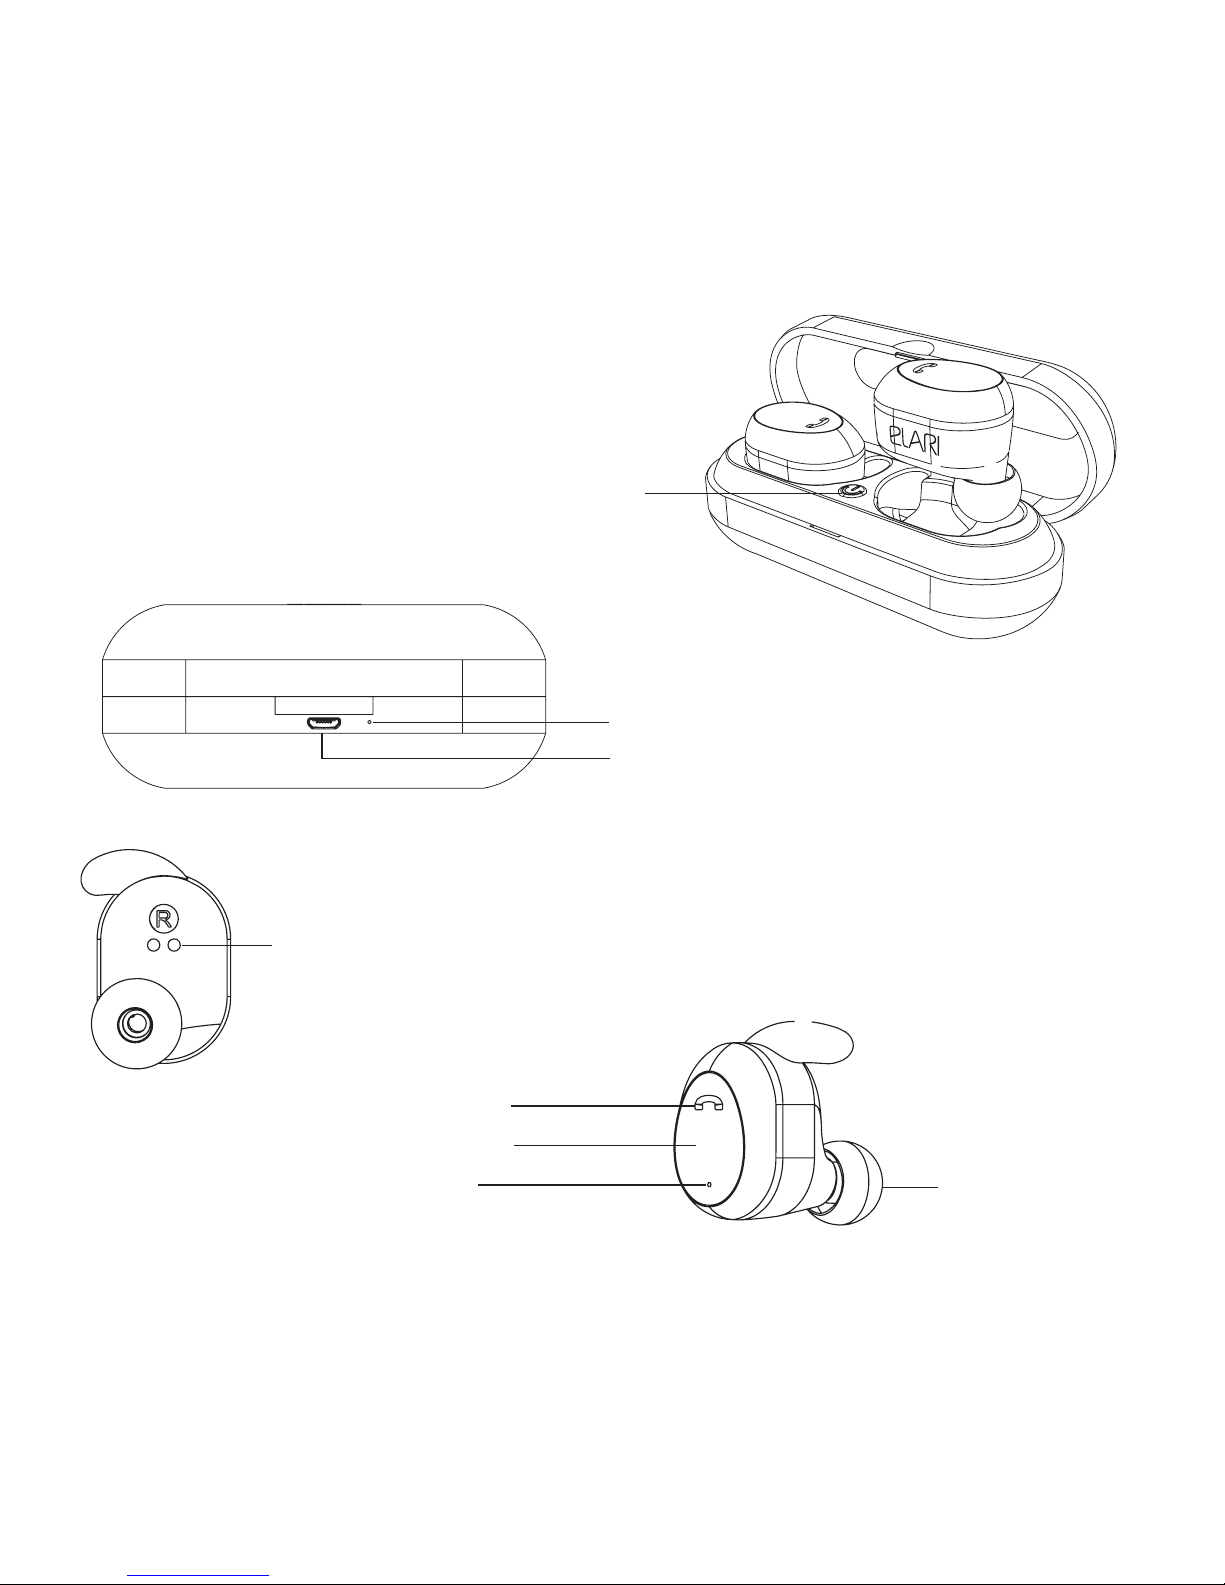
Charging case power On/O
Charging case indicator
MicroUSB charging port
Magnetic contact
with the charging case
Silicone tip
1. Description
Indicator
Power/Call button
Microphon
The earphones are two separate Bluetooth-devices which need
to be paired to each other before connecting them to your smart-
phone, tablet, laptop, etc. This needs to be done once, and after
the initial connection, they will pair to each other and connect
to the Bluetooth device automatically when you power them on.
To pair the earphones to each other please follow the instruction
below:
2.1. Take the left (L) and the right (R) earphones in the o
state (indicators not blinking).
2.2. Press and hold power keys of both earphones until you
hear rst“Power on”and then“NanoPods pairing”voice mes-
sages. The indicators of both earphones will start blinking
red and white.
To accelerate the pairing process, bring the headphones
closer to each other.
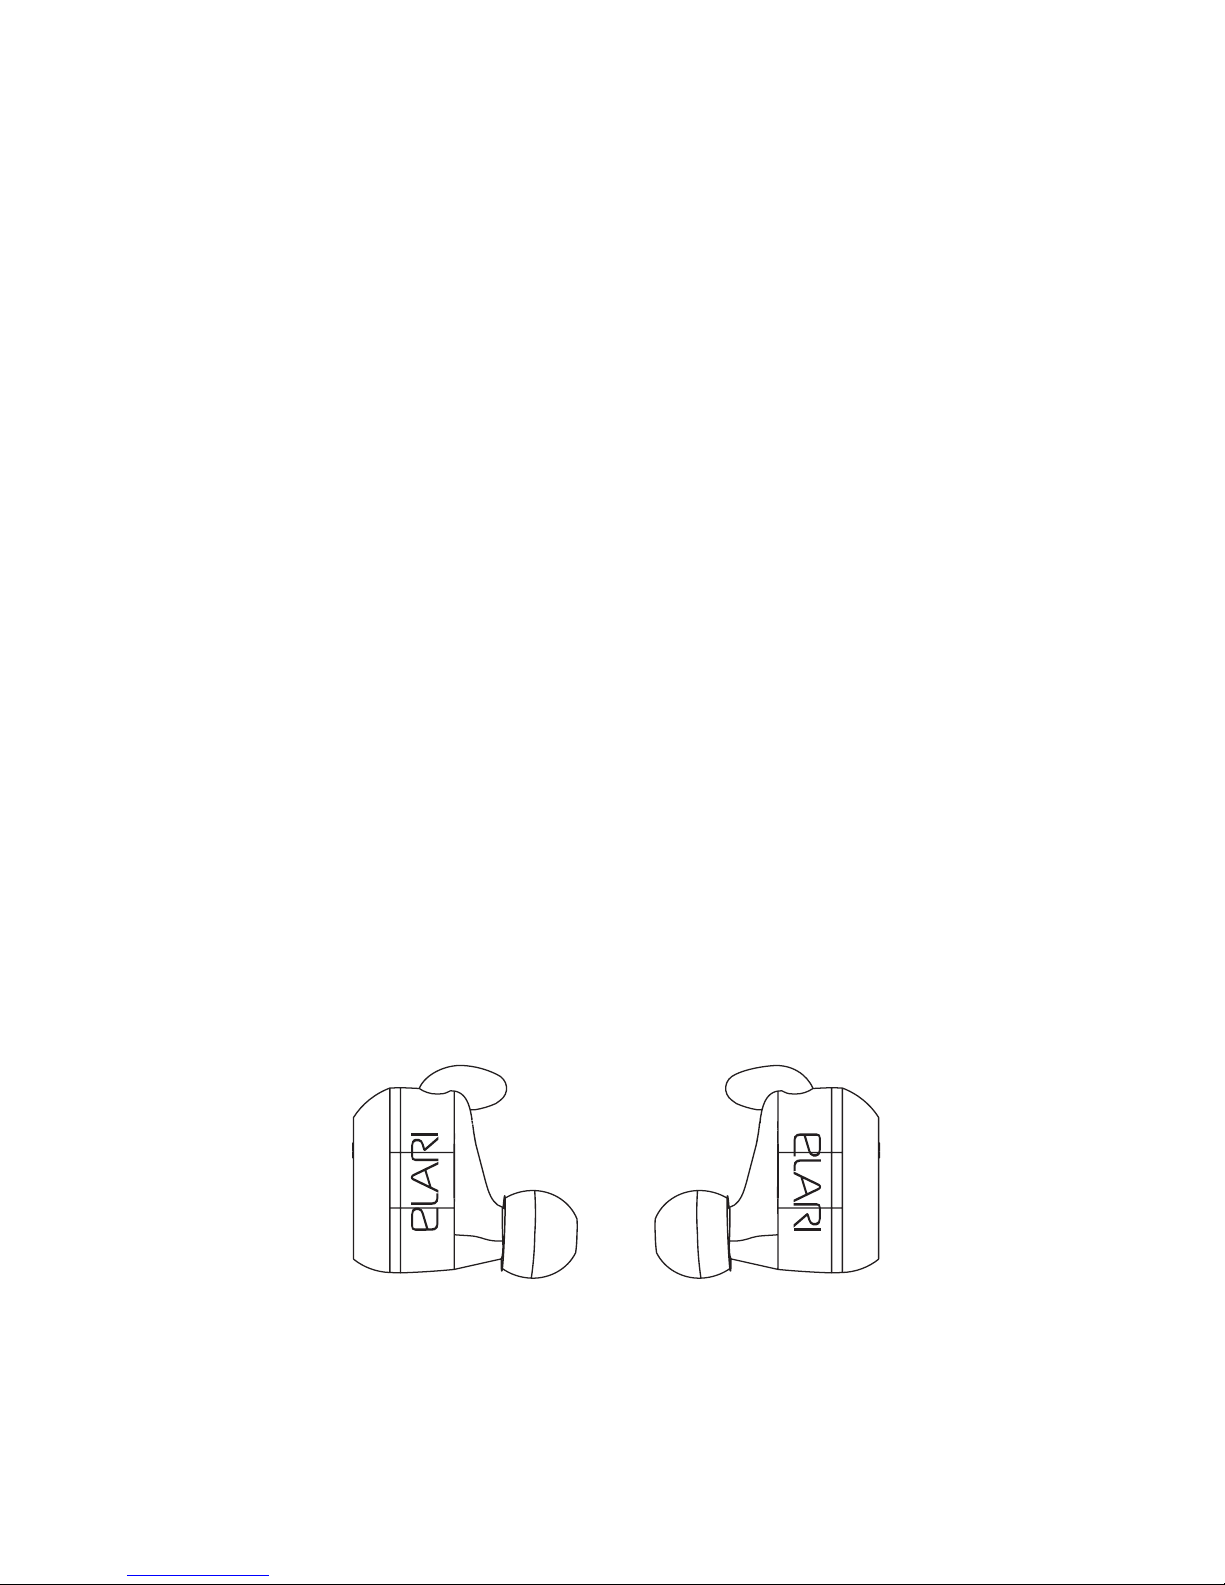
2. Getting started: pairing the earphones
with each other
Left (L) Right (R)

2.3. Now the earphones will connect to each other and indi-
cators will start blinking white only. In the earphones you will
hear“NanoPods connected”voice message.
2.4. Then you will hear the voice messages: “Right chan-
nel” and “Left channel”. Now the earphones are successfully
paired to each other and ready to be connected to your Blue-
tooth device, and the right earphone will start blinking red
and white.
Earphones support devices with Bluetooth versions
V2.1+EDR and above.
NOTE: DURING PHONE CALLS OR OTHER USE OF THE EAR-
PHONES AS HEADSET FOR VOICE CONVERSATION, THE
SOUND IS ONLY IN THE RIGHT EARPHONE, NOT BOTH (you
can also choose and connect the left earphone if you prefer
that by pairing it separately in mono mode).
3.1. Turn on Bluetooth on your device.
3.2. Open Bluetooth settings and search for new devices.
3.3. Choose “Elari NanoPods-R” from the list of Bluetooth
devices.
3.4. Complete the connection.
3.5. You will hear “Music source connected” voice message in
the earphones.
3. Connecting to a Bluetooth device

Choose the most
suitable silicone tips
Adjust a comfortable angle
4. How to wear
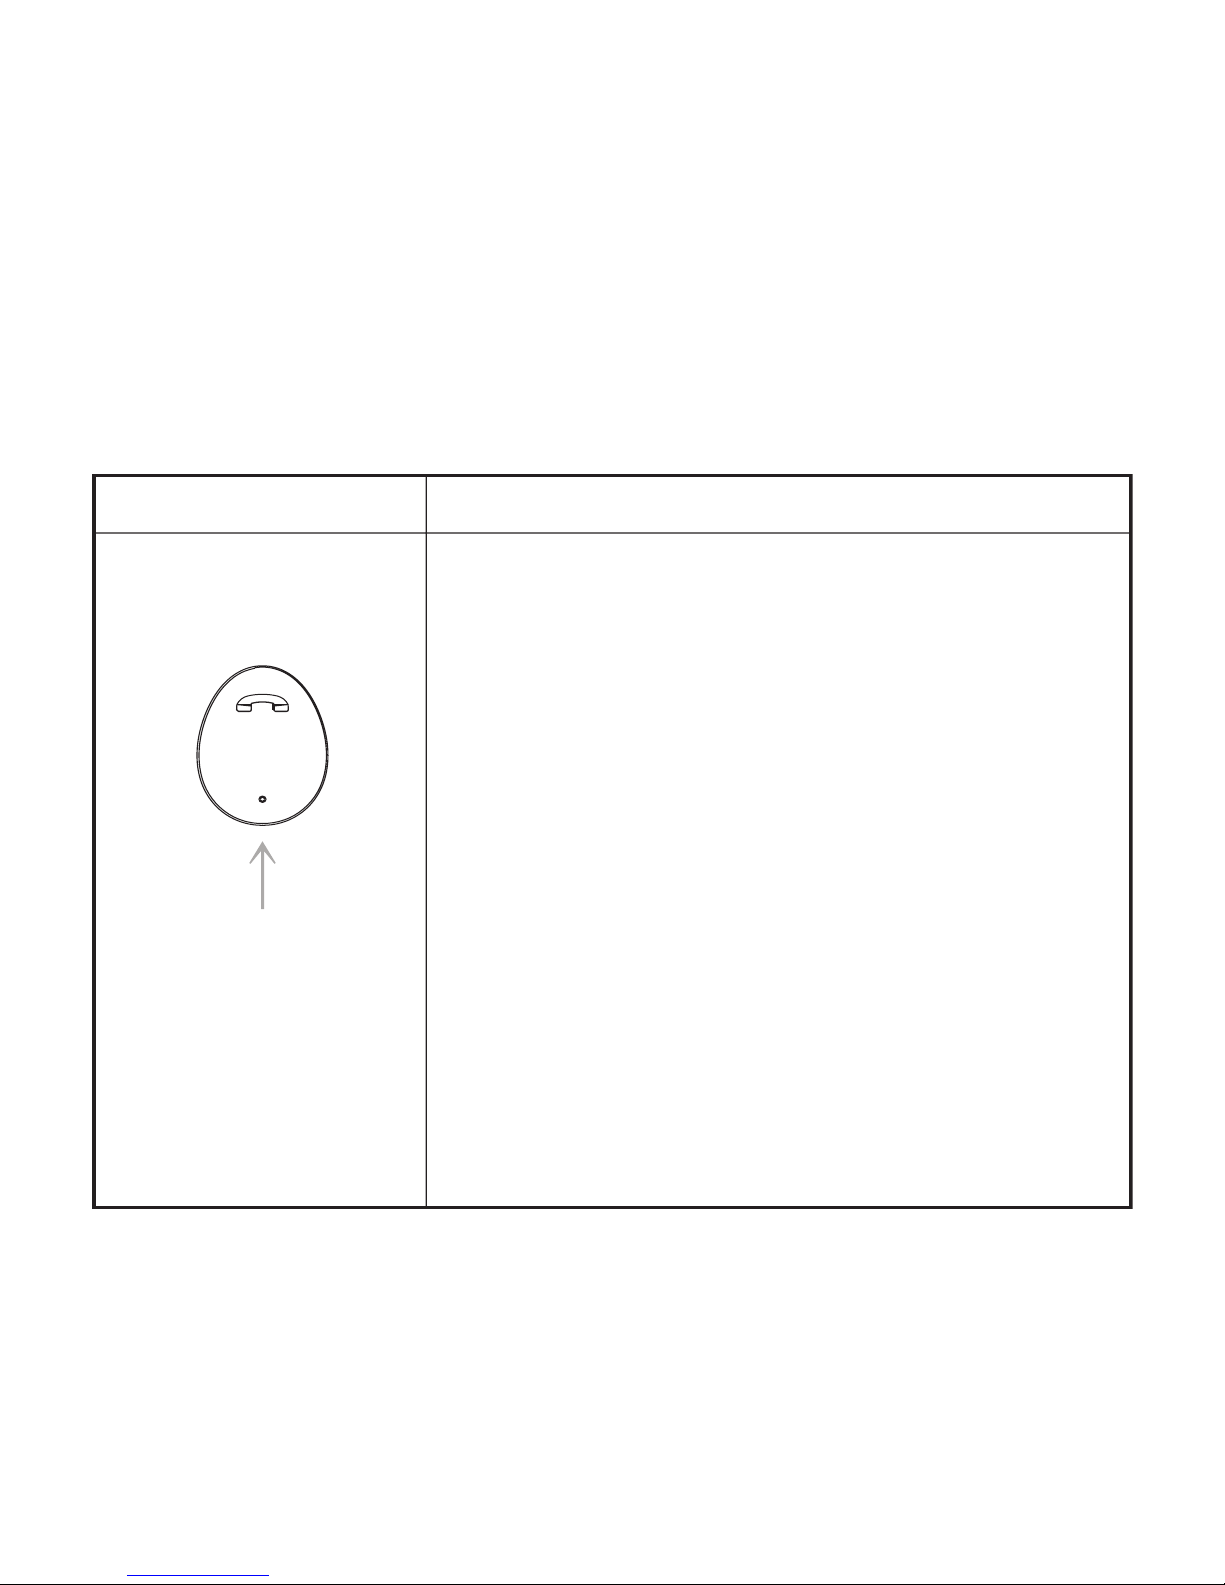
Button Function
When both earphones (R) and (L) are turned on, the main earphone is
considered to be the right earphone (R). The functions described below
relate mainly to the right earphone (R).
If only one of the earphones is turned on – all the functions of the Power/
Сall button described above are carried out directly on the earphone.
5. Buttons functions
• To turn the earphones on or o, press and
hold the button for a few seconds.
• To answer or end a call, short press the
button.
• To reject an incoming call, press and hold
the button until you hear a beep.
• Press twice the button to redial the last
call.
• Short press the button to pause or play
music.
• With the earphones not paired to each
other, and not connected to the phone,
and are in pairing mode, press the button
twice to switch between dierent lan-
guages of the voice prompt.
Power/Call button

6. Earphones and case charging
Both earphones and the charging case are equipped with
built-in batteries. Before the rst use, make sure that the
headset is charged.
Charging case: connect the charging cable to the case’s
microUSB port. Plug the cable into standard USB 5 V power
output. When charging, the indicator will be ashing red. If
the charging didn’t start, unplug the charging cable and then
plug it again. When the case is fully charged, the case’s indi-
cator will turn red without ashing. You can now unplug the
charging cable from the microUSB port.
Earphones: earphones charging doesn’t require a charging
cable. Just insert the earphones into the charging case and
press the in-case power button. When the earphone’s indi-
cator turns red, the charging case’s indicator will turn white,
and the earphones will start charging. If the charging didn’t
start, take the earphones out of the case, and then put them
back again. When the earphones are fully charged, the red
indicator will turn o. The charging case will turn the power
o automatically.
Make sure that the silicon tip is attached correctly and is not
preventing the earphone from charging inside the case, and
that the charging contacts on the earphone and/or the case
are not dirty.

Attention
• Use only original Elari cable included in the set. Using
non-original USB/microUSB 5 V charging cables may result
in damaging the earphones, or, under extreme conditions,
explosion, and will void the product warranty.
• Multiple repeated charging and discharging of the ear-
phones will decrease the battery performance over time.
This is normal for any rechargeable battery.
• Do not make or receive calls during charging.
• When the earphones battery level is low, the earphones
will repeat “Low battery” voice message, and the ear-
phone’s indicator will start blinking red. If the earphones
become discharged during a call, the call will be automati-
cally transferred back to the phone.

7. Power o
Press and hold the Power/Call button on the earphone to
turn the earphones o.
Other manuals for NanoPods
1
Table of contents
Other Elari Headphones manuals


