Electro Spray 3WBJ-8M11 User manual
Please read the instruction and warning labels carefully
3WBJ-8M11
Electrostatic Sprayer Backpack
Operating Instructions

Thank you for choosing our 3WBJ-8M11 Electrostatic Sprayer Backpack.
Please follow all instructions and warnings for the safe operation of this
sprayer. If you have any questions, please contact the supplier or
manufacturer. Using this electrostatic sprayer incorrectly may be
dangerous. You must read, understand and comply with the safety
precautions to ensure the safety of yourself and others. Do not use
cordless sprayer while tired or under the influence of drugs, alcohol, or
medication.
WARNING: This sprayer contains an electrostatic device that ma
y
interfere with sensitive medical devices such as pacemakers,
defibrillators or similar devices. DO NOT operate this unit or stand
within 10 feet if you use such medical devices. Contact your physician
prior to operation if you are unsure if this unit will interfere with your
medical device
WARNING: This product contains chemicals knowns to the State of
California to cause cancer and birth defects or other reproductive harm.
WARNINGS
Operator must follow the instructions of the chemical provider
of the liquids used in the sprayer and take the required
precautions as instructed.
Operator should wash face and hands after using the sprayer.
Operator must stop spraying immediately if dangerous liquids
are inhaled or contact the skin. Seek medical treatment
immediately.
Operator must comply with the safety instructions provided by
liquid manufacturer when filling, spraying and emptying the
sprayer.

DO NOT USE THIS CORDLESS SPRAYER TO APPLY
FLAMMABLE LIQUIDS. • Do not use oil base liquids or liquids
containing metals• Only use water based formulations with this
sprayer. • Store formulation in its original labeled container. •
Ensure that formulation is applied only in strict compliance with
the formulation label as well as local, state, and federal
regulations.
ELECTRICAL SAFETY CAUTION: The battery pack must be
recharged only with the charger provided. A charger that may be
suitable for one type of battery may create a risk of fire when
used with another battery. Use the sprayer only with the
specifically designated battery pack. Use of any other batteries
may create a risk of fire.
Store idle sprayer out of reach of children. Electrostatic
sprayers are dangerous in the hands of untrained users.
Do not use a sprayer that is broken or damaged in any way.
Do not alter the sprayer by adding or removing parts.
Do not allow the sprayer to be operated unattended.
Do not stand in water while operating the sprayer.
The US Department of Transportation Hazardous Material
Regulations (HMR) restricts transporting batteries in commerce
or on airplanes. When transporting the sprayer or individual
batteries, make sure to follow all applicable regulations.
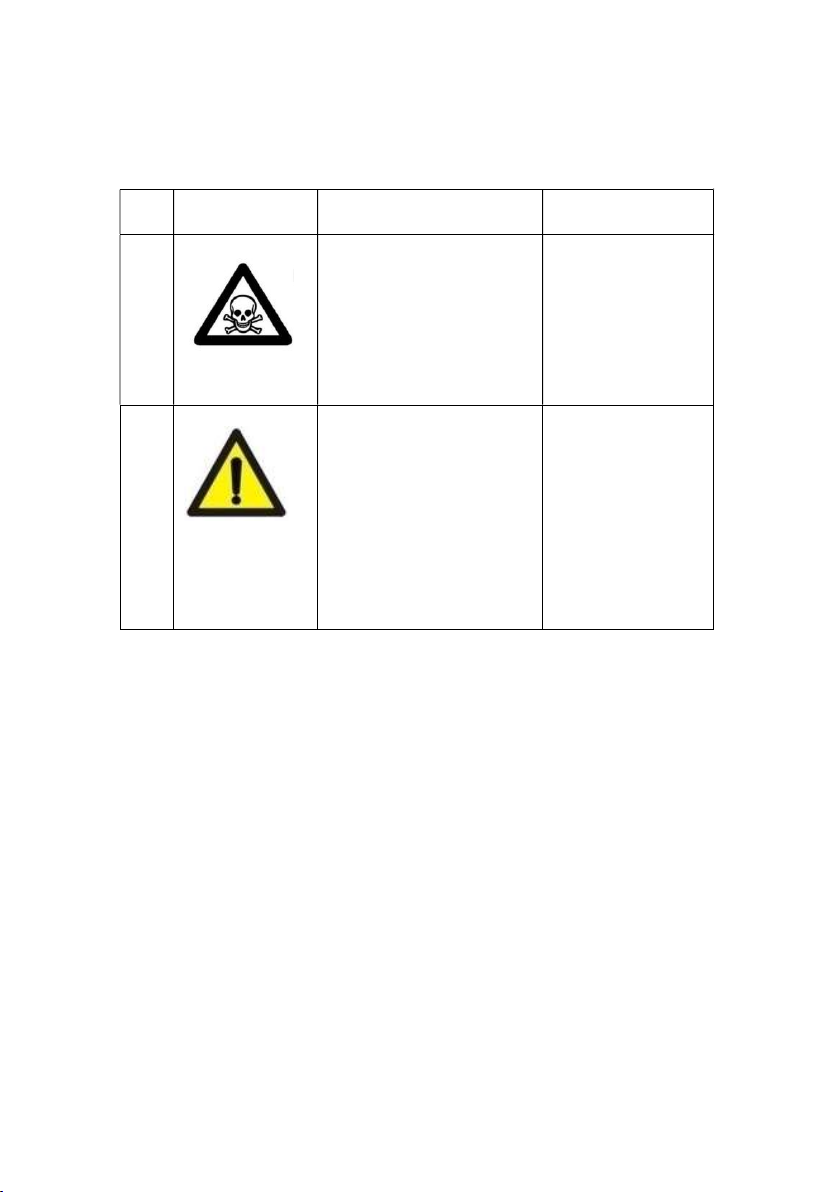
Safety label image, meaning and location
Warning
The operator must wear safety personal protective equipment
including goggles, gloves, face masks as required by the
formulation label of the product being applied. Operate according
to the operation steps of this instruction manual to avoid exposure
of personnel to dangerous liquids and damage of sprayer
When starting, keep the nozzle away from your face, hands or
body and other objects. Do not touch the components of the
sprinkler head after the static electricity is on.
After each shutdown, the nozzle should be in touched to the
ground to eliminate the remaining static electricity.
No. Image Meaning Label position
1
Toxic liquid, be cautious Tank cap
2
Notice: Please wear
safety device and
carefully read the
instruction before
using
Tank

Turn off the handle control switch, on-off power button and
electrostatic switch immediately if the sprayer is leaking.
Professional maintenance is required when necessary.
Parts of this electrostatic sprayer such as spray wand and barrel
are made of ABS and plastic. Corrosive liquid should not be used.
This electrostatic sprayer should not be exposed to the
environment where the gas, liquid or solid corrodes the plastic and
metal parts. It should be stored in a dry location not in direct
sunlight.
Do not use or place in a flammable or explosive environment.
Do not use strong or caustic acid, alkali and oxidizing liquids in the
sprayer.
After operation, please turn off the handle control switch and both
the on-off button and electrostatic switch on the sprayer body.
When using the electrostatic feature, before turning on the handle
control switch, please ensure that your hand has touched the
grounding electrode on the handle to avoid the possibility of static
shock.
Disconnect battery pack from cordless sprayer before making any
adjustments, refilling the tank or storing the cordless sprayer.
The battery used in this device may present a risk of fire or
chemical burn if mistreated. Do not disassemble, store in extreme
heat or cold. Keep battery away from children.

1. Technical Parameters
Product application
This product is widely used for:
Anti-epidemic disinfection in public places such as hospitals,
hotels, restaurants, schools, gyms and other public areas.
Prevention and control of crop diseases and insect pests of
vegetables, crops, seedlings, fruit trees and other plants;
Spraying of liquid fertilizer;
Epidemic disinfection of poultry, livestock and other farms
animals;
The product uses a cone atomizing nozzle, which has small particles
and good atomization effect.
The sprayed liquid droplets have a “wrapping” effect when sprayed
with the electrostatic feature turned on.
NO
Name Unit Number of Description Remarks
1 Nozzle type
Cone atomization
2 Structure type
Backpack
3 Rated capacity Liter 8
2.2 Gallons
4 Pressure MPa 0.15-0.4
5 Applicable air
volume m/s 0-5
6 Applicable
temperature °c 0-40
32-104 F
7 Electrostatic
voltage KV 15-30
8 Power VDA Lithium
12V4Ah
9 Net weight KG 3.4kg
7.5 lb
10 Dimensions Inch 14.3 x 7.5 x 17.9

2. Components

------39
No. Name NO. Name
1 2 Head Nozzle 20 Strap hook
2 22-40” Wand 21 Dual-control power button
3 Handle control
switch
22 Charger socket
4 Handle 23 Back of tank bottom(Side B)
5 Grounding
electrode
24 Lithium battery
6 Corrugated pipe
fixation cap
25 Battery cover
7 Corrugated pipe 26 M4*14 big flat head tapping
screws
8 Tank cap 27 Suction filter
9 Inlet valve 28 M14*1.5mm hexagon nut
10 Tank cap seal
gasket
29 Big seal gasket
11 Filter 30 M8mm flange nut
12 Tank 31 Small seal gasket
13 Holster Assembly 32 Pump
14 Handle Holster 33 Electrostatic generator
15 Front of tank
bottom(side A)
34 Relay
16 Belt lock 35 Charger
17 Shoulder pad 36 3 Head brass nozzle (not Shown)
18 Strap 37 8-13” Wand (not shown)
19 Strap insert 38 Drip guard (See Section 5)
39 Battery Adapter (shown below)

3. Operating Steps:
Charge the battery before first use. The battery charger plugs
into the side of the sprayer.
Connect the spray rod to the handle, and put in an O-ring to
assure a tight seal. The wand length can be adjusted
according to the actual need. Connect the nozzle to the nozzle
rod joint and tighten it to prevent leakage.
Open the tank cap, slowly pour the liquid into the tank through
the filter. Do not take the filter out when pouring. This
electrostatic sprayer can contain 8 liters (2.2 gallons) of liquid.
Do not overfill. Put the cap on to the tank and tighten it, tilt
slightly, there should be no leakage outside the tank cap.
Check sprayer for leaks. If leaks are detected, check and
tighten connections.
There are two switches on the main unit. The red switch turns
on the main power to the pump. The green switch turns on the
electrostatic feature. The green light will not illuminate until the
power switch on the handle is also turned on.
Avoid accidental starting. Be sure power is in the OFF
position before inserting battery pack.
BE SURE THE POWER SWITCH ON THE HANDLE IS OFF
BEFORE TURNING ON THE POWER (RED SWITCH) AT
THE TANK.
HOLD THE HANDLE WITH YOUR RIGHT HAND WITH
GOOD CONTACT WITH THE GROUNDING ELECTRODE
ON THE HANDLE
DO NOT TOUCH THE NOZZLE OR WAND WITH YOUR
LEFT HAND OR BODY WHILE THE ELECTROSTATIC
FEATURE IS BEING USED

After turning on the main power switch, turn on the handle
control switch to start normal operation. If you want to pause
the spray while using, just turn off the handle control switch
and then spray again just by turning on the handle control
switch.
When shutting down, turn off the handle control switch, the
main power switch and the electrostatic switch on the tank..
4. Spray Method:
The unit comes with two nozzles to provide different spray
volume and size particles.
When spraying, place the spray head at a height of 30-50 cm
above the objects, Move the wand horizontally back and forth
and walk at a pace to achieve the desired coverage. Adjust the
pace according to the objects and spray effect desired.
The selection of operating parameters is related to the liquid
type, concentration of liquid solution and working environment
of different objects being sprayed. It should be determined by
knowledgeable personnel and tested if necessary.
Use this machine as a mist-type electrostatic spray. When the
atomization effect is good, just spray it on the top of the object.
Do not spray the liquid to the level of forming large droplets or
dripping. The diameter of the droplet is about 30 to 80um
depending on the nozzle selected.
High humidity may affect the electrostatic adsorption effect.

5. Drip Guard
After turning off the power, a small amount of liquid that was
under pressure in the wand may drip from the nozzle. For
certain applications with frequent on/off use a drip guard is
provided.
Install and use the provided drip guard to collect drips.
Loosen the connection at the end of either wand and pull the
wand extension completely out of the wand body.
Slide the drip guard over the wand extension until it is flush
against the nozzle. See below
Tighten the connection and use normally.
Empty as needed while spraying

6. Maintenance and Cleaning:
After each operation, the remaining liquid should be drained.
Do not use cleaning liquid which can corrode plastic and metal.
To clean the sprayer use soap, water and a damp cloth to wipe
clean. To clean internal components run water through the
sprayer for 3 minutes.
If the sprayer will not be used for an extended period wash it
with a cleaning solution and store it after drying.
Do not immerse parts such as the tank base and handle in
water and also prevent water from immersing these parts as
the sprayer may be damaged or the effect will be impacted.
When the spray operation is not used, the spray wand and
nozzle should be hung on the tank hook to prevent leaking and
to ensure the safety of the person and equipment.
When handling liquids, the safety instructions provided by the
liquid manufacturer should be observed to ensure safe use.
It is not advisable to use powder based solutions and other
special working fluids to avoid clogging the filter screen,
nozzle, damage to the sprayer and personal injury.
The charger plug should be removed after charging and not be
connected while spraying.
The sprayer should not be used for long-term storage and
should be charged once a month.

7. Trouble Shooting:
No
Common
faults
Causes
Suggested Respnse
1
The nozzle is not
spraying liquid, or
the flow rate of
the liquid is small,
abnormal.
1. The small filter at the
bottom of the barrel is
blocked;
2. The inlet valve is
blocked;
3. The nozzle is blocked;
4. The wand is blocked;
5. Tank is empty
5. The battery has no
1. Clean the small filter;
2. Pass the inlet valve with a
thin steel wire;
3. Remove the nozzle to
clean the internal parts;
4. Charge or replace the
battery.
5. Fill tank
2
Jet or mist is not
normal
1. The nozzle is damaged;
2. The
nozzle is not
adjusted well;
3. The pump
is not working
properly.
1. Replace the nozzle;
2. Clean and readjust nozzle
3. Repair the pump by a
professional.
3 Poor electrostatic
effect
1.
The electrostatic
generator is not working
properly;
2. Mist spray
atomization
effect is not good;
3. There is leakage.
1. Replace the electrostatic
generator;
2. Adjust the nozzle to
enhance the atomization
effect;
3. Check the electric to
remove the leak
4
Liquid droplet
leakage
(determine the
cause according
to the
corresponding
drip position)
1. The liquid tank cover is
not tightened;
2. The liquid hose
connection is leaking
1. Check the barrel seal and
tighten the lid;
2. Check the leak and
replace the parts.
5 Spraying liquid is
not working
1, The battery has no
charge
2, The switch is causing
contact failure
1. Charge or replace the
battery
2. Repair or replace the
switch

Six Month Limited Warranty
WH Distribution Ltd will, with proof of purchase, repair or replace,
without charge, any defects due to faulty materials or workmanship
for six months from the date of purchase for the original owner.
This warranty does not cover part failure due to normal wear or
tool abuse. For further detail of warranty coverage and warranty
repair information, email us at: info@whdistribution.com.
This warranty does not apply to:
Damage caused where repairs have been made or
attempted by others.
Improper use, maintenance and safekeeping of the product;
Failure caused by self-modification, adjustment and
disassembly of parts not allowed in the product specification;

PACKING LIST
No.
Name
Unit
Qty
1
Electrostatic Sprayer
Set 1
2
Charger
Pcs 1
3
Operating
Instruction
Pcs 1
4
3 head Brass
Nozzle
Pcs 1
5
Double Nozzle
Pcs 1
6
Wand 22 inch
Pcs 1
7
Wand 8 inch
Pcs 1
8
S
eal gasket
Pcs 2
9
Drip Guard Pcs 1
10
Battery Pcs 1
11
Battery Adapter Pcs 1
12
Wand Holster Pcs 1
Distributor
WH Distribution Ltd
7655 W. 108th Ave., Unit 400
Westminster, CO 80021

QUICK START GUIDE
1. Remove battery cover on back of unit and plug in battery
2. Fully charge battery by plugging in charger to side of
backpack. You can charge the battery outside the unit with
the included battery adapter.
3. Remove blue tank cap, nozzles and parts are inside
4. Assemble wand handle holster, slide on side of unit
5. Attach desired wand to handle and nozzle to end of the
wand. Use provided “O” rings at each connection.
6. When the battery is full charged, disconnect charger.
7. Turn switch on the handle to the OFF position
8. Fill backpack with desired liquid
9. There are two switches on the main unit. The red switch
turns on the main power to the pump. The green switch
turns on the electrostatic feature. The green light will not
illuminate until the power switch on the handle is also
turned on.
10. When ready to spray, turn the handle switch to the ON
position.
11. When not in use, return handle to holster on side of sprayer
with the nozzle pointed up.
SAVE THESE INSTRUCTIONS: This manual contains important
safety and operating instructions.
Table of contents


 Owner's/operator's manual")


