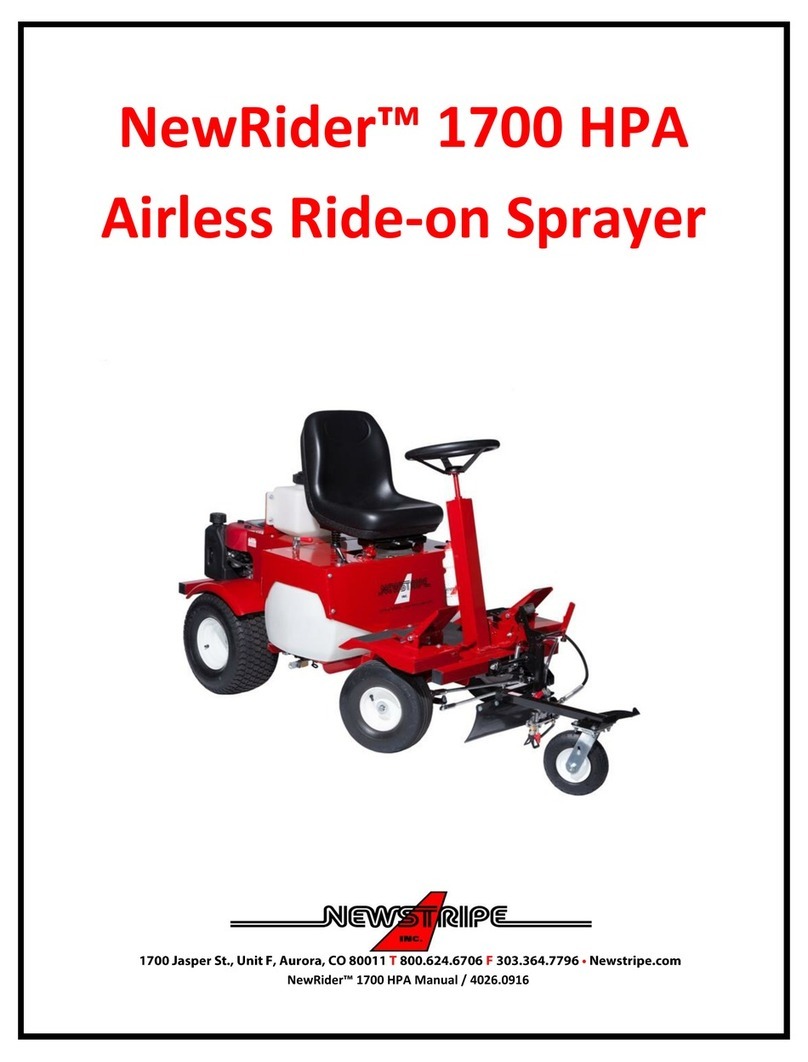
NewRider™ 1700 HPA Airless Ride-on Sprayer
ALWAYS wear safety goggles or protective eye-wear when operating the unit!
NewRider™ 1700 HPA Manual / 4026.0123
Page 5 of 23
DRIVING OPERATIONS
1. Before starting, set the brake with the hand lever
nearest the seat.
2. Place throttle lever in FULL FORWARD position. This
will set the choke.
3. Start the engine, when warmed up, move the
throttle to ¾ open. (where engine runs smoothly)
Engine does not need to run at full speed to run the
spray pump.
4. To move forward, release the parking brake and
press on the top of the right hand foot pedal.
5. Pushing the base of the pedal will move the machine
in reverse.
6. To stop, release foot pedal.
NOTE: If machine does not move set parking brake
and move to the rear of the machine. Pull the
Transaxle release lever up and back to lock into slot.
Enter the machine and release the parking brake. It
should now move.
7. To travel long distances when not spraying, or to
load the machine onto a trailer, lift the spray head
using the lift lever on the left hand side of the
steering column. The spray head will lock in position
when fully lifted. This also locks the spray gun so
that it may not be activated when the spray head is
lifted.
8. When loading on a trailer approach the ramp slowly
to assure the gun will clear the ramp. You may have
to raise the gun or possibly remove it if the ramp is
too steep.
SPRAY OPERATIONS
First time use or after extended periods of not using the machine use water to test operations and
settings. The NewRider 1700 is designed to be used with water based athletic field marking paints.
ALWAYS STRAIN THE PAINT BEFORE USE!
1. Add 5-25 gallons of water or paint to the spray tank
and 1-2 gallons of water to the purge tank
2. Push outlet button 3 times to ensure the outlet
valve is moving. The push button is located on the
left back side of the pump opposite the spray hose.
3. Turn pressure control valve to high pressure (fully
clockwise). DO NOT OVER TIGHTEN.
4. Turn prime/spray valve to prime position. (Circular
arrow symbol in-line with arrow on the side of the
pump.)
5. Ensure the spray gun trigger lock is disengaged.
6. Ensure the spray gun tip is in the spray position.
(The arrow on the spray tip points toward the
ground.)
7. Check that the tank feed valve (located under the
left side of the tank by the white filter housing) is in
the open position (handle in-line with hoses) and
the purge feed valve is in the closed position
(handle crosswise to hose).
8. Start engine as indicated in steps 1-3 in Driving
Operations.
9. Engage the pump by moving the engaging lever to
the “On” position. Lift and place in upper notch.
10. With the prime/spray valve in the prime position,
fluid should flow through the bypass hose into the
paint tank.
11. Let the pump run in the prime position for one
minute or until air bubbles are not seen from the
bypass hose.
12. Turn prime/spray valve to the spray position.
(Spray gun symbol in line with the arrow on the
side of the pump housing.) NOTE: A knocking
sound should be present at the pump, indicating
the pump is reaching its hydraulic relief pressure.
13. Activate foot pedal trigger and paint will spray
from the gun. Releasing pedal will stop spray.
14. Adjust the pressure by turning the pressure valve
counter clockwise until spray pattern deceases,
then increase pressure by turning clockwise just to
where you get a good even spray pattern.
Operating the pump at the lowest pressure while
still producing a quality line can increase the life of
the pump.
15. Adjust spray gun height for the proper line width.
16. When finished spraying or if machine will be left
unattended for any amount of time, turn the
prime/spray valve to prime position, and pull
spray trigger to release pressure from the
system.
