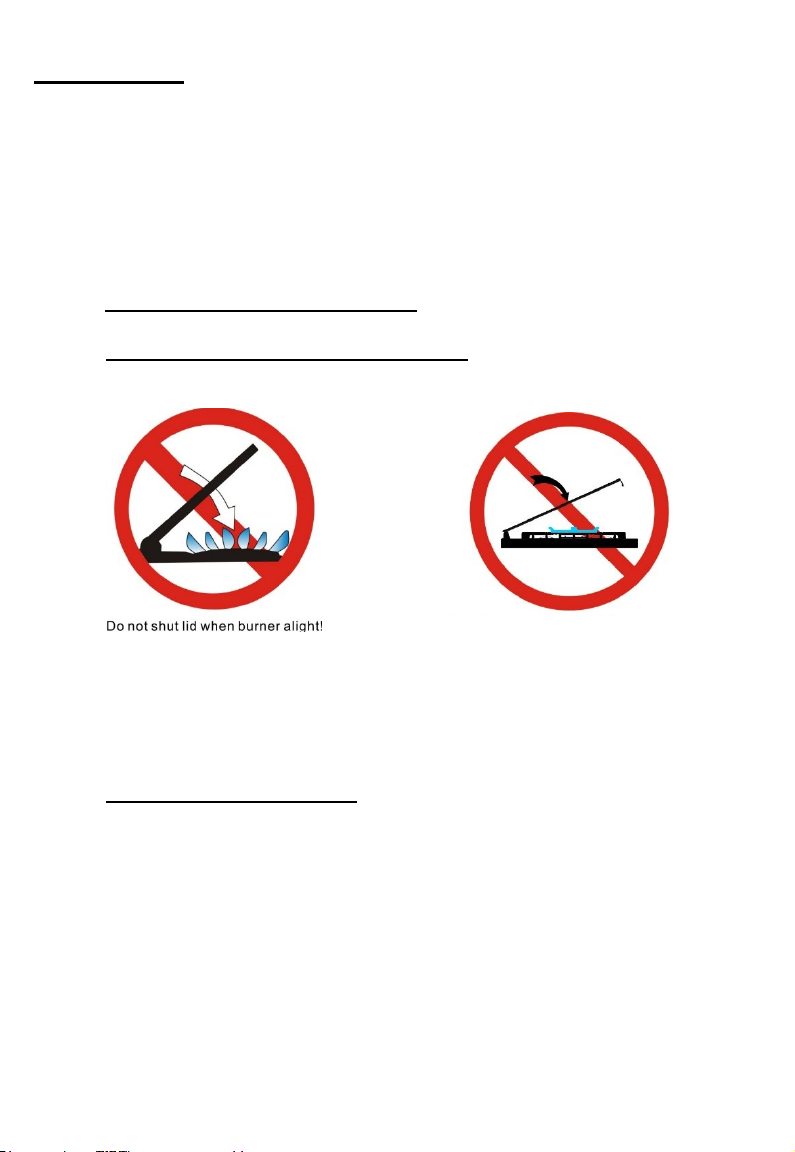
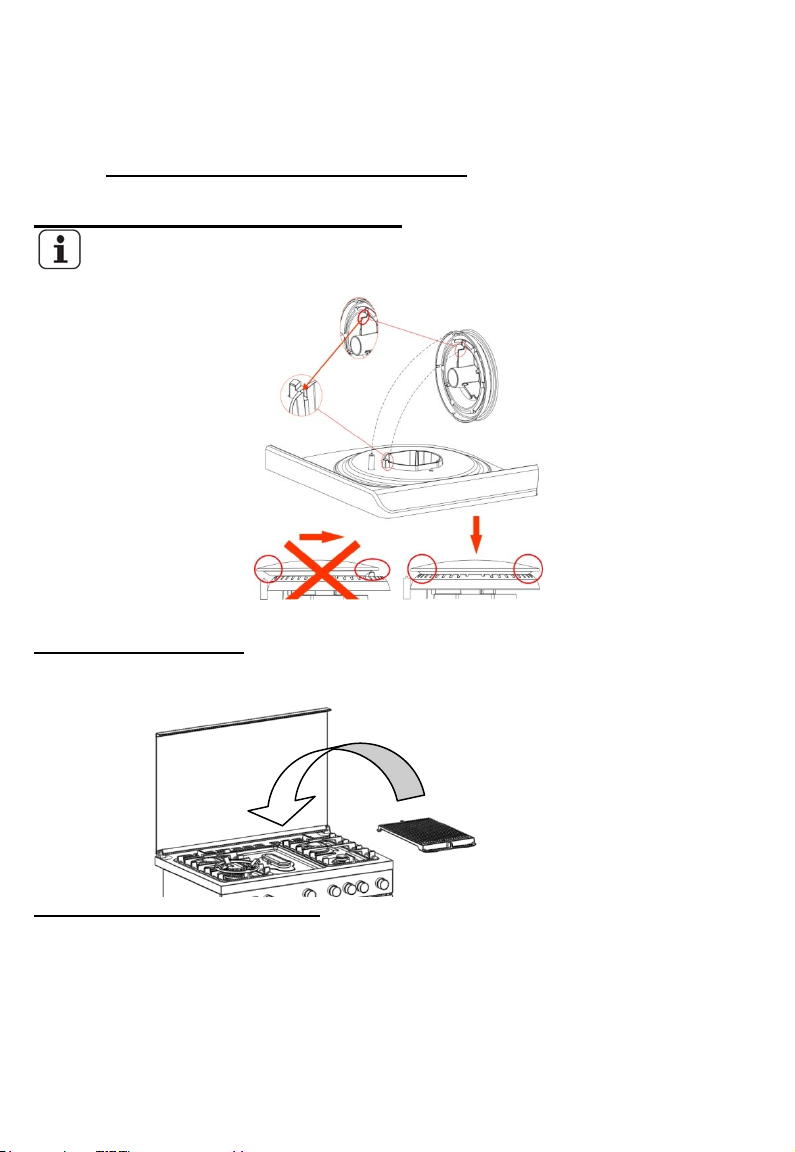
Electrolux EKM9689X User manual
Other Electrolux Cooker manuals

Electrolux
Electrolux EKC7051BOW User manual

Electrolux
Electrolux Premier DSO51GA User manual

Electrolux
Electrolux EKM 6701 X User manual

Electrolux
Electrolux Insight EKG6046 User manual

Electrolux
Electrolux LKI66440SW User manual

Electrolux
Electrolux Electric Cooker User manual

Electrolux
Electrolux Zanussi ZCE5200 User manual

Electrolux
Electrolux U03306 EK 5701 User manual

Electrolux
Electrolux EHL4X-4 User manual

Electrolux
Electrolux Mercury 4U600 Instruction Manual

Electrolux
Electrolux Electric and Gas Cookers Instruction Manual

Electrolux
Electrolux EK 5001 User manual

Electrolux
Electrolux FEH60G3101 User manual

Electrolux
Electrolux CF502 Instruction Manual

Electrolux
Electrolux RKG500002W User manual

Electrolux
Electrolux EKC6051FO User manual

Electrolux
Electrolux EKC6461AEW User manual

Electrolux
Electrolux EKC6461AOK User manual

Electrolux
Electrolux FGH50K3101 User manual

Electrolux
Electrolux EVE915 Instruction Manual


Popular Cooker manuals by other brands


RiverGrille
RiverGrille TF2002501-RG Assembly instruction

Vollrath
Vollrath 69504F Operator's manual

Tricity Bendix
Tricity Bendix CSIE500 Operating and installation instructions

AEG
AEG Competence 5731 V Instruction book

Euromaid
Euromaid ES60 Installation and operation manual

Hotpoint
Hotpoint HUI 62 TP Instructions for installation and use