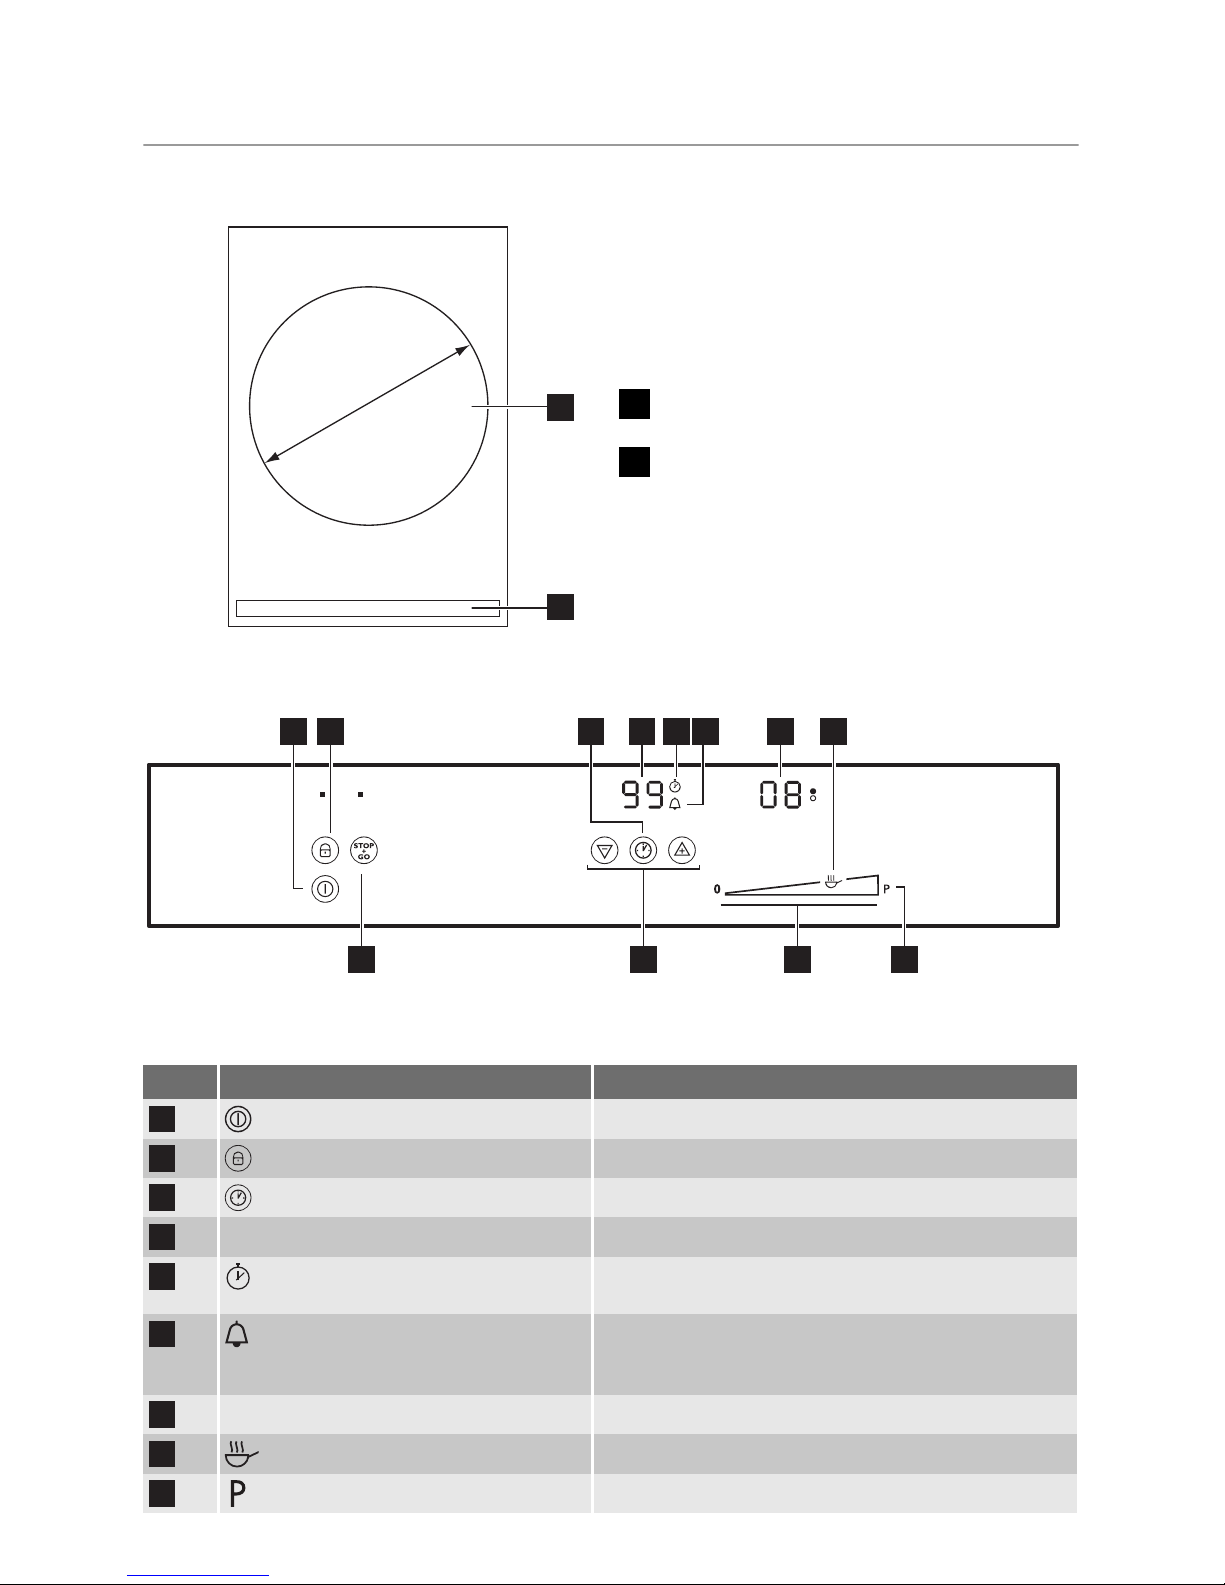
HELPFUL HINTS AND TIPS
Use the appliance only with original
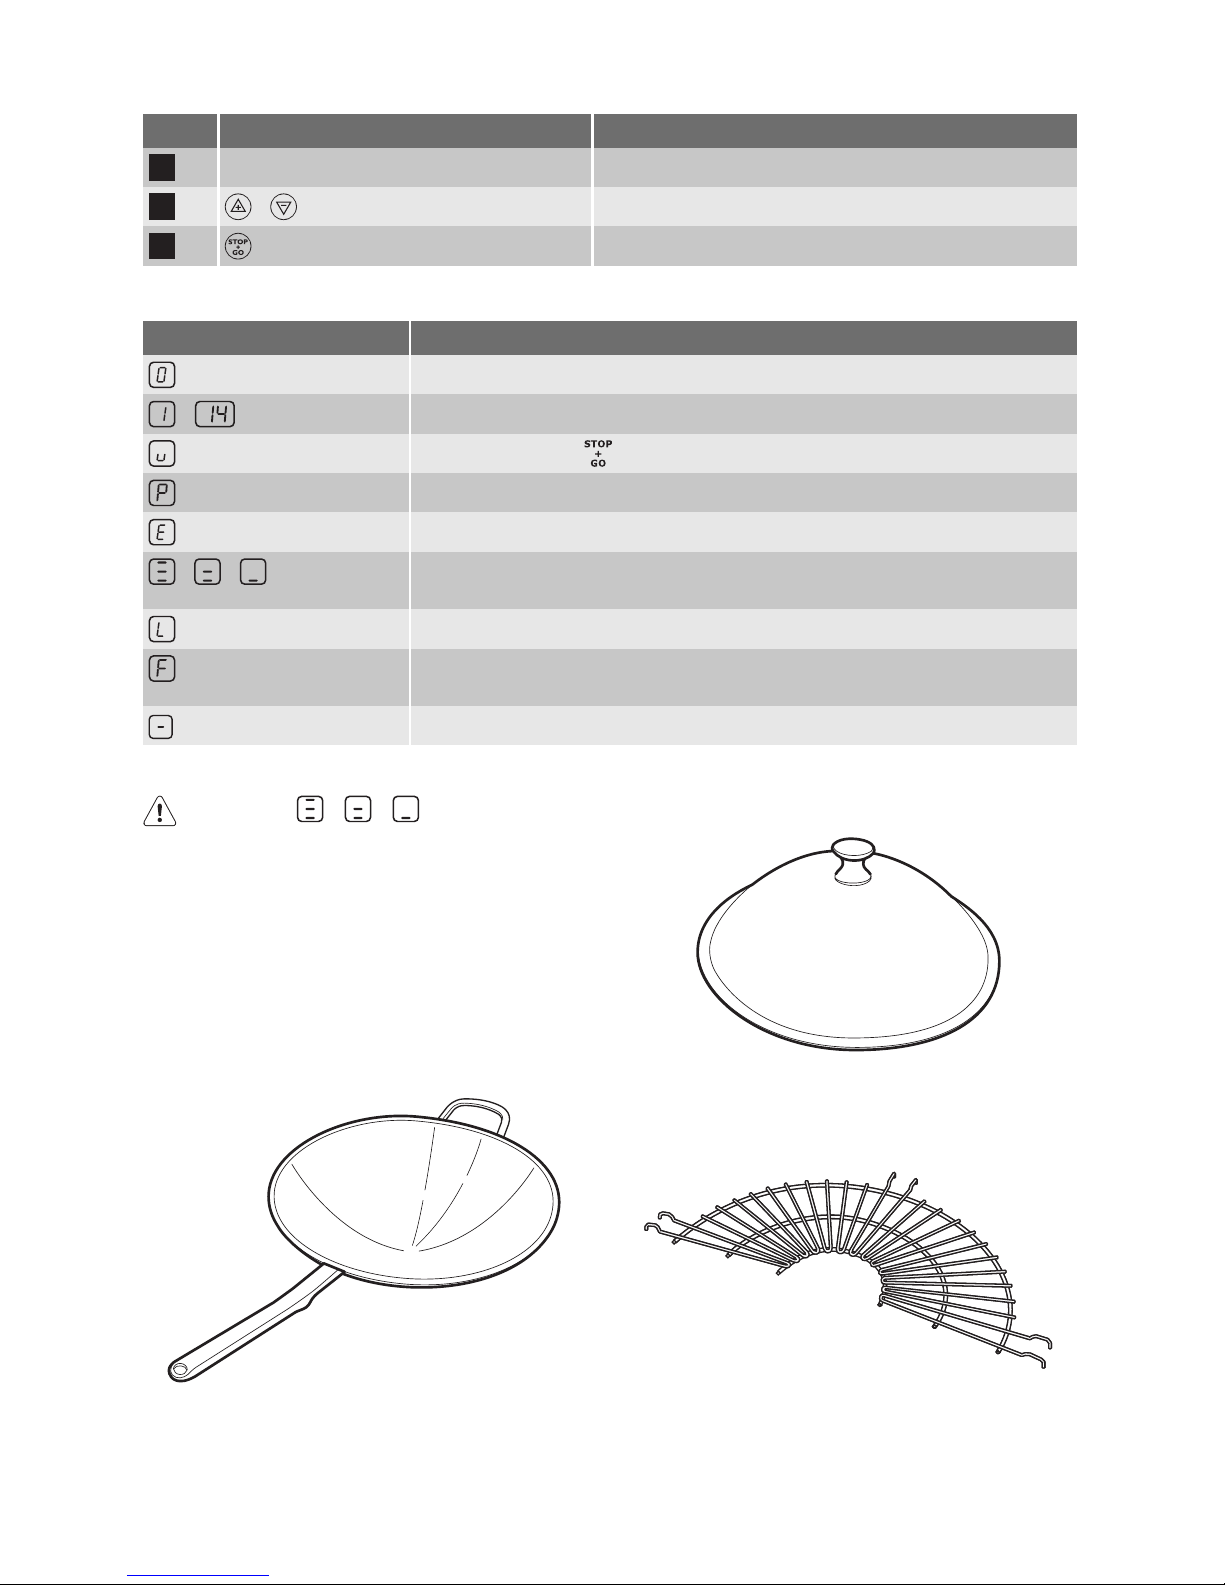
Wok with round bottom.
Warning! Safe operation of the
appliance in accordance with EN60335
can only be guaranteed with the wok
pan supplied with it. Cookware with a
flat bottom must not be used.
COOKWARE FOR INDUCTION WOK
Important! In induction cooking a powerful
electromagnetic field generates an almost
instant heat inside the cookware.
Cookware material
•correct: cast iron, steel, enamelled steel,
stainless steel, a multi-layer bottom
(marked as correct by a manufacturer).
•not correct: aluminium, copper, brass,
glass, ceramic, porcelain.
Cookware is correct if …
• ... some water boils very quickly on a
zone set to the highest heat setting..
• ... a magnet pulls on to the bottom of the
cookware.
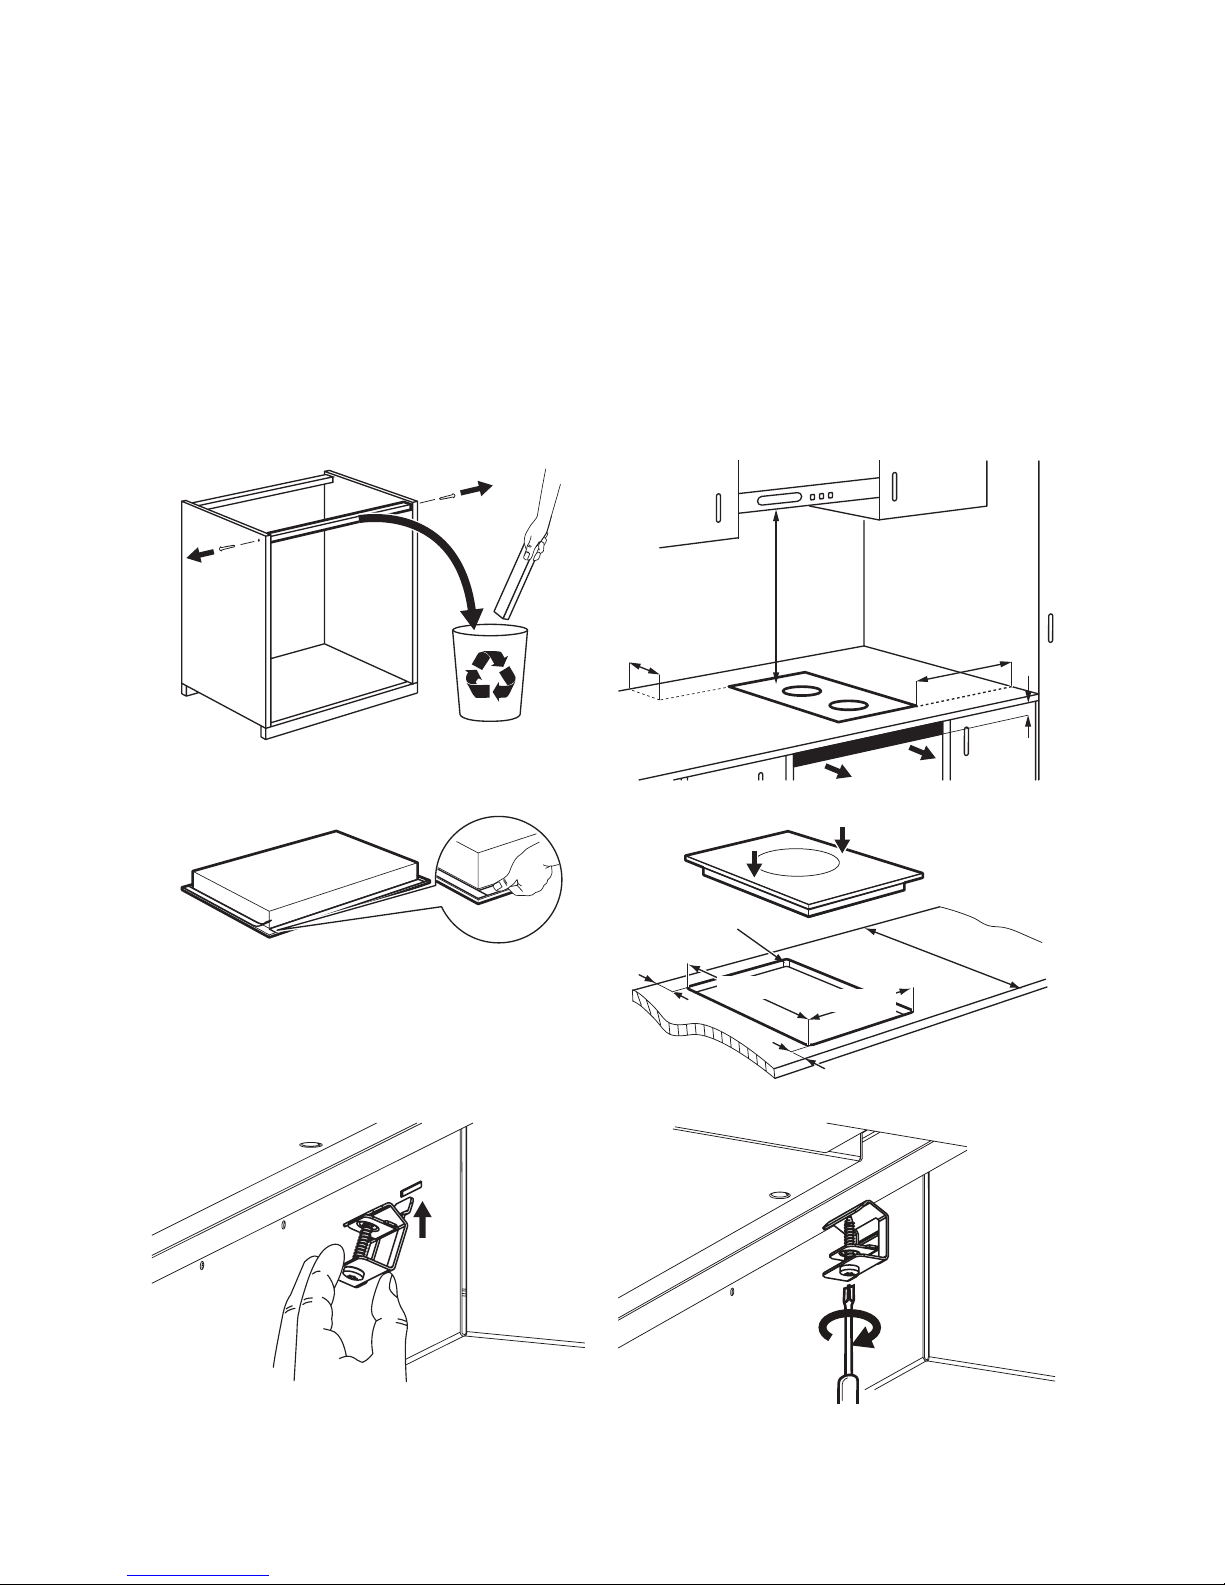
THE WOK USE
• Put the wok pan into the wok niche care-
fully. If used carelessly, the handle can hit
the glass-ceramic surface and damage it.
• Do not shake the wok pan while it is in
the wok niche. The handle can scratch or
cause other damage to the glass-ceram-
ic surface.
THE NOISES DURING OPERATION
If you can hear
• crack noise: cookware is made of differ-
ent materials (Sandwich construction).
• whistle sound: you use the cooking zone
with high power levels and the cookware
is made of different materials (Sandwich
construction).
• humming: you use high power levels.
• clicking: electric switching occurs.
• hissing, buzzing: the fan operates.
The noises are normal and do not refer
to appliance malfunction.
ENERGY SAVING
• If possible, always put the lids on the
cookware.
•Putcookwareona cooking zone be-
fore you start it.
AUTOMATIC USE OF RESIDUAL HEAT
To save the energy, the heater of the
cooking zone switches itself off earlier
than count down timer signal. The
heating time reduction depends on
cooking time.
THE TIPS FOR COOKING WITH THE
WOK
The induction wok is best for preparing "a
la minute" dishes, in particular Chinese spe-
cialities. The food is continuously turned
during the short frying time. The induction
heating system means that in the wok you
can cook very quickly and at high heat. As
a result meat and fish stay succulent and
vegetables keep their colour, taste and vita-
mins.
Warning! Take care! Risks of burns
from overheated fats and oils.
The induction wok has - specially at the
heat setting 9 and above - a high pow-
er with very fast reaction time. Fat and
oil become too hot very quickly. When
it starts to smoke, it is too hot.
When cooking with fat or oil do not
leave the appliance unattended.
With small quantity of food / oil use the
Power function only for a short time. If
not, there is the risk of damage to the
wok pan.
The frying temperature can be estima-
ted by testing with a wooden spoon.
Hold the handle of a wooden spoon in
the hot fat:
– If small bubbles rise to the surface,
the frying temperature has been
reached.
– If there are no bubbles, the frying
temperature has not yet been
reached.
COOKING METHODS FOR THE WOK
Stir-frying
• Swirl the wok with oil.
• Cut the ingredients into small pieces. Add
sauces and seasonings and quickly fry
10 electrolux