ELEKTRO PARTNER UniProbe User manual

UniProbe
User Manual
www.elektropartner.com


2

SUMMARY
Introduction..............................................................................................7
1 SOFTWARE USER INSTRUCTIONS.................................................8
1.1 Device/Module Unlock............................................................................8
1.2 Connecting to the Device/ Module.......................................................11
1.3 Selecting the Functions........................................................................12
1.4 User Notifications.................................................................................13
1.5 Password..............................................................................................14
1.6 Disclaimers...........................................................................................15
1.7 Internet connection...............................................................................18
1.8 Services available by Subscription.......................................................19
1.9 Print......................................................................................................20
1.10 Video..................................................................................................21
2 MSS - MEASUREMENT SYSTEM SOFTWARE..............................22
2.1 Service Programs.................................................................................24
2.1.1 Update Tool..............................................................................................26
2.1.2 Software Graph Resolution.......................................................................27
2.1.3 Language..................................................................................................28
2.1.4 MSS Manual.............................................................................................29
3 CHARGE START..............................................................................31
3.1 Battery Test..........................................................................................34
3.1.1 Change Battery Values.............................................................................35
3.1.2 Execute Battery Test................................................................................37
3.2 System Charge.....................................................................................43
3.2.1 Charge Efficiency......................................................................................44
3.2.2 Charge Cable............................................................................................47
3.2.3 Ripple Output ALT+..................................................................................50
3.2.4 Ripple Output D+......................................................................................53
3.3 Start System.........................................................................................56
3.3.1 Start Test..................................................................................................57
3.3.2 Engine Ground Test..................................................................................60
3.3.3 Starter Motor + Test..................................................................................63
3
en

3.4 Result Summary...................................................................................66
4 SIGNAL GENERATOR.....................................................................67
4.1 PWM CURRENT DRIVE......................................................................69
4.2 PWM 5V...............................................................................................72
5 MULTIMETER...................................................................................75
5.1 Connect / Disconnect...........................................................................77
5.2 Voltmeter..............................................................................................79
5.2.1 Voltage scale............................................................................................81
5.2.2 Voltage Measurement...............................................................................82
5.3 Resistance Measurement.....................................................................83
5.3.1 Resistance Scale......................................................................................85
5.3.2 Measurement duration..............................................................................86
5.4 Ampmeter.............................................................................................87
5.4.1 Current Scale............................................................................................89
5.4.2 Measurement duration..............................................................................90
5.5 Diode test.............................................................................................91
5.5.1 Measurement duration..............................................................................94
5.6 Short Circuit Search.............................................................................95
5.6.1 Measurement duration..............................................................................97
5.7 Type of Current....................................................................................98
5.8 Reset..................................................................................................100
6 OSCILLOSCOPE............................................................................101
6.1 Starts measurement...........................................................................102
6.1.1 T/DIV.......................................................................................................104
6.1.2 Channels.................................................................................................106
6.2 Autoscaling.........................................................................................107
6.3 ZOOM.................................................................................................108
6.4 Cursors...............................................................................................110
6.5 Options...............................................................................................112
6.6 Print....................................................................................................114
7 CAN NETWORK.............................................................................115
7.1 BUS type............................................................................................117
7.2 Start Test............................................................................................118
4

7.2.1 Measurements........................................................................................119
7.2.2 Graphs....................................................................................................120
7.2.3 Errors......................................................................................................120
7.2.4 View the Description of an Error.............................................................121
7.3 Reset..................................................................................................122
7.4 Connections.......................................................................................123
8 AUTOMATIC CONFIGURATION....................................................124
8.1 Quick Menu........................................................................................126
8.2 Print Preview......................................................................................128
8.3 Delete Configuration...........................................................................129
8.4 Configuration Procedure....................................................................131
9 BLUETOOTH CONFIGURATION...................................................140
9.1 Find....................................................................................................142
9.2 Activate...............................................................................................145
9.3 Deactivate..........................................................................................147
9.4 Assign.................................................................................................149
9.5 Info.....................................................................................................152
10 UPDATE TOOL.............................................................................153
10.1 Start Update.....................................................................................154
5
en

6

MSS USER MANUAL
Introduction
Dear Customer,
We would like to thank you for choosing a TEXA product for your workshop.
We are certain that you will get the greatest satisfaction from it and receive a
great deal of help in your work.
Please read through the instructions in this manual carefully and keep it for
future reference.
Reading and understanding the following manual will help you to avoid damage
or personal injury caused by improper use of the product to which it refers.
TEXA S.p.A reserves the right to make any changes deemed necessary to
improve the manual for any technical or marketing requirement; the company
may do so at any time without prior notice.
This product is intended for use by technicians specialized in the automotive
field only. Reading and understanding the information in this manual cannot
replace adequate specialized training in this field.
The sole purpose of the manual is to illustrate the operation of the product sold.
It is not intended to offer technical training of any kind and technicians will
therefore carry out any interventions under their own responsibility and will be
accountable for any damage or personal injury caused by negligence,
carelessness, or inexperience, regardless of the fact that a TEXA S.p.A. tool
has been used based on the information within this manual.
Any additions to this manual, useful in describing the new versions of the
program and new functions associated to it, may be sent to you through our
TEXA technical bulletin service.
This manual should be considered an integral part of the product to which it
refers. In the case it is resold the original buyer is therefore required to forward
the manual to the new owner.
Reproduction, whole or in part, of this manual in any form whatsoever without
written authorization from the producer is strictly forbidden.
The original manual was written in Italian, every other language is a translation
of the original manual.
© copyright and database rights 2011. The material contained in this
document is protected by copyright and database rights. All rights reserved
according to law and international agreements.
7
en

1 SOFTWARE USER INSTRUCTIONS
The use of this software is bound to the conditions described in the License
Agreement and the International Warranty.
The license agreement is also available and can be downloaded from the
website www.texa.com under "Legal Info".
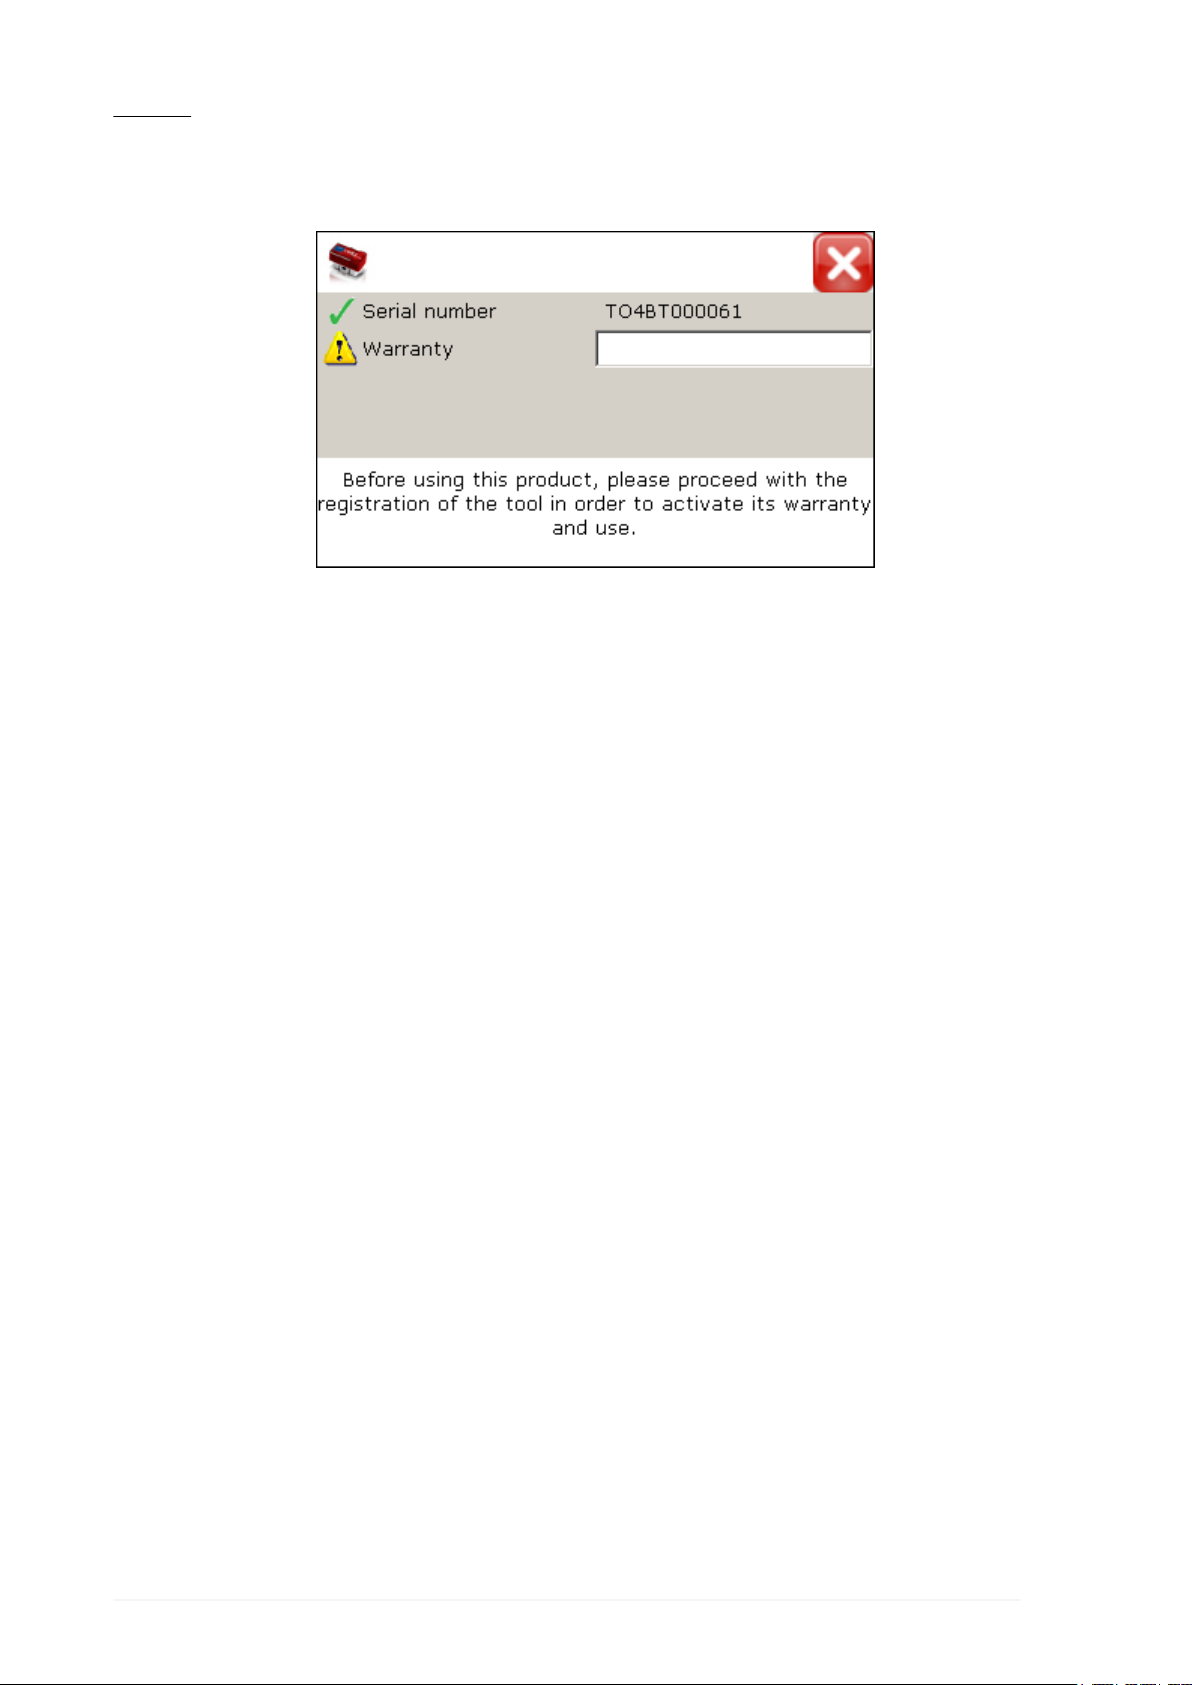
1.1 Device/Module Unlock
The purchased tool/device needs to be unlocked before it can be used.
The tool/device can be unlocked by entering a specific unlock code that can be
obtained by your retailer.
This operation must be repeated each time a new device/module is
connected to the PC.
Proceed as follows:
1. Configure the tool/device that you wish to unlock via the Automatic
Configuration function.
2. Launch the desired function.
A message will inform you that the tool/device needs to be unlocked.
3. Click on .
8
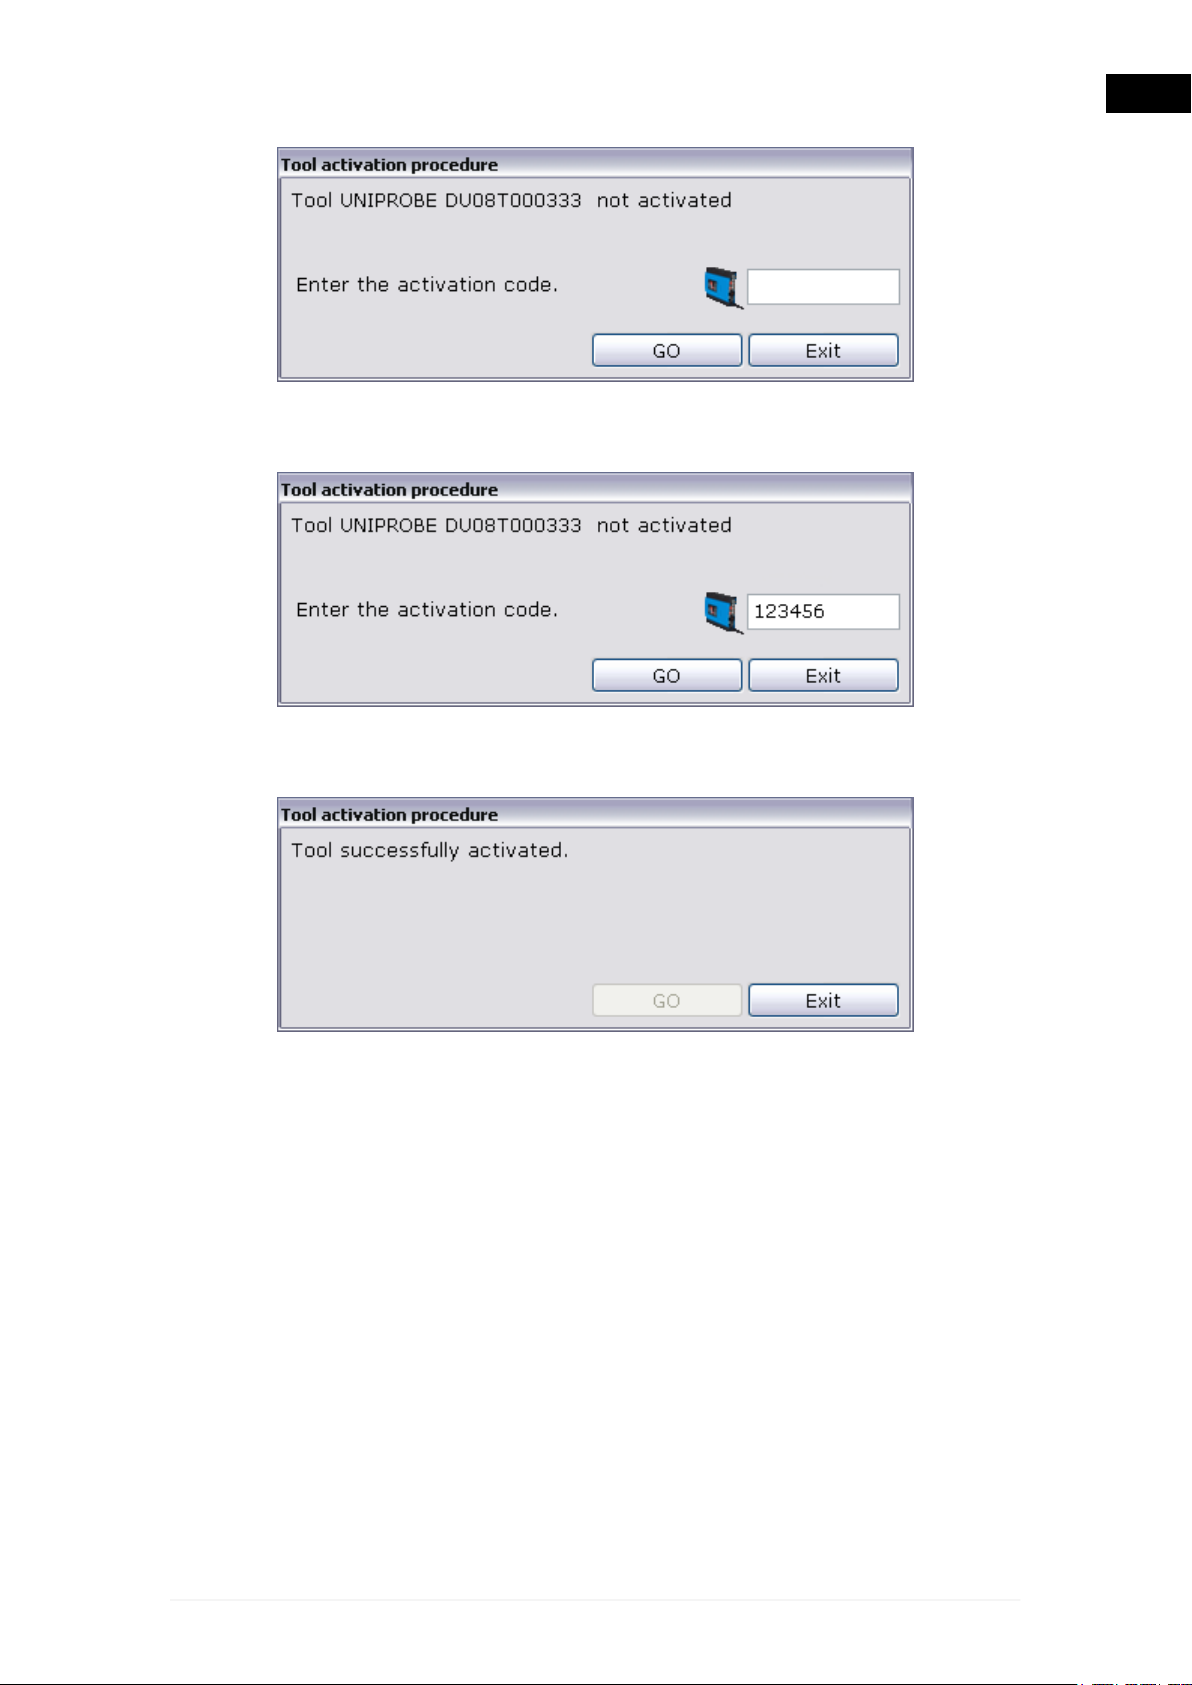
4. Enter the unlock code provided by your retailer.
5. Click on the icon NEXT.
6. Click on Quit.
The device / module is unlocked.
9
en
NOTE
If the device is an OBD MATRIX proceed as follows:
1. Enter the unlock code provided by your retailer.
2. Press the enter key.
The device is unlocked.
10

1.2 Connecting to the Device/ Module
In order for this software to work properly the communication between the
software and the device/module with which it will interface must be properly
configured.
The software provides special functions in relation to communication
configuration.
A Bluetooth connection is generally recommended.
The information that follows also applies when the software must interface with
more than one tool/device at the same time.
In order to guarantee that the software will work properly with the device /
module, make sure you read the device/module manual carefully.
11
en

1.3 Selecting the Functions
All the software functions are launched by clicking on their corresponding icon.
Youmaynotbeabletoselectcertainfunctionswhenmakingselectionsorwhen
carrying out tests.
The colour of the icon that corresponds to the function tells you whether or not
the function is available:
ICON DESCRIPTION
Clickable icon - Function available
Non-clickable icon - Function not available
Icons used for various functions are as follows:
ICON DESCRIPTION
Allows you to close the function.
Allows you to minimize the function/software.
Whether or not certain functions are available depends on the selection you
have made.
12

1.4 User Notifications
Thesoftware canprovide informationon theoperations thatmust becarried out
during the tests by displaying messages and/or short videos.
The messages appear in a designated area on the lower part of your screen.
Thesoftware will display messages toinform theuser ifany errors or anomalies
occur.
The software will inform the user if, for instance:
•there are communication errors,
•ambient conditions do not correspond to those required in order to carry out the
tests,
•etc.
13
en

1.5 Password
Certain functions are protected by passwords with different levels of protection.
The password 1236 allows access to the user only.
The functions that cannot be accessed with this password are for technical
assistance personnel or retailer only.
Proceed as follows:
1. Click on the icon of the function desired.
2. Enter the password.
3. Click on .
You may now access the desired function.
14

1.6 Disclaimers
Due to the particularity of certain functions, you are required to accept the
conditions within specific disclaimers in order to access them.
The disclaimers impose certain terms that regulate the use of the device with
which the software will interface.
The functions can only be used once the conditions in the relative disclaimers
are accepted.
You are prompted with the disclaimers when the function is launched for
the first time (ex.: standard self-diagnosis, Matrix self-diagnosis) for each
version installed.
Once the conditions that regulate the use of the functions within the disclaimer
have been read and accepted, the software will proceed in activating these
specific functions.
If the disclaimer is not accepted, you will not be able to access the
functions the declaration refers to.
You will be prompted with the disclaimer and the relative acceptance request
of the user conditions each time the function is launched.
15
en
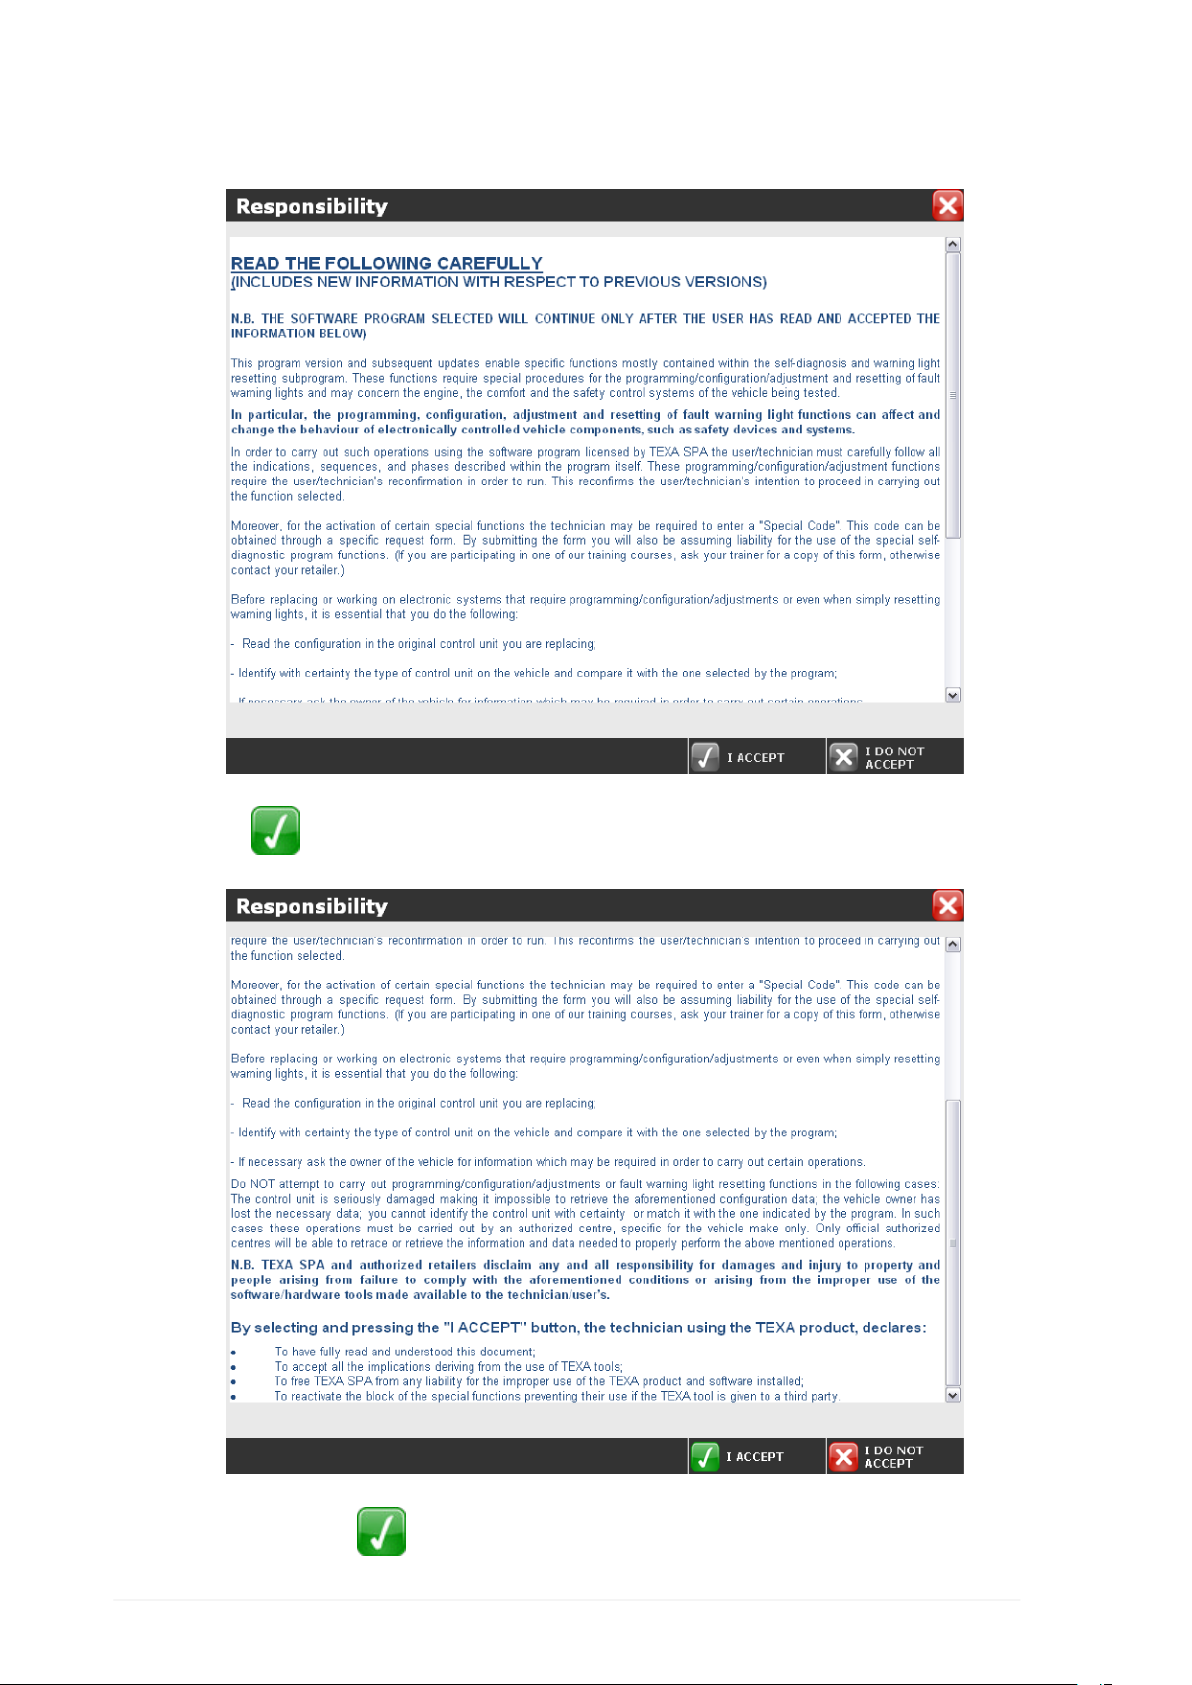
Proceed as follows:
1. Read the disclaimer completely, scroll the text using the vertical scroll bar.
2. Click on
3. Click on the icon .
16

You may now access the self-diagnosis functions.
17
en

1.7 Internet connection
Certain functions may require an adequate active and working Internet
connection.
An ADSL type of connection is generally recommended.
18

1.8 Services available by Subscription
Certain functions may require a specific subscription (i.e. updating via Internet).
For more information contact your retailer.
19
en
Table of contents


