7
Page
• When the fire shuts off on auto mode or is shut off in
manual mode, the fan will continue to operate for 8
minutes.
• The fire can be operated in either ‘AUTO’ mode or
‘MANUAL’ mode.
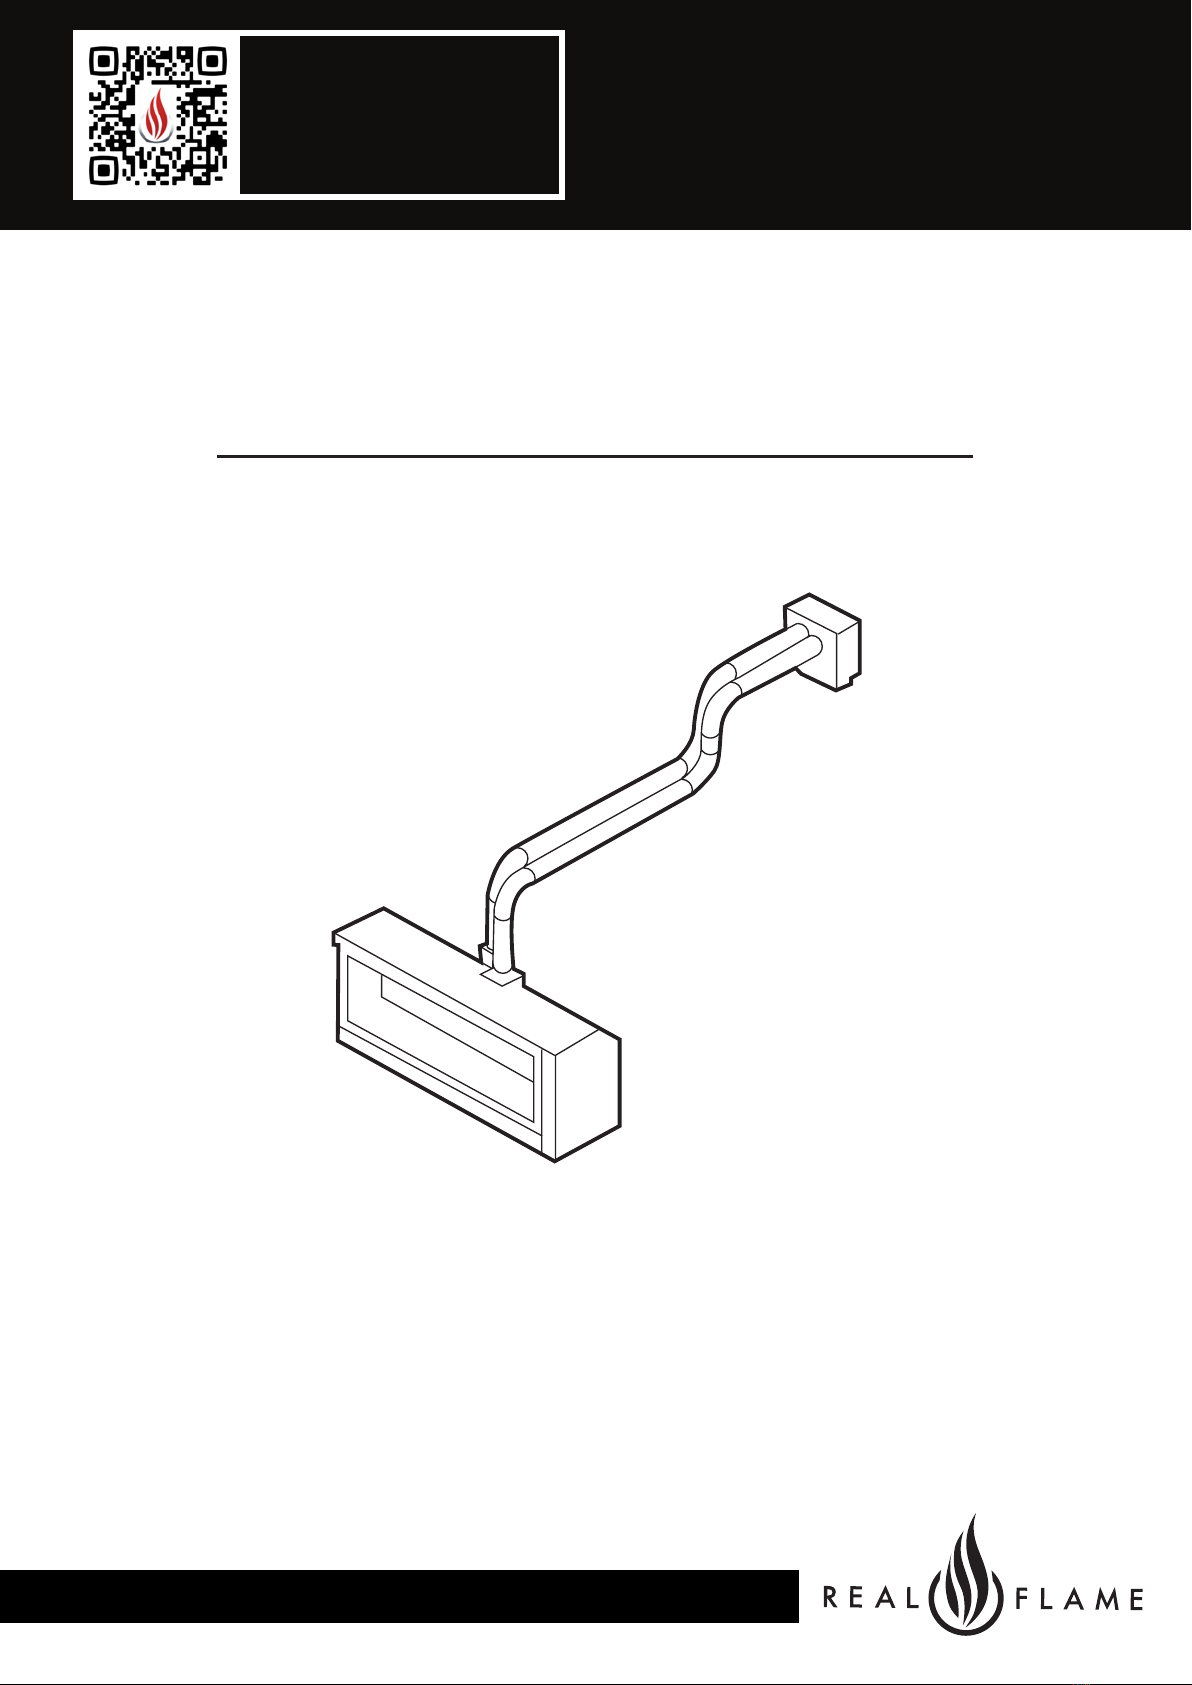
QUICK START GUIDE
On/Off Press and release the button to turn the
thermostat on and off.
Setting the day of the week and time
With the thermostat off, press and hold the ‘T’ button for 2
seconds or longer to initiate programming the time. Time,
the hour setting and AM/PM will flash.
Setting the hour function
Press and release the or button to increase or
decrease the hour setting by 1 hour. Press ‘OK’ to accept.
Setting the minute function
Press and release, or press and hold the s or
t button to increase or decrease the minute setting by 1
minute. Press ‘OK’ to accept.
Setting the day of the week function
Press and release the or button to change the
day of the week to the following or previous day. Press
and hold the or button for 2 seconds or longer to
increase or decrease the day of the week by 1 day every
0.5 seconds. Press ‘OK’ to complete setting.
Manual mode
Manual mode does not require that the time and day of
the week are set. Press the or button to increase or
decrease the temperature desired.
Automatic mode
The automatic mode allows the temperature to be
regulated according to a programmed level and time.
Manually overriding the set program At any time, the
temperature may be adjusted up or down. However,
whenever the thermostat changes to a new time period,
the temperature will be set automatically according to
that period’s setting.
Programming
Each day of the week can be programmed individually
for 4 periods P1, P2, P3 and P4, making a total of 28
programmed periods. Alternatively, a weekday program
can be set, so the same program is used for Monday-
Friday. Similarly, a weekend program can be set for
Saturday-Sunday. The entire week can also have the
same program.
Alternatively, a weekday or weekend program can be set
with individual programs for the remaining days.
The suggested period settings for each day/s are:
Period 1 - morning
Period 2 - daytime
Period 3 - evening
Period 4 - night-time
To begin programming
With the thermostat off, press and hold the ‘P’ button for 2
seconds or longer to initiate programming. The LCD will
display , and the time at which the thermostat
is currently set. will flash.
Period 1 can now be set.
Setting the day of the week
You must choose which day/s of the week you wish
to program. Press and release the or button
to change the day of the week to the following or previous
day. Press and hold the or button for 2 seconds
or longer to increase or decrease the day of the week by
1 day every 0.5 seconds.
The order that you can scroll through the days is as follows:
MO TU WE TH FR MO TU WE TH
FR SA SU SU SA MO TU WE TH
FR SA SU
To accept the selected day/s of the week press ‘OK’.
Setting the period starting time
The hour and AM/PM settings will now flash. To set
the P1 starting time, press and release the or
button to increase or decrease the hour setting. Press
and hold the or button for 2 seconds or longer to
increase or decrease the hour setting by 1 hour every 0.5
seconds.
Please ensure that AM/PM is set correctly.
Press ‘OK’ to accept.
The minute setting will now flash. Adjust the minute setting