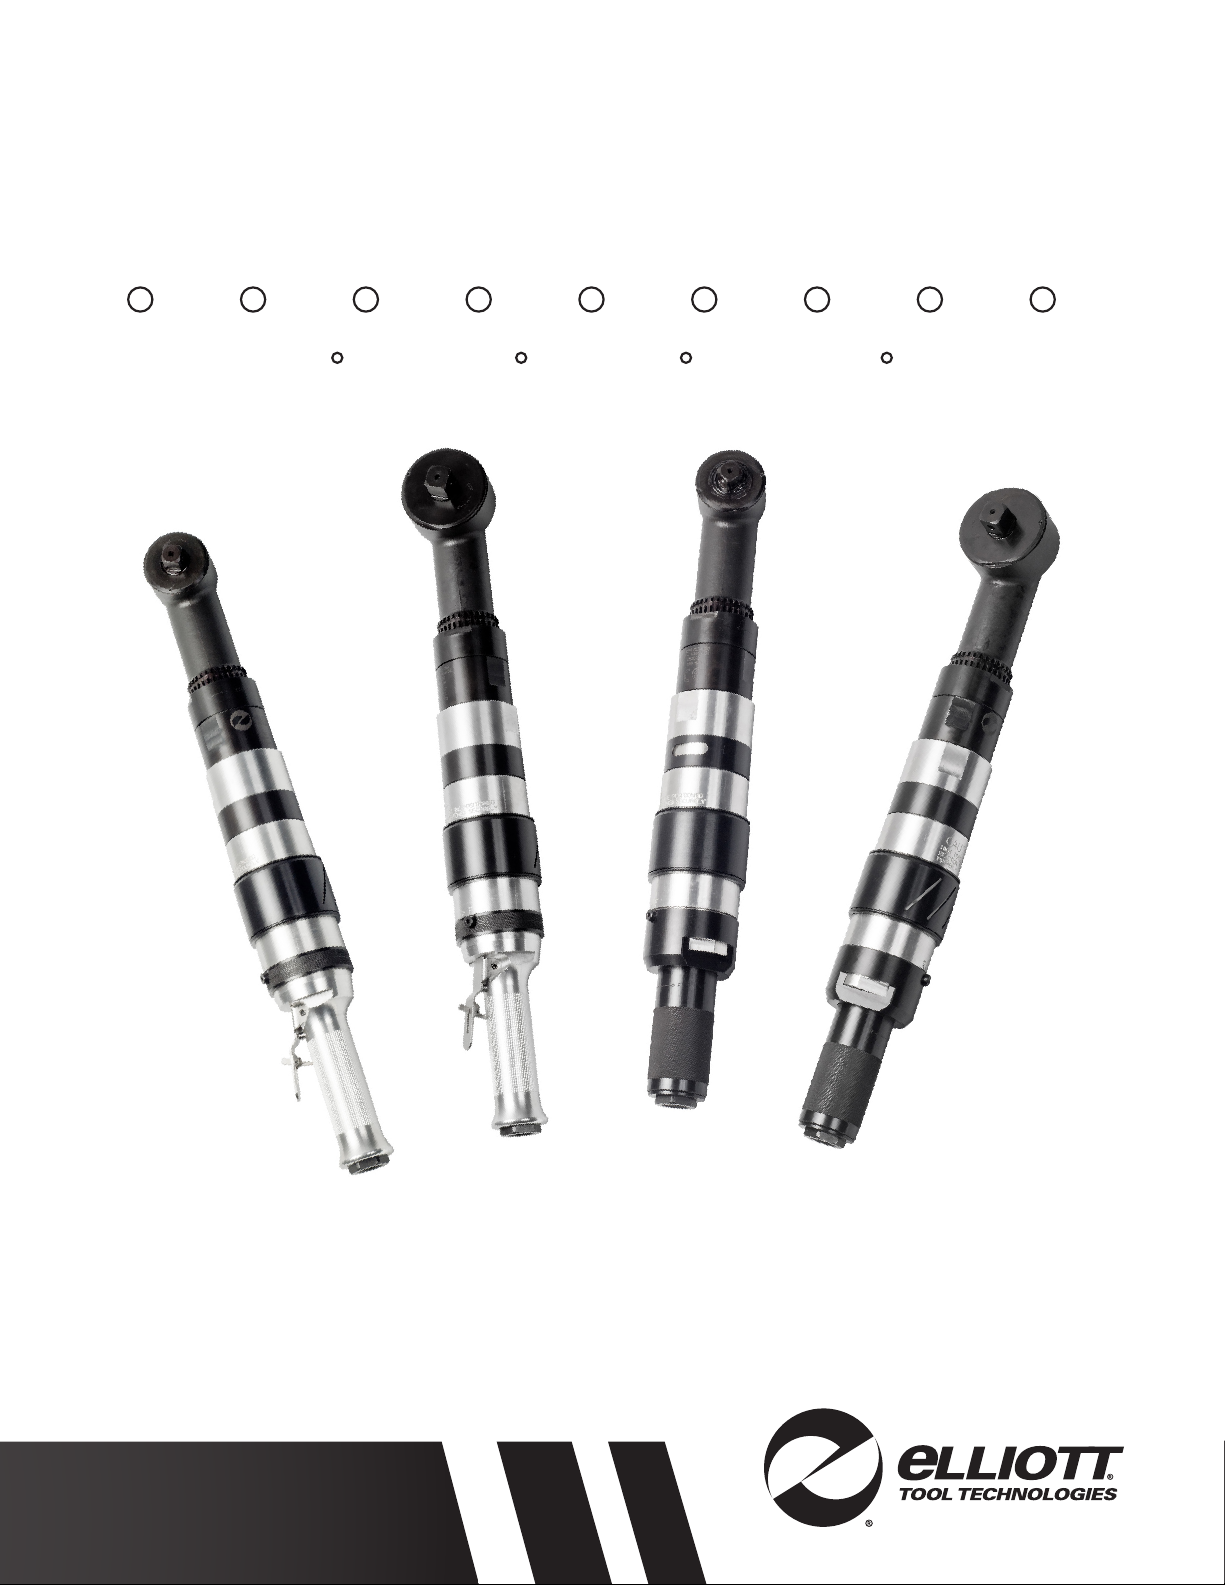
6 Right Angle Rolling Motor
Safety Instructions (cont.)
• Always wear protective clothing, safety boots, gloves, dust mask, etc, when operating or in an
area where the equipment is being used. This prevents crushing, inhalation and skin exposure
hazards from the equipment and/or lubricant used in the equipment.
• These tools are designed to operate on 90 psi (6.2 bar) maximum air pressure. If the tool is
properly sized and applied, higher air pressure is unnecessary. Excessive air pressure increases
the loads and stresses on the tool parts, sockets, and fasteners and may result in breakage.
Installation of a lter-regulator-lubricator in the air supply line ahead of the tool is recommended.
Only use approved air lubrication.
• Before the tool is connected to the air supply, check the throttle for proper operation (i.e.,
throttle moves freely and returns to closed position). Clear the air hose of accumulated dust and
moisture.
• Be careful not to endanger adjacent personnel. Before removing a tool from service or changing
sockets, make sure the airline is shut off and drained of air. This will prevent the tool from
operating if the throttle is accidentally engaged.
• It is essential for safe operation for any operator of a rolling motor to use good balance, sure
footing, and proper posture in anticipation of a torque reaction. Insure that the operator’s hand
will not be wedged or pinched between the work and the tool when operating. Always use
ambient light to ensure safe operation.
• Higher torque right angle motors are supplied with splined torque reaction mounting plates
which accept torque reaction bars. These bars can be braced against the work, adjacent tubes,
or other suitable points to absorb and relieve the operator of the torque reaction transmitted
by the tool. Tool balance arms are also available to absorb the torque reaction transmitted by
the tool. Due to their squared design, the reaction mounting plates also prevent the motor from
rolling off the work station, preventing further injury. Tool balance arms are also available to
absorb the torque reaction of the tool for improved ergonomic applications if work is accessible.
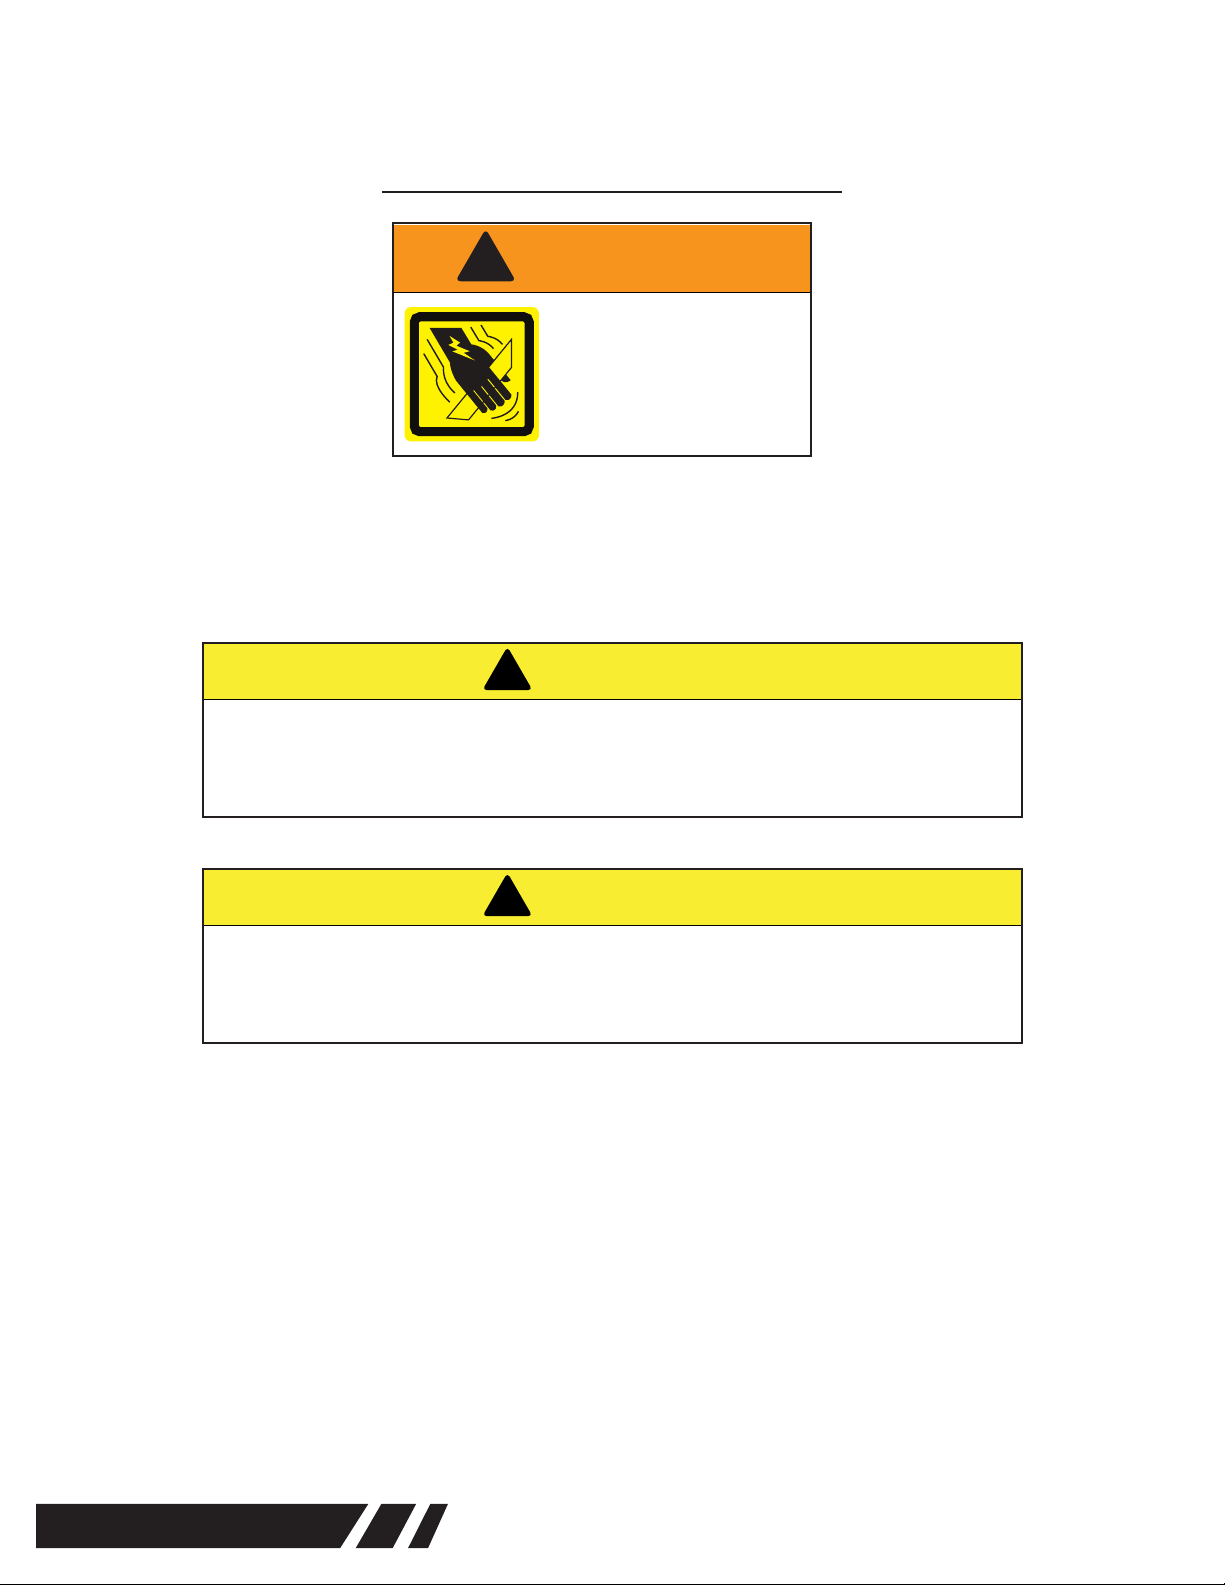
!
When using right angle motors, be sure the throttle is positioned relative to the
right angle head so the throttle will not become wedged against an adjacent
object in the “ON” position due to torque reaction. The angle head may be
repositioned with respect to the lever (on tools with levers) to accommodate
proper location for task. If tool is to be reversed, locate throttle lever in a neu-
tral position that will prevent entrapment. Refer to operating instructions for
additional information.
!
Tools with clutches can stall rather than shut-off if adjusted over maximum
power output of tool, or if there is a drop in air pressure. Operator must then
resist stall torque until throttle is released. ALWAYS use torque reaction bar.