(a) Connect Via a Web Browser
Connect the USB cable to the RM5 Unit (see arrows below). Note: this step must be done before powering on the system.
USB from
host
to RM5
USB from
RM5 to
host system
Quick
Start
RM5
Use a Web Browser to connect to the SBExpress system by typing in
the IP address in the URL window using these default parameters:
IP Address: 192.168.1.222
Default Gateway: 192.168.1.1
User Name: system
Password: SANBlaze (case-sensitive)
Note that the IP address is displayed on the front LCD panel.
Change the IP address
(b) Or...Connect via SSH
Open a secure shell (SSH) and connect to the IP address
192.168.1.222
Note: If your host is not in the /etc/hosts file, the system
will take a few seconds to reply.
User Name: vlun
Password: SANBlaze (case-sensitive)
Upon successful log-in, issue the su command to get super user
access.
# su
Password: SANBlaze
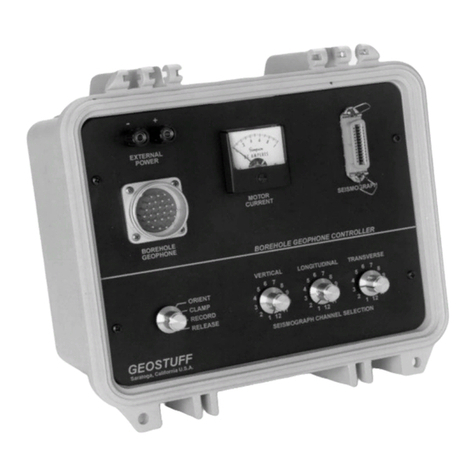
In addition to the Ethernet based connectivity methods, you can access
the SBExpress-RM5 system via the command line using a monitor and
keyboard connected to the unit.
Once connected, issue the su command to get superuser access.
# su
Password: SANBlaze
Run the network config script:
# /virtualun/scripts/config_network.sh
The script will then prompt you for all the necessary network
settings.
You can now connect to the SBExpress-RM5 system via a web
browser.
COPYRIGHT ©2022 SANBLAZE TECHNOLOGY, INC.
All information in this document is subject to change. Configurations rely on host system BIOS support and may be restricted by the host. Contact SANBlaze for additional information.
Step 5: Connect the USB to the RM5
Once the SBExpress-RM5 system has been accessed, the IP address, system
name, and gateway can be changed using the main web page.
(c) Or...Connect via the Command Line
Change the IP address at the CLI
Once you have the system up and running, refer to the SBExpress-RM5 NVMe SSD Test System User's Guide for information on LEDs, Fans, Power Supply, running tests in the software,
and configuration options for the system.
Step 8: Open the SBExpress-RM5 User Guide
Gen5
Direct Connect w/ MonitorConnect using Ethernet
p/n 400-0000026 Rev.00
SBExpress-RM5 USB port for connecting to serverGen5 host server USB port to connect to the RM5
x
Do NOTconnect the RM5
to the USB
on the motherboard
Step 6: Connect the Power cord
Connect the power cord and power on the SBExpress-RM5 system using the power switch in the back of the unit.Then, power on the Gen5 host server. (If you are
using the SANBlaze host server, press the green checkmark on front of the host server to power on.) The host server will handshake over the USB cable to
turn on the power to the SBExpress-RM5 NVMe SSD Test System.
Step 7: Configure the SBExpress-RM5
Configure the SANBlaze SBExpress-RM5 through (a) a web browser or (b) SSH session or (c) using the Ethernet port (10/100/1000 auto sensing) on the front panel.
All three methods (a,b,c) are detailed below. If you choose to connect via Ethernet, the software uses the 'eth0' interface provided under Linux. Please connect to the
eth0 interface of your target machine. If the ports are not labeled, note that the left Ethernet port is eth0 and the one to the right of it is eth1.
