BOLDAN Miniroller D200 e User manual

Boldan Oy, Matkuntie 3, FIN-05200 Rajamäki |www.boldan.fi|+358 (0)9 853 1042
Miniroller D200 e
Manual

Boldan Oy, Matkuntie 3, FIN-05200 Rajamäki |www.boldan.fi|+358 (0)9 853 1042
Miniroller D200 e
Manual
2
CONTENTS
1 GENERAL INFORMATION 3
1.1 Use 3
1.2 EU Declaration of Conformity 3
1.3 CE marking and labelling 3
1.4 Initialization inspection 3
2 INSTALLATION 4
2.1 Installation of equipment 4
3 INSTRUCTIONS 4
3.1 Users 4
3.2 Structure 4
3.3 Description of use and operation 4
3.3.1 Preparations 4
3.3.2 Roller adjustment and change of direction 6
3.4 Warnings 6
4 MAINTENANCE 7
4.1 Electrification 7
4.1.1 Maintenance and inspection during operation 8
4.1.2 Maintenance and inspection every 12 months 8
5 ENVIRONMENTAL ASPECTS 9
5.1 Emission and waste 9
5.2 Disassembly and recycling 9
6 ELECTRICITY AND CONTROL PANEL 9
6.1 Main ja circuit diagram 9
7 EU DECLARATION OF CONFORMITY 10

Boldan Oy, Matkuntie 3, FIN-05200 Rajamäki |www.boldan.fi|+358 (0)9 853 1042
Miniroller D200 e
Manual
3
1 GENERAL INFORMATION
This manual consists of instructions for installation, operation and maintenance of calibration roller
(Miniroller D200 e) used for spreading epoxy in liners in pipe renovations. The machine is intended
for professionals only.
1.1 USE
Miniroller has been designed and manufatured for processing pipe liners only. Miniroller can only be used
with materials and equipment proven safe.
1.2 EU DECLARATION OF CONFIRMATION
EU Declaration of confirmation has been composed by the manufacturer and can be found in section 7.
Manufacturer:
Boldan Oy, Business-ID: 2355506-6
Matkuntie 3
05200 Rajamäki, Finland
Tel. +358 (0)9 853 1042
1.3 CE-MARKING AND LABELLING
The machine has been approved by CE-marking and labelling for declaration of confirmation. Miniroller
has been risk evaluated approriately. All the risks associated to the use of Miniroller are genuine and by
obeying safe working methods can be kept insignificant, slight or moderate.
1.4 INITIALIZATION INSPECTION
Electrical hardware of Miniroller has been inspected according to SFS-EN 60204-1 before initialization.

Boldan Oy, Matkuntie 3, FIN-05200 Rajamäki |www.boldan.fi|+358 (0)9 853 1042
Miniroller D200 e
Manual
4
2 INSTALLATION
2.1 INSTALLATION OF EQUIPMENT
Always install Miniroller on a firm surface.
3 INSTRUCTIONS
3.1. USERS
Miniroller is intended for professional use only. Miniroller can be operated only by persons familiar with
this manual of installation, instructions and service. Instructions and warnings in this manual must be
followed unquestionably.
3.2 STRUCTURE
Miniroller consists of aluminum body, sheet metal parts, rollermotors, control panel and foot pedal.
3.3 DESCRIPTION OF USE AND OPERATION
3.3.1 PREPARATIONS
Before using Miniroller read the manual completely to understand how to operate it.
• Hook up electricity.
• Turn EMERGENCY/STOP -switches to release them and press EMERGENCY/STOP -button to confirm.
• Turn RUN-switch clockwise (FW) to turn Miniroller on.
• Miniroller can be turned off by turning RUN-switch to position 0.
• Miniroller operates backwards when RUN-switch is fully turned counterclockwise (REV).
• Speed can be adjusted with RUN SPEED-switch.

Boldan Oy, Matkuntie 3, FIN-05200 Rajamäki |www.boldan.fi|+358 (0)9 853 1042
Miniroller D200 e
Manual
5
• EMERGENCY/STOP -indicator lights up, when Miniroller is ready to use. EMERGENCY/STOP does not
work, if RUN-switch has been turned on. RUN-switch must always be turned to position 0 to confirm.
• MODE-switch has two positions: foot pedal (PEDAL) or manual steering (SWITCH).
• RUN-switch directs roller backwards (REV) or forward (FW).
• RUN SPEED -switch adjusts the speed of rollmotors.
• Control panel can be attached onto calibration roller or released. If released the control panel can be
hooked up within 1,5 meter (5 ft) distance with a cord that comes along.
• Control panel can be released by turning the black knobs fully open (seen in picture).
• Rollers can be controlled by foot pedal also. Foot pedal can be hooked up into the control panel by the
socket on the side of the control panel case.
• When drive mode has been set up for foot pedal, the rollers will roll only when pressing the foot pedal.
• Liner has to be placed between the rollers before turning rollmotors on.
• Recommended temperature for use of calibration roller is 10 - 30°C (50 - 86°F).
Boldan Oy, Matkuntie 3, FIN-05200 Rajamäki |www.boldan.fi|+358 (0)9 853 1042
Miniroller D200 e
Manual
6
3.3.2 ROLLER ADJUSTMENT AND CHANGE OF DIRECTION
• The height of upper roller can be adjusted with the wheel of linear axle.
• Before changing directions the rollers must be completely stopped. The electrical components might
get damaged due to large strain, If not stopped before changing rolling direction.
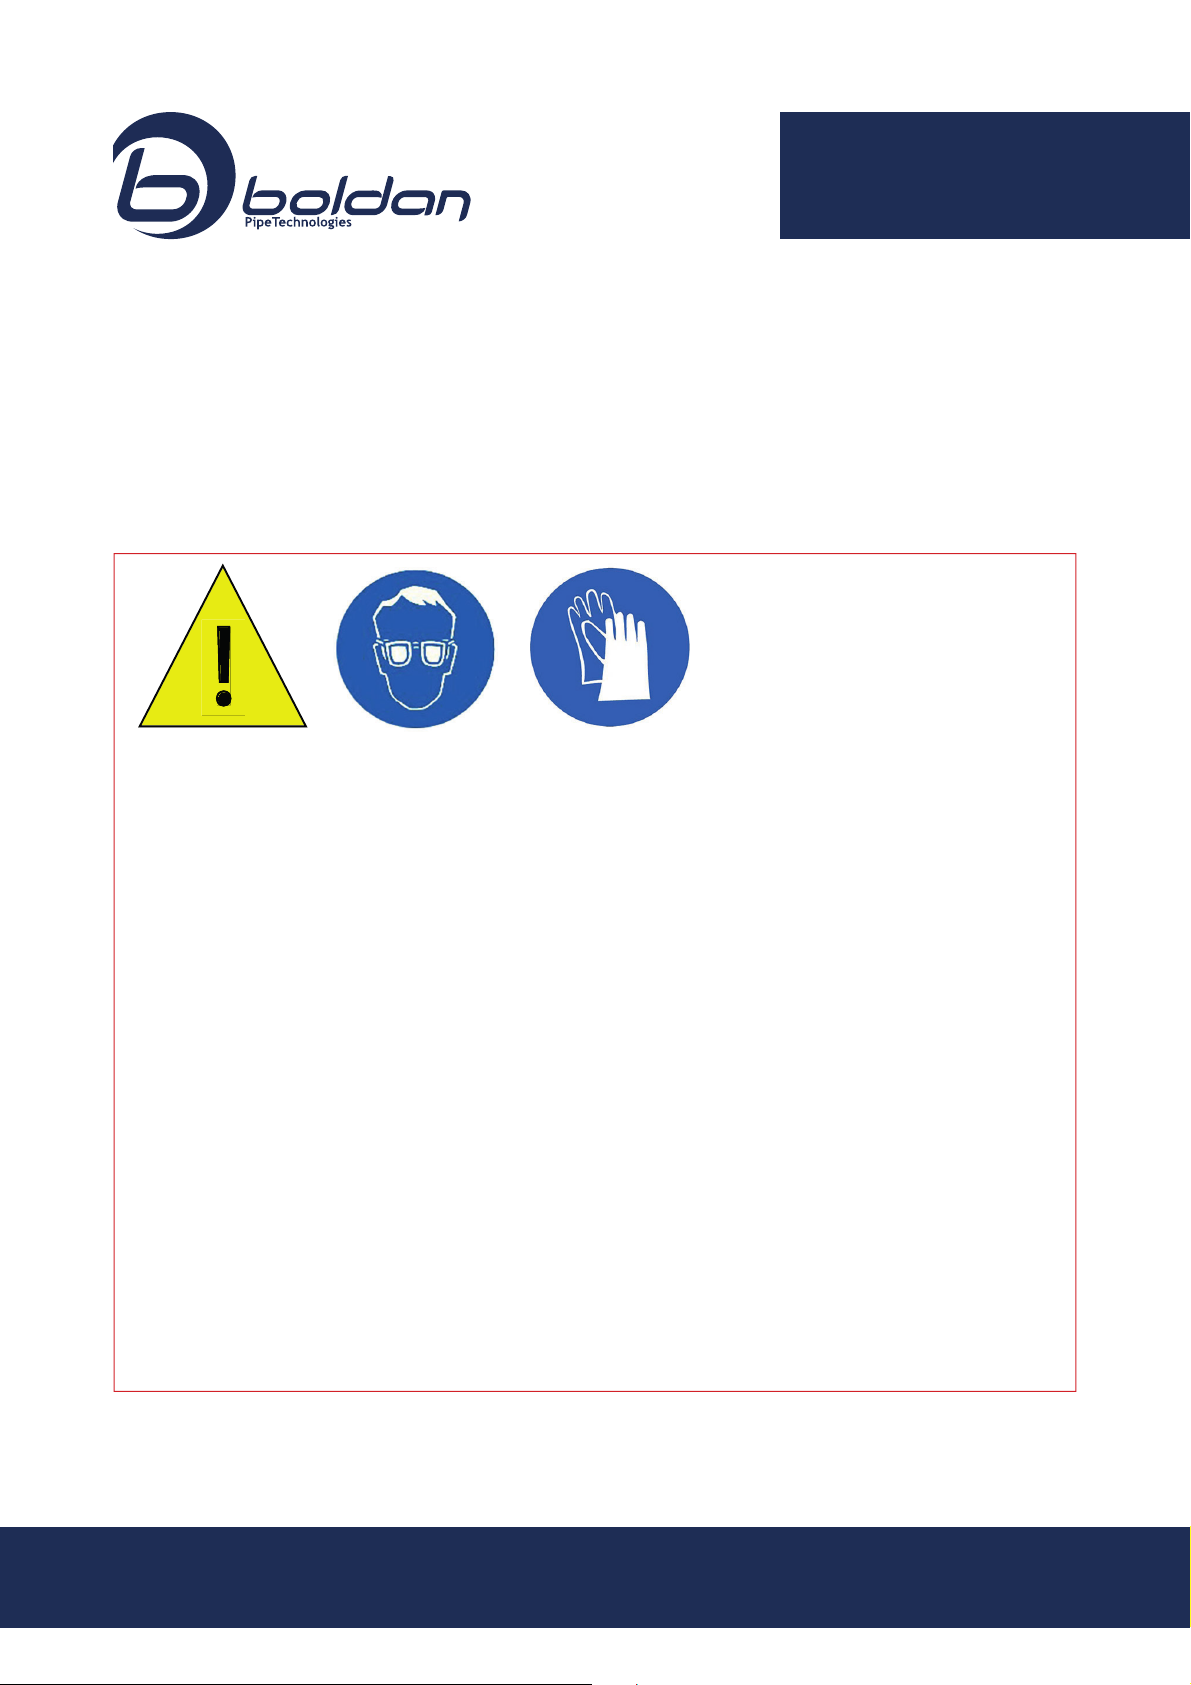
!
3.4 WARNINGS
Miniroller can be used on flat and firm surfaces only!
Do not touch the rotating rollers!
Person operating Miniroller must always wear rubber gloves to protect against epoxy (for example
nitrile gloves) and must wear protective eye glasses.
Workwear must be suitable to avoid sleeve or another part of clothing getting caught between the
rollers.
• Miniroller can only be used by person familiar with it.
• Miniroller must be disconnected from electricity for cleaning and maintenance.
• Liner must be installed between rollers before turning them on.
• Beware of rotating rollers.
• Beware of clothing getting caught between rotating rollers.
• It is recommended to use the foot pedal.

Boldan Oy, Matkuntie 3, FIN-05200 Rajamäki |www.boldan.fi|+358 (0)9 853 1042
Miniroller D200 e
Manual
7
4 MAINTENANCE
When maintaining the Miniroller one must follow the installation, operation and maintenance instructions
in this manual and above all pay attention to the warnings section. Maintenance can only be performed
by person familiar with the instructions. The person maintaining the Miniroller must have comparable
knowlegde to the person operating the Miniroller.
Miniroller must be cleaned of trash and dirt.
Electricity must be disconnected while maintaining or repairing Miniroller. The main switch must be
turned to position 0 and electricity must be unplugged from power network.
Maintaining rollers
• Dirty roller must be cleaned before use.
• Broken bearings must be replaced.
• Tilted rollers must be straightened.
• Damaged surfacing of pulling roller must be removed and replaced.
Cleaning of rotating roller
The easiest way to remove grime, such as grease, is to wipe the surface with a damp cloth and cleanser
(check suitability for rotating roller). Thin, quickly evaporating film of cleanser does not damage the rota-
ting roller. It is recommended to use Scrubs -cleaning cloth or such.
4.1 ELECTRIFICATION
Person in possession of Miniroller must make sure that the machine functions without disturbances when
operating and maintaining the it. Protection of electric shocks and fire must also be taken care of.
Person in possession of Miniroller is responsible for carrying out these obligations by monitoring the ma-
chine by regular or continuous inspections and, when needed, by measurements and testings. Person in
possession of Miniroller must take care that failures and malfunctions are repaired immediately.

Boldan Oy, Matkuntie 3, FIN-05200 Rajamäki |www.boldan.fi|+358 (0)9 853 1042
Miniroller D200 e
Manual
8
Electrical wires, buttons and switches must be monitored to keep them in order. Faulty wires and compo-
nents must be replaced immediately.
4.1.1 MAINTENANCE AND INSPECTION DURING OPERATION
Daily inspection and inspection before each operation is needed for the following (maintenance when
needed):
A. Emergency stop -switch
Approximate examination during operation:
• check attachment of switches onto case/control panel
• check attachment of containers and covers
• loosening of mushroom shaped Emergency-switch -> replacement
• replace or clean dirty switches
• replace switch if dirt affects operation
• replace swiches if chemicals have deteriorated them or made them brittle
• replace switches if they are battered, fractured or strained
• ensure free access and easy reachability of switches
4.1.2 MAINTENANCE AND INSPECTION EVERY 12 MONTHS
Inspect and maintain the following. Checkup includes visual perception and auditional observation.
A. Case/body of Miniroller
Inspection for twists, chips and other damages. Damaged parts must be replaced.
B. Bearings
Inspection of bearings for intactness.
C. Screwed, bolted and welded connections
Inspection of all connections for adherence and inspection of fasteners. Replacement, tightening or re-
pairing if needed.
D. Condition of rotating rollers
Inspection of surface of rotating rollers. If notably worn out, it must be replaced.
E. Lubrication of electrical conductors and trapeze screw
Lubrication of linear guideways through upper holes of liner axle.
Light lubrication of trapeze screw if needed.

Boldan Oy, Matkuntie 3, FIN-05200 Rajamäki |www.boldan.fi|+358 (0)9 853 1042
Miniroller D200 e
Manual
9
5 ENVIRONMENTAL ASPECTS
5.1 EMISSION AND WASTE
No emission or waste will be formed when using Miniroller according to instructions.
5.2 DISASSEMBLY AND RECYCLING
If wood (from pallet) or plastic film (for shielding) used in transportation remain with client, they have to be
handled accordingly. Wooden pallet can be reused for similar purposes if intact, or it can be dispatched to
a recycling and repairing company. Plastics can possibly be used in energy waste company. Recycling or
disposing the packaking waste must always be handled locally according to the local rules.
When life cycle of Miniroller comes to an end, all metals need to be sorted and recycled accordingly.
Steamer can also be dispatched to a recycling center as whole, for sorting and recycling.
Cables can be processed in a center for cable granulation.
Control circuit boards can be recycled in a center for electroninc waste.
6 ELECTRICITY AND CONTROL PANEL
Electricity and automation has been implemented according to diagrams enclosed.
6.1 MAIN AND CIRCUIT DIAGRAM
Main and circuit diagram nr 175254100 enclosed
List of parts nr 175254701
Boldan Oy, Matkuntie 3, FIN-05200 Rajamäki |www.boldan.fi|+358 (0)9 853 1042
EU DECLARATION OF CONFORMITY
Table of contents


