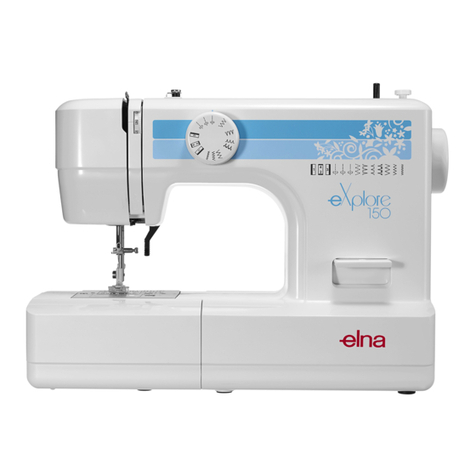
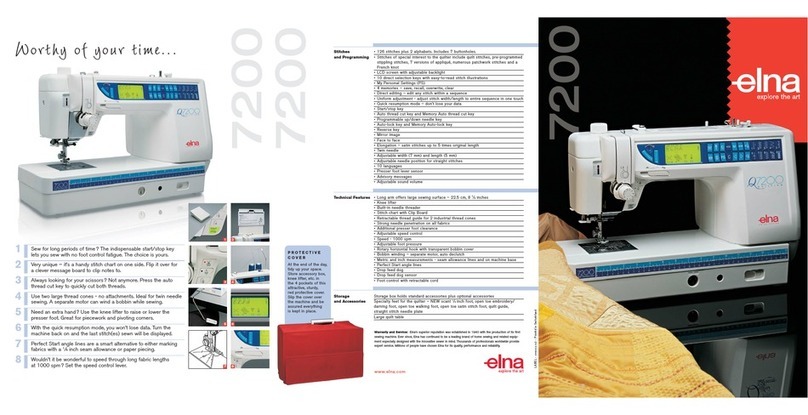
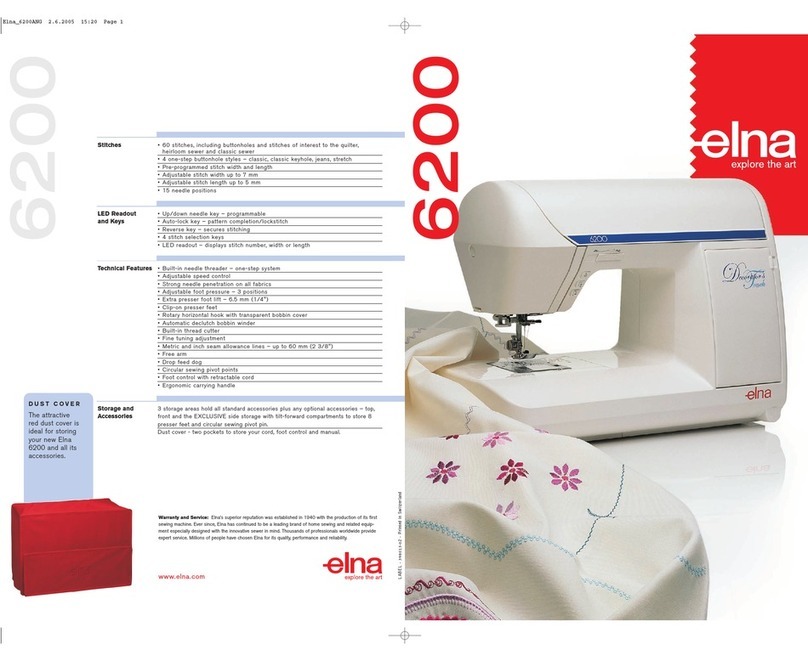
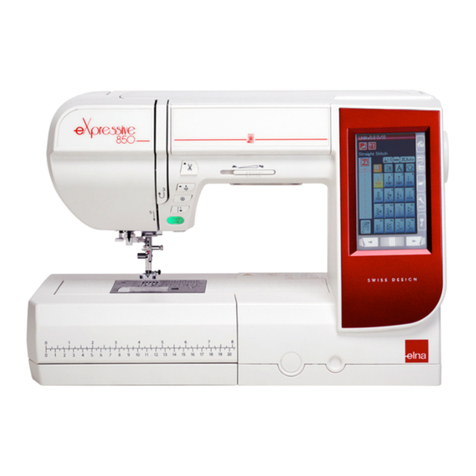
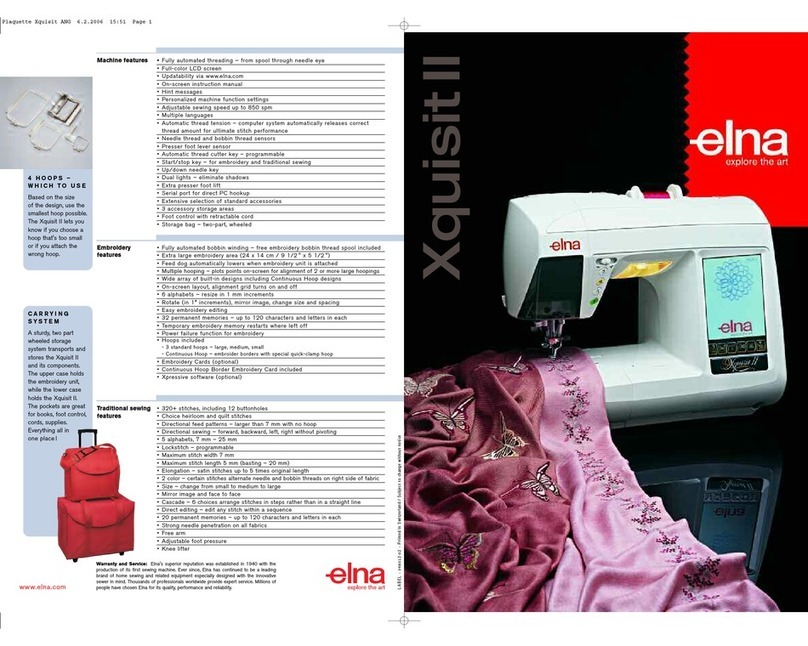
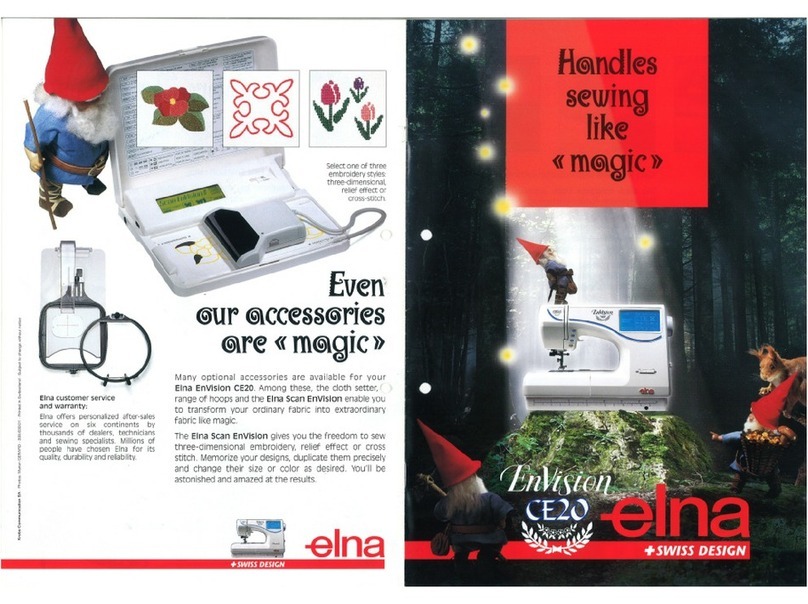
ELNA XPRESSIVE 2 User manual

Xpressive II
User’sGuide

COPYRIGHT
© Copyright 2005 Pulse Microsystems Ltd. All rights reserved.
This Xpressive User’s Guide and the Xpressive software are copyrighted by the devel-
oper of the software, PulseMicrosystems Ltd.All rights reserved. US Patent Nos.5 270
939; 5 343 401; 5 430 658; 5 506 784; 5 510 994; 5 541 847; 5 668 730; 5 771 173; 5
809 921; 6 196 146; 6 216 618; 6 390 005. European Patent Nos. 0545773. Other pat-
ents pending.
Information in this document is subject to change without notice.
The software described in this document is furnished under a license agreement and/or
nondisclosure agreement. The software may be used or copied only in accordance
with the terms of those agreements. No part of this publication and the software may be
copied, photocopied, reproduced, translated, or reduced to any electronic medium or
machine-readable form without the manufacturer’s written permission.
Commercial or industrial use of trademark and copyrighted works (For example, books,
paintings, drawings, photos, fanciful characters, and so forth) owned by other compa-
nies or persons, for creation of embroidery patterns without permission is illegal and
may result in either criminal or civil liability.
Microsoft and Windows®2000/XP are registered trademarks of Microsoft Corporation.
All other product names are copyrighted and registered trademarks or trademarks of
their respective holders. All computer and software names identified by TM or tm are
trademarks of their respective manufacturers.

ELNA XPRESSIVE II 1
User’s Guide
Table of Contents
Chapter 1 Getting Started
The Xpressive package ............................................................. 10
System Requirements......................................................... 10
Backing up files ................................................................... 10
Connecting Hardware................................................................ 10
Connecting the Elna embroidery machine ...........................11
Configuring the Elna embroidery machine ...........................11
Installing Xpressive.....................................................................11
Using other disk formats.............................................................11
Registering Xpressive.................................................................11
Obtaining a License for Xpressive from the Internet ........... 12
Obtaining a License for Xpressive without Internet Access. 13
Transferring a License from a Second Computer................ 15
Opening and Closing Xpressive................................................. 18
Calibrating your Screens for Accurate Measurements .............. 19
Chapter 2 Setting up Xpressive
Setting up the workspace environment...................................... 22
Showing and hiding toolbars...................................................... 22
Showing and hiding the draw ribbon.......................................... 23
Customizing the draw ribbon ..................................................... 23
Setting user preferences............................................................ 23
Chapter 3 Learning the Basics
Understanding the Xpressive Workspace.................................. 26
Title Bar............................................................................... 26
Menu Bar............................................................................. 26
Status Bar............................................................................ 26
Xpressive Tools................................................................... 26
Tools on the Ribbon............................................................. 26
Draw Ribbon Tools .............................................................. 28
Editing Tools........................................................................ 29
Viewing Tools....................................................................... 30
Stitch Edit Tools................................................................... 30

2
Lettering Tools..................................................................... 30
Punching Tools.................................................................... 31
File Tools ............................................................................. 31
Correcting mistakes................................................................... 32
Creating new designs ................................................................ 32
Entering measurements............................................................. 32
Opening and closing designs..................................................... 32
Opening designs using the Library feature................................ 34
Saving designs........................................................................... 35
Saving a Copy of a Design ........................................................ 36
Setting up design worksheets.................................................... 36
Using the scroll bars .................................................................. 37
Working with Thread Charts ...................................................... 38
Changing the colors in designs ........................................... 38
Adding custom thread colors to a custom thread chart....... 39
Adding standard thread colors to a custom thread chart..... 39
Choosing a thread chart...................................................... 40
Changing the thread chart................................................... 40
Removing a thread color from the custom thread chart ...... 40
Removing all threads in the custom thread chart................ 40
Printing Designs......................................................................... 41
Changing a design’s print settings....................................... 41
Previewing a design before printing.................................... 42
Printing design worksheets.................................................. 42
Printing in 3D View............................................................. 42
Inputting and Outputting Designs............................................... 43
Inputting a design................................................................ 43
Outputting a design ............................................................. 43
Outputting a design to the Elna embroidery machine ......... 45
Chapter 4 Viewing and Measuring Designs
Viewing Methods and Tools....................................................... 48
Magnifying and reducing the view....................................... 48
Viewing designs................................................................... 48
Viewing the actual size of designs....................................... 49
Viewing the whole design on-screen................................... 49
Viewing a design selection on-screen................................. 50
Viewing parts of a design not visible in the design
workspace ........................................................................... 50
Viewing Buttons......................................................................... 50
Changing the background color of the current window ....... 50
ELNA XPRESSIVE II 3
User’s Guide
Showing and hiding outline segments................................. 50
Showing and hiding machine commands............................ 51
Showing and hiding the stitch placements in designs......... 51
Showing and hiding beads.................................................. 52
Showing and hiding stitches in design files......................... 52
Defining grid settings........................................................... 53
Showing and hiding grids.................................................... 54
Showing and hiding 3D stitches......................................... 54
Viewing the sewing order of designs................................... 54
Viewing Commands................................................................... 55
Displaying a hoop while designing ...................................... 55
Finding potential stitch problems......................................... 56
Hiding outlines in design files.............................................. 56
Setting the 3D View options ............................................... 56
Viewing a design by thread color order............................... 57
Aligning and Measuring Designs ............................................... 57
Adding guidelines................................................................ 57
Moving guidelines................................................................ 58
Changing the ruler origin..................................................... 58
Defining ruler units............................................................... 58
Measuring designs .............................................................. 59
Chapter 5 Creating Lettering and Merging Designs
Creating Embroidery and TrueType® Lettering ......................... 62
Creating lettering using the Text tool................................... 62
Creating horizontal lettering................................................. 62
Creating circle lettering........................................................ 63
Converting TrueType® lettering to Satin stitches................ 64
Inserting color changes ....................................................... 65
Kerning the space between letters...................................... 65
Modifying Text segments..................................................... 67
Drawing mode for lettering .................................................. 68
Merging Designs........................................................................ 69
Merging designs with lettering............................................. 71
Chapter 6 Changing your Segment Settings
Changing the settings of a segment .......................................... 75
Changing Text properties........................................................... 75
Choosing an embroidery font .............................................. 75
Choosing a TrueType® font................................................. 76
Choosing the Fill type for TrueType® lettering.................... 76

4
Changing the shape of lettering manually........................... 76
Changing the vertical position of lettering ........................... 78
Changing the size and position of circle lettering................ 79
Rotating lettering manually.................................................. 81
Changing the shape of lettering .......................................... 82
Setting the lettering height................................................... 82
Setting the justification ........................................................ 82
Setting lock stitches for lettering.......................................... 83
Changing Satin properties ......................................................... 84
Selecting a Fill pattern for Satin stitches ............................. 84
Setting the density for Satin stitches ................................... 84
Changing Satin Effect properties............................................... 85
Applying a jagged effect to Satin stitches............................ 85
Changing Run properties........................................................... 86
Choosing a style for Run stitches........................................ 86
Setting the stitch length for Run stitches............................. 86
Changing Steil properties........................................................... 87
Setting the width for Steil stitches........................................ 87
Changing Complex Fills properties............................................ 87
Adjusting the stitch length for the selected Fill pattern........ 87
Selecting a pattern for Fills.................................................. 87
Setting the stitch density for Fills......................................... 88
Changing Carved Fill properties ................................................ 89
Choosing a Carved Tile pattern........................................... 89
Creating Carved Fills........................................................... 89
Changing Programmed Fill properties....................................... 91
Adjusting the stitch length for Programmed Fill patterns..... 91
Choosing a Programmed Fill pattern................................... 91
Changing Pull Compensation properties ................................... 92
Adjusting pull-compensation ............................................... 92
Changing Underlay properties................................................... 92
Selecting the underlay type................................................. 92
Changing the inset distance................................................ 93
Increasing the number of lines for perpendicular underlay . 93
Specifying the underlay density........................................... 94
Specifying the underlay stitch length................................... 94
Changing Commands properties............................................... 94
Adding machine commands................................................ 94
Applying lock stitches.......................................................... 95
Changing a thread color number......................................... 96

ELNA XPRESSIVE II 5
User’s Guide
Chapter 7 Design Editing in Stitch Mode
Editing Stitches and Stitch Groups............................................. 98
Selecting stitches in various ways....................................... 98
Deleting stitches.................................................................. 99
Flipping stitches in a design file......................................... 101
Mirroring stitches in a design file....................................... 102
Moving through Stitch designs .......................................... 103
Moving stitches in a design file.......................................... 105
Moving or copying stitches................................................ 105
Resizing stitches in a design file ....................................... 107
Rotating stitches in a design file........................................ 109
Editing Stitches .........................................................................110
Adding a trim ......................................................................111
Changing thread colors in design files ...............................111
Changing existing machine commands..............................113
Inserting a stitch .................................................................114
Chapter 8 Design Editing in Outline Mode
Editing Segments......................................................................116
Selecting segments............................................................116
Converting stitches to outline segments.............................118
Converting stitches to stitch segments...............................118
Deleting segments..............................................................119
Moving through Outline designs.........................................119
Reflecting segments.......................................................... 121
Resizing segments............................................................ 122
Rotating segments............................................................. 124
Closing Open Segments.................................................... 125
Copying segments................................................................... 125
Copying segments using the Clipboard............................. 125
Moving segments..................................................................... 126
Moving segments manually............................................... 126
Moving segments using Power Edit .................................. 126
Moving segments using the Clipboard .............................. 127
Nudging segments ............................................................ 128
Sequencing Outline Segments ................................................ 128
Inserting segments earlier in the segment sequence........ 128
Inserting segments later in the segment sequence........... 129
Moving a segment backward or forward ........................... 130
Moving a segment to the start or end of a design ............. 132
Locking Segments in Sequence View............................... 135

6
Resequencing by color...................................................... 136
Chapter 9 Using Paths
Drawing Lines.......................................................................... 138
Forcing horizontal and vertical lines.................................. 139
Drawing diagonal lines...................................................... 140
Drawing mode for lettering ................................................ 140
Drawing modes for punching............................................. 141
Drawing straight lines........................................................ 141
Vertex and Point Editing........................................................... 142
Adding and deleting anchor points.................................... 142
Changing the properties of an anchor point ...................... 142
Moving anchor points ........................................................ 143
Resetting Handles............................................................. 144
Working with Beads................................................................. 144
Different bead types .......................................................... 144
Changing the location of start and stop points .................. 144
Adding angle lines to segments......................................... 145
Chapter 10 Working with Images
Scanning images ..................................................................... 148
Loading images for punching................................................... 148
Rotating scanned images ........................................................ 149
Resizing scanned images........................................................ 151
Removing scanned images...................................................... 152
Hiding and showing images..................................................... 153
Lightening images.................................................................... 153
Auto Tracing Images................................................................ 153
Chapter 11 Using Punching Tools
Common embroidery stitch types ............................................ 156
Digitizing tips............................................................................ 157
Embroidery........................................................................ 158
Other items to consider ..................................................... 158
A successful digitizer......................................................... 158
Manual and Run Stitches......................................................... 158
Creating Bean stitches ...................................................... 158
Creating Manual and Jump stitches.................................. 159
Creating Run stitches........................................................ 160
Creating Two-Ply stitches.................................................. 160

ELNA XPRESSIVE II 7
User’s Guide
Satin and Fill Stitches............................................................... 161
Creating Satin or Fill stitches with the Enhanced
Column tool ....................................................................... 161
Creating Satin or Fill segments with holes ........................ 161
Creating stitches with the Complex Fill tool....................... 163
Creating Steil stitches........................................................ 164
Adjusting Satin and Fill Stitches............................................... 164
Changing the angle lines in Complex Fill segments.......... 164
Appliqué................................................................................... 165
Creating an appliqué border.............................................. 165
Programmed Runs................................................................... 165
Using Programmed Runs.................................................. 165
Carved Fills.............................................................................. 166
Applying Carved Fills to TrueType® lettering.................... 166
Chapter 12 Using Autodigitizing and Cross-Stitch Wizards
Using the Autodigitizing Wizard............................................... 168
Creating a New Xpressive Cross-Stitch Design....................... 169
Selecting an Image............................................................ 170
Color Reductions............................................................... 171
Transforming an Image ..................................................... 173
Image Edit ......................................................................... 177
Adding Outlines to an Image............................................. 179
Final Preview..................................................................... 181
Appendix A Keyboard Shortcuts and Commands
Keyboard Shortcuts ................................................................. 184
Keyboard Commands.............................................................. 186
Appendix B Getting Help
Xpressive documentation......................................................... 190
Using the Xpressive online Help.............................................. 190
Opening the online Help.................................................... 190
Using the Contents............................................................ 191
Using the Index ................................................................. 191
Using Search..................................................................... 191
Using the Font Help........................................................... 192
Using the Fill Help............................................................. 192
Saving your favorite topics ................................................ 192
Printing online Help topics................................................. 192

8
Glossary....................................................................................195
Index..........................................................................................221

CHAPTER 1
Getting Started
Welcome to the Xpressive II embroidery design system for the Elna
home-based embroidery machine. The Xpressive II User’s Guide
provides you with the information you need to install the software
and hardware and to learn about Xpressive.
In this chapter:
• Find out what you receive in the Xpressive package.
• Learn how to connect the Elna machine to your computer.
• Learn how to install the Xpressive software.
Before you begin, you should be familiar with basic
Windows®2000/XP usage and conventions.To learn more about
Windows®2000/XP, see the Windows online Help.

10
The Xpressive
package
Each Xpressive package includes the
following components:
• Xpressive Getting Started Guide.
• Xpressive User’s Guide.
• Xpressive CD-ROM.
System Requirements
Minimum Recommended System
Requirements:
• Genuine Intel Pentium 4, 2GHz PC
computer (or higher) with a CD-ROM
drive
• 17" or 21" monitor with 1024x768 video
resolution with 16-bit color display (or
higher).
• 256 megabytes of RAM
• Microsoft® Windows®2000/XP operating
system
• 3.5-inch high-density disk drive for most
disk formats
• Minimum 1 gigabyte hard disk drive
space available
• Mouse (3 button is preferred for punching)
Backing up files
Windows®2000/XP comes with an efficient
file Backup program called Microsoft Backup.
We recommend you use Microsoft Backup to
backup files and designs on a regular basis.
Backing up your work protects your designs
in case the data on your computer is lost or
damaged.
To back up files:
1Click Start.
2ChoosePrograms—Accessories—System
Tools—Backup.
3Follow the instructions provided.
If you have any problems, consult the
Microsoft Backup’s online Help.
Connecting Hardware
You can now set up all the hardware you
want to use with Xpressive. This section
describes how you can connect these
devices. The most important device is the
Elna embroidery machine.
Xpressive supports many different peripheral
devices. The most important device you need
to connect is your Elna embroidery machine.
First, you need to connect the peripheral
devices to the ports at the back of your
computer. Then, when you install Xpressive,
these hardware components are configured
to run with Xpressive.
We recommend that you follow the
procedures outlined in the Getting
Started Guide to ensure that you install
Xpressive correctly.
Specifications are subject to change
without prior notice. For additional
information on setup and system
requirements, contact your distributor.
If Microsoft Backup is not currently
installed on your computer, refer to the
Windows®2000/XP online Help for
installation instructions.

ELNA XPRESSIVE II 11
User’s Guide
Connecting the Elna
embroidery machine
Serial embroidery machines are configured
during the Xpressive installation once the
machine’s hardware has been set up.
To connect the Elna embroidery
machine:
1Use the Elna documentation to set the
correct port settings.
2Connect the machine to an available
serial port on the computer using the
serial cable provided with Xpressive.
3Turn on your computer.
Now, when you install Xpressive, the
machine settings will be set accordingly.
Configuring the Elna
embroidery machine
See the Elna documentation for more
information on how to set up the Elna
embroidery machine.
Installing Xpressive
To install Xpressive:
1Insert the Xpressive CD into the CD-
ROM drive.
You see the InstallShield introductory
screen.
2Click Next to follow the installation.
3Follow the instructions on each screen.
Using other disk
formats
Xpressive supports other disk formats such
as Elna, Tajima, Pfaff, and Brother, Pfaff,
Janome, Viking, Poem, and Singer.
Registering Xpressive
Initially you can use the Xpressive software
for up to 30 days without a license. To use it
in this 30-day trial mode, select this option
when you install the program. Each time you
run the program the remaining number of
days in the trial period will be displayed.
We recommend that your embroidery
machine settings beconfigured using the
Xpressive Installation.
You must be running Windows®2000/XP
to install Xpressive.

12
Any time during the evaluation period you
can start the registration using the Help
menu. You can choose one of the following
options to obtain a license:
• Using a serial number (requires Internet
connection).
• Providing an unlocking key given to you
by phone or e-mail.
• Transferring a license from another
computer.
Obtaining a License for
Xpressive from the
Internet
If you received a product serial number with
the program, the number can be used to
obtain a license. If you have an Internet
connection, you can have the program
automatically obtain a license.
To obtain a license from the Internet:
1To open the Xpressive License Activator
wizard, select one of the following
procedures:
If you are using the 30-day trial mode
for Xpressive, choose Help—Open
License Activator.
If your 30-day trial mode has expired,
double-click the Xpressive link on your
computer desktop.
You will see the Xpressive License
Activator wizard appear.
2Select the Install a license option and
click Next.
You will see another Xpressive License
Activator wizard page appear.

ELNA XPRESSIVE II 13
User’s Guide
3Select I received a serial number & I have
an internet connection on this machine
and click Next.
You will see the Welcome to Purchase
Wizard page appear.
4Read the information shown and click
Next.
You will see the Purchase Wizard page
appear.
5In the Serial number field, enter the serial
number you received and click Next.
You will see another Purchase Wizard
page appear.
6To finish obtaining a license for Xpressive,
click Finish.
Obtaining a License for
XpressivewithoutInternet
Access
If you do not have an Internet connection,
you will need to contact your dealer or
distributor to obtain a license. Please refer to
the contact information that you received with
your package.
To obtain a license without Internet
access:
1To open the Xpressive License Activator
wizard, select one of the following
procedures:
If you are using the 30-day trial mode
for Xpressive, choose Help—Open
License Activator.

14
If your 30-day trial mode has expired,
double-click the Xpressive link on your
computer desktop.
You will see the Xpressive License
Activator wizard appear.
2Select the Install a license option and
click Next.
You will see another Xpressive License
Activator wizard page appear.
3Select I received a serial number & I don’t
have internet connection on this machine
and click Next.
You will see another Xpressive License
Activator wizard page appear.

ELNA XPRESSIVE II 15
User’s Guide
4In the Site Key field, enter the site key you
were given for your computer or click
Browse and find the location of the site
key. Click Next to continue.
You will see another Xpressive License
Activator wizard page appear.
5Click Next to continue.
You will see another License Activator
wizard page appear.
6Click Finish to complete your installation.
Transferring a License
from a Second Computer
If you are running an installation of Xpressive
on your computer, without a license, you can
transfer an existing license from a second
computer. You can copy an Xpressive license
onto a floppy disk, USB device or network
directory folder. Only the Xpressive
installation with a license can run the
software.
To transfer a license to a floppy disk:
1On the computer without a license, open
Xpressive.
You will see the Xpressive License
Activator wizard appear.
2Select the Install a license option and
click Next.
You will see another Xpressive License
Activator Wizard page appear.
If you are using the 30-day trial, it is
considered a temporary license.
The first time you open Xpressive you
will see the License Agreement dialog.
To continue, click I agree.

16
3Select I want to transfer a license from a
second computer and click Next.
You will see another Xpressive License
Activator wizard page appear.
4Insert an empty floppy disk into your A:\
drive.
5Click Next and a registration file will be
copied to your floppy disk.
You will see another Xpressive License
Activator wizard page appear. Leave this
wizard page open.
6Remove your floppy disk.
7On the computer with a license, open
Xpressive and insert the floppy disk into
your A:\ drive.
8Choose Help—Transfer License.
You will see the Browse for Folder dialog
appear.
9Browse to your A:\ drive that contains
your floppy disk.
10 Click OK.
You see the License Transfer confirmation
dialogs. Click OK. Xpressive will
shutdown.
The installation of Xpressive on this
computer will no longer have a license.
11 Remove your floppy disk.
12 On the computer without a license, insert
your floppy disk into the A:\ drive and
click Next.
The license will be copied to this
installation of Xpressive. You see another
License Activator wizard page appear.
13 Click Finish.
Xpressive will be launched. You can begin
using Xpressive on this computer.

ELNA XPRESSIVE II 17
User’s Guide
To transfer a license to directory or USB
device:
1On the computer without a license, open
Xpressive.
You will see the Xpressive License
Activator wizard appear.
2Select the Install a license option and
click Next.
You will see another Xpressive License
Activator Wizard page appear.
3Select I want to transfer a license from a
second computer and click Next.
You will see another Xpressive License
Activator wizard page appear.

18
4Click Browse and locate the network
directory you want to transfer your license
to.
5Click Next.
You will see another Xpressive License
Activator wizard page appear. Leave this
wizard page open.
6On the computer with a license, open
Xpressive.
7Choose Help—Transfer License.
You will see the Browse for Folder dialog
appear.
8Browse to location of the specified
network directory or USB device you
want your license transferred to.
9Click OK.
You see the License Transfer confirmation
dialogs. Click OK. Xpressive will
shutdown.
The installation of Xpressive on this
computer will no longer have a license.
10 On the computer without a license, click
Next.
The license will be copied to this
installation of Xpressive. You see another
License Activator wizard page appear.
11 Click Finish.
Xpressive will be launched. You can begin
using Xpressive on this computer.
Opening and Closing
Xpressive
To open Xpressive:
•Do one of the following:
Double-click the Xpressive icon
created on your desktop.
Choose Start—Programs—Xpressive.
You will see the Xpressive window appear.
To close Xpressive:
•Choose File—Exit.
This manual suits for next models
1
Table of contents
Other ELNA Sewing Machine manuals

ELNA
ELNA Sew75 User manual

ELNA
ELNA eXpressive 970 User manual

ELNA
ELNA eXcellence 680+ User manual

ELNA
ELNA TSP AIR ELECTRONIC User manual

ELNA
ELNA eXpressive 830 User manual

ELNA
ELNA 2003 User manual

ELNA
ELNA Lotus User manual

ELNA
ELNA Cl.11 User manual

ELNA
ELNA 9600 "Haute Couture" User manual

ELNA
ELNA eXcellence 782 User manual

ELNA
ELNA Lotus User manual

ELNA
ELNA 3004 User manual

ELNA
ELNA 5200 User manual

ELNA
ELNA EnVision 8006 Wiring diagram

ELNA
ELNA Elnita ec 30 User manual

ELNA
ELNA 2100 - LEAFLET User manual

ELNA
ELNA lotus 2 User manual

ELNA
ELNA TX User manual

ELNA
ELNA 8300 - LEAFLET User manual

ELNA
ELNA eXperience 550 User manual