Amplifiers produce light noise when
left on. The noise is a light hiss and
is heard when music isn’t playing in
a very quiet room. If you are using
a master switch to turn off power
to your audio equipment, always
on is acceptable. In a louder or light
commercial environment, always ON
may be acceptable. In quiet rooms,
it is suggested to use the AUTO
option.
NOTE: When the OFF/AUTO/ON
switch is set to the AUTO mode,
the front panel power LED toggle
function is disabled.
*Unit can be toggled between ON-
OFF using the front panel Power
Button.
Stereo 2-Channel
Standard Connection
Diagram
Speaker Connections.
The AMP 50/2 has 5-way binding
posts to make connecting your
speaker wire easy and secure. The
connector can be used to screw
down onto bare wire, or banana
jacks, spade connectors or pins.
Position and polarity are color
coded and marked to avoid phase
issues. Be sure to follow and main-
tain proper polarity and position.
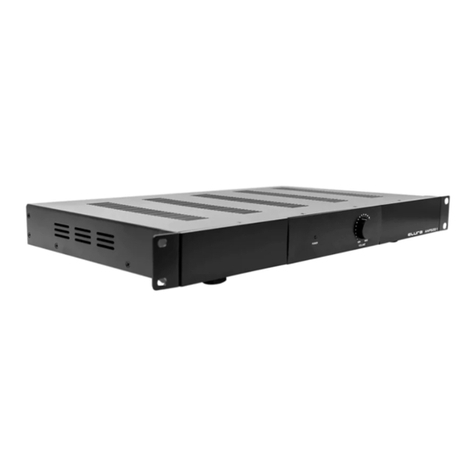
model # AMP 50/2
high performance amplifier
Preamp Connections.
Preamplified connections are made
using Stereo RCA patch cables.
The AMP 50/2 provides a con-
venient IN and OUT loop. Use the
output to connect to another amp
or other device sharing the pre-
amp source signal.
CL2, 2 conductor,
16 AWG speaker wire
From
source
Front Panel LEDs.
The Elura amplifier has an LED on
the front panel to indicate the ampli-
fier’s power state.
The Power LED indicates the ampli-
fier is ON or in standby. Tap the but-
ton to toggle between standby and
ON.
Power ON = Blue
Power Standby = Red
Amp Volume Settings.
The volume for the amplifier on the
front panel offers control of the
speaker output for Left / Right.
The AMP 50/2 has three power
modes, OFF/AUTO/ON.
ON = Always ON*
AUTO = Signal sensing via audio
OFF = Always OFF
Auto Power Modes.
Warranty.
All Elura products come with a 2
year limited liability warranty. This
warranty includes parts and labor re-
pairs on all components found to be
defective in material or workmanship
under normal conditions of use. This
warranty shall not apply to products
which have been abused, modified
or disassembled.
A product that fails under condi-
tions other than those covered will
be repaired at the current price of
parts and labor in effect at the time
of repair. Such repairs are warranted
for 90 days from the day of reship-
ment to the BUYER. If the unit is
delivered by mail, customers agree
to insure the unit or assume the risk
of loss or damage in transit. Un-der
no circumstances will a unit be
accepted without a return authoriza-
tion number. The warranty is in lieu
of all other warranties expressed or
implied, including without limitations,
any other implied warranty or fitness
or merchantability for any particular
purpose, all of which are expressly
disclaimed. Proof of sale may be
required in order to claim warranty.
Specifications.
Output Power: 60W x 2 @ 4Ω 1kHz
35W x 2 @ 8Ω 1kHz
THD+N: @4/8Ω=1.0%
Input Sensitivity: 430mV
Frequency Response: 41Hz - 22kHz
High Pass Filter: -3dB @ 41Hz
Signal to Noise Ratio: -90dB
Auto Turn ON: 5mV
Turn OFF Delay: 15min
Line Level Inputs/Pass Through
Outputs: Stereo RCA
Current Draw @ rated power:
2.4 Amps
Protection: Shorted Output
Certification: TuV Safety Rated
High Temperature
Supply Voltage: AC230V / 50Hz
Dimensions:
216mm (8.5”) W
44.5mm (1.75”) H
50mm (2”) H (including feet)
218mm (8.6”) D (including volume
knob & speaker connectors)
Unit Weight:
1.4kg (3.1lb)
Dual Rack Mount Option:
The Elura AMP50/2-RACK-KIT
allows strapping two Elura
AMP50/2 units together for
standard 19” wide single rack
space (1U) mounting.
Rack Mount Option:
Standard 19” 1U using supplied
rack ears.
AC110V / 60Hz
www.elura.audio
MSTR
