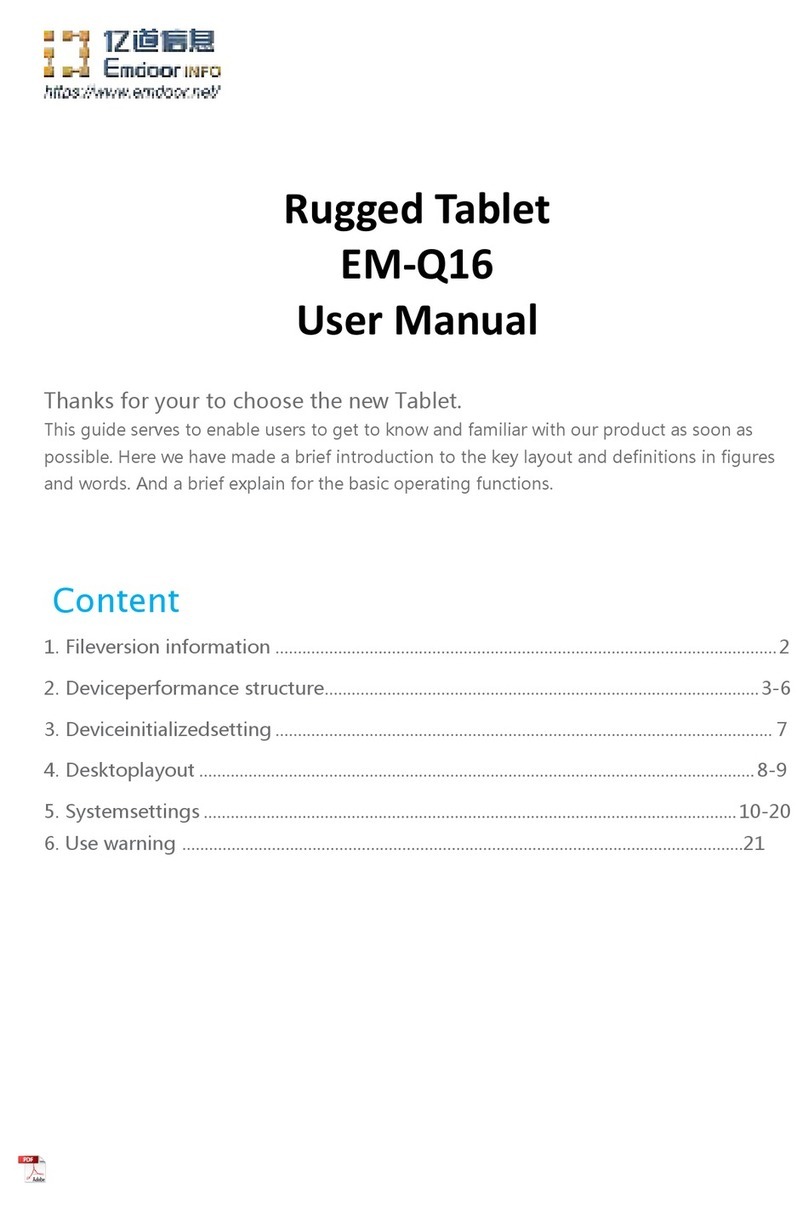
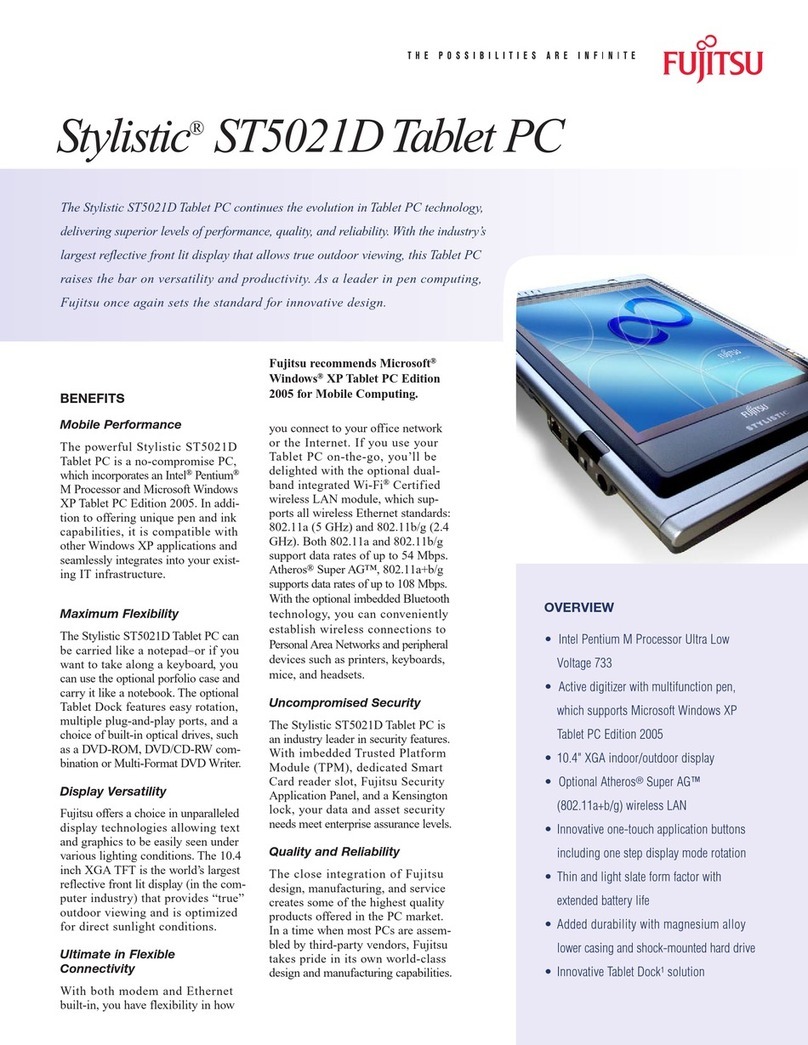
Emdoor EM-I10J User manual

Rugged
Mobile Computing
Solutions
EM-I10J
USER
MANUAL

March
2022
NOTE
The
information in this
manual is subject to
change
without notice.

Table of
Contents
Chapter
1
Getting
Started
.............................................................. 1
Getting
the Tablet
Running
....................................................... 2
Unpacking
............................................................................. 2
Connecting
to
AC
Power
....................................................... 3
Turning
On and Off the Tablet
............................................. 4
Taking a
Look at
the
Tablet
....................................................... 6
Front
Components ............................................................... 6
Rear
Components
................................................................. 8
Right-Side Components
....................................................... 9
Left-Side Components ......................................................... 9
Top
Components
................................................................. 10
Bottom
Components
.......................................................... 11
Install
TF
Card
............................................... 12
Chapter
2
Operating
Your
Tablet
...................................................
14
Using
the
Touchscreen
............................................................ 15
Using Multi-touch Gestures
............................................... 16
Using Wireless Connections
.................................................... 18
Using
the
WLAN
.................................................................. 18
Using
the Bluetooth
Feature
.............................................. 19
Chapter
3 Managing
Power .......................................................... 20
AC
Adapter ................................................................................ 21
B
attery
Pack
............................................................................. 22
C
harging the
Battery
Pack
................................................. 22
Checking
the Battery Level ................................................ 23
Low
Battery ........................................................................ 23
ⅰ

Replacing the
Battery
Pack
................................................ 24
Power-Saving Tips ................................................................... 26
Chapter
4 Expanding
Your
Tablet
..................................................
27
Connecting Peripheral
Devices
............................................... 28
Connecting
a
USB
Device ................................................... 28
Connecting
a
USB Type-C
Device ...................................... 28
Connecting
a Monitor
......................................................... 28
Connecting
an Audio
Device .............................................. 28
Chapter
5
Using
BIOS
Setup
.........................................................
29
When and How
to
Use
.............................................................. 30
Menu
Descriptions
................................................................... 31
Main Menu .......................................................................... 31
Security
Menu .................................................................... 33
Boot Menu
.......................................................................... 34
Save
&
Exit Menu ................................................................ 35
Chapter
6 Care and
Maintenance ..................................................
36
Protecting the Tablet
............................................................... 37
Using an Anti-Virus Strategy
.............................................. 37
Taking
Care
of
the
Tablet ......................................................... 38
Location
Guidelines ........................................................... 38
General Guidelines ............................................................. 39
Cleaning
Guidelines ........................................................... 39
Battery
Pack
Guidelines
.................................................... 40
Touchscreen Guidelines .................................................... 41
When Traveling
........................................................................ 42
Chapter
7 Troubleshooting
..........................................................
43
Preliminary Checklist .............................................................. 44
Solving
Common
Problems .................................................... 45
ⅱ

Battery Problems ............................................................... 45
Bluetooth Problems ........................................................... 46
Display Problems ............................................................... 46
Hardware Device Problems ............................................... 47
Power Management
Problems .......................................... 47
Software
Problems
............................................................. 48
Sound Problems ................................................................. 48
Startup
Problems
............................................................... 48
WLAN
Problems .................................................................. 49
Restart the
Tablet ..................................................................... 50
ⅲ

Chapter 1
Getting
Started
This chapter first
tells you
step by
step how
to
get the
tablet up
and running.
Then, you
will
find a
section
briefly introducing the
external components
of
the tablet.
1

Getting
the Tablet
Running
Unpacking
After
unpacking
the
shipping carton, you should find these standard items:
●
I10J Rugged
Tablet
●
AC
power
cord
●
Battery
(
Built-in
)
●
AC
adapter
●Carry
handle
●Hand-strap
2

Connecting to
AC
Power
CAUTION
:
Use only the AC adapter included with your Tablet. Using
other
AC
adapters
may
damage
the
Tablet.
NOTE
:
●The battery pack
is
shipped
to you
in
power saving
mode
that protects
it
from
charging/discharging. It will get
out
of the mode
to be ready for
use when you
install
the battery
pack
and connect AC
power
to the Tablet for the very first time.
●When the AC adapter
is
connected, it also
charges
the battery pack. For
information on using
battery
power, see Chapter 3.
You
must
use AC
power when starting up the
Tablet for
the
very
first
time.
1.
Open the
DC
port waterproof
plug (Place the
tablet flat
on
the
desktop,
left
position)
DC
port
2. Plug the DC cord of
the
AC adapter to the
power
connector of the Tablet.
3. Plug the female end of the AC
power cord
to
the
AC adapter
and
the
male end
to an
electrical outlet.
4.
Power
is
being supplied
from the electrical outlet to the AC adapter
and
onto your
Tablet. Now, you
are ready to
turn on
the
Tablet.
3

Turning
On
and
O
ff
the
Tablet
Turning
On
2. Press the
power
button ( ) .
The Windows
operating system
should
start.
4

Turning
Off
When
you finish
a
working
session,
you can
stop the
system
by
turning
o
ff the
power
or leaving it
in
Sleep or Hibernation mode:
Power off
(Shutdown)
Click →[ Power]→[
Shut down
].
Sleep Use one of these methods:
●Press the
power
button.
●Click →[
Power]
→[Sleep].
Hibernate By default, this option is not
shown
in
the Start menu. If
you
want
to use the feature,
set
up accordingly in
Windows
settings.
*
“Sleep
”isthe
default
result of the action. You can
change
what
the
action
does
through Windows settings.
5
To...
Do this...

Taking
a
Look
at
the
Tablet
NOTE
:
Depending on
the specific model
you purchased, the color
and
look of your
model
may not exactly
match
the
graphics
shown in this
document.
CAUTION
:
You
need
to open
the
protective covers to access
the
connectors. When
not
using a connector,
make
sure to
close
the cover
completely
for
water-, and
dust-proof
integrity. (Engage
the
locking
mechanism
if existing.)
Front Components
❶
❸
❹
❺
❻
❼
❽
❷
❾
6

Ref
Component
Description
❶
Microphone
Receives
sound and
voice for the Tablet.
❷
Stereo
Speaker
Sends out
sound
and voice
from
the Tablet.
❸
Indicators
Up:The
power
on is
always
on blue,
and
the
power
off
light is
o
ff. When
switching
the
built-in
small
battery power
supply,
it flashes
blue.
Down:(red
and
green)
charging red, full
of green.
The low battery red light flashes,
and
the
discharge is not on.
❹
F
Key
2D
scan
key (can be
de
fined).
❺
Windows
HOME
Used to
open windows
shortcuts.
❻
Volume
Button +
Used to
adjust and
increase the
volume.
❼
Volume
Button
-
Used to
adjust or
reduce the
volume.
❽
Power
Button
Used
for sleep
wake-up
equipment
and
switching
equipment.
❾
LCD
Screen
Displays the
output
of the Tablet. Include
touchscreen feature.
7

Rear
Components
❷
❶
❼
❻
❸
❹
❾
❺
❽
Ref
Component
Description
❶
Camera
Used to
realize the camera
function.
❷
Flash Lamp
Fill light
and
lighting.
❸
Cooling
Fan
Used
for
radiating
the flat
plate
(air
inlet).
❹
Battery Lock
Lock the battery
cover.
❺
Battery
Location
of large
battery.
❻
Plastic
Top
Shell
The scanning
head
needs to
be
replaced.

8

Ref
Component
Description
❼
Battery
Switch
Latch
The normal
power supply switch is
closed,
the
large battery
is
changed to
the unlocked state,
and the
latch
is
restored after
replacement.
❽
Fingerprint
Fingerprint
unlock.
❾
NFC
NFC
swipe
card.
SSD
SSD
interface location.
Right-Side
Components
Left-Side
Components
❶
❷
❸
❽ ❼ ❻
❺ ❾ ❹
9

Ref
Component
Description
❶
Cooling
Fan
Used
for
radiating
the flat
plate
(air outlet).
❷
Interface
Protection
Cover
Play the
role
of
protective
interface, slide
to
the
left to
open
the
protective cover.
❸
DC
Power Jack
Connect the power adapter.
❹
3.5mm
Earphone
Jack
Connect the
audio device.
❺
TF
Card
Installing the
TF
card
,
max
:
128G.
❻
USB3.0
Port
Connects a USB
device.
❼
Type-C Port
Connects a USB-C
device.
❽
HDMI Connector
Connects a HDMI
monitor
or TV set.
Top
Components
❶
❷
Ref
Component
Description
❶
Module Port
Network port (default), serial port, USB,
1D code
and
2D code, One out of five.
❷
Handle
Screw
Position
Install M4 handle screw to
facilitate
the
installation
of
handle.
10

Schematic diagram of
handle: (the
picture
is
for
reference
only)
Bottom
Components
❶
❷
Ref
Component
Description
❶
Pogo Pin
Matched
with the
positioning hole
to
connect the
Vehicle Mount and Docking Charger
for expanding
USB,RJ45
and
RS232
communication
interfaces.
❷
Locating Hole
It
plays a
fixed
role when connecting the
Vehicle
Mount and Docking Charger.
11

Install
SIM card
and
TF
Card
Install
TF
Card in
the following location.
The installation method is
shown
in the following figure.
12

Schematic diagram of
Docking
Charger:
(the
picture
is
for reference
only)
(Front
+
Docking Charger) (Back
+
Docking
Charger)
Schematic diagram of
Vehicle
Mount: (the
picture
is
for reference
only)
(Front
+
Vehicle
Mount
)
(Back
+
Vehicle
Mount
)
13

Chapter 2
Operating
Your
Tablet
This
chapter
provides information about
the
use of
the
Tablet.
If
you
are new
to Tablets, reading
this chapter
will help you
learn the
operating
basics.
If
you
are
already
a
Tablet user, you may choose to read only the
parts
containing
information unique to your Tablet.
CAUTION
:
●Do not expose your skin to the Tablet when operating
it
in
a
very hot or
cold
environment.
●The Tablet can get
uncomfortably
warm when you
use
it
in
high temperatures. As
a
safety precaution
in such
a circumstance, do not place the Tablet on your lap
or
touch it with your
bare
hands for extended periods of time.
Prolonged body
contact
can cause discomfort and
potentially a
burn.
14
Table of contents
Other Emdoor Tablet manuals

Emdoor
Emdoor EM-I87J User manual

Emdoor
Emdoor EM-Q16 User manual

Emdoor
Emdoor EM-X14 User manual

Emdoor
Emdoor EM-Q16 User manual

Emdoor
Emdoor EM-I22J User manual

Emdoor
Emdoor EM-T195 User manual

Emdoor
Emdoor EM-I20J User manual

Emdoor
Emdoor EM-Q89 User manual

Emdoor
Emdoor IP SYSTEMS Rugged EM-Q15 User manual

Emdoor
Emdoor EM-Q865M User manual