manuals.online logo
Brands
  1. Home
  2. •
  3. Brands
  4. •
  5. Emerson
  6. •
  7. Garbage Disposal
  8. •
  9. Emerson InSinkErator WasteXpress WX-500-7-WX101 User manual

Emerson InSinkErator WasteXpress WX-500-7-WX101 User manual

InSinkErator is a business unit of Emerson Electric Co.
The Emerson logo is a
trademark and a service mark
of Emerson Electric Co.
4700 21st STREET
RACINE, WI 53406
TEL: 800-845-8345
FAX: 262 554-3620
www.insinkerator.com/foodservice
InSinkErator ©2016 Printed in USA
PROJECT: ITEM NO.:
MOUNTINGS
#6 Collar Adapter Kit – ideal for welding into
trough or sink, provides 6-5/8" (168.3 mm)
opening, includes permanent splash baffle
#7 Collar Adaptor Kit – ideal for welding into
sink, provides 6-5/8”(168.3 mm) opening,
includes removable splash baffle and stopper
18" Type A Sink Bowl Assembly – bowl with
two (2) water nozzles, includes removable
splash baffle and stainless bowl cover A complete collection of our product drawings is available
for download at the InSinkErator Revit/CAD Library, which
can be found at www.insinkerator.com/foodservice. Product
information is also accessible on The KCL CADalog. More
information is available from KCL at www.kclcad.com.
FOOD WASTE REDUCTION SYSTEM
PRODUCT FEATURES & SPECIFICATIONS
REDUCES FOOD WASTE VOLUME
• System grinds kitchen waste, presses out water, and expels semi-dry, finely-ground particles
into a 10-gallon (37.9 liter) waste bin
• Processes 100% organic waste for compost, or a mixture of food waste with up to 50% disposables
• Dewatered pulp can be disposed of into a waste or compost receptacle
• Heavy-duty 5 HP WX500 disposer processes both liquid and solid kitchen waste
• Capacity: 700 lbs. (317.5 kg) of waste per hour
• Water consumption varies by application: 2-3 GPM (7.6-11.4 LPM)
for bowl or 5 GPM (18.9 LPM) for trough
SYSTEM OVERVIEW
• Compact, under-table design fits under standard
table – minimum height 34" (863.6 mm)
• WX500 disposer and dewatering unit made from durable,
corrosion-resistant stainless steel construction
• NEMA 4X stainless steel electrical control box
• Safety Interlock on discharge chute
CLEANING
• Easily removable auger, auger screen, and chute – no tools required
• Quick and easy to clean – dishwasher safe components
• Does not require cardboard
The WasteXpress®Food Waste Reduction System is a food waste handling solution designed to
increase productivity and profitability by reducing bulk kitchen waste by up to 85%—or ten bags of
waste to less than two. Ideal for municipalities restricting disposer use and facilities participating in
compost programs.
ELECTRICAL SPECIFICATIONS
208-230V, 60 Hz, 3 Ph, 10.3/10.8 amps, CUL
(Disposer 8.6/8.8 amps) (Dewatering Unit 1.7/2 amps)
460V, 60 Hz, 3 Ph, 5.4 amps, CUL
(Disposer 4.4 amps) (Dewatering Unit 1 amp)
ACCESSORIES
Additional 10 gallon (37.9 liter) Waste Bin
(all systems include one (1) waste bin)
Dejamming Wrench
Trough Nozzle - 1" (25.4 mm) NPT
Inlet/Outlet Flange - 2" (50.8 mm) NPT
(secondary, for trough or high water flow applications)
Additional Magnetic Silver Saver
(all trough systems include one (1) Magnetic Silver Saver)
PROJECT: ITEM NO.:
Typical installation shown. Dish table, plumbing,
and electrical connections not included.
ON-SIT
E
PARTS & LABO
R
WARRAN
TY
YEAR
Form No. F483-16A-83-85
GENERAL NOTES
• When positioning disposer, ensure that the overload reset button is
accessible by end user.
• Connect cold water to either the sink bowl or end of trough.
• For proper removal of discharge chute, ease of cleaning, and general
maintenance: Position the dewatering unit with the front surface of
the discharge chute recessed 3" (76.2 mm) (see Figure 1) from the
front edge of the table and with a minimum clearance of 1" (25.4 mm)
between the underside of the table and top of the discharge chute
(see Figure 2).
• Position the dewatering unit within 10' (3.1 m) of the disposer outlet
flange (see Figure 2).
• When positioning control panel, ensure it is within sight of the
disposer and dewatering unit.
• For ease of installation and serviceability: Position the control panel
with the front surface recessed 1-1/2" (38.1 mm) from the front edge
of the table and with a minimum clearance of 2" (50.8 mm) between
the underside of the table and the top of the control panel.
• Maintenance: Disassemble and clean the dewatering unit a minimum
of once daily. Interior of cabinet and discharge chute can be cleaned
with hot soapy water. Auger, screen, and bearing bracket can be
cleaned either manually with hot soapy water or in a dishwasher.
PLUMBING NOTES
• 2" NPT – used between disposer, dewatering unit, and drain.
• When connecting the drain line from the disposer to the dewatering unit,
use a maximum of (4) 90° bends (45° bends are recommended) with a
minimum 1/4" (6.4 mm) drop per foot of run or as local codes apply.
• Trough applications in excess of 10' (3.1 m) and/or systems plumbed
with a cold water supply greater than 7 GPM (26.5 LPM) must
incorporate the second drain outlet from the pulper and be drained
independently to the floor sink or drain.
• 1/2" NPT – used on syphon breaker, solenoid, and flow control valve.
• 1/2" NOM compression – used on sink bowl nozzles.
• 1/2" Ridged Copper (compression) – used on hot water connection
to dewatering unit.
•
If water pressure exceeds the allowable pressure of 80 psi (551.6
kPa), pressure regulators should be used.
• It is recommended that all fresh water and waste line plumbing
connections be terminated with unions for ease of serviceability.
• Note: Some applications can benefit from installing a ball type
shutoff valves in the cold and hot water lines. Contact your
InSinkErator Representative or the factory for more information.
TROUGH APPLICATIONS – CONTACT FACTORY
• The recommended maximum trough length is 10' (3.1 m).
• A silver saver should be fabricated prior to end of trough to catch
utensils and dishes.
• For trough lengths of 10' (3.1 m) or less place water nozzle at end of
trough.
• For trough lengths greater than 10' (3.1 m), place one water nozzle at
end of trough and one mid stream.
• Trough magnets should be placed within 12" (304.8 mm) of end of
trough or trough intersection with sink bowl (see Figure 4).
• Trough magnets can be mounted to trough either by tack welding or
using weld studs (see Figure 5 for weld stud pattern).
• Additional trough magnets can be used as necessary.
TYPICAL INSTALLATION
SYSTEM COMPONENTS
WasteXpress
Disposer
WasteXpress
Control Panel
WasteXpress
Dewatering Unit
SYSTEM INCLUDES:
• WasteXpress Disposer (WX500)
• WasteXpress Control Panel (WX101A)
• WasteXpress Dewatering Unit (WX)
• Mounting –
Collar with Removable or
Permanent
Splash Baffle OR Bowl with
Removable Splash Baffle and Sink Cover
• Syphon Breaker
• Flow Control Valve*
• 10 gallon (37.9 liter) Waste Bin
• (2) 24V Water Solenoids
• Magnetic Silver Saver (trough only)
ITEMS SUPPLIED BY OTHERS:
Plumbing from cold water supply to
bowl or trough
Plumbing from hot water supply to
dewatering unit
Plumbing from disposer to dewatering
unit or dewatering unit to floor sink or
floor drain
Shut-off valves
Electrical connections
NOTE:
Install all components per the
Instruction, Care and Use manual and in
accordance to local, state, and/or national
plumbing and electrical codes.
Typical installation shown. Dish table, plumbing,
and electrical connections not included.
*Size varies by application: 2 GPM (7.6 LPM) for LEED, 3 GPM (11.4 LPM) for Bowl, 5 GPM (18.9 LPM) for Trough
TYPICAL INSTALLATION – BOWL
TYPICAL INSTALLATION – TROUGH
Figure 1. WasteXpress Top View
with Electrical Connections
FlowControl Valve
WasteXpress
Disposer
Sink Bowl
Syphon Breaker
Cold WaterSolenoid Hot Water Solenoid WasteXpress Dewatering Unit
Shut Off Valve
(supplied by others)
1-1/2" min
(38.1 mm
min)
1" min
(25.4 mm min)
45˚ bend shown
(max of 4 can be used)
3"
(76.2 mm)
1-1/2"
(38.1 mm)
Figure 2. WasteXpress Typical Installation
WasteXpress
Control Panel
10 max
(3.1 m max)
18" min
(0.46 m min)
Power
Trough Flow
Water Nozzle
Recommended
Magnet LocationOptional Magnet Location
Connect Cold WaterSupply
1" min
(25.4 mm min)
1" (25.4 mm) min,
3" (76.2 mm) max
to end of Trough
Figure 4. Trough Typical Installation
Figure 3. Trough Typical Installation Top View
Trough
Trough
Optional Magnet Location
Recommended Magnet Location
Mounting
Brackets 6"
2–3/8"
Figure 1: Viewing From Bottom
Figure 2: Trough Magnet Positions
Trough Silver Saver Kit (#13983)
Part No. 13986 January 2008
Installation Instructions
1. Determine best place for magnet(s)
(See Figure 2).
2. Place magnet on underside of trough with
magnetic pull toward sink bowl.
3. Place one mounting bracket over each end
of magnet (See Figure 1). Shoot weld studs
and secure mounting brackets with nuts.
NOTE: Trough magnets should be placed
within 12" from end of trough or
intersection of trough and sink bowl.
NOTE: Additional magnets should
be evenly spaced over remaining
trough area.
Trough Magnet
As Viewed From Bottom
Figure 5. Weld Stud Pattern
NOTE: All WasteXpress®system component height dimensions are max numbers. Leveling foot will allow height to be
reduced up to 2-3/4" (69.9 mm).
Model Number:
Electrical
Requirements:
Item Number:
Quantity:
Manufacturer:
PROJECT INFORMATION
InSinkErator volts phase
Project:
Address:
City/State/Zip:
Contact:
Phone:
Dealer:
City/State/Zip:
Contact:
Phone:
Installer:
Contact:
Phone:
Consultant:
Contact:
Phone:
InSinkErator®may make improvements and changes in the specification at any time, in its sole discretion, without notice or obligation and further
reserves the right to change or discontinue models. ©2016 InSinkErator®, a business unit of Emerson Electric Co. All rights reserved.
SAMPLE SPECIFICATION
• InSinkErator WasteXpress. Food waste reduction system with 5 HP disposer, control panel, dewatering unit with interlock
on discharge chute. ___ Volts, 60 Hz, 3 Phase operation. ___________ disposer mount. Syphon breaker with 1/2" NPT
connections; flow control valve; 10 gallon (37.9 liter) waste bin; (2) 24V water solenoids; 2" NPT drain discharge.
SYSTEM DIMENSIONS
21-3/4"
(552.5 mm) 21-1/8"
(536.6 mm)
26-7/8"
(682.6 mm)
33-1/2"
(850.9 mm)
8"
(203.2 mm)
27-3/8"
(695.3 mm)
7-7/8"
(200.0 mm)
Electrical Connection Cover
14-1/2"
(368.3 mm)
8-1/8"
(206.4 mm)
15"
(381 mm)
18-3/4"
(476.3 mm)
1-5/8"
(41.3 mm)
15-1/8"
(384.2mm) 14"
(355.6mm)
15-3/4"
(400.1 mm)
9-7/8"
(250.8 mm)
8-1/4"
(209.6 mm)
WasteXpress Control Panel
Front View
WasteXpress Dewatering Unit
Side View
9-1/8"
(231.8 mm) 1/2"
(12.7 mm)
Electrical Inlet
1/2"
(12.7 mm)
Hot Water Inlet
WasteXpress Dewatering Unit
Back View
12-1/8"
(308.0 mm)
2"
(50.8 mm)
NPT Outlet
(Either Side)
2"
(50.8 mm)
NPT Inlet
(Either Side)
Leveling Foot
Adjustment Range
2-3/4"
(69.9 mm)
WasteXpress Dewatering Unit
Front View
8-5/8"
(219.1 mm)
WasteXpress Disposer
Front View
External Electrical
ConnectionCover
2"
(50.8 mm)
NPT Outlet
Adjustable Legs
WasteXpress Disposer
Side View
8-3/4"
(222.3 mm)
8-3/4"
(222.3 mm)
13"
(330.2 mm)
23-3/4"
TO
31-1/8"
(603.3 mm
TO
790.6 mm)
6-1/2"
(165.1 mm)
WasteXpress Control Panel
Side View
5-1/4"
(133.4 mm)
5-5/16"
(134.9 mm)
6-3/4"
(171.5 mm)
1"
(25.4 mm)
WasteXpress Dewatering Unit
Top View

This manual suits for next models

3

Other Emerson Garbage Disposal manuals

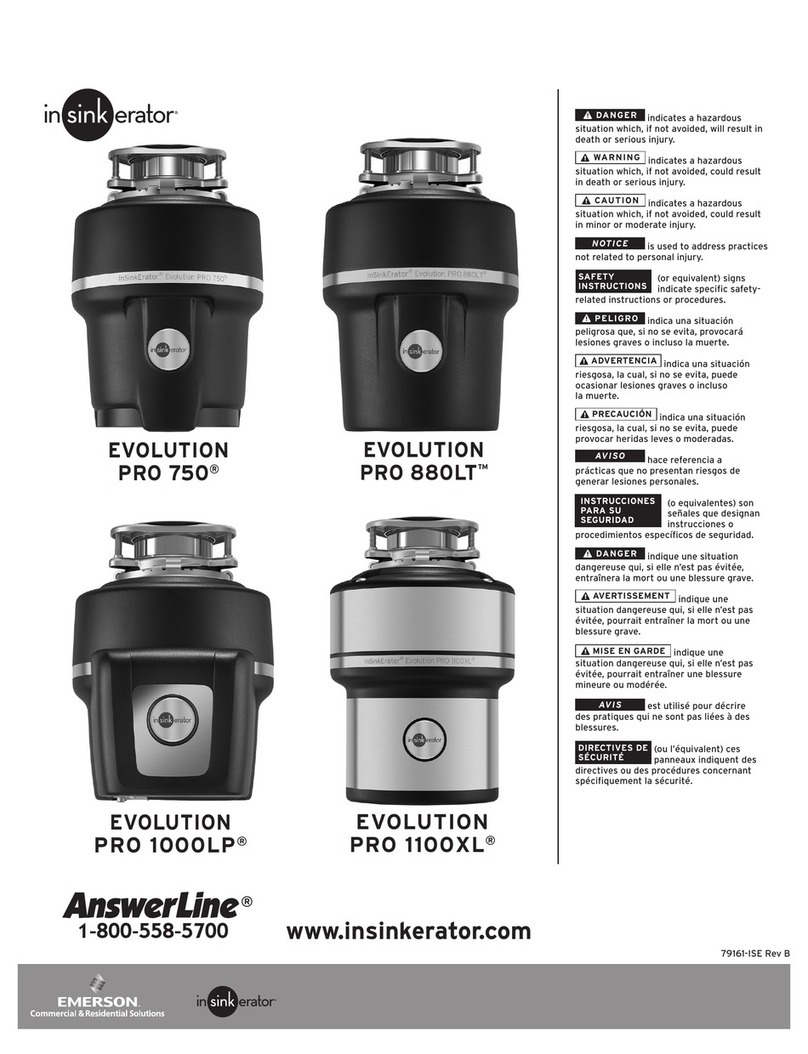
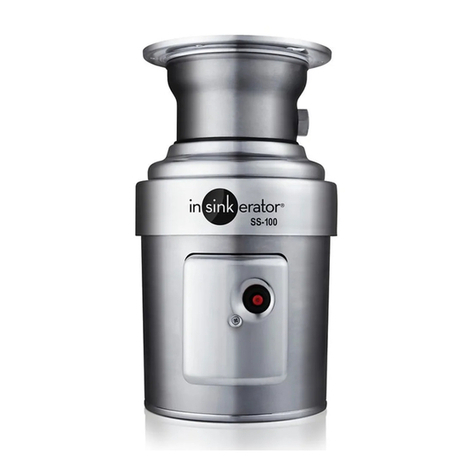
Emerson InSinkErator EVOLUTION SELECT PLUS User manual

Emerson

Emerson InSinkErator EVOLUTION SELECT PLUS User manual

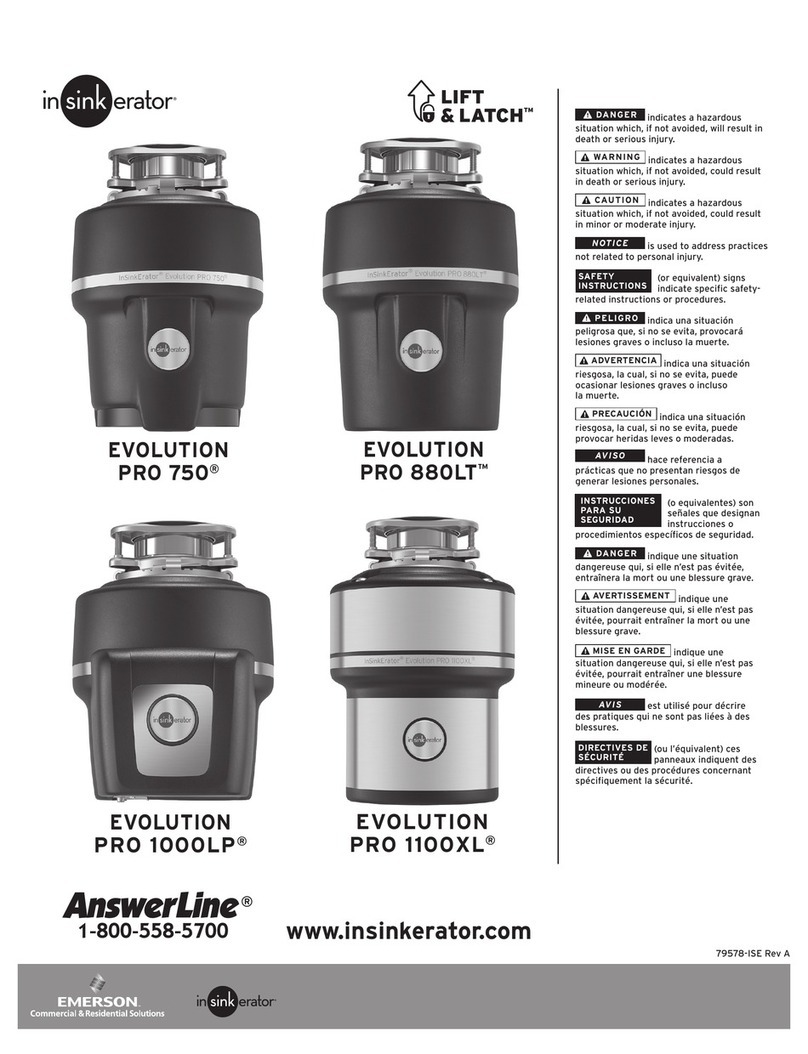
Emerson InSinkErator EVOLUTION PRO 880LT User manual

Emerson

Emerson InSinkErator EVOLUTION PRO 880LT User manual

Emerson InSinkErator 55 User manual

Emerson

Emerson InSinkErator 55 User manual

Emerson InSinkErator 777SS User manual

Emerson

Emerson InSinkErator 777SS User manual

Emerson In Sink Erator BIO-CHARGE Instruction Manual

Emerson

Emerson In Sink Erator BIO-CHARGE Instruction Manual

Emerson InSinkErator EVOLUTION PRO 750 User manual

Emerson

Emerson InSinkErator EVOLUTION PRO 750 User manual

Emerson InSinkErator Grind2Energy User manual

Emerson

Emerson InSinkErator Grind2Energy User manual

Emerson InSinkErator Evolution PRO Series User manual

Emerson

Emerson InSinkErator Evolution PRO Series User manual

Emerson InSinkErator Evolution Series User manual

Emerson

Emerson InSinkErator Evolution Series User manual

Emerson EVOLUTION ESSENTIAL 79361K-ISE User manual

Emerson

Emerson EVOLUTION ESSENTIAL 79361K-ISE User manual

Popular Garbage Disposal manuals by other brands

Gispen BINIT user manual

Gispen

Gispen BINIT user manual

THERMEx WASTEMINATOR II instruction manual

THERMEx

THERMEx WASTEMINATOR II instruction manual

InSinkErator PowerRinse PRP Series Installation, Care and Use Manual

InSinkErator

InSinkErator PowerRinse PRP Series Installation, Care and Use Manual

Dynapac LP8500 Service training manual

Dynapac

Dynapac LP8500 Service training manual

Bort TITAN 9000 Installation instruction

Bort

Bort TITAN 9000 Installation instruction

Janibell M250H REFILL INSTALLATION INSTRUCTION

Janibell

Janibell M250H REFILL INSTALLATION INSTRUCTION

Newstripe Pack-Master Air product manual

Newstripe

Newstripe Pack-Master Air product manual

InSinkErator EVOLUTION COVER CONTROL owner's manual

InSinkErator

InSinkErator EVOLUTION COVER CONTROL owner's manual

GE GFC100 Use and care

GE

GE GFC100 Use and care

Smeg KITFD050 instruction manual

Smeg

Smeg KITFD050 instruction manual

Euro Shatal RP2414-50 Operating instructions/spare parts list

Euro Shatal

Euro Shatal RP2414-50 Operating instructions/spare parts list

GE GFB760F Owner's Manual & Installation Instructions

GE

GE GFB760F Owner's Manual & Installation Instructions

Camco Disposall GFB762F Owner's Manual & Installation Instructions

Camco

Camco Disposall GFB762F Owner's Manual & Installation Instructions

Meiko WasteStar CC operating instructions

Meiko

Meiko WasteStar CC operating instructions

Moen MEX50MCL installation instructions

Moen

Moen MEX50MCL installation instructions

InSinkErator Badger 5 Specifications

InSinkErator

InSinkErator Badger 5 Specifications

Whirlpool GC1000PE1 parts list

Whirlpool

Whirlpool GC1000PE1 parts list

GE Disposall GFC300F Series Owner's Manual & Installation Instructions

GE

GE Disposall GFC300F Series Owner's Manual & Installation Instructions

manuals.online logo
manuals.online logoBrands
  • About & Mission
  • Contact us
  • Privacy Policy
  • Terms and Conditions

Copyright 2025 Manuals.Online. All Rights Reserved.