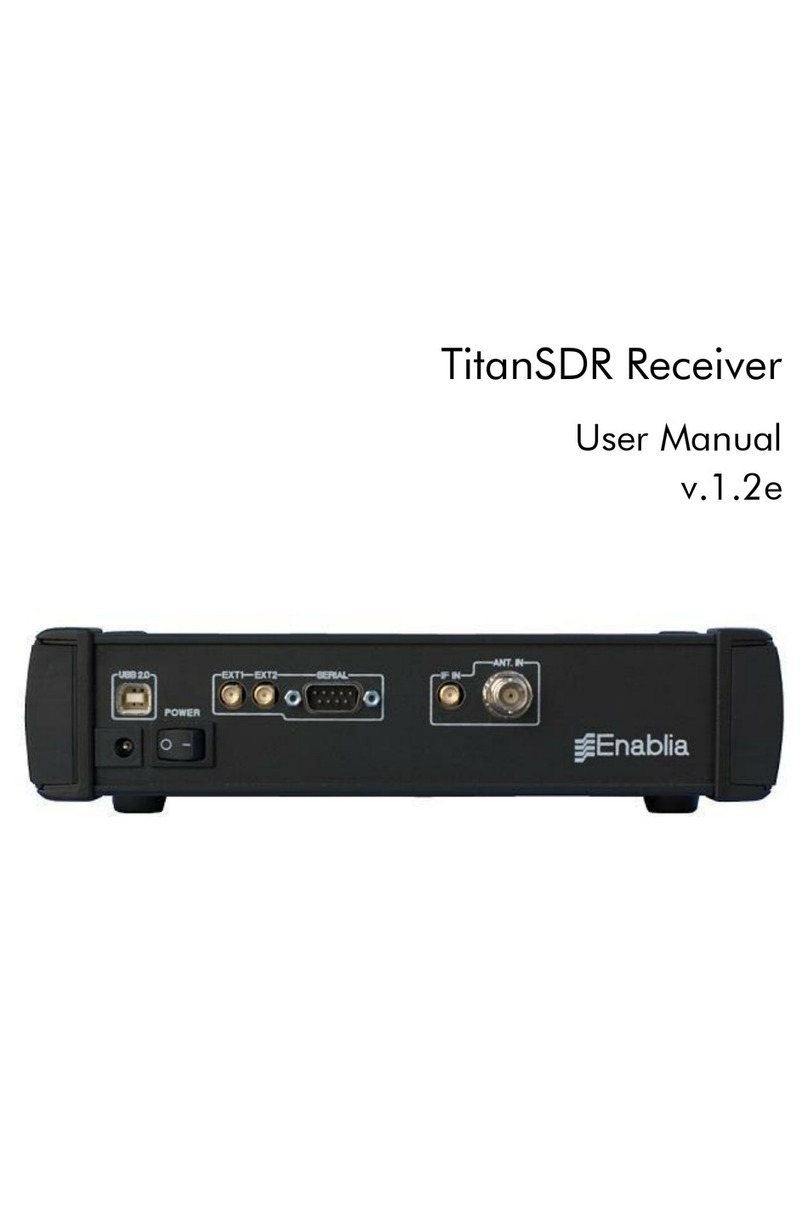
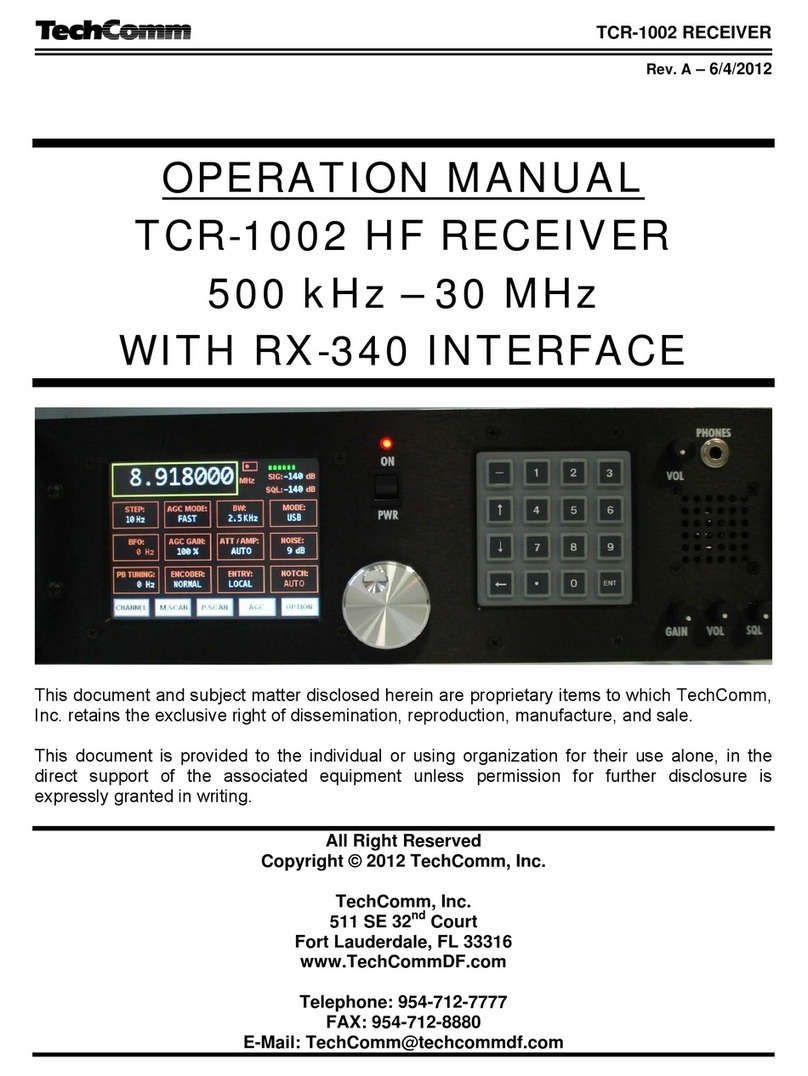
Enablia TitanSDR User manual

TitanSDR Receiver
Installation Manual
v.3.1e

Enablia S.r.l. (Italy) 2019
Before using the receiver, read carefully this Manual.
Correct Disposal of This Product
(Waste Electrical & Electronic Equipment)
The symbol of the crossed out wheelie bin
indicates that in the European Union this
product, and all items marked with this
symbol, can not be disposed of as unsorted
waste but must be disposed of separately at
the end of their useful life.

TitanSDR Receiver –Installation Manual 3
Table of Contents
1. Overview .................................................................................... 4
Package contents............................................................................................4
Receiver panels ................................................................................................4
AC/DC Adapter ................................................................................................5
2. System Requirements............................................................... 6
3. Installation................................................................................. 7
4. Notes on receiver connection and use ................................. 16
Antenna............................................................................................................16
Cooling fan .....................................................................................................16
Firewall .............................................................................................................16
USB Interface .................................................................................................17
5. License...................................................................................... 17
License File......................................................................................................17
USB Dongle ....................................................................................................18

4 TitanSDR Receiver –Installation Manual
1. Overview
Package contents
The package contains the following items:
TitanSDR receiver
6V linear AC/DC power adapter
USB cable
Installation CD-ROM
USB Dongle
Installation Manual
Receiver panels
The front panel has an indicator green led: the led turns on when
the receiver is switched on (Figure 1).
Figure 1
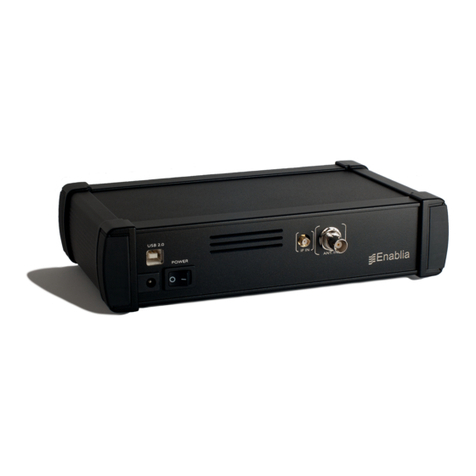
The rear panel (Figure 2) includes :
1. USB 2.0 port
2. Power input socket
3. On/off switch
4. SMA IF input (IF-IN)
5. BNC antenna input (ANT. IN)

TitanSDR Receiver –Installation Manual 5
Figure 2
The bottom panel includes the cooling fan opening (Figure 3).
Figure 3
AC/DC Adapter
For best performance and safety, please use only the provided 6V
linear AC/DC power adapter (Figure 4).
Figure 4
When the adapter is turned on by the on/off switch, the front red
led turns on.

6 TitanSDR Receiver –Installation Manual
2. System Requirements
Before installing the receiver, ensure that your system meets the
following requirements.
CPU Dual Core 2.5 GHz or equivalent (for TitanSDR)
Intel Core i5 or equivalent (for TitanSDR-Pro)
2GB RAM
150 MB of free hard disk space for software installation (extra
space is required for recording of wideband and
narrowband channels)
Network Interface Card
1 spare USB2.0 Hi-Speed port
Sound card
1024 x 768 minimum resolution video card and monitor
Windows Operating System (Windows7, Windows10)

TitanSDR Receiver –Installation Manual 7
3. Installation
The following installation procedure applies to TitanSDR in
Windows 7 and Windows 10. Please follow the steps below leaving
the receiver disconnected from the PC, unless otherwise specified
(i.e. connect it only when requested).
1. Insert the installation CD-ROM in your drive and double-click
on X:\TitanSDR_x.y.z_Setup.exe (where “X” is the letter
representing your CD-ROM drive and “x.y.z” is the setup
version).
2. In User Account Control window, allow the installation by
clicking “Yes”.
3. Select the Setup Language and click “OK”.
4. Click “Next” to continue

8 TitanSDR Receiver –Installation Manual
5. Confirm the proposed installation folder (for example,
C:\Program Files\TitanSDR if “C:” is your main drive) by
clicking “Next”.
6. Confirm the default shortcuts folder name by clicking
“Next”.

TitanSDR Receiver –Installation Manual 9
7. Check “Create a desktop icon” and click “Next”.
8. Click “Install” and wait for setup to complete.

10 TitanSDR Receiver –Installation Manual
9. In the last setup window, click “Finish”.
10.Copy the provided license file “license.bin” to the folder
C:\ProgramFiles\TitanSDR\License, assuming that
“C:\ProgramFiles\TitanSDR” is the installation folder).Please
refer to Chapter 5 for further details on license file.
11. Plug the supplied AC/DC power adapter into a wall outlet
and to the receiver power socket. Then turn on the

TitanSDR Receiver –Installation Manual 11
adapter by the red switch: the adapter red power led will
turn on (please refer to Chapter 4 for further details on
receiver connections).
12. Check that the receiver is switched off (power switch on ‘0’)
and connect it to the PC USB port by the provided USB
cable.
13. Turn on the receiver by putting the power switch on ‘1’: the
green led on the front panel will turn on.
14. In Windows search box (Windows button + S), type “Device
Manager” and click ENTER.
15. When the Device Manager window opens, expand the
“Other Devices” list, right-click on “ENABLIA DEVICE 002”
and click “Update Driver”
16. In the “Update Driver Software Window”, click “Browse my
computer for driver software”

12 TitanSDR Receiver –Installation Manual
17. Click “Browse” and navigate to the folder containing the
TitanSDR driver (C:\ProgramFiles\TitanSDR\Driver\x64 for 64
bit version of Windows (“\x32”folder for 32-bit version)
assuming that “C:\ProgramFiles\TitanSDR” is the installation
folder ), then click “Next”.

TitanSDR Receiver –Installation Manual 13
18. In “Windows Security” window, check “Always trust Software
from “Enablia S.r.l.” and click “Install”.

14 TitanSDR Receiver –Installation Manual
19. Allow the installation process to complete and click
“Close”: in Device Manager you will see TitanSDR under
“Universal Serial Bus Devices”
20. Run the TitanSDR software by double clicking the icon on
your desktop and wait for application to open. Configure
software firewall (if present) to allow TitanSDR processes
communicating through the loopback address (see
Chapter 4 for further details).
21. On TitanSDR application, click the “UsbConnection” button
(the rightmost button of the Panoramic Scope toolbar)

TitanSDR Receiver –Installation Manual 15
22. The message “Connecting to receiver” is displayed : wait for
connection to complete.
23. When receiver connection succeeds, spectrum is displayed
in the Panoramic Scope.

16 TitanSDR Receiver –Installation Manual
4. Notes on receiver connection and use
Antenna
Connect a short-wave antenna to the receiver BNC connector
(Figure 2, connector 5).
Use the SMA connector as IF input (Figure 2, connector 4) to
bypass RF attenuators, preselectors and the anti-aliasing filter of
the receiver chain.
If an amplified antenna is used, please make sure not to exceed
the receiver clipping level indicated in the datasheet (see
www.enablia.com/Download/TitanSDR_Datasheet.pdf).
Cooling fan
To reduce the possibilities of overheating, use the receiver only on
a hard, flat surface. Do not allow any object to block the airflow
through the cooling fan opening (Figure 3).
Firewall
TitanSDR application consists of four different running processes,
communicating with each other over the loopback network
interface:
-TitanSDR_MMI.exe
-TitanSDR_Server.exe
-TitanSDR_Client.exe
-TitanSDR_NBProc.exe
User has to configure software firewalls (if present) to allow TCP-
UDP communications among the TitanSDR processes through the
IP address 127.0.0.1.
If a “Remember my answer” option is present in the firewall
dialog, please select it in order to skip future requests of the same
type.

TitanSDR Receiver –Installation Manual 17
USB Interface
Connect the TitanSDR receiver to a 480 Mbit/sec Hi-Speed USB 2.0
port of the host PC using the provided USB cable or, as an
alternative, a shielded USB cable (maximum length of 1 meter)
with the Hi-Speed USB certification label (Figure 5).
Figure 5
In order to get the best performance from the USB link, don’t
connect USB devices to the PC other than TitanSDR receiver
(except for mouse and keyboard).
In order to maximize USB performances, TitanSDR application
automatically set the “High performance” power plan in Windows
Power Options.
Wi-fi or Bluetooth connections can limit throughput over the USB
interface, especially in Notebooks: disable wireless and Bluetooth
cards in Windows “Device Manager”.
Notebook embedded webcams are often connected to the USB
controller, demanding much of USB bandwidth and, for this
reason, potentially affecting the TitanSDR performance. Therefore,
if a webcam is present, please switch it off when the receiver is
running.
Keep all the system devices drivers updated and always check
drivers compatibility with the installed Operating System.
5. License
License File
A software license file (“license.bin”) is associated with the
receiver and is sent by E-mail after package delivery or included

18 TitanSDR Receiver –Installation Manual
in the folder “License” of the installation CD. Please copy
license.bin file to the folder C:\PrograFiles\TitanSDR\License
(assuming that “C:\PrograFiles\TitanSDR” is the TitanSDR
installation folder). That license file is required to have TitanSDR
application working with the receiver.
If, after clicking the UsbConnection button (the rightmost button
of the Panoramic Scope toolbar), the message “License file not
found” pops up (Figure 6), please verify that license.bin file is in
the above indicated folder.
Figure 6
If the receiver is switched-on and connected to the PC and a
valid license file is in the right folder, both “Receiver Mode” and
“Player Mode” are allowed.
USB Dongle
An USB Dongle is provided with the receiver (Figure 7). By
connecting the Dongle to an USB port, it is possible to use
TitanSDR software in “Player Mode”, to replay previously recorded
files, without connecting a receiver to the PC.
Figure 7
Connect the USB Dongle to an USB port, run TitanSDR software
and select Mode>Player (Figure 8).

TitanSDR Receiver –Installation Manual 19
Figure 8
If the USB Dongle is correctly detected, the message “USB key
found” will be displayed (Figure 9).
Figure 9
If TitanSDR software detects neither the receiver nor the USB
Dongle, the message in Figure 10 will be displayed.
Figure 10
Microsoft Windows detects the USB Dongle as an USB Flash Drive
(“TitanSDRKey)”: do not rename or format the Drive. Do not
cancel or alter the license file in the Dongle. In order to allow the
user updating the license file for future upgrades, the dongle
contains a writable storage memory: please don’t put any file on
the USB Dongle.

20 TitanSDR Receiver –Installation Manual
Enablia Sr.l.
Via Vincenzo Manzini, 45
00173 –Rome (Italy)
E-Mail: enabl[email protected]
www.enablia.com
ENABLIA
Other manuals for TitanSDR
5
Table of contents
Other Enablia Receiver manuals
