IMPORTANT RECEIVING INSTRUCTIONS
Visually inspect all components for shipping damage. If any
shipping damage is found, notify carrier at once. Shipping
damage is NOT covered by warranty. The carrier is
responsible for all repair or replacement cost resulting from
damage in shipment.
SAFETY INFORMATION
To avoid personal injury or property damage during system
operation, read and follow all CAUTIONS, WARNINGS, and
INSTRUCTIONS included with or attached to each product.
The manufacturer CANNOT BE RESPONSIBLE FOR
DAMAGE OR INJURY RESULTING FROM UNSAFE USE OF
PRODUCT, LACK OF MAINTENANCE, OR INCORRECT
PRODUCT AND SYSTEM APPLICATIONS. Contact the
manufacturer when in doubt as to safety precautions or
applications.
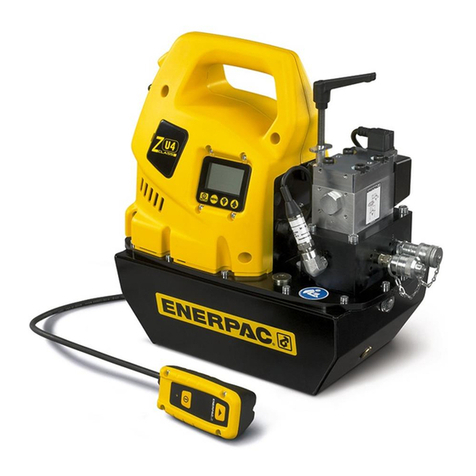
CAUTION: Always use the handle to carry the
pump. Carrying the pump by the hose may
damage the hose and or the pump.
WARNING: Make sure that all system components
are protected from external sources of damage,
such as excessive heat, flame, moving machine
parts, sharp edges, and corrosive chemicals.
WARNING: Always check product limitations
regarding pressure ratings, load capacities, and
set-up requirements. The system operating
pressure must not exceed the pressure rating of the
lowest rated component in the system.
WARNING: NEVER set the relief valve to a higher
pressure than the maximum rated pressure of the
pump. Higher settings may result in equipment
damage and/or personal injury. See chart above for the
maximum pressure rating.
DESCRIPTION
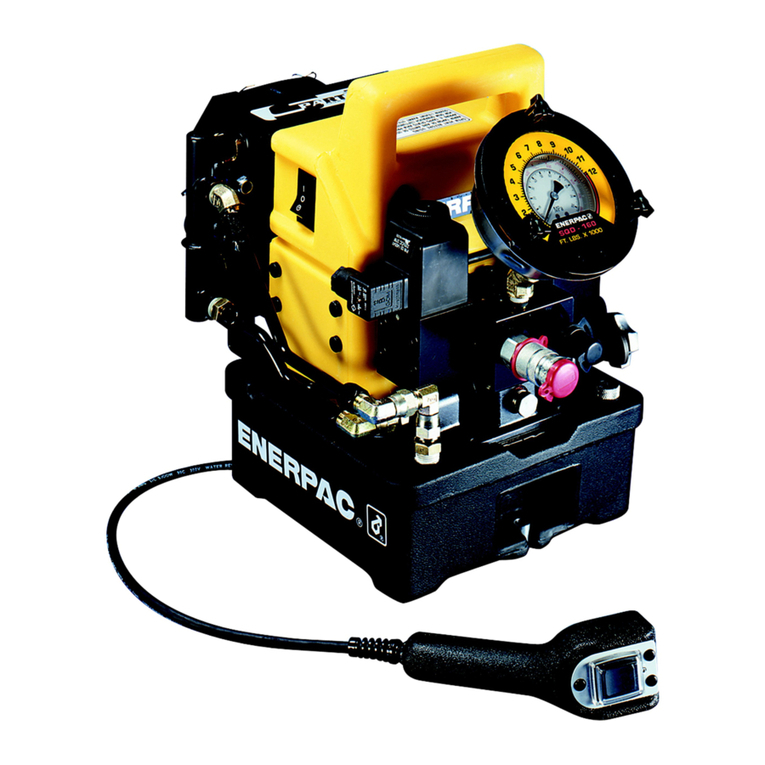
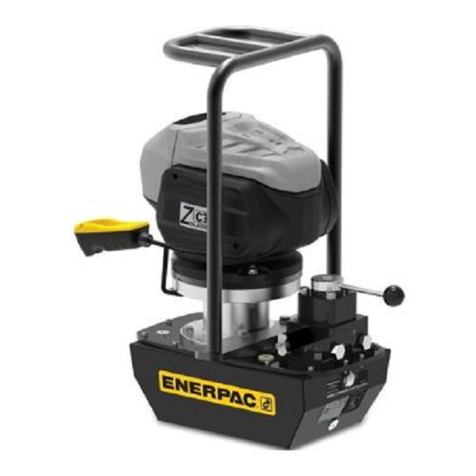
Figure 1 shows the main components of the pump. The dual-
purpose vent/fill camp acts as a pressure relief valve in case
of accidental reservoir pressurization. To provide an access
port at the rear of the reservoir for remote valves, use a
return-to-tank kit (model number PC-20).
INSTALLATION
Connecting the Pump
1. Thread hose into pump outlet. Use 1fi wraps of Teflon
tape (or suitable thread sealant) on the hose fitting,
leaving the first thread completely free of tape to ensure
that tape does not shed into hydraulic system, causing
damage.
2. Install a pressure gauge in-line from the pump for added
safety and better control.
3. Connect the hose to your cylinder or tool.
Pump Venting
This pump may be operated in a vented or unvented position.
(Vented pumps provide slightly better performance.) To vent,
turn the vent/vill cap counter-clockwise ⁄ turn. Close vent
prior to transporting pump to prevent leakage.
OPERATION
Before Using the Pump
1. Check all system fittings and connections to be sure they
are tight and leak free.
2. Check oil level in reservoir before operating pump. See
“Adding Oil to the Pump” on page 2.
Pumping / Using the Release Valve
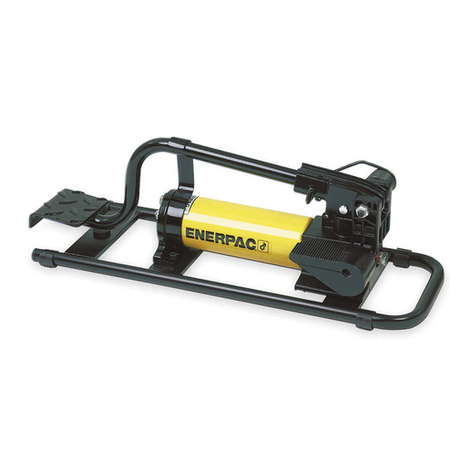
1. Operate pump foot pedal to deliver hydraulic power to
system. Hydraulic pressure will be maintained until
release valve is open.
