ENJI PRIME Enji MiniEye User manual

FULL HD MINI DV SPORTS CAMERA
QUICK START GUIDE

Please read this user manual carefully before any
attempt to operate this product and keep it for
your future reference.
FEATURES:
MINI camera recorder
High definition full HD 1080P/720P
Compact design, portable handheld
Supports TV out, TV monitor video connection
Built-in lithium battery sustainable camera,
about 30 to 100 minutes recording time
Supports up to 32GB TF card maximum (not
included).
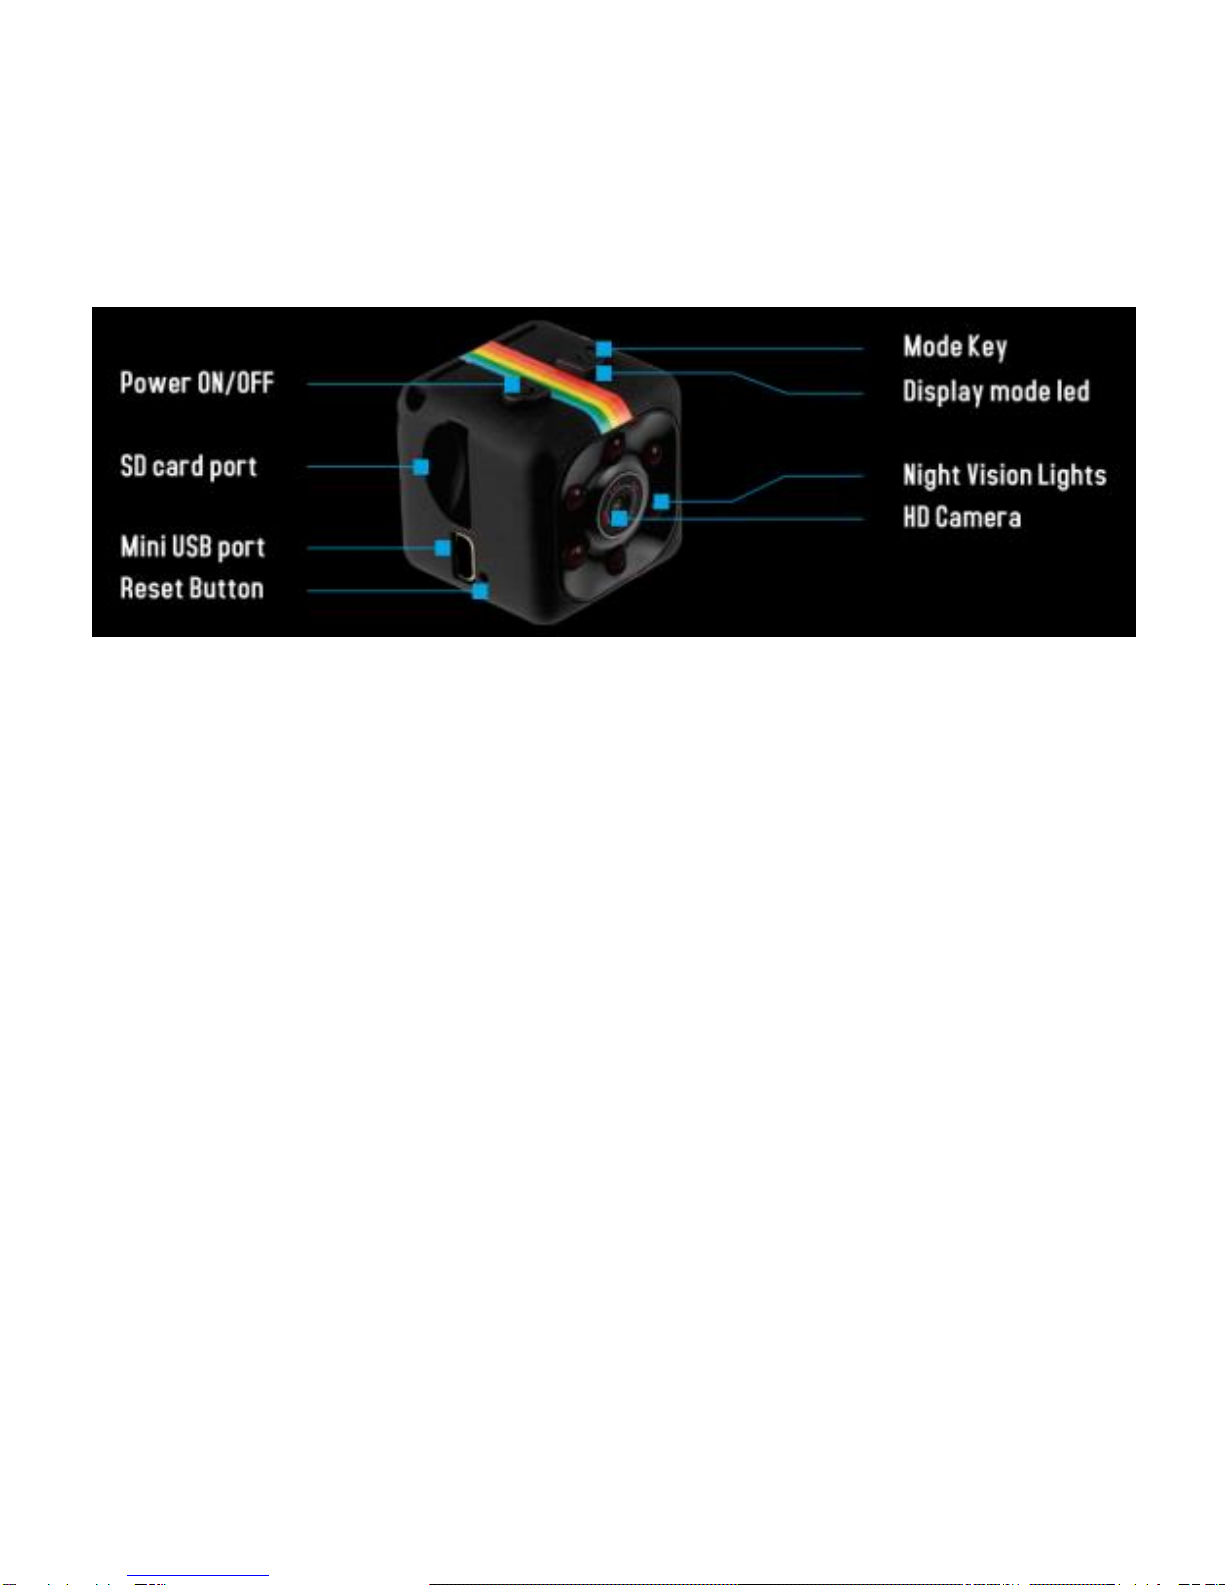
DETAILED IMAGE:
Note:This item is without waterproof.
OPEARTIONS:
OPERATIONS:
1. CHARGING:
When you receive your Enji MiniEye Camera,
use the provided cable to fully charge the
camera. Plug the mini-USB connector into
the camera and the normal USB plug into
your computer or use an external charger.
Charging time will take 2-3 hours. A flashing

red LED indicates the charging cycle. After
charging is completed, the LED turns into
solid red. Keep charging the camera for
additional 30 minutes. Battery life varies
from 30 to 100 minutes depending on the
use of the device. You can also connect the
camera to an external power source to
charge, while you are using the camera (in
case that an SD-card is inserted already) It
will start to record in the 720p mode. Then a
blue LED will flash 3 times to let you know
that the video is recording; push again the
on/off button to stop the recording.

2. POWERING THE CAMERA ON/OFF:
To POWER ON the camera, push the
ON/OFF button for 2 seconds to power the
camera on.
NOTE: If NO memory card is inserted, a blue LED
will light for a few seconds, after that a red LED
will flash and the camera turns off. When an SD
Card is inserted, a solid blue LED is visible when
turned on. Please use a high speed Class 10 FAT
formatted memory card. The camera supports up
to maximum of 32 GB (original SanDisk, Samsung
and Kingston brands are most preferred).

To POWER OFF the camera, push the
ON/OFF button for 6 seconds and the
camera will turn off.
3. 720P VIDEO RECORDING:
With a blue LED light, push on/off button
once to begin recording. The blue LED will
flash 3 times and recording starts. At this
time the LED light is off. To STOP recording,
push the on/off button. The LED light turns
blue.
Note: For long recordings, video streaming is
saved and divided into separate files every 5
minutes.

4. 1080P VIDEO RECORDING:
Change to 1080P by using the 'Mode' button.
Push the 'Mode' button once, and the LED
will turn from blue to blue/red. Push the
ON/OFF button once to begin recording. The
LED will flash blue and red three times and
the recording in 1080P begins. During
1080P recording, no LED is lit. Push the
ON/OFF button again to stop recording. The
state of the LED returns to blue/red.
Note: For long recordings, video streaming is
saved and divided into separate files every 5
minutes.

5. SHOOTING IMAGES:
Change to Photo Mode by using the 'Mode'
button. Push the 'Mode' button twice. The
LED will turn from blue to red. Press the
ON/OFF button to take photos. Press once,
the red light flashes and takes a photo.
6. NIGHT VISION:
To activate night vision mode, make sure
that the camera is on. Pressing the ON/OFF
button for 2-3 seconds. You can see the red
LED will flash 2 times then off. The Night
Vision IR LED is on.
Press the on/off button 2-3 seconds to turn

off Night Vision. Then the red LED light will
flash 2 times and night vision is off.
7. 720P MOTION DETECTION :
Power on the camera and wait until the blue
LED lights up. Press the 'Mode' button for
about 3 seconds. The blue/red LED light will
flash three times indicating that motion
detection is active. During recording, the
LED is off. The camera will now record a one
minute video file then go to motion detection
standby. Once a new movement is detected,
the camera begins to record again. A new
movement detection is indicated by a short

blue/red flashing LED. Stop the detection
mode by pressing the ON/OFF button.
8. 1080P MOTION DETECTION :
Power ON the camera and wait until the blue
LED lights up. Change to 1080P by using the
'Mode' button. Push the 'Mode' button once,
and the LED light will turn from blue to
blue/red.
Press the 'Mode' button for about 3 seconds.
The blue/red LED light will flash three times
indicating that motion detection is active.
During recording, the LED is off. The camera
will now record a one minute video file then
go to motion detection stand by. Once a new
movement is detected, the camera begins to
record again. A new movement detection is
indicated by a short blue/red flashing LED.
Stop the detection mode by pressing the
ON/OFF button.
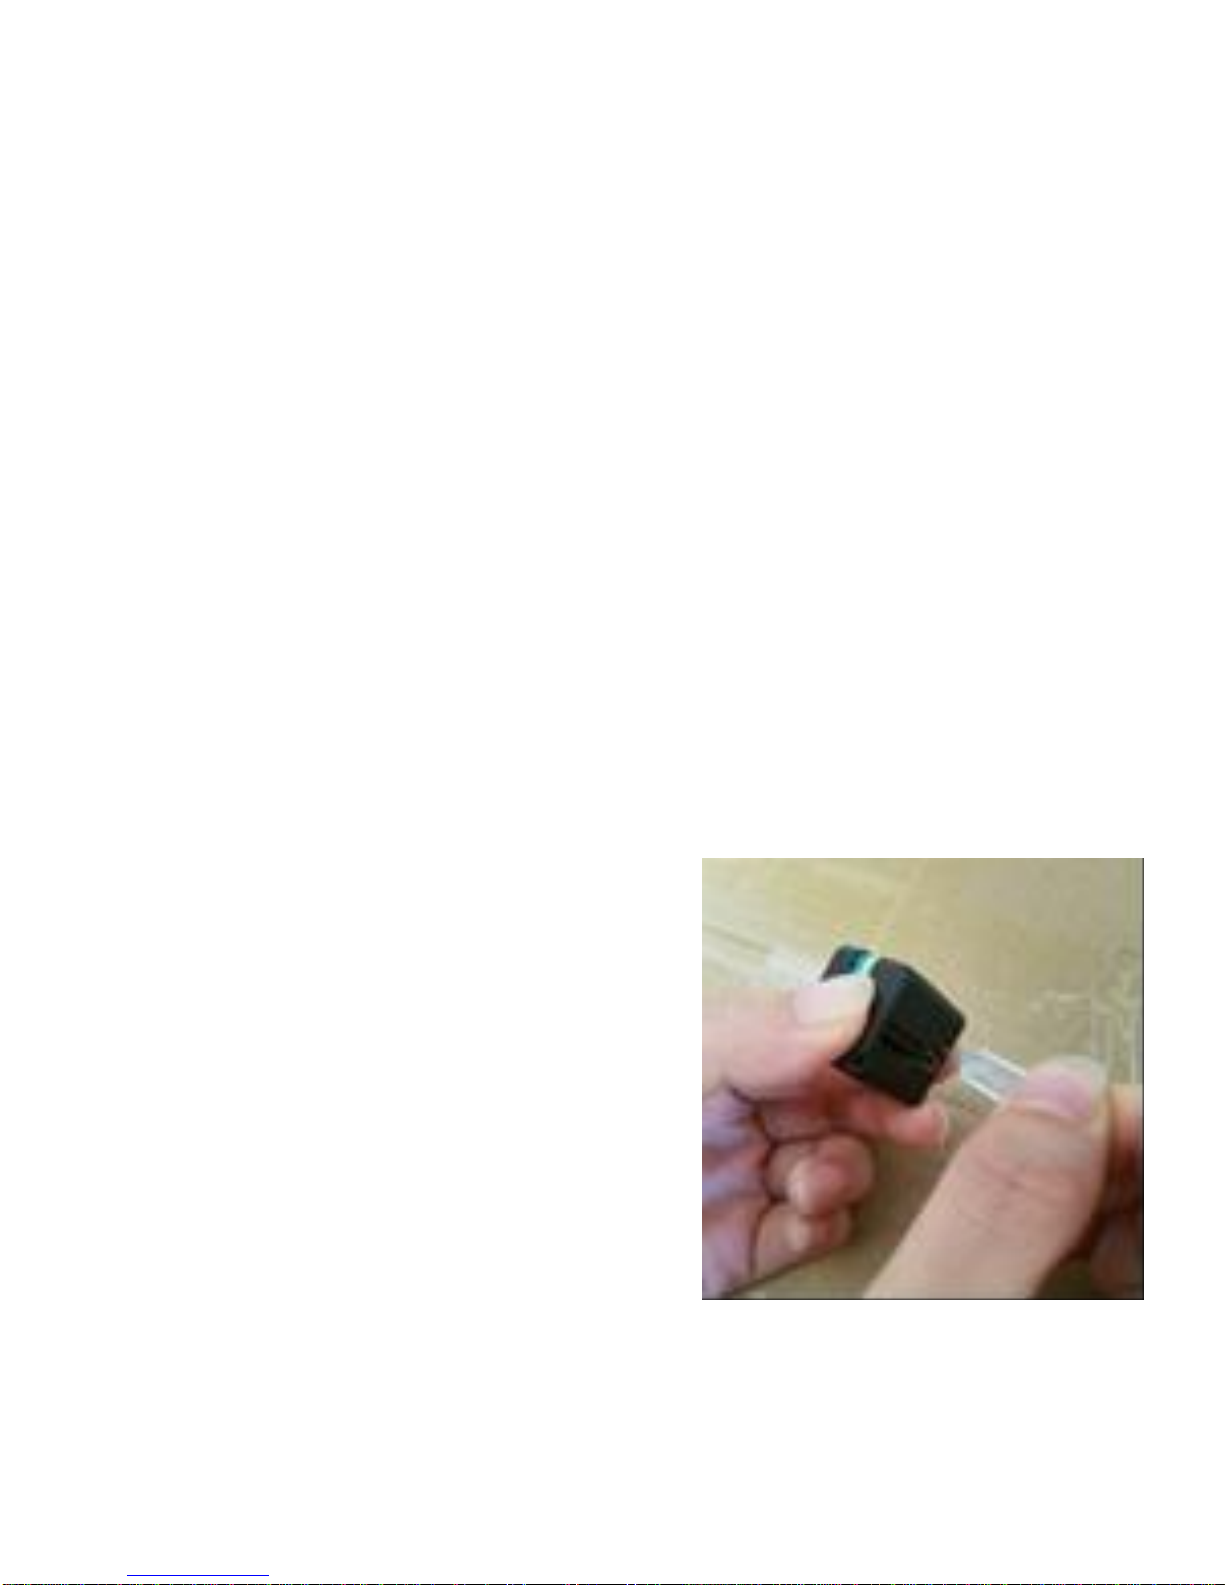
9. RESETTING THE CAMERA
Reset the camera
when it does not
operate normally.
Use a Pin to poke
into the hole near the
mini-USB socket. Be careful not to insert it

into the mic hole. When the blue LED light is
off, the reset is done. Turn on the camera to
resume use.
10. HOW TO VIEW YOUR VIDEO & PHOTO
Use the provided cable to connect the
camera to your computer or laptop. Plug the
mini-USB connector into camera and the
USB plug in your computer/ laptop. You will
see the camera as an external hard disk on
your computer screen. Double click to start
reviewing your photos/video.

11. HOW TO VIEW THE VIDEO IN REAL TIME
ON TV
Use the provided cable to connect the
camera to the TV. Plug the mini-USB
connector into the camera and the AV
connector to your TV, so you can then watch
your video live after you start the camera in
any one of the modes. Video recording
detection mode and photo shooting are
available while on Video output, but IR Night
Vision is off. Note: Insert a memory card when
you use TV out function.

12. TIME STAMP
Connect the camera to computer. When a
blank SD card is inserted, the camera will
create a time/date data on your video/photo.
The format is 20180126152035 (N for no
display) and 20180126152035 (Y for
display). Open the TIMEREST.txt in a text
editor and set the correct date and time as
well as 'N' or 'Y' at the end to display or not
the time stamp in your video/photo.
13. USING ENJI MINIEYE AS A WEBCAM
It is possible to use the Enji MiniEye as a
webcam, but not all programs support this
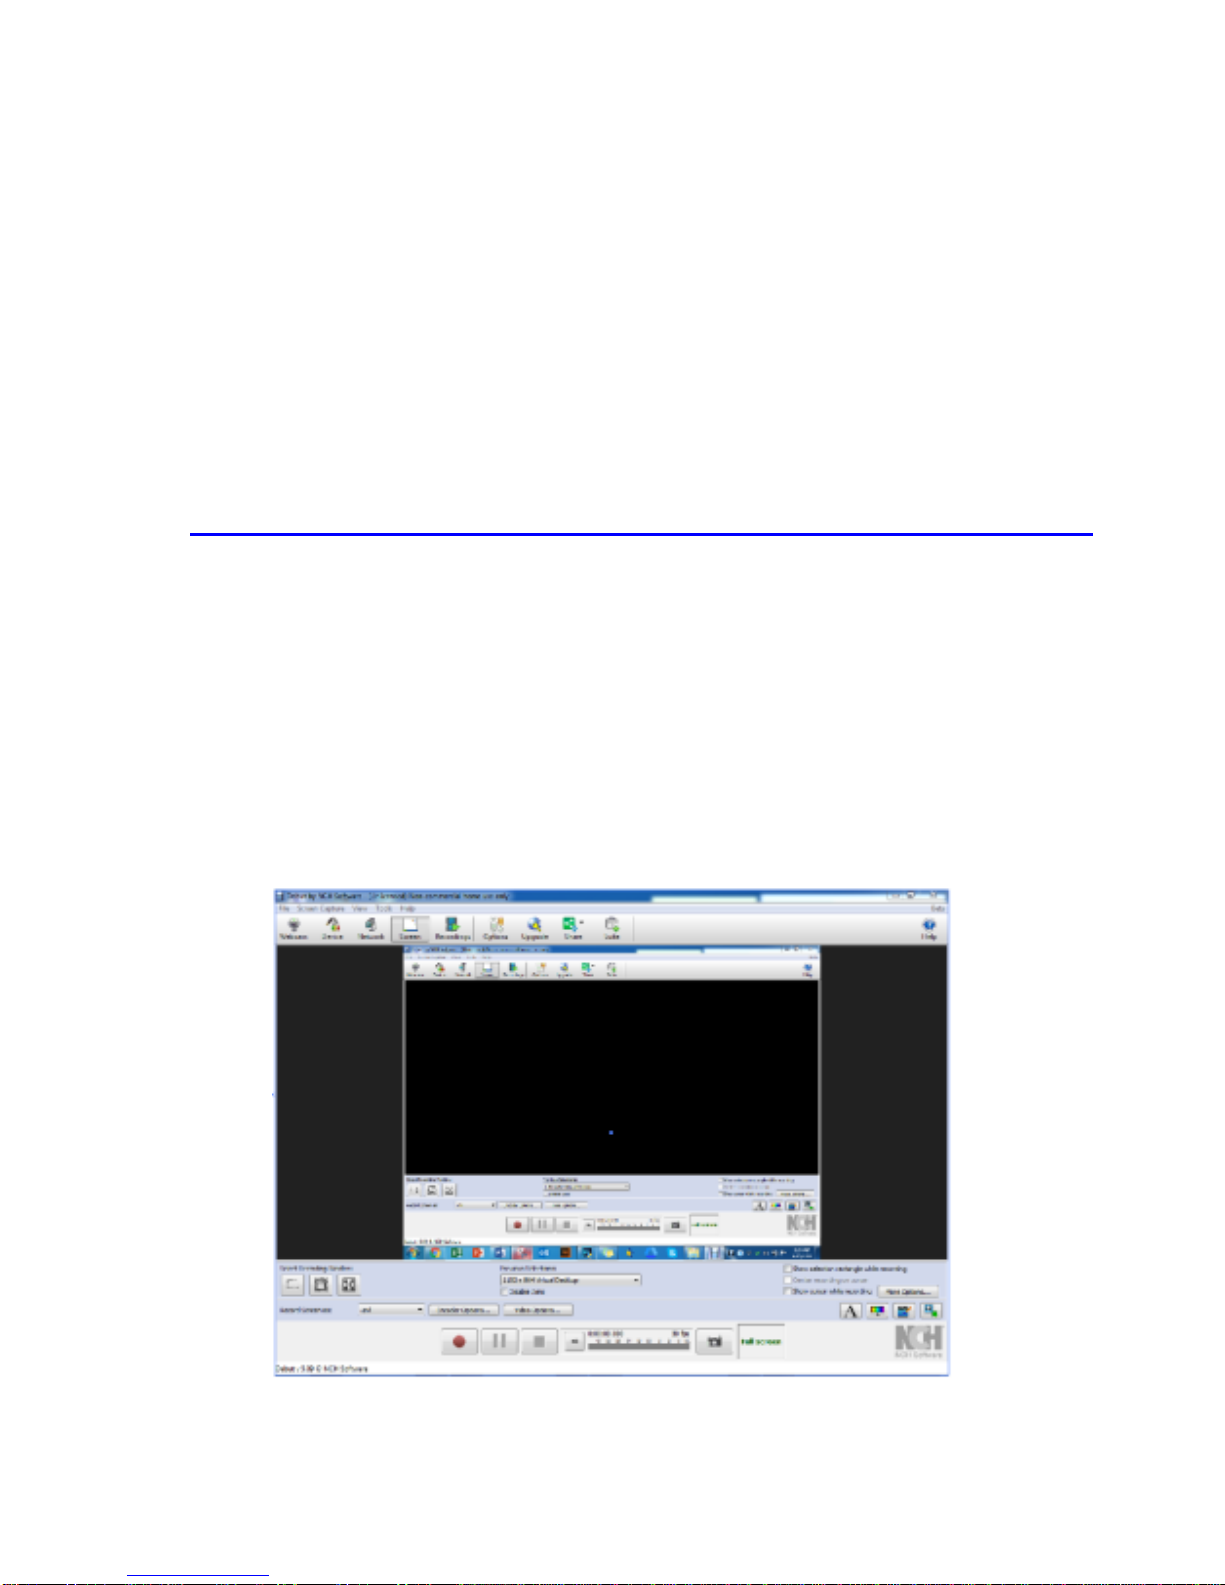
camera. One very interesting program is the
'Debut Video Capture Software' from NCH.
Click on this link to download the software:
http://www.nchsoftware.com/capture/index.html
Installing and Using the software:
Download the program from the website and
install it.

Connect your Enji MiniEye to your computer
and wait until the drivers are installed. (Note:
you do not need to remove the SD-card.)
The LED first lights up blue, then turns into
blinking red, which means that the camera is
in charging mode. Push the ON/OFF button
of the camera (additional drivers will be
installed). Push the ON/OFF button of the
camera (additional drivers will be installed).
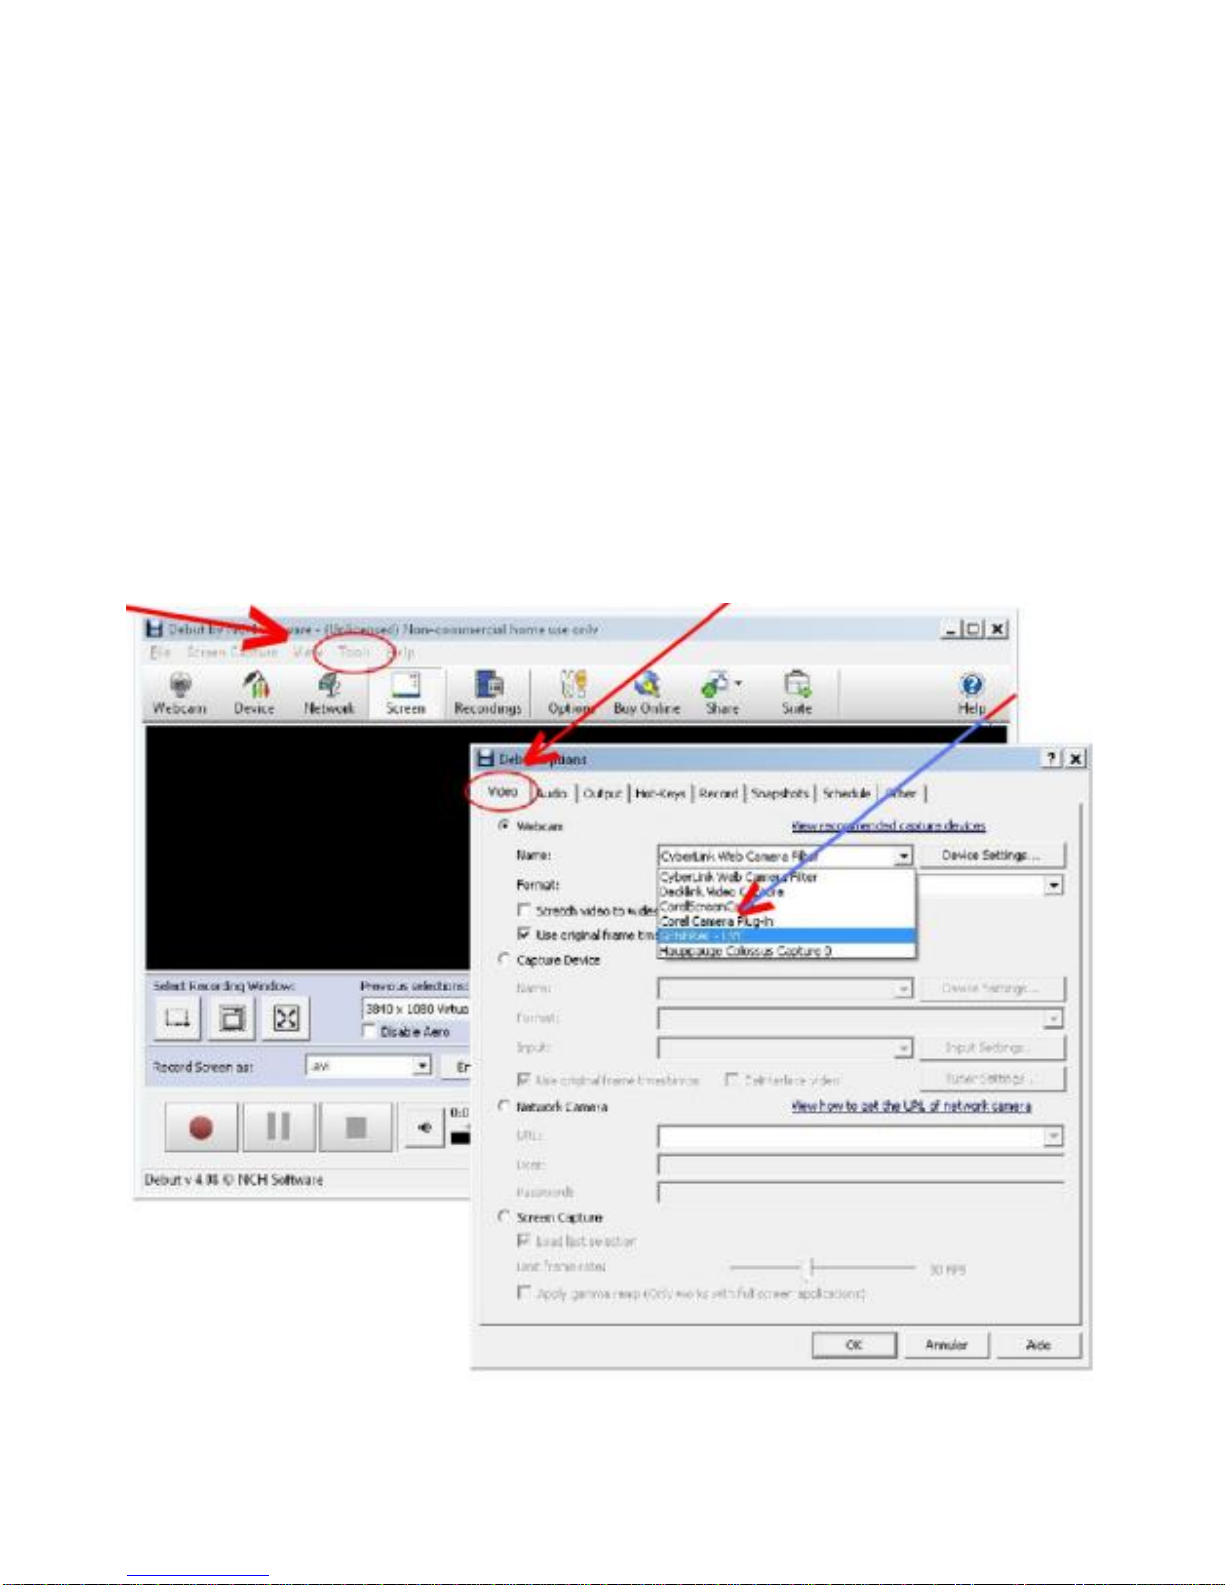
Open the 'Tools' menu, then 'Options'.In
the Video tab, choose the device
'GENERAL-UVC'. The Enji MiniEye is now
ready for use.

14. RELEVANT PARAMETERS:
Items
Relevant Parameters
Video Resolution
1920*1080/1280*720
Image Resolution
12MP(4032x3024)
Video Coding
M-JPEG
Video Frames
30fps
Storage
Max support 32GB Micro
SD Card
Type of Interface
Mini 8 pin USB
Battery Capacity
Built-in 200mah
Charging Time
About 30-100 mins
Working Duration
About 2-3 hours
Charging Voltage
DC = 5V

15. FREQUENTLY ASKED :
I'm having difficulty working out what storage card to buy.
What size do I buy? You may use the standard 32GB
Micro card. A high speed C10, FAT format memory card is
most ideal. Original Micro memory card like SanDisk,
Kingston, or Samsung brands are also preferred.
Can we use the camera during charging? Yes, you can,
but it will reduce the service life of the battery. Get max 1
amp charger so that it won’t overheat.
Does the Enji MiniEye Camera work without a TF card?
No, it does not work without a TF card.
What should I do when pause and frame skip occur in
video and picture playback? Format your original SD or

TF card. Use a card reader to read the images and
videos. Or install another video player or try a new
formatted high-speed memory card.
Is this camera bluetooth and wifi capable? No it is not.
Must use the USB cable.
Why is there noise when recording? Because of low
battery, please make sure the camera is fully charged.
What can I do when the camera system crashes? Pull out
the SD or TF card and press the power button; if it doesn't
work, use a toothpick or something pointed to poke the
reset hole and then press the power button again.
This mini camera works on 32 GB TF Card only? Would it
work on 64 GB TF card as well? It supports 32GB TF
Table of contents


