manuals.online logo
Brands
  1. Home
  2. •
  3. Brands
  4. •
  5. enphase
  6. •
  7. Inverter
  8. •
  9. enphase IQ Series User manual

enphase IQ Series User manual

QUICK INSTALL GUIDE - EN
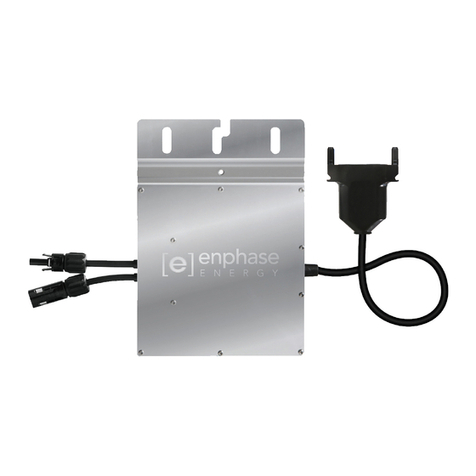
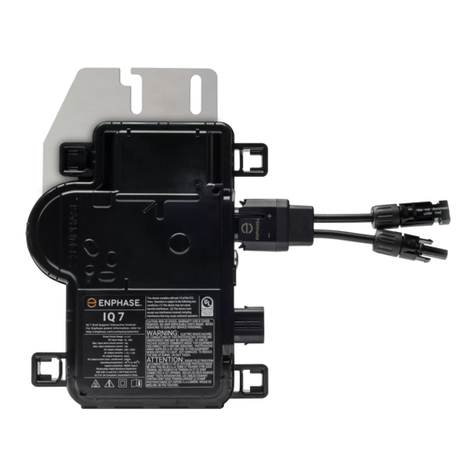
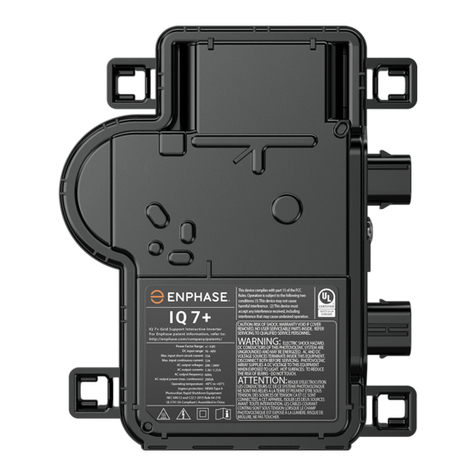
Replacing Enphase IQ Series ACM Microinverter
Read and follow all warnings and instructions in this guide. Safety warnings are listed at the end of this guide. Use this procedure to replace an
Enphase IQ Series ACM Microinverter using the parts provided in the replacement kit. Read and understand the safety information before installing the
replacement microinverters.
The microinverter has a Class II double-insulated rating, which includes ground fault protection (GFP). To support GFP, use only PV modules equipped
with DC cables labeled PV wire or PV cable. Refer to local electrical codes and standards for grounding requirements of PV array and racking.
PREPARATION
A ) Download the Enphase Installer App and open it to log
in to your Enphase Installer Platform. With this app, you
can scan microinverter serial numbers and connect to
the IQ Gateway to track system installation progress. To
download, go to https://enphase.com/en-gb/installers/apps or scan
the QR code.
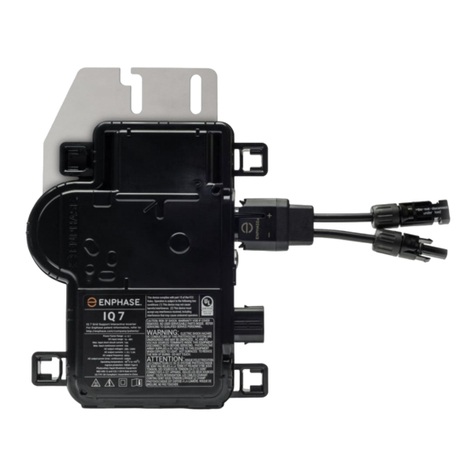
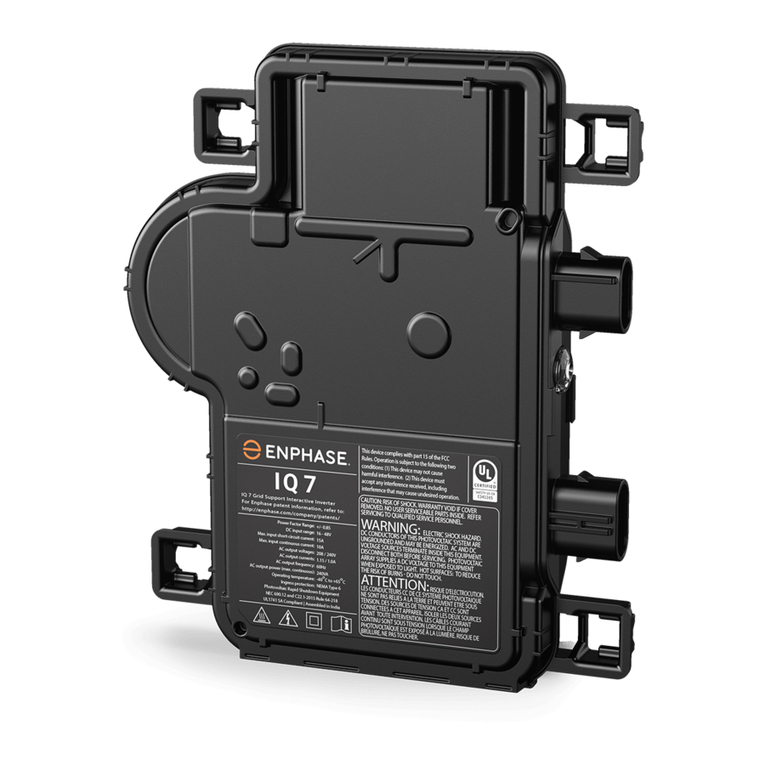
B ) Your kit includes a single Enphase microinverter:
Kit model Microinverter
IQ7-60-ACM-INT-RMA IQ7-60-ACM-INT-NM
IQ7PLUS-72-ACM-INT-RMA IQ7PLUS-72-ACM-INT-NM
IQ7A-72-E-ACM-INT-RMA IQ7A-72-E-ACM-INT-NM
IQ7A-72-M-ACM-INT-RMA IQ7A-72-M-ACM-INT-NM
• IQ7 Microinverters are compatible only with 60-cell PV modules.
• IQ7+ and IQ7A Microinverters are compatible with 60-cell or 72-cell PV
modules.
C ) Check that you have the following equipment:
• Replacement IQ Series Microinverter, included in the kit
• IQ Disconnect Tool (Q-DISC-10)
• Voltmeter
D ) Check that your AC branch circuits meet the following limits for the
maximum number of microinverters per branch when protected with
a 20 A overcurrent protection device (OCPD).
Maximum* IQ Microinverters per AC branch circuit
IQ7 IQ7+ IQ7A (Ph+N)
15 12 10
* Limits may vary. Refer to local requirements to dene the number of
microinverters per branch in your area.
E ) Protect your system with lightning and/or surge suppression devices. It
is also important to have insurance that protects against lightning and
electrical surges.
F ) Use your paper installation map to record device serial numbers and
positions in the array. You will scan this map later using the Enphase
Installer App and your mobile device. The map is essential for future
system troubleshooting.
G ) Size the AC wire gauge to account for voltage rise. Select the correct
wire size based on the distance from the beginning of the IQ Cable to
the breaker in the load center.
Best practice: Center-feed the branch circuit to minimise voltage rise
in a fully-populated branch.
Install the replacement microinverter
A ) Once on the ground, place the AC module in a position that allows
you to access the microinverter.
B ) Press each of the four clips to free the microinverter from its frame.
C ) Press and snap the new replacement microinverter into place. The
Enphase label should face up when the AC module (panel) is face
down. The replacement microinverter will engage with all four clips.
Make sure the microinverter is fully seated in all four clips.
D ) Connect the AC module’s AC lead to the AC connector on the
replacement microinverter.
F ) Attach the removable serial number
label from the new replacement IQ
Series Microinverter to your copy of the
installation map or note the location
for later entry into the array map in
the Enphase Installer App. You must
scan the label afterward and assign
their positions in the array using the
Enphase Array Builder.
2
Afx serial
number labels
Clips
Clips
AC
connection
DC
connection
INSTALLATION
Remove the AC module
A ) De-energise AC by opening the branch circuit
breaker.
B ) Disconnect the DC and AC connectors on the
microinverter using the IQ Disconnect tool. If a
DC adapter is present, insert the disconnect tool
and remove the adapter. Save the adapter to use
on the replacement microinverter.
C ) Lift the entire AC module (panel) from the roof
per manufacturer instructions for handling and
safety. Then, place it on the ground or a suitable
work surface.
1
IQ
Disconnect Tool
Manage the cabling
A ) Attach the cables to the racking with cable clips or tie wraps. Add at
least one every 1.8 m (6 feet).
B ) Dress any excess cabling in loops so that it does not contact the roof.
Do not form loops smaller than 12 cm (4.75 inches) in diameter.
5
Cable clip
Energise the system
A ) Turn ON the AC disconnect or circuit breaker for the branch circuit.
B ) Turn ON the main utility-grid AC circuit breaker. Your system will start
producing power after a ve-minute wait time.
C ) Check the LED on the connector side of the microinverter:
LED Indicates
Flashing
green
Normal operation. AC grid function is normal, and there
is communication with the IQ Gateway.
Flashing
orange
The AC grid is normal, but there is no communication with
the IQ Gateway. This is normal until you complete Step 7.
Flashing red The AC grid is either not present or not within specication.
Solid red There is an active “DC Resistance Low, Power Off” (GFI
Tripped) condition. Use the Enphase Installer Portal to reset it,
or refer to the Enphase IQ Gateway Installation and Operation
Manual at: https://enphase.com/en-gb/installers/resources/
documentation for more information.
6
Reinstall the AC module
A ) Reinstall the AC Module (panel) on the roof or other mounting
location per manufacturer instructions.
B ) If needed, retrieve the DC adapter that you saved when removing
the failed microinverter, and connect the adapter to the replacement
microinverter.
C ) Attach the IQ Cable connector to the DC connector on the replace-
ment microinverter. Make sure the connection is fully seated.
D ) Listen for clicks as the connectors engage.
4
Non-functional position
Functional position
Tilted, incorrect
3
Check the Microinverter position
A ) Check the replacement microinverter against the images in the step.
B ) If the microinverter is not in the functional position, use both hands to
lift the microinverter up. You will hear four clicks as the microinverter
locks into the installation position.
C ) Ensure the microinverter is aligned correctly and all four latches are
locked.
Retire the unit and update the array
Option 1: Retire and Replace
A ) In the Enphase Installer Portal, look for the “Retire and Replace” feature
on the “Settings” page by clicking the gear icon .
C ) Scroll to the self-help section and click “Install Replacement”.
D ) Enter the old microinverter serial number and then the replacement
serial number and click “Submit”.
All the administrative steps are taken care of for you.
NOTE: Until the microinverter reports to Enphase Installer App the panel will
remain grey.
Option 2: Retire the unit and update the array
A ) While still at the site, start a device scan at the IQ Gateway to detect the
new unit:
• For older IQ Gateways, press and hold the IQ Gateway Menu button
on the right edge of the IQ Gateway. After two seconds, the IQ
Gateway menu appears. Continue holding the Menu button. When
the LCD screen displays “Enable Device Scan”, release the Menu
button.
• For IQ Gateway, press the “Device Scan” button (lower button). The
Device Communications LED ashes green during the scan.
(Alternatively, you can initiate a scan using the Enphase Installer
App.)
NOTE: Complete the following steps when you are back in the ofce.
B ) Retire the replaced microinverter, by logging into Enphase Installer
Portal and locating the array in your Installer Dashboard. Access the
array and click on the unit that has been replaced. Click the device
serial number and then click the “Retire” button at the top of the
screen.
C ) Place the new microinverter in the virtual array by returning to the array
overview screen and clicking the gear icon in the upper right. Scroll down
to the Array Details pane, and open Array Builder. Locate and click on the
unit that has been replaced and click “Unassign” on the top toolbar. Drag
the newly installed unit in to the empty module position in the array and
click “Save”.
7
Revision history
REVISION DATE DESCRIPTION
140-00157-04 June 2023 Updated the document for product names and editorial changes.
SAFETY
IMPORTANT SAFETY INSTRUCTIONS
SAVE THIS INFORMATION. This guide
contains important instructions to follow during the
installation of the IQ Series ACM Microinverters.
WARNING: Hot surface.
WARNING: Refer to safety instructions.
DANGER: Risk of electric shock.
Refer to manual
Double-Insulated
General Safety
+DANGER: Risk of electric shock. Do not
use Enphase equipment in a manner not
specied by the manufacturer. Doing so
may cause death or injury to persons, or
damage to equipment.
+DANGER: Risk of electric shock. Be aware
that installation of this equipment includes
risk of electric shock. Do not install the AC
junction box/isolator without removing AC
power from the Enphase system.
+DANGER: Risk of electric shock. The DC
conductors of this photovoltaic system are
ungrounded and may be energised.
+DANGER: Risk of electric shock. Always
de-energise the AC branch circuit before
servicing. Never disconnect the DC
connectors under load.
+DANGER: Risk of electric shock. Risk of re.
Only use electrical system components
approved for wet locations.
+DANGER: Risk of electric shock. Risk
of re. Only qualied personnel should
troubleshoot, install, or replace Enphase
microinverters or the IQ Cable and
Accessories.
+DANGER: Risk of electric shock. Risk of re.
Ensure that all AC and DC wiring is correct
and that none of the AC or DC wires are
pinched or damaged. Ensure that all AC
junction boxes are properly closed.
+DANGER: Risk of electric shock. Risk of re.
Do not exceed the maximum number of
microinverters in an AC branch circuit as
listed in this guide. You must protect each
microinverter AC branch circuit with a 20 A
maximum breaker or fuse, as appropriate.
+DANGER: Risk of electric shock. Risk of re.
Only qualied personnel may connect the
Enphase microinverter to the utility grid.
*WARNING: Risk of equipment damage.
Enphase male and female connectors must
only be mated with the matching male/
female connector.
*WARNING: Before installing or using the
Enphase microinverter, read all instructions
and cautionary markings in the technical
description, on the Enphase microinverter
system, and on the photovoltaic (PV)
equipment.
*WARNING: Do not connect Enphase
microinverters to the grid or energise the
AC circuit(s) until you have completed all
of the installation procedures and have
received prior approval from the electrical
utility company.
Microinverter Safety
+DANGER: Risk of electric shock. Risk of
re. Do not attempt to repair the Enphase
microinverter; it contains no user-ser-
viceable parts. If it fails, contact Enphase
customer service to obtain an RMA (return
merchandise authorization) number and
start the replacement process. Tampering
with or opening the Enphase microinverter
will void the warranty.
+DANGER: Risk of re. The DC conductors of
the PV module must be labeled “PV Wire”
or “PV Cable” when paired with the Enphase
microinverter.
*WARNING: You must match the DC
operating voltage range of the PV module
with the allowable input voltage range of
the Enphase microinverter.
*WARNING: The maximum open circuit
voltage of the PV module must not exceed
the specied maximum input DC voltage of
the Enphase microinverter.
*WARNING: Risk of equipment damage.
Install the microinverter under the PV
module to avoid direct exposure to rain, UV,
and other harmful weather events. Always
install the microinverter bracket side up. Do
not mount the microinverter upside down.
Do not expose the AC or DC connectors
(on the IQ Cable connection, PV module, or
the microinverter) to rain or condensation
before mating the connectors.
*WARNING: Risk of equipment damage.
The Enphase microinverter is not protected
from damage due to moisture trapped in
cabling systems. Never mate microinverters
to cables that have been left disconnected
and exposed to wet conditions. This voids
the Enphase warranty.
*WARNING: Risk of equipment damage.
The Enphase microinverter functions only
with a standard, compatible PV module
with appropriate ll-factor, voltage, and
current ratings. Unsupported devices include
smart PV modules, fuel cells, wind or water
turbines, DC generators, and non-Enphase
batteries, etc. These devices do not behave
like standard PV modules, so operation and
compliance is not guaranteed. These devices
may also damage the Enphase microinverter
by exceeding its electrical rating, making the
system potentially unsafe.
;WARNING: Risk of skin burn. The chassis
of the Enphase microinverter is the heat
sink. Under normal operating conditions,
the temperature could be 20°C above
ambient, but under extreme conditions the
microinverter can reach a temperature of
90°C. To reduce risk of burns, use caution
when working with microinverters.
✓NOTE: Many Enphase microinverter models
have eld-adjustable voltage and frequency
trip points that may need to be set, depending
upon local requirements. Only an authorised
installer with the permission and following
requirements of the local electrical authorities
should make adjustments.
Enphase Cable Safety
+DANGER: Risk of electric shock. Do not
install the IQ Cable Terminator while power
is connected.
+DANGER: Risk of electric shock. Risk of
re. When stripping the sheath from the
IQ Cable, make sure the conductors are
not damaged. If the exposed wires are
damaged, the system may not function
properly.
Enphase Cable Safety, continued
+DANGER: Risk of electric shock. Risk of
re. Do not leave AC connectors on the IQ
Cable uncovered for an extended period. You
must cover any unused connector with a IQ
Sealing Cap.
+DANGER: Risk of electric shock. Risk of re.
Make sure protective sealing caps have
been installed on all unused AC connectors.
Unused AC connectors are live when the
system is energised.
*WARNING: Use the terminator only once. If
you open the terminator following installation,
the latching mechanism is destroyed. Do
not reuse the terminator. If the latching
mechanism is defective, do not use the
terminator. Do not circumvent or manipulate
the latching mechanism.
*WARNING: When installing the IQ Cable,
secure any loose cable to minimise tripping
hazard
✓NOTE: When looping the IQ Cable, do not
form loops smaller than 12 cm in diameter.
✓NOTE: If you need to remove a IQ Sealing
Cap, you must use the IQ Disconnect Tool.
✓NOTE: When installing the IQ Cable and
accessories, adhere to the following:
• Do not expose the terminator or cable
connections to directed, pressurised liquid
(water jets, etc.).
• Do not expose the terminator or cable
connections to continuous immersion.
• Do not expose the terminator or cable
connections to continuous tension (e.g.,
tension due to pulling or bending the cable
near the connection).
• Use only the connectors and cables
provided.
• Do not allow contamination or debris in the
connectors.
• Use the terminator and cable connections
only when all parts are present and intact.
• Do not install or use in potentially explosive
environments.
• Do not allow the terminator to come into
contact with open ame.
• Fit the terminator using only the prescribed
tools and in the prescribed manner.
• Use the terminator to seal the conductor
end of the IQ Cable; no other method is
allowed.
Safety Symbols
+DANGER: Indicates a hazardous situation,
which if not avoided, will result in death or
serious injury.
*WARNING: Indicates a situation where
failure to follow instructions may be
a safety hazard or cause equipment
malfunction. Use extreme caution and
follow instructions carefully.
;WARNING: Indicates a situation where
failure to follow instructions may result in
burn injury.
✓NOTE: Indicates information particularly
important for optimal system operation.
General Safety, continued
*WARNING: When the PV array is exposed
to light, DC voltage is supplied to the PCE.
✓NOTE: To ensure optimal reliability and
to meet warranty requirements, install
the Enphase microinverters and IQ Cable
according to the instructions in this guide.
✓NOTE: Perform all electrical installations
in accordance with all applicable local
electrical codes.
✓NOTE: The AC and DC connectors on the
cabling are rated as a disconnect only when
used with an Enphase microinverter.
✓NOTE: Protection against lightning
and resulting voltage surge must be in
accordance with local standards.
© 2023 Enphase Energy. All rights reserved.
Enphase, the e and CC logos, IQ, and certain
other marks listed at https://enphase.com/
trademark-usage-guidelines are trademarks
of Enphase Energy, Inc. in the US and other
countries. Data subject to change.
Rev04/06-19-2023.
Note for third-party products:
Any third-party manufacturer or importer product(s) used
to install or commission Enphase product(s) shall comply
with the applicable EU Directive(s) and requirements in
the EEA (European Economic Area). It is the responsibility
of the installer to conrm that all such products are
labelled correctly and have the required compliant
supporting documentation.
Manufacturer:
Enphase Energy Inc.,
47281 Bayside Pkwy, Fremont, CA, 94538, The United
States of America,
PH: +1 707-763-4784
Importer:
Enphase Energy NL B.V.,
Het Zuiderkruis 65, 5215MV, ‘s-Hertogenbosch,
The Netherlands,
PH: +31 73 3035859
Enphase customer support: https://enphase.com/contact/support
Compliance with EU Directives
This product complies with the following EU Directives and
can be used in the European Union without any restrictions.
• Electro Magnetic Compatibility (EMC) directive 2014/30/EU
• Low Voltage Directive (LVD) 2014/35/EU
• Restriction of Hazardous Substances (RoHS) 2011/65/EU
The full text of the EU declaration of conformity (DoC) is
available at the following internet address https://enphase.
com/en-gb/installers/resources/documentation.
N S E W
Client:
IQ Gateway serial label number:
To sheet: ________
To sheet : ________
To sheet: ________
INSTALLATION MAP
Installer:
To sheet: _________
Panel Group:
Azimuth:
Tilt:
Sheet ______ /______
A
1 2 3 4 5 6 7
B
C
D
E
F
G
H
I
J
INSTALLATION MAP

Other manuals for IQ Series

1

This manual suits for next models

8

Other enphase Inverter manuals

enphase AC Battery Assembly instructions

enphase

enphase AC Battery Assembly instructions

enphase C250 User manual

enphase

enphase C250 User manual

enphase Q 7 Micro User manual

enphase

enphase Q 7 Micro User manual

enphase IQ8D-72-E-US User manual

enphase

enphase IQ8D-72-E-US User manual

enphase M215-60-2LL-S22-IG User manual

enphase

enphase M215-60-2LL-S22-IG User manual

enphase M250 User manual

enphase

enphase M250 User manual

enphase M215 User manual

enphase

enphase M215 User manual

enphase IQ Combiner 4 User manual

enphase

enphase IQ Combiner 4 User manual

enphase AC Combiner Box User manual

enphase

enphase AC Combiner Box User manual

enphase IQ Combiner 5 Instruction Manual

enphase

enphase IQ Combiner 5 Instruction Manual

enphase IQ8 User manual

enphase

enphase IQ8 User manual

enphase IQ 7 User manual

enphase

enphase IQ 7 User manual

enphase Microinverter System User manual

enphase

enphase Microinverter System User manual

enphase IQ 7 User manual

enphase

enphase IQ 7 User manual

enphase Ensemble Reference guide

enphase

enphase Ensemble Reference guide

enphase M215-60-2LL-S25-IG User manual

enphase

enphase M215-60-2LL-S25-IG User manual

enphase IQ Envoy User manual

enphase

enphase IQ Envoy User manual

enphase S280 User manual

enphase

enphase S280 User manual

enphase IQ Combiner 5 User manual

enphase

enphase IQ Combiner 5 User manual

enphase IQ System Controller Reference guide

enphase

enphase IQ System Controller Reference guide

enphase IQ6-60-2-US User manual

enphase

enphase IQ6-60-2-US User manual

enphase CLIPPERCREEK ACS User manual

enphase

enphase CLIPPERCREEK ACS User manual

enphase IQ8D-72-E-US Guide

enphase

enphase IQ8D-72-E-US Guide

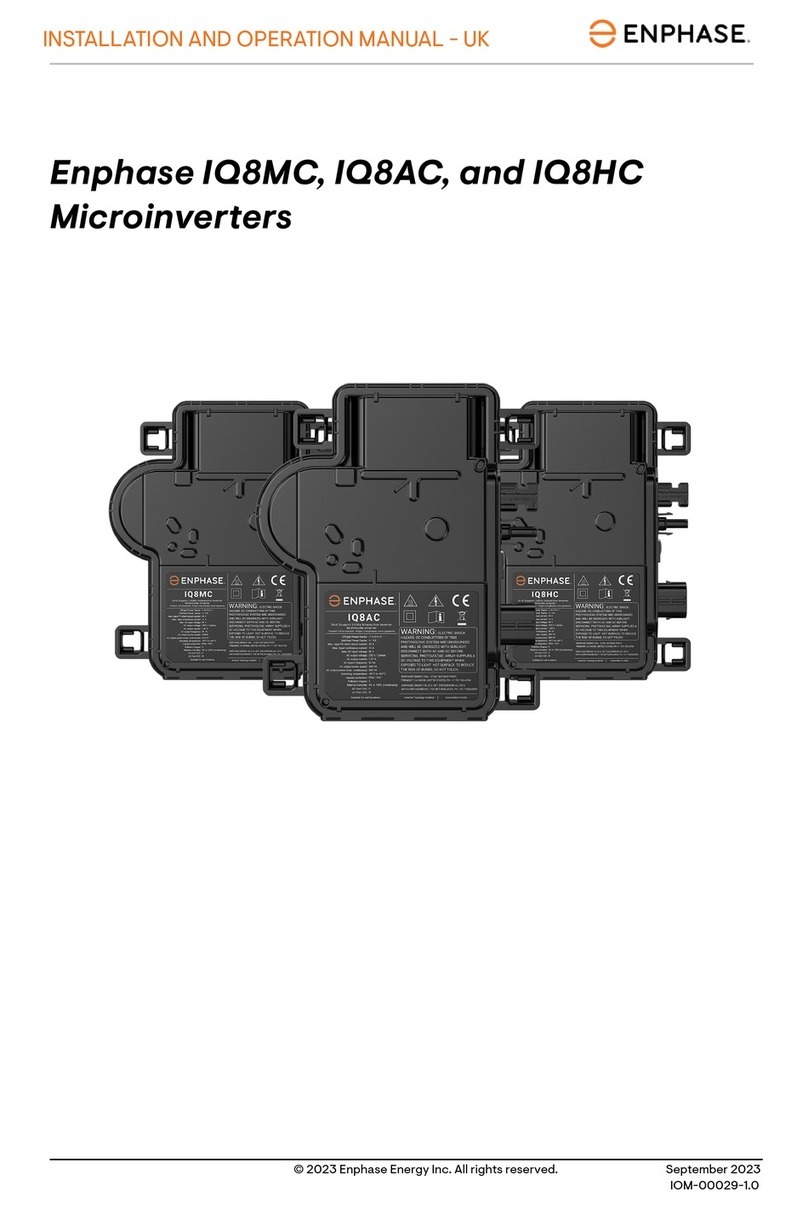
enphase IQ8AC User manual

enphase

enphase IQ8AC User manual

Popular Inverter manuals by other brands

Afore BNT050KTL Installation and operation manual

Afore

Afore BNT050KTL Installation and operation manual

SUNGOLD POWER SPH302480A user manual

SUNGOLD POWER

SUNGOLD POWER SPH302480A user manual

SMA STP50-40-IS-xx-11 Series Quick reference guide

SMA

SMA STP50-40-IS-xx-11 Series Quick reference guide

opti-solar SP4000-AVR user manual

opti-solar

opti-solar SP4000-AVR user manual

Solectria Renewables PVI 15KW Installation and operation manual

Solectria Renewables

Solectria Renewables PVI 15KW Installation and operation manual

Wavetek 39A Maintenance manual

Wavetek

Wavetek 39A Maintenance manual

Clarke IG1200 Operation & maintenance instructions

Clarke

Clarke IG1200 Operation & maintenance instructions

Mitsubishi F700 Series instruction manual

Mitsubishi

Mitsubishi F700 Series instruction manual

Sungrow SG10KTL-M user manual

Sungrow

Sungrow SG10KTL-M user manual

Sofar solar SOFAR 7.5KTLM user manual

Sofar solar

Sofar solar SOFAR 7.5KTLM user manual

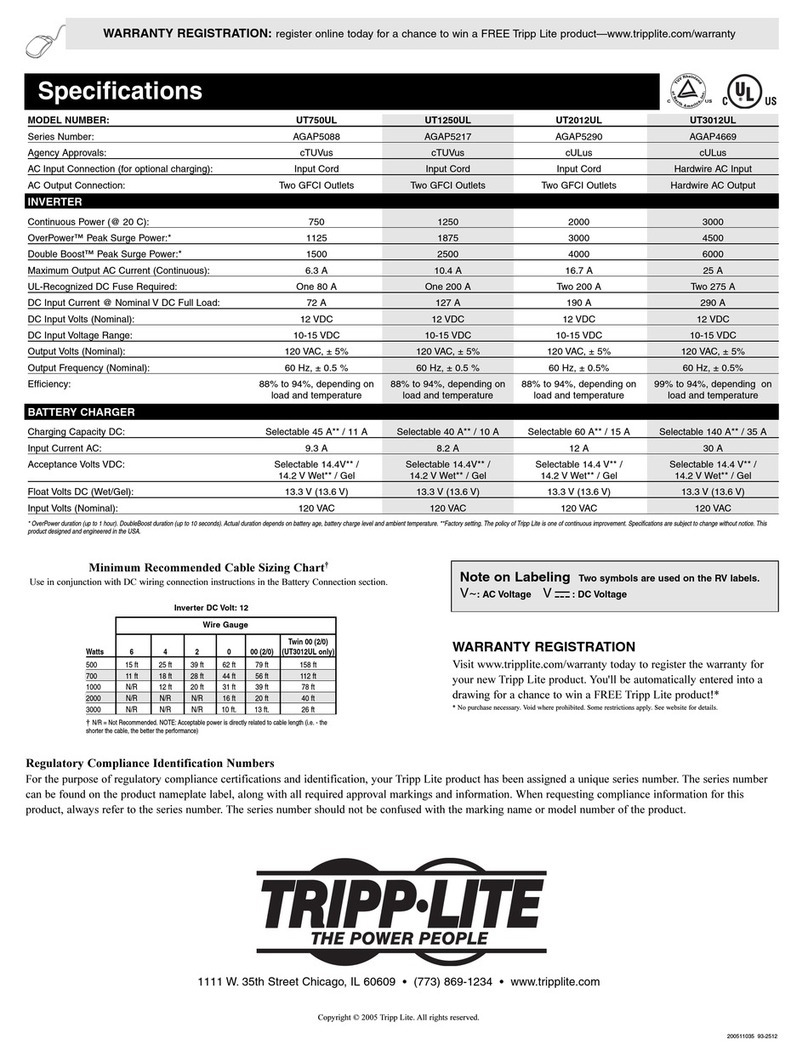
Tripp Lite UT1250UL Specifications

Tripp Lite

Tripp Lite UT1250UL Specifications

Omron SYSDRIVE 3G3FV CE Series installation manual

Omron

Omron SYSDRIVE 3G3FV CE Series installation manual

Micro Solar INV-1000PS user manual

Micro Solar

Micro Solar INV-1000PS user manual

Sofar 25KTLX-G3 user manual

Sofar

Sofar 25KTLX-G3 user manual

SOLIS S6 Series user manual

SOLIS

SOLIS S6 Series user manual

York EOKC 09 installation instructions

York

York EOKC 09 installation instructions

Power Drive PD100D owner's guide

Power Drive

Power Drive PD100D owner's guide

EnSmart SolarAll-H 1000T user manual

EnSmart

EnSmart SolarAll-H 1000T user manual

manuals.online logo
manuals.online logoBrands
  • About & Mission
  • Contact us
  • Privacy Policy
  • Terms and Conditions

Copyright 2025 Manuals.Online. All Rights Reserved.