Ensentic EWS User manual

Ensentic
EWS Weather station
Assembly Manual
Rev: 180523

ENSENTIC MCKINNEY, TX WWW.ENSENTIC.COM
Ensentic
E N V I R O N M E N T A L S E N S O R D A T A A N Y T I M E , A N Y W H E R E
a) What’s included
•Sensors
•Control box
•Tools
•Instruction manual
•mast
b) Assembly step by step Guide
What included with the 10 foot mast kit
7/32 Allen wrench
5 each 5/16” counter sink screws
Base
Lower mast
Upper mast
Align mark to ensure bolt hole pattern
matches

ENSENTIC MCKINNEY, TX WWW.ENSENTIC.COM
Ensentic
E N V I R O N M E N T A L S E N S O R D A T A A N Y T I M E , A N Y W H E R E
Layout all components of your system
Screw in partially the center screw, the
remaining screws, then tighten
Unbox you’re the controller. Remove the
brackets from back side and rotate and
reattach
The wind speed and direction sensor is
shipped with tail removed, replace and
tighten screw.

ENSENTIC MCKINNEY, TX WWW.ENSENTIC.COM
Ensentic
E N V I R O N M E N T A L S E N S O R D A T A A N Y T I M E , A N Y W H E R E
Anchor your mast base onto a flat and level
concrete pad, see attached hole layout
Tighten bolts
Layout 1” OD cross-arm tube with crossover
brackets with included 5/32” Allen wrench,
if you purchased system with solar sensor
you will get 3 brackets otherwise you will
get 2.
The crossover bracket which has the larger
hole for upper mast tubing should be
located 16” from one end, this is where the
solar sensor will be located. At the other
end you will attach the crossover bracket
rotated 90 degrees from the others, this is
where the wind sensor will be located
Larger hole for
upper mast
ENSENTIC MCKINNEY, TX WWW.ENSENTIC.COM
Ensentic
E N V I R O N M E N T A L S E N S O R D A T A A N Y T I M E , A N Y W H E R E
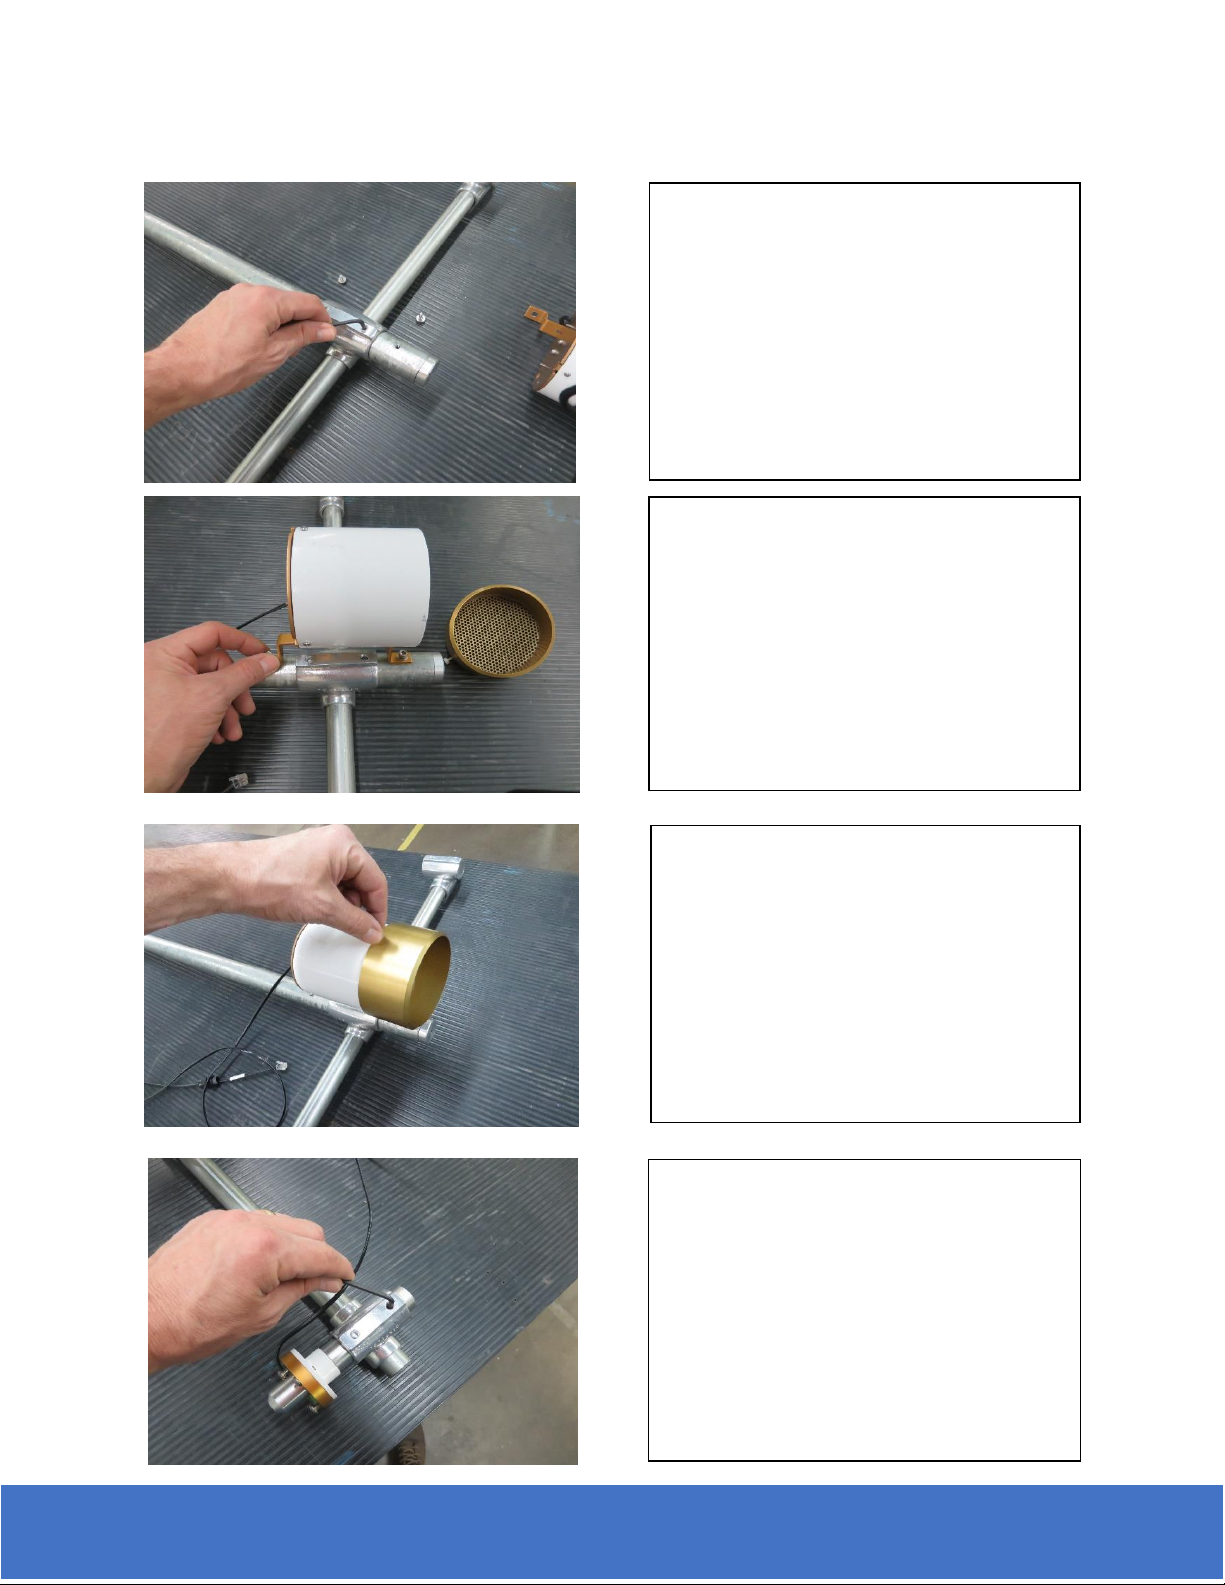
Slip the cross-arm tube assembly on the
1.25” upper mast section. Center it between
the 2 holes where the rain gauge bracket
attaches if purchased.
Attach the rain gauge bracket (if equipped)
and tighten with included screws with the
included Allen wrench. You will have to
remove the top collector from the rain
gauge with the thumbscrew to access one of
the screws
Replace the collector and tighten screw
Assemble the solar sensor if equipped

ENSENTIC MCKINNEY, TX WWW.ENSENTIC.COM
Ensentic
E N V I R O N M E N T A L S E N S O R D A T A A N Y T I M E , A N Y W H E R E
Assemble the wind sensor
Now you can slip the top mast section into
the lower mast section and use the included
cable ties to hold the cables securely on
tubing. Make sure all sensors are level and
aligned properly before raising section.
watch for mark on tubing to allow 4 inches
to remain in bottom section (careful to not
complete remove section) and tighten
setscrew with 5/32” Allen wrench.
upper mast
Lower mast
Tighten lightning rod in top of upper mast

ENSENTIC MCKINNEY, TX WWW.ENSENTIC.COM
Ensentic
E N V I R O N M E N T A L S E N S O R D A T A A N Y T I M E , A N Y W H E R E
Attach Temperature/Humidity sensor with
saddle bracket and tighten with ½ socket
wrench
Attach solar panel (if equipped) with
saddle brackets and face flat side of
bracket to the South and raise panel
at appropriate angle to maximise
angle with sun depending on time of
year. Make sure this bracket is high
enough on the upper mast section to
allow room for the control panel to be
mounted next.
Attach the control box to lowest part of
upper mast section and attach with saddle
brackets
Carefully insert the connectors thru
treaded holes at bottom of control panel.
ENSENTIC MCKINNEY, TX WWW.ENSENTIC.COM
Ensentic
E N V I R O N M E N T A L S E N S O R D A T A A N Y T I M E , A N Y W H E R E
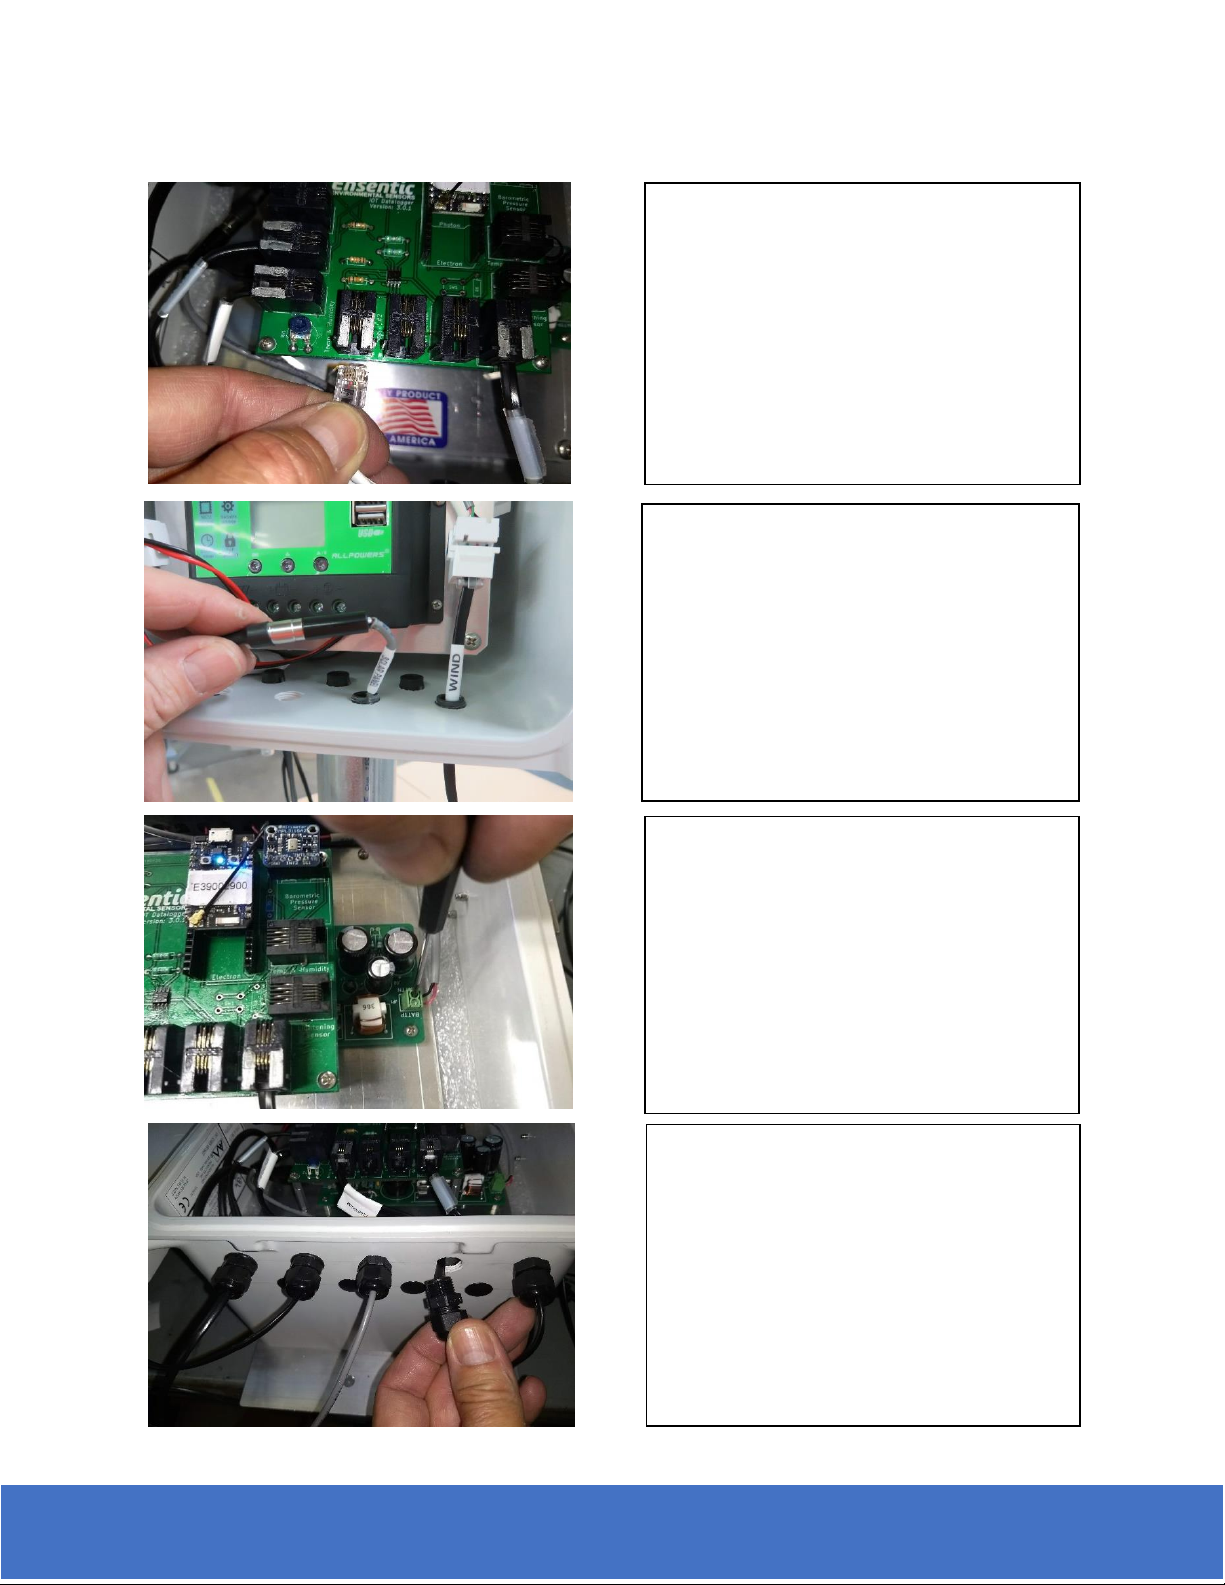
Connect each sensor to appropriate socket,
all should be marked
If equipped connect the solar panel
connector.
tighten with O-rings, sealing for water tight
connection
If powering with 12VDC. Make the power
connection to the PCB at this terminal. +
positive is marked BATTP and the –is
marked BATTN.

ENSENTIC MCKINNEY, TX WWW.ENSENTIC.COM
Ensentic
E N V I R O N M E N T A L S E N S O R D A T A A N Y T I M E , A N Y W H E R E
WARRANTY AND RETURN POLICY
Ensentic will accept returns within 30 days of purchase as long as the product is in new condition (to be determined by Ensentic).
Returns are subject to a 10 % restocking fee.
What is Covered
All products manufactured by Ensentic are warranted to be free from defects in materials and craftsmanship for a period of two (2)
years from the date of shipment from our factory. To be considered for warranty coverage an item must be evaluated either at our
factory or by an authorized distributor.
What is Not Covered
The customer is responsible for all costs associated with the removal, reinstallation, and shipping of all warranty items to our factory.
The warranty does not cover equipment that has been damaged due to the following conditions:
1. Improper installation or abuse.
2. Operation of the instrument outside of its specified operating range.
3. Natural occurrences such as lightning, fire, etc.
4. Unauthorized modification.
5. Improper or unauthorized repair.
6. Removal of the original serial number label or reprogramming of the electronic serial number voids any warranty on the device.
Please note that accuracy drift is expected over time. Routine recalibration of sensors/meters is considered part of proper
maintenance and will not be covered under warranty.
This warranty covers the original purchaser of the product or other party who may own it during the warranty period.
What we will do
1. Either repair or replace (at our discretion) the item under warranty.
2. Ship the item back to the customer by the carrier of our choice. Different or expedited shipping methods will be at the customer’s
expense.
Only after all sensors are attached you can
connect the battery
Table of contents


