Envoy EN2 DX2 User manual

User Guide for DX2 Twin Channel True
Diversity receiver v1.02

Installing and removing batteries
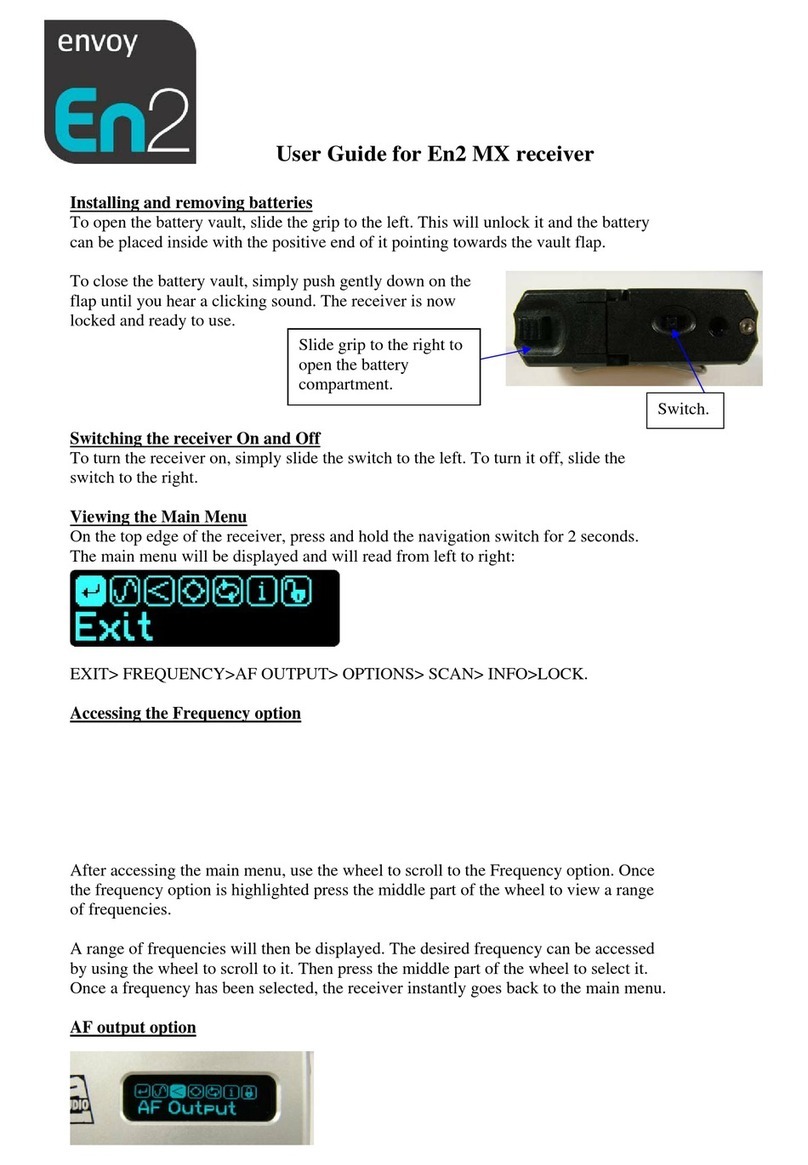
To open the battery compartment, slide the catch away from the edge.
The receiver can be powered externally via 6- 18 Volts DC using an appropriate
Audio Limited cable or it can be powered internally using 2xAA type 1.5V batteries.
Both batteries should be inserted in the battery compartment, with the negative end
entering first. To close the battery compartment, press firmly down on the flap.
Switching the receiver On and Off
To turn the receiver on, slide the switch in the base of the unit to the left and a display
should appear on the screen.
To turn the receiver off, slide the switch in the base of the unit to the right.
Viewing the Main Menu
When the receiver has been turned on, the default screen will be displayed as shown
below:
To view the individual receiver screen after the receiver has been switched on move
the nav-switch left or right. The screen will be displayed as shown below:
Slide catch on battery
cover to the right to
open the compartment.
Switch.

Key
1 Receiver number.
2 Menus Locked icon.
3 Current attenuator setting.
4 Current RF level.
5 RF/Squelched icon (flashes when squelched).
6 Diversity switch indicator.
7 Current RF level.
8 Current AF level bar indicator (0 –10 segments).
9 Current Frequency.
10 Frequency selection mode (P = PRESET, U = USER, TUNE = TUNE mode).
11 Selected channel number (PRESET or USER modes only).
12 AF ‘overload’ indicator.
To alter the receiver parameters press and hold the nav-switch for two seconds and
the Main menu will appear. On the Main menu, seven icons are displayed, which
represent:
Exit - Frequency - AF Output –Options –Scan –Info - HP Level
respectively.
Accessing the Frequency option
To choose a particular frequency, use the nav-switch to highlight the ‘Frequency’
icon. Press and hold the nav- switch to select the frequency option.

In the preset frequency mode scroll with the nav-switch till the desired frequency is
reached.
Press the nav-switch to confirm the chosen frequency.
In Frequency Tune mode the frequency any frequency within the switching
bandwidth can be selected in 25kHz steps. The selected frequency can then be stored
in the User memory.
AF output option
*Note:
Before connecting the output of the receiver to microphone input of the mixer or
camera please ensure the 48V phantom power is switched off. Leaving the phantom
power switched on may cause damage to the receiver’s output circuitry.
On the main menu, the nav-switch can be used to highlight the ‘AF output’ icon.
Once highlighted, press and hold the middle of the nav- switch to view the four AF
output levels.
The receiver output level can be set to any one of 4 pres-set levels in 12dB steps.
Scroll the nav-switch left or right to select the desired value is . Press and hold the
nav-switch to confirm the choice of output level.

Options
On the main menu, the nav-switch can be used to highlight the ‘options’ icon. Once
highlighted, press and hold the middle of the nav- switch to view the seven sub-
options under the ‘options’ menu.
The options menu will display seven icons, representing:
Exit - Freq Mode - HP Output - RX Power –Display –Lock –Restore
repectively.
(Within the options menu: a-h)
a) Exit
To return to the main menu, use the nav- switch to highlight the ‘Exit’ icon.
Press the nav-switch to display the main menu automatically.
b) Freq mode
On the ‘Options’ menu, the nav- switch can be used to highlight the ‘Freq mode’
icon. Once highlighted, press and hold the middle of the nav-switch to view the three
frequency options:
Preset (P)–User(U) –Tune(T)
respectively.

Use the nav-switch to highlight the desired mode and press the nav-switch to confirm
the choice. The choice will be displayed on the default display by ‘P’, ‘U’, ‘T’.
The display will then automatically return to the ‘options’ menu.
c) HP Output
On the ‘Options’ menu, the nav- switch can be used to highlight the ‘HP output’
icon.
Once highlighted, the middle of the nav- switch can be pressed to view the three HP
Output options:
‘1’( channel 1), ‘1 +2’( mix of channel 1and channel 2) , ‘2’( channel 2)
Use the nav-switch to highlight the desired output option. Press and hold the nav-
switch to confirm this choice. The display will then automatically return to the
‘Options’ menu.
d) RX Power
Either of the receivers can be switched off to conserve power.
On the ‘Options menu, the nav-switch can be used to highlight the ‘RX Power’ icon.
Once highlighted, the nav-switch can be pressed to view the three RX Power options:

Use the nav-switch to highlight the desired power option. Press and hold the nav-
switch to confirm the choice. The display will then automatically return to the
‘Options’ menu.
e) Display
On the ‘options’ menu, the nav-switch can be used to highlight the ‘Display’ icon.
Once highlighted, press and hold the middle of the nav- switch to view the two
display sub-menus, ‘Brightness’ and ‘Screensaver’.
(i)_Brightness
To adjust the brightness of the
display, press and hold the
middle of the nav- switch to selected the brightness menu. To select one of five
brightness options, use the nav- switch to highlight the desired brightness setting.
Press and hold the nav-switch to confirm the setting.
The display will then
automatically return to the
‘Options’ menu.
(ii) Screensaver
On the ‘Display’ sub-menu, to adjust the screensaver time, use the nav-switch to
highlight one of four options in seconds:
Press and hold the nav-switch to confirm the setting.

The display will then automatically return to the ‘Options’ menu.
f) Lock
To prevent accidental changes to the settings the menus can be locked.
On the ‘Options’ menu, scroll to the ‘Lock’ icon. Once highlighted, press and hold
the nav-switch to confirm the locking of the receiver.
By selecting ‘Yes’, the receiver will be locked and the ‘Options’ menu will
automatically be displayed.
To unlock the receiver, use the nav- switch to highlight the ‘Unlock’ icon and press
and hold the middle of the nav- switch to confirm unlocking.
By highlighting ‘Yes’ and pressing the middle of the scroll button, this will unlock
the receiver.
The ‘Options’ menu will then be automatically displayed.

g) Restore
In order to restore the factory settings use the ‘Restore’setting.
On the ‘Options’ menu, the nav-switch can be used to highlight the ‘Restore’ icon.
Once highlighted, press and hold the nav-switch to view ‘Yes; or ‘No’. To restore the
receiver’s original factory settings, use the nav-switch to highlight the ‘Yes’ option
and press and hold the nav-switch to confirm the restoration of the original factory
settings.
Scan
The Scan feature in the En2 receivers is a very useful tool to allow the user to be able
to scan the stored frequencies in order to avoid any local interference.
On the main menu, the ‘Scan’ icon can be highlighted using the nav-switch.
i)Tune mode scan
In tune mode the display will show a spectrum analyser type scan. The frequency
range of the table being scanned is displayed in the bottom left-hand side of the
display.As the cursor moves along the screen any RF signals will be displayed
showing the signal strength. The frequency associated with the instantaneous position
of the cursor is displayed on the bottom right-hand corner of the display.

ii)Free or TX scan
Once the scan icon is highlighted, press and hold the middle of the nav-switch to
view the two scan options. The user can scan for a free channel or for a transmitter.
When the receiver detects no activity on any channel in ‘Free’ mode or detects a valid
transmission in ‘TX’ mode, it will halt the scan. To resume scanning move the nav-
switch left or right.
Press to accept the channel where the scan has stopped. The screen will change to
display the set or cancel screen.
Move the nav- switch left or right to highlight the ‘Set’ or ‘Cancel’ option, then press
the select that option.
If ‘set’ is selected, the indicated the channel number becomes the new current
channel for the current frequency selection mode.
If ‘cancel’ is selected, the current channel remains unchanged. In either case, the
display will return to the Top Level Menu screen.)
Info

On the main menu, the ‘Info’ icon can be highlighted using the nav- switch.
Once the info button is highlighted, press and hold the middle of the nav- switch to
view the information for:
S/N- Rev- Table
Respectively.
There is no need to press and hold the middle of the nav- switch for any of the
options- the data for each of the options can be viewed by simply highlighting the
option using the nav- switch.
HP Level
On the main menu, the ‘HP Level’ icon can be highlighted using the nav- switch.
Once the HP Level icon is highlighted, press and hold the middle of the nav-switch.
Scroll the nav-switch to adjust the HP level to the desired level and again, press and
hold the middle of the nav-switch.

This will cause the receiver to automatically display the main menu.
Exit
On the main menu, the ‘Exit’ icon can be highlighted using the nav- switch. Once the
Exit is highlighted, press and hold the middle of the nav- switch.
The screen will then display the original screen for the Parameter.
Batteries
Upon finishing with any used batteries please dispose of them as special waste. In
order to protect the environment, only dispose of exhausted batteries.
Safety instructions
Please exercise caution when employing the headphone output. Higher volumes or
longer durations can damage your hearing. At higher volumes the duration should be
shortened in order to prevent damage.
Other Envoy Receiver manuals
Popular Receiver manuals by other brands
Crestron
Crestron DM-RMC-4KZ-SCALER-C quick start guide
Pioneer
Pioneer VSX-1018AH-K 7 operating instructions
Moseley
Moseley PCL-6000 Series Technical manual

Watkins-Johnson Company
Watkins-Johnson Company WJ-8718-19/FE instruction manual
Denon
Denon DRA-697CI Code List
AUDIOropa
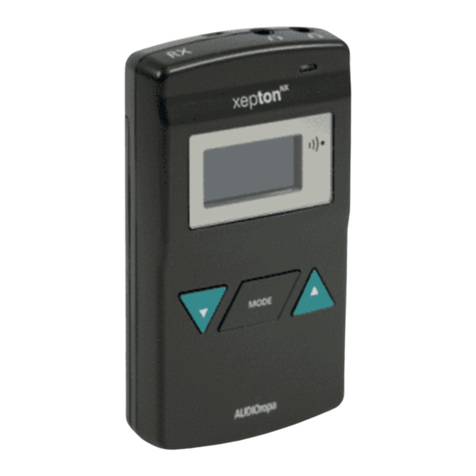
AUDIOropa xepton-NX RX user manual
