manuals.online logo
Brands
  1. Home
  2. •
  3. Brands
  4. •
  5. EPAK
  6. •
  7. Antenna
  8. •
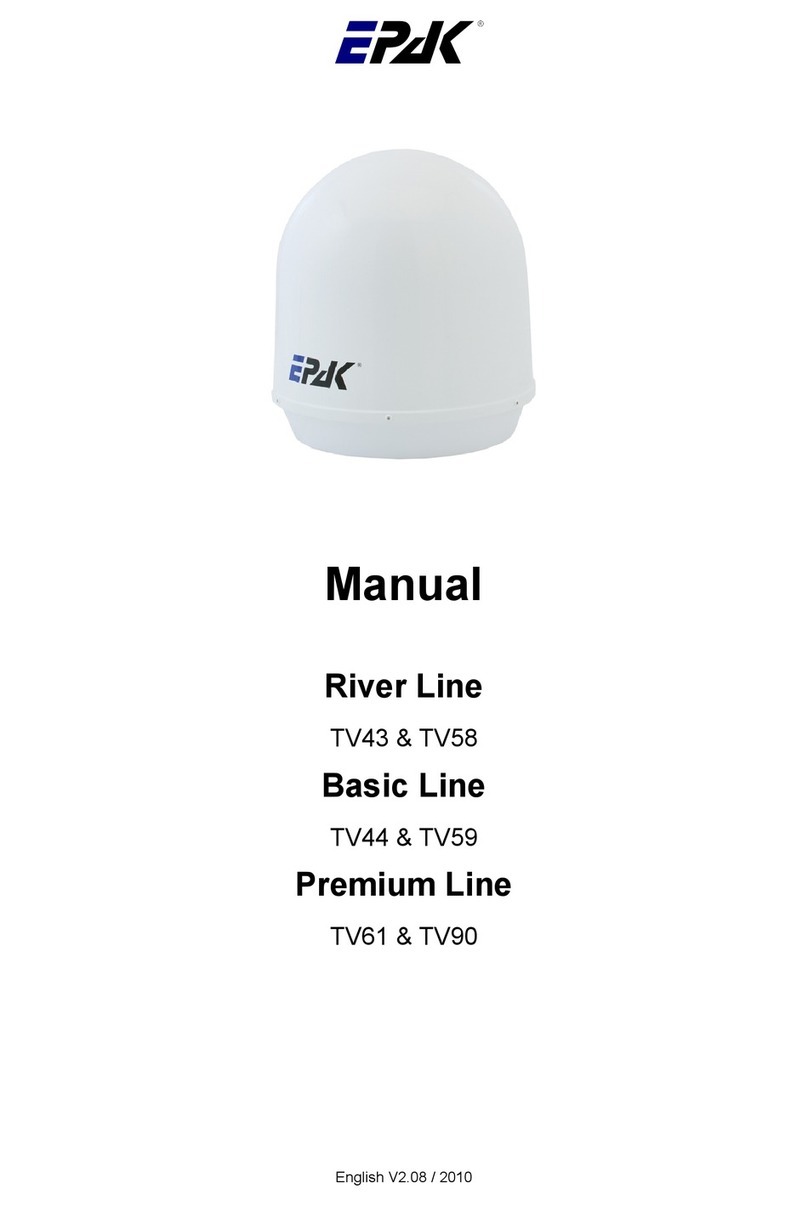
  9. EPAK TVRO Series User manual

EPAK TVRO Series User manual

1. Checking connections
a) Coaxial connection (F-type) to the antenna unit.
b) Coaxial connection (F-type) to the receiver.
c) DC connection (12...20 V) for additionally powering the
control unit. (Only for usage in the USA!)
d) Connection for serial communication with a PC.
e) Power consumption is 20-40 VA. Please use a power sup-
ply that is capable to provide minimum 50 VA continuous
output power (voltage 14-32 V DC).
2. Legend of the buttons
qPower key: Turning on power or entering standby mode.
qBrowse key: Browsing between available menus and set-
ups or cancelling the current process
aSelect key: Selecting or conrming display messages.
Hint! In Standby mode: Hold the Select (a) key while using
the Browse (q) key to scroll through available data: serial
number, counter operation time and software versions (see
point 6.2 in the antenna manual).
3. Entering the setup menu
The control unit is turned on by pressing the Power (q) key.
Wait until the display shows Setup (ashing), then press
the Browse (q) key. You are now in the setup menu, the dis-
play shows Tracking.
4. Adding new satellites
Searching and storing new satellites must be done in the har-
bour in calm waters! For every satellite at least one program
must be preprogrammed in the receiver to verify the satellite
position of the antenna unit by means of the TV picture qual-
ity. Make sure the pre-programmed TV station for the desired
satellite is turned on at the receiver, as the system stops at
each receivable satellite. The satellite can be identied by the
quality of the TV picture.
1. Press qrepeatedly until New Sat appears. Press ato
select. New Sat only appears in the display if free satel-
lite storage positions are available. If all storage positions are
occupied, the less required ones have to be deleted rst (see
point 5 in this guide).
2. After pressing athe display shows Search ? for a
brief moment followed by a list of all pre-programmed satel-
lites. Navigate through the list using qfor Channel-Tracking
Mode. If you want to enter Band-Tracking Mode navigate to
Sat X and press a. For adding new satellites, press aon
one of the pre-programmed satellites.
3. The display will show ScnBand? for two seconds.
After that, use the qkey to switch between Band 1 to Band
4 and select the band of the desired satellite. Conrm your
choice with a.
Band LO Frequency (MHz) Polarisation Recommended
1 10700 – 11700 Vertical low Astra 1 = Band 3
Hotbird = Band 3
Astra 2 = Band 3
Sirius = Band 3
US = Band 2
2 10700 – 11700 Horizontal low
3 11700 – 12750 Vertical high
4 11700 – 12750 Horizontal high
4. The display interchanges between New Sat and
Search?. Conrm with aor cancel with q.
5. If you choose Cancel (q), the display will briey show
cancel and then return to the setup menu e.g.
New Sat, continue from point 2. If you choose Conrm
(a), the search mode is activated and the display shows
scanning (ashing). The search mode can be interrupted
at any time by pressing q, which brings you back to the main
menu. The display shows Setup (ashing).
6. If the tracking system has scanned the whole area with-
out locating a satellite, the display shows scanning in-
terchanging with complete. Conrm with a. You are
back in the main menu with Setup (ashing). Before re-
starting the search mode (see point 4.1 in this guide), check
if there is a clear view to the satellite, if the selected program
on the receiver is OK (possibly change to another program)
and if the respective satellite can be received in this area!
If no satellite is found, repeat the search in another band (see
point 4.3 in this guide). Before you restart the search mode,
make sure that no superstructures obstruct the view to the
satellite!
EPAK TVRO Systems
QUICKSTART
EPAK TVRO Systems
7. The search mode stops after a satellite is found. The dis-
play shows Sat OK? (ashing). Check the quality of the TV
picture! In case there is no picture or the wrong TV program,
proceed with search mode by pressing qrepeatedly until the
correct TV signal is found. Press ato conrm.
8. The display shows Save as? just for a few seconds.
A list of the dierent storage positions is shown. Use the q
key to toggle between Sat 1and Sat 4, conrm with a.
Hint! Only free storage positions are shown. Every receiver
supporting the DiSEqCTM-function, allocates the satellite po-
sitions to one of the DiSEqCTM-positions 1-4. Therefore, make
sure that all satellites in the DiSEqCTM- menu of the receiver
and of the antenna unit are stored under the same num-
ber! This allows the use of Auto Sat function (Only for Single
and Twin antennas! - see point 5.4.1 in the antenna manual).
Example: Satellite Astra is stored under DiSEqCTM-position 2
in the receiver, meaning that this satellite has to be stored in
the antenna unit under Sat 2! Receivers which do not sup-
port the DiSEqCTM-function will allow any order of numbers.
Pressa.
9. The display interchanges between a ashing
Sat [1-4] and save?. Conrm with a.
10. If you choose to Conrm in point 9, the display shows
saving.. (ashing) for 10 to 20 seconds. The data of the
satellite is now automatically memorized and stored. The dis-
play shows checking. While the data is being stored, the
ship may not strongly move. Also, a permanent clear view to
the satellite must be guaranteed and the antenna unit may
not be turned o!
11. When the data is memorized, the display shows
complete for a brief moment and then the system au-
tomatically jumps to the TV mode of the just stored satel-
lite (the display shows Sat [1-4]). The ship can now
be moved and the reception tested. In case a failure occurs
and the data is not memorized correctly, the display shows
Err Save and the search has to be done again.
For each new satellite the search mode must be repeated! You
can store up to four satellites on each antenna.
5. Deleting stored satellites
To delete stored satellite positions, the following steps must
be completed:
1. Press qrepeatedly until Del Sat appears. Press ato
select.
Hint! Del Sat can only appear if satellites are stored in the sys-
tem.
2. The display shows Sat [1-4], which is the rst storage
position that can be deleted. Choose the satellite you want to
delete using qand conrm with a.
3. The display now interchanges between Sat [1-4] and
Delete. To conrm press a, to cancel press q.
4. If you choose Conrm (a) the display shows
complete for a brief moment. If you choose Cancel (q),
the display shows cancel. If there are further satellites
available the display will return to Del Sat, otherwise it
shows Tracking.
For each satellite you wish to delete, press aand repeat from
step 3!
Complete manual available for download on www.epak.de
(Download Area).
QUICKSTART
01.03.18 ID: 0118

Other EPAK Antenna manuals

EPAK DSi6Ku Pro User manual

EPAK

EPAK DSi6Ku Pro User manual

EPAK DS6 PRO User manual

EPAK

EPAK DS6 PRO User manual

EPAK River Line Series User manual

EPAK

EPAK River Line Series User manual

EPAK DSi6 User manual

EPAK

EPAK DSi6 User manual

EPAK Premium Line TV61TV90 User manual

EPAK

EPAK Premium Line TV61TV90 User manual

EPAK DSi9 User manual

EPAK

EPAK DSi9 User manual

Popular Antenna manuals by other brands

Iridium GO! exec GEINSTKT2201 installation guide

Iridium

Iridium GO! exec GEINSTKT2201 installation guide

Maximum DA-5100 manual

Maximum

Maximum DA-5100 manual

Magnadyne RV2458 installation manual

Magnadyne

Magnadyne RV2458 installation manual

Directive Systems & Engineering DSE9112LY manual

Directive Systems & Engineering

Directive Systems & Engineering DSE9112LY manual

Winegard AIR 360+ quick start guide

Winegard

Winegard AIR 360+ quick start guide

MFJ MFJ-1777 instruction manual

MFJ

MFJ MFJ-1777 instruction manual

RCA ANT2000 - HDTV / TV user guide

RCA

RCA ANT2000 - HDTV / TV user guide

Antennas Direct ClearStream 2 Assembly instructions

Antennas Direct

Antennas Direct ClearStream 2 Assembly instructions

W6LVP Amplified Receive-Only Magnetic Loop Antenna quick start guide

W6LVP

W6LVP Amplified Receive-Only Magnetic Loop Antenna quick start guide

Satcom 85405 instruction manual

Satcom

Satcom 85405 instruction manual

General Dynamics SATCOM Technologies KX 120 Operation & maintenance manual

General Dynamics

General Dynamics SATCOM Technologies KX 120 Operation & maintenance manual

K&M Burkhard Reuter RLA4GS Specification and operator's manual

K&M Burkhard Reuter

K&M Burkhard Reuter RLA4GS Specification and operator's manual

Kathrein 742215V01 manual

Kathrein

Kathrein 742215V01 manual

RCA ANT115 installation instructions

RCA

RCA ANT115 installation instructions

H3C ANT-2015P-M3 installation guide

H3C

H3C ANT-2015P-M3 installation guide

COBHAM EXPLORER 8100 User & installation manual

COBHAM

COBHAM EXPLORER 8100 User & installation manual

Ubiquiti PowerBridge M10 quick start guide

Ubiquiti

Ubiquiti PowerBridge M10 quick start guide

BAS BAS-1144 TRITON-S-UHF Quick user guide

BAS

BAS BAS-1144 TRITON-S-UHF Quick user guide

manuals.online logo
manuals.online logoBrands
  • About & Mission
  • Contact us
  • Privacy Policy
  • Terms and Conditions

Copyright 2025 Manuals.Online. All Rights Reserved.