p 3
Eraser Company Inc. • Syracuse, NY USA • Ph: 315-454-3237 • info@eraser.com • www.eraser.com • Fax 315-454-3090
SET-UP:
Carefully unpackage the unit. The HL2 hand held
infrared heater comes standard with (2) IK0015
(115V) lamp assemblies and a 3/16" Allen wrench
(TG0347) for removing the handle if necessary.
Open the Styrofoam boxes containing the Lamp
Assemblies and carefully remove them from the
Styrofoam by holding the ceramic block at each
end. DO NOT TOUCH THE QUARTZ LAMP. If
any contamination is apparent on either lamp,
clean them following the instructions packaged
with the quartz lamps. Handle lamp assemblies
with care, as they are very fragile.
Remove the front protective grill of the HL2 by
removing the 2 pan head screws and washers.
Ensure that the polished reector is clean and
free of grease, dirt, ngerprints, etc. If cleaning is
required, see “Maintenance” section for the cleaning
procedure.
Install the two lamp assemblies into the HL2
pockets located on the reector. Hold the lamp
assembly by the (2) ceramic blocks on each
end, gently insert both plugs into their respective
sockets until the lamp is completely seated.
After both lamp assemblies have been installed,
replace the protective grill.
The unit may now be connected to the power
supply.
NOTE: Be sure the power switch is set to “0” (off)
before connecting the unit to the power supply.
Use appropriate grounded 115V, 10Amp supply.
OPERATION:
! CAUTION: Lamps emit a very bright light. DO
NOT look directly at lamps when starting or
operating.
To turn the unit on, press the rocker switch on
the top right of the unit. “1” indicates ON and “0”
indicates OFF. Turn the control knob on the top
left of the unit to vary the intensity of the lamps,
from OFF to full intensity. A reference scale on
the control knob allows the operator to achieve
repeatable results, regardless of application. An
internal fan maintains air ow to keep the lamp
end seals cool, so the unit should be operated in
an area with adequate ventilation.
NOTE: Any dirt or grease present on the lamps or
reector will burn off when the unit is rst turned
ON. Therefore, a small amount of smoke may be
visible. Keep lamps and reector clean to avoid
burn off.
CAUTION: The lamp assemblies are designed
for use only in the horizontal position.
Operation in any other position my cause
premature failure of the lamps.
SAFETY PRECAUTIONS:
CARE MUST BE EXERCISED IN THE USE OF
THIS PRODUCT DUE TO THE HIGH PROCESS
TEMPERATURES GENERATED.
INADEQUATE AIRFLOW MAY DAMAGE UNIT.
ENSURE ADEQUATE AIRFLOW AT ALL TIMES.
NEVER LOOK DIRECTLY AT THE INFRARED
RADIATED FROM THE LAMP ASSEMBLIES.
WEAR EYE PROTECTION TO PROTECT
AGAINST REFLECTED RADIATION.
DO NOT USE IN THE PRESENCE OF
EXPLOSIVE ATMOSPHERES OR FLAMMABLE
COMPOUNDS.
DO NOT LET UNIT BECOME WET OR DAMP.
UNIT MUST BE OPERATED FROM A DRY
SURFACE.
DO NOT LEAVE THE UNIT UNATTENDED
WHEN SWITCHED ON.
ALWAYS SWITCH UNIT OFF WHEN NOT
USING AND DISCONNECT IT FROM THE
POWER SUPPLY.
INSURE THAT THE UNIT IS DISCONNECTED
FROM THE POWER SUPPLY AND COOL
BEFORE ATTEMPTING ANY MAINTENANCE,
REFLECTOR CLEANING, OR LAMP
ASSEMBLY REPLACEMENT.
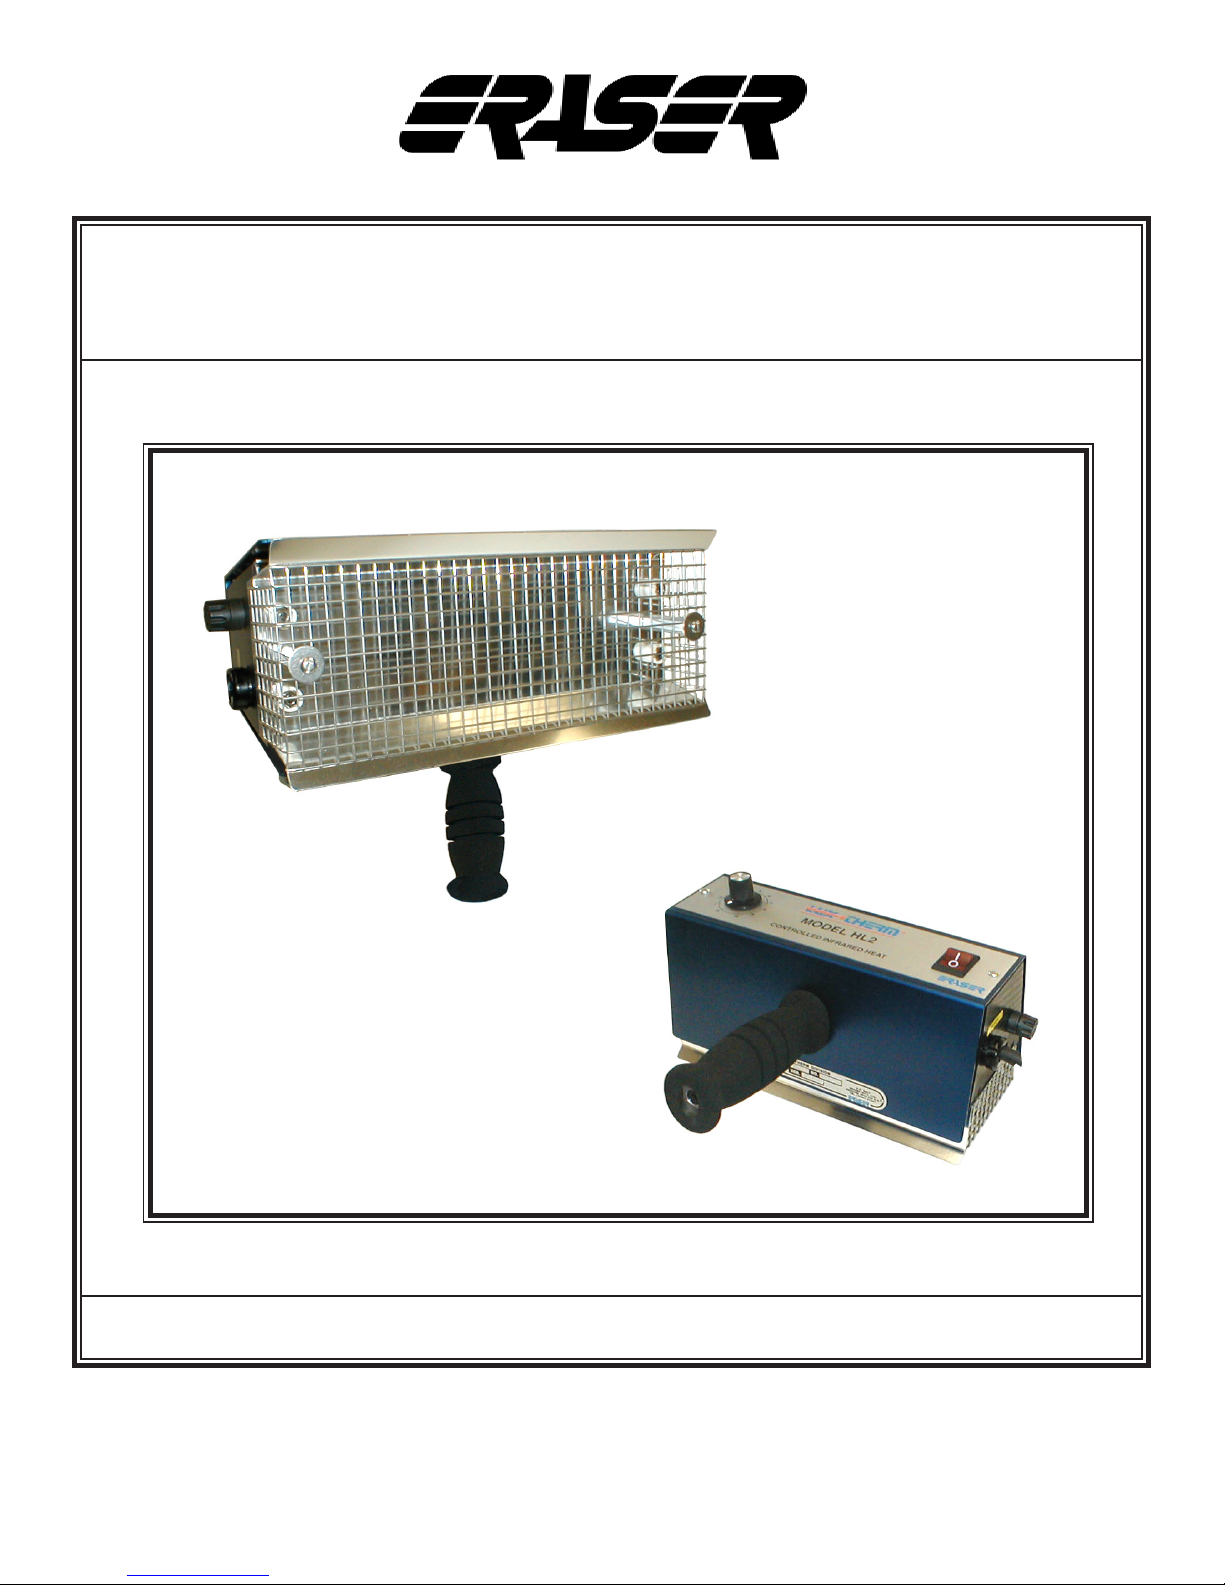
Lux-Therm Model HL2 Portable Infrared Heater