Ergonomyx UNDER DESK BIKE User manual
Assembly
Manual
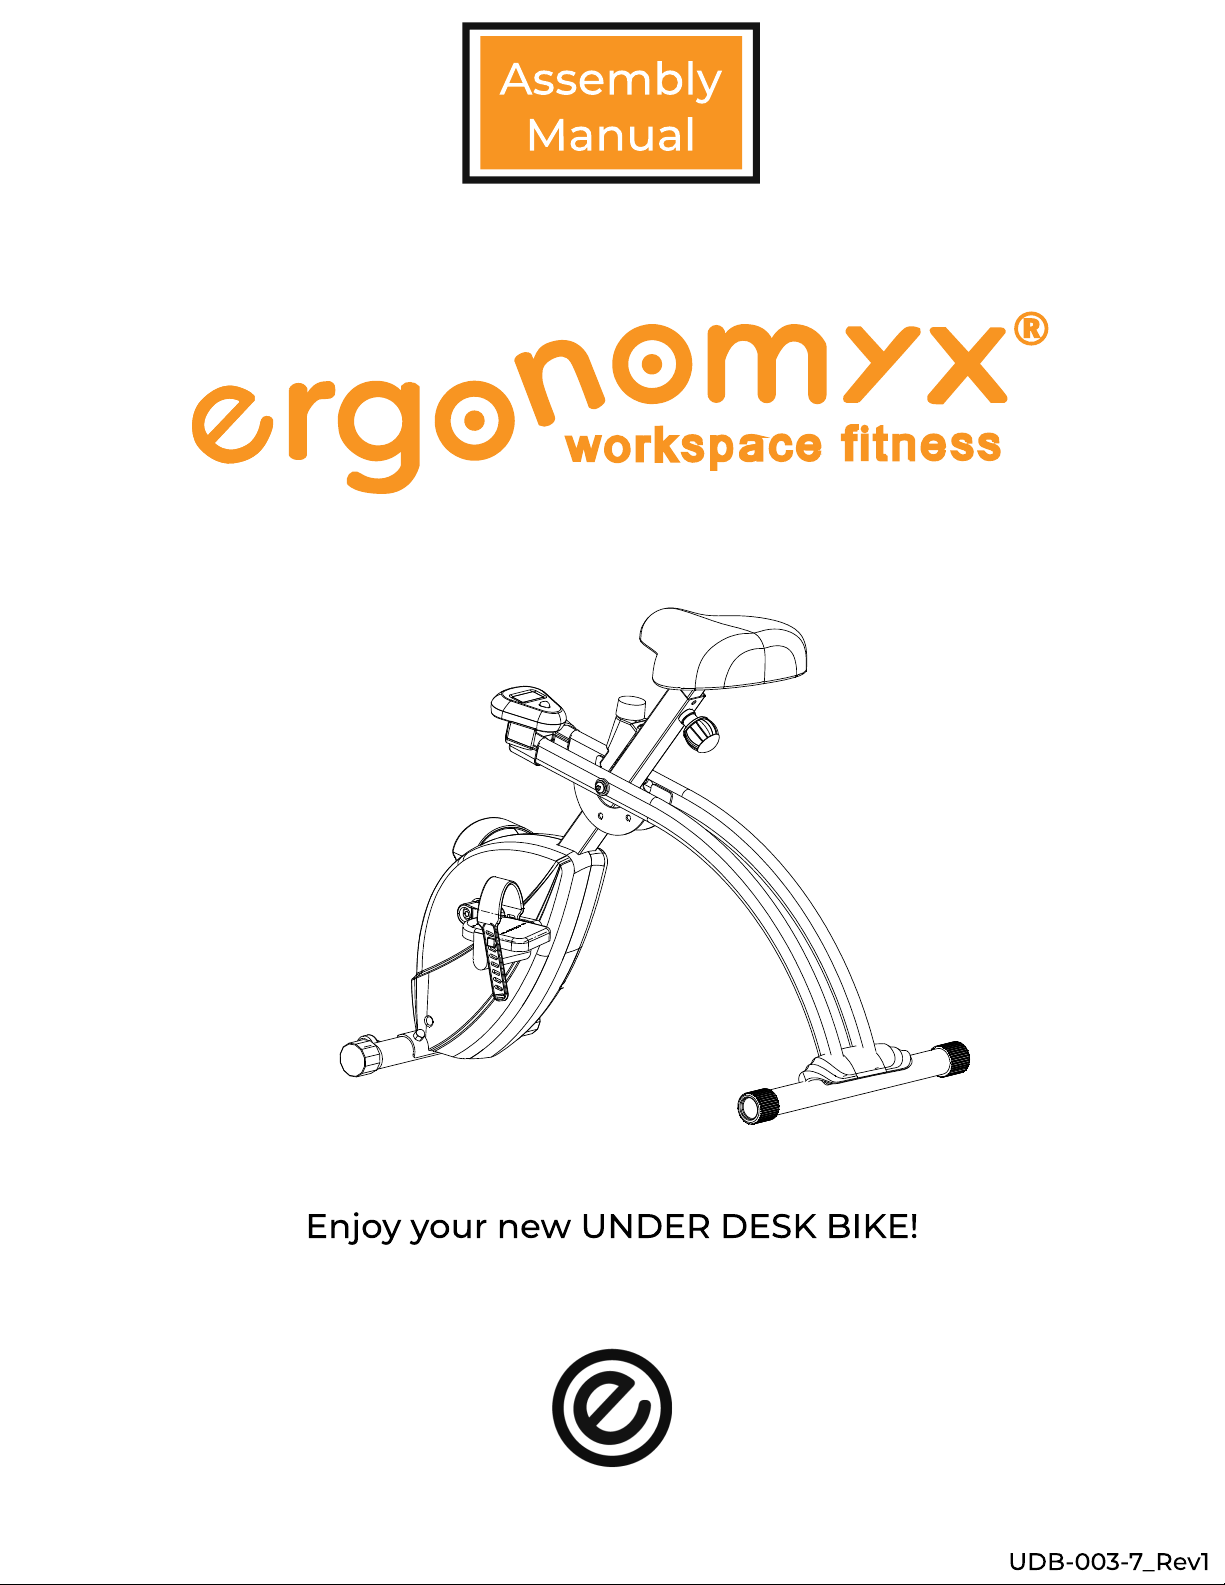
Enjoy your new UNDER DESK BIKE
UDB-003-7 Rev1

IMPORTANT SAFETY INSTRUCTIONS
Page 3 of 8
S VE THESE INSTRUCTIONS
Carefully read and understand the assembly instructions
Make sure the assembly is done in an appropriate work space away from foot trafc and exposure to
bystanders
Set up this machine on a solid, level, horizontal surface.
Do not try to change the design or functionality of this machine. This could compromise the safety of
this machine and will void the warranty.
If replacement parts are necessary, use only genuine Ergonomyx replacement parts and hardware.
Failure to use genuine replacement parts can cause a risk to users, keep the machine from operating
correctly and void the warranty.
Do not use until the machine has been fully assembled and inspected for correct performance in
accordance with the manual.
Read and understand the complete manual supplied with this machine rst before rst use
Do all the assembly steps in the sequence given. Incorrect assembly can lead to injury or incorrect
function
Save these instructions
Before using equipment, obey the following warnings
Read and understand all warnings on this machine. If at any time the Warning labels become loose,
unreadable or dislodged, replace the labels. If purchased in US/Canada, contact Customer Service for
replacement labels. If purchased outside US/Canada, contact your local distributor for them.
Consult a physician before you start an exercise program. Stop exercising if you feel pain or tightness in
your chest, become short of breath, or feel faint. Contact your doctor before you use the machine again.
If while using the bicycle, you experience any dizziness, faintness, shortness of breath or pain, you must
stop using the machine immediately and consult a physician. Failure to do so could result in personal
injury.
Not intended for use by anyone under 14 years of age, children must not be let on or near to this
machine. Moving parts and other features of the machine can be dangerous.
Use the values calculated or measured by the machine’s computer for reference purposes only.
This bike is for indoor use only. Do not store the bike outdoors, near water, or at high humidity levels.
Before each use, examine this machine for loose parts or signs of wear. Do not use if found in this
condition. Monitor the Seat, Pedals, and Crank Arms closely. If purchase in the US/Canada, contact
Customer service for repair information.
Maximum user weight limit: (100kg) 220lbs
Do not wear loose clothing or jewelry. This machine contains moving parts. Do not put ngers or other
objects into moving parts of the exercise equipment
Use caution when mounting and dismounting.
Make the pedals stable before you step on them. Use caution when you step on and off the machine
Exercise on this machine requires coordination and balance. Be sure to anticipate that changes in speed
and resistance level can occur during workouts, and be attentive in order to avoid loss of balance and
possible injury.

No. Name Qty
M8x50mm BoltA
B
C
D
E
F
G
4
4
4
1
3
3
1
Curved asher
M8 Acorn Nut
Multitool
Right Pedal
Back Foot
Bike Seat Post
Left Pedal
Bike
Frame
Image
DANGE
Read all instructions before using
No.
No.
No.
No.
No.
No.
No.
No.
Qty Qty
Qty
Qty
Qty
Part
Part
Part
Part
Part
Part
Part
Part
Qty
Qty
Qty
11
1
1
1
1
1
1
Bolt Cover
#1 #2
2
#4
#5 #6
6
#7 #8
Thank you for choosing Ergonomyx! We are excited to
be part of your new and improved ofce space, we
want to help you get the most out of your working day!
Scan Me
Seat
Front Foot
Flat asher
M8 nut
Pin
Page 4 of 8
Included Hardware
Component List
1
4
5
7
8
#
3
3

2
Page 5 of 8
1
OTE: When attaching Front
Foot (#3) to the Bike Frame
(#1) ensure wheels are parallel
to the oor, as picture above.
Place the bike frame (#1) in an upright position,
insert the included pin (G) into the hole below the
pivot point
Attach the front and rear foot(#2 & #3) to the Bike
Frame (#1) using the provided M8x50mm bolts (4)
and curved washers (B), then place M8 acorn nuts
on top and tighten using multitool (D)
3
BIKE SEAT POST
V CLIP
SEAT HEIGHT
ADJUSTME T K OB
Pin
Attached Seat (#4) to Bike Seat Post (#5)
using provided at washers (E) and M8
nuts (F)
Pull the Seat Height Adjustment Knob
outwards and partially insert the bike seat
post (#5) into the bike frame (#1) until it
stops.
Once inserted, press the silver V clip
buttons on the front and back of the seat
post and slide the post downward until
the adjustment knob clicks into place at
the desired height.
4
F
E
G
2A
A
1
B
C
C
C

4
Page 6 of 8
3
Screw the Right Pedal (6) into the Right Crank shaft
(Marked with an “R”) by turning it Cl ckwise
Screw the Left Pedal (7) into the Left Crank shaft
(Marked with an “L”) by turning it C unter
Cl ckwise
Snap the bolt cover (8) over the acorn nuts on the
rear foot.
To change seat height, turn the
adjustment knob counter clockwise until
loose and pull outward. While pulling,
adjust the seat up and down to desired
setting allowing the adjustment knob to
click into place
Once you set the desired height, tighten
Adjustment Knob clockwise until tight.
NOTE: If desired seat
height is higher than the
seat post allows, please
contact customer support
to purchase a seat height
extension kit.
The bike is adjustable for
users between 4’10”- 5’6
(147cm - 167cm). An
extension kit is
reccomended for taller
users.
Lock the bike in by inserting the pin (G)
in position 1 when the bike is unfolded.
In the folded position, move the pin to
position 2 to lock it in place.
7
8
6
Increase
Resistance
Decrease
Resistance
Resistance Dia
Turn
Digital Display
Require
2 ‘AA’ 1.5V Batteries
AA
AA
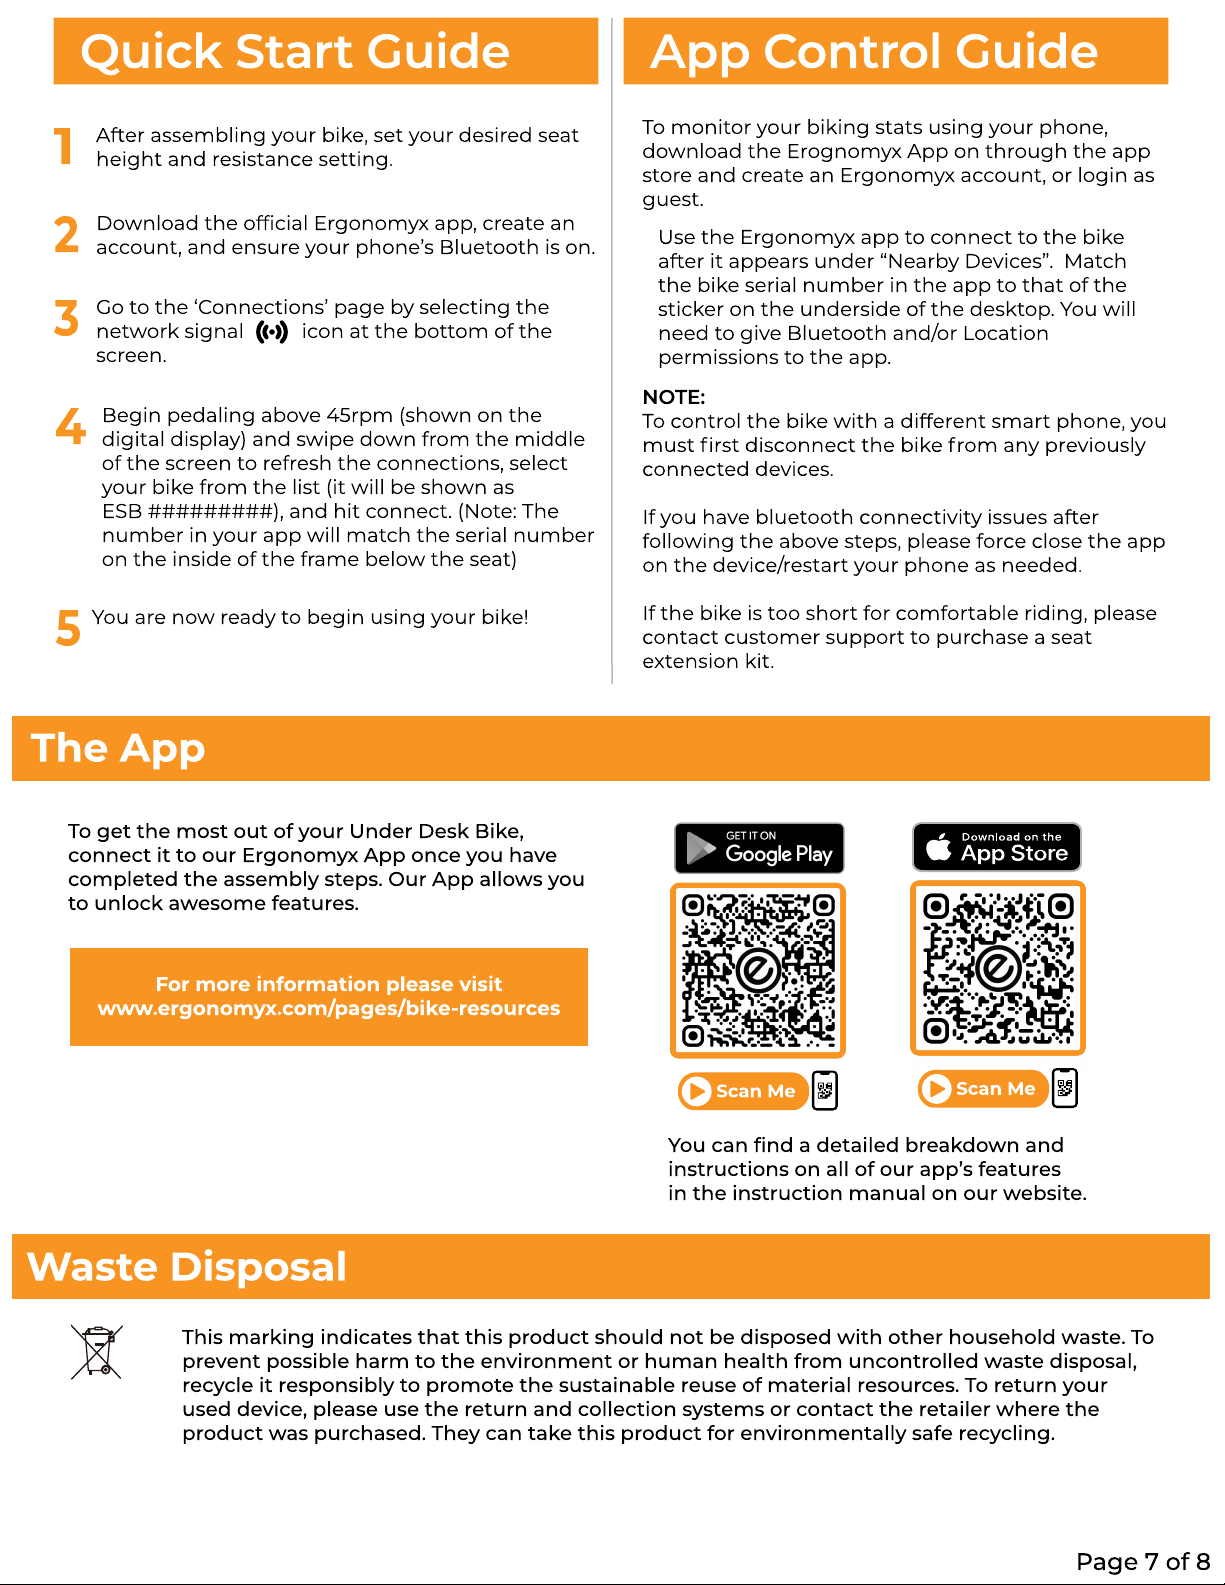
After assembling your bike, set your desired seat
height and resistance setting.
Download the of cial Ergonomyx app, create an
account, and ensure your phone’s Bluetooth is on.
Go to the ‘Connections’ page by selecting the
network signal icon at the bottom of the
screen.
Begin pedaling above 45rpm (shown on the
digital display) and swipe down from the middle
of the screen to refresh the connections, select
your bike from the list (it will be shown as
ESB #########), and hit connect. (Note: The
number in your app will match the serial number
on the inside of the frame below the seat)
You are now ready to begin using your bike!
To monitor your biking stats using your phone,
download the Erognomyx App on through the app
store and create an Ergonomyx account, or login as
guest.
NOTE:
To control the bike with a different smart phone, you
must rst disconnect the bike from any previously
connected devices
If you have bluetooth connectivity issues after
following the above steps, please force close the app
on the device/restart your phone as needed
If the bike is too short for comfortable riding, please
contact customer support to purchase a seat
extension kit.
Use the Ergonomyx app to connect to the bike
after it appears under “Nearby Devices”. Match
the bike serial number in the app to that of the
sticker on the underside of the desktop. You will
need to give Bluetooth and/or Location
permissions to the app
App Control Guide
Q
ui
ck
S
t
a
rt Guide
Page 7 of 8
Scan Me
You can nd a detailed breakdown and
instructions on all of our app s features
in the instruction manual on our website.
To get the most out of your Under Desk Bike,
connect it to our Ergonomyx App once you have
completed the assembly steps. Our App allows you
to unlock awesome features.
Scan Me
The App
This marking indicates that this product should not be disposed with other household waste. To
prevent possible harm to the environment or human health from uncontrolled waste disposal,
recycle it responsibly to promote the sustainable reuse of material resources. To return your
used device, please use the return and collection systems or contact the retailer where the
product was purchased. They can take this product for environmentally safe recycling.
Waste Disposal
For more information please visi
www.ergonomyx.com/pages/bike-resources


