Estella 348EDS12S User manual
USER MANUAL
www.EstellaEquipment.com
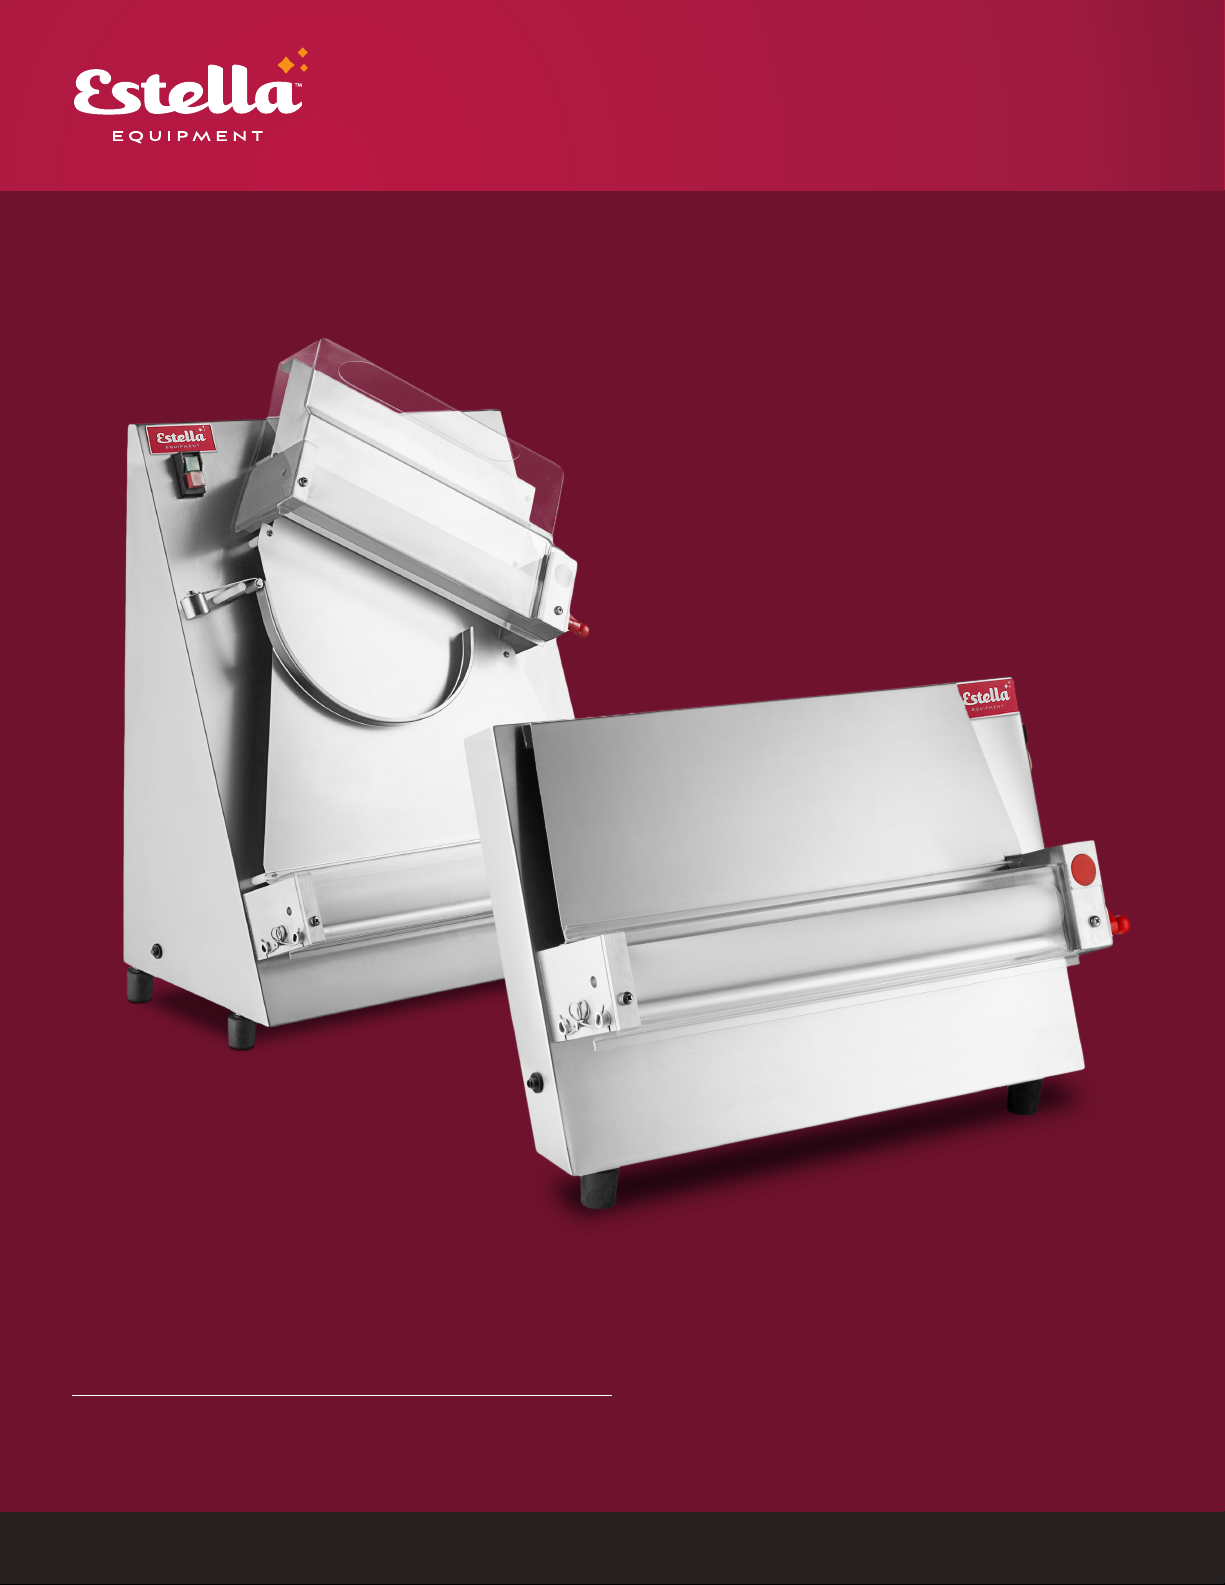
#348EDS12S • 12" SINGLE PASS #348EDS12D • 12" DOUBLE PASS
#348EDS18S • 18" SINGLE PASS #348EDS18D • 18" DOUBLE PASS
DOUGH SHEETERS
www.EstellaEquipment.com2
USER MANUAL
INDEX
Safety Information........................................ 2
Setup ............................................................... 3
Operation ....................................................... 4
Maintenance .................................................. 4
Circuit Diagram ............................................. 5
Troubleshooting............................................ 5
SAFETY INFORMATION
When using electrical appliances, basic safety precautions should always be followed, including
the following:
1. Keep the working area around the machine clean and organized.
2. Consider environmental conditions surrounding the machine. Do not use the machine in humid,
wet, or poorly lit environments. Do not use the machine close to flammable liquids or gas.
3. Keep machine away from children and non-authorized personnel. Do not permit them to go near
the machine or its working area.
4. Do not touch the switch or cable with wet hands.
5. Only utilize the machine with the correct voltage to achieve optimum results.
6. Do not wear low-hanging clothing or items that may get caught in the machine. Wear non-slip
shoes while working with the machine. For hygiene and safety, keep hair tied back and wear
protective gloves.
7. Do not tug on the cable to remove the plug from the outlet. Do not leave the cable near sharp
objects, water, or solvents.
8. Remove the plug when the machine is not in use, you are cleaning the machine or need to move
the machine.
9. Check that the machine is not damaged prior to each use. Carefully check that all safety devices
are working, that the removable parts are not blocked, there are no parts damaged, that all the
parts have been set up correctly, and that all conditions that could influence the regular function
of the machine are in working order.
10.If the machine is damaged or there are issues during its use, turn o the machine immediately
and contact the manufacturer for assistance or repair. Repairs should only be made by qualified
technicians, using the correct manufacturer parts. Non-compliance with these rules may void
the warranty.
Note: Save these instructions for future reference.
50165975016597
CONFORMS TO UL-763
CONFORMS TO NSF-8
CONFORMS TO CAN/CSA C22.2 no. 195
www.EstellaEquipment.com 3
USER MANUAL
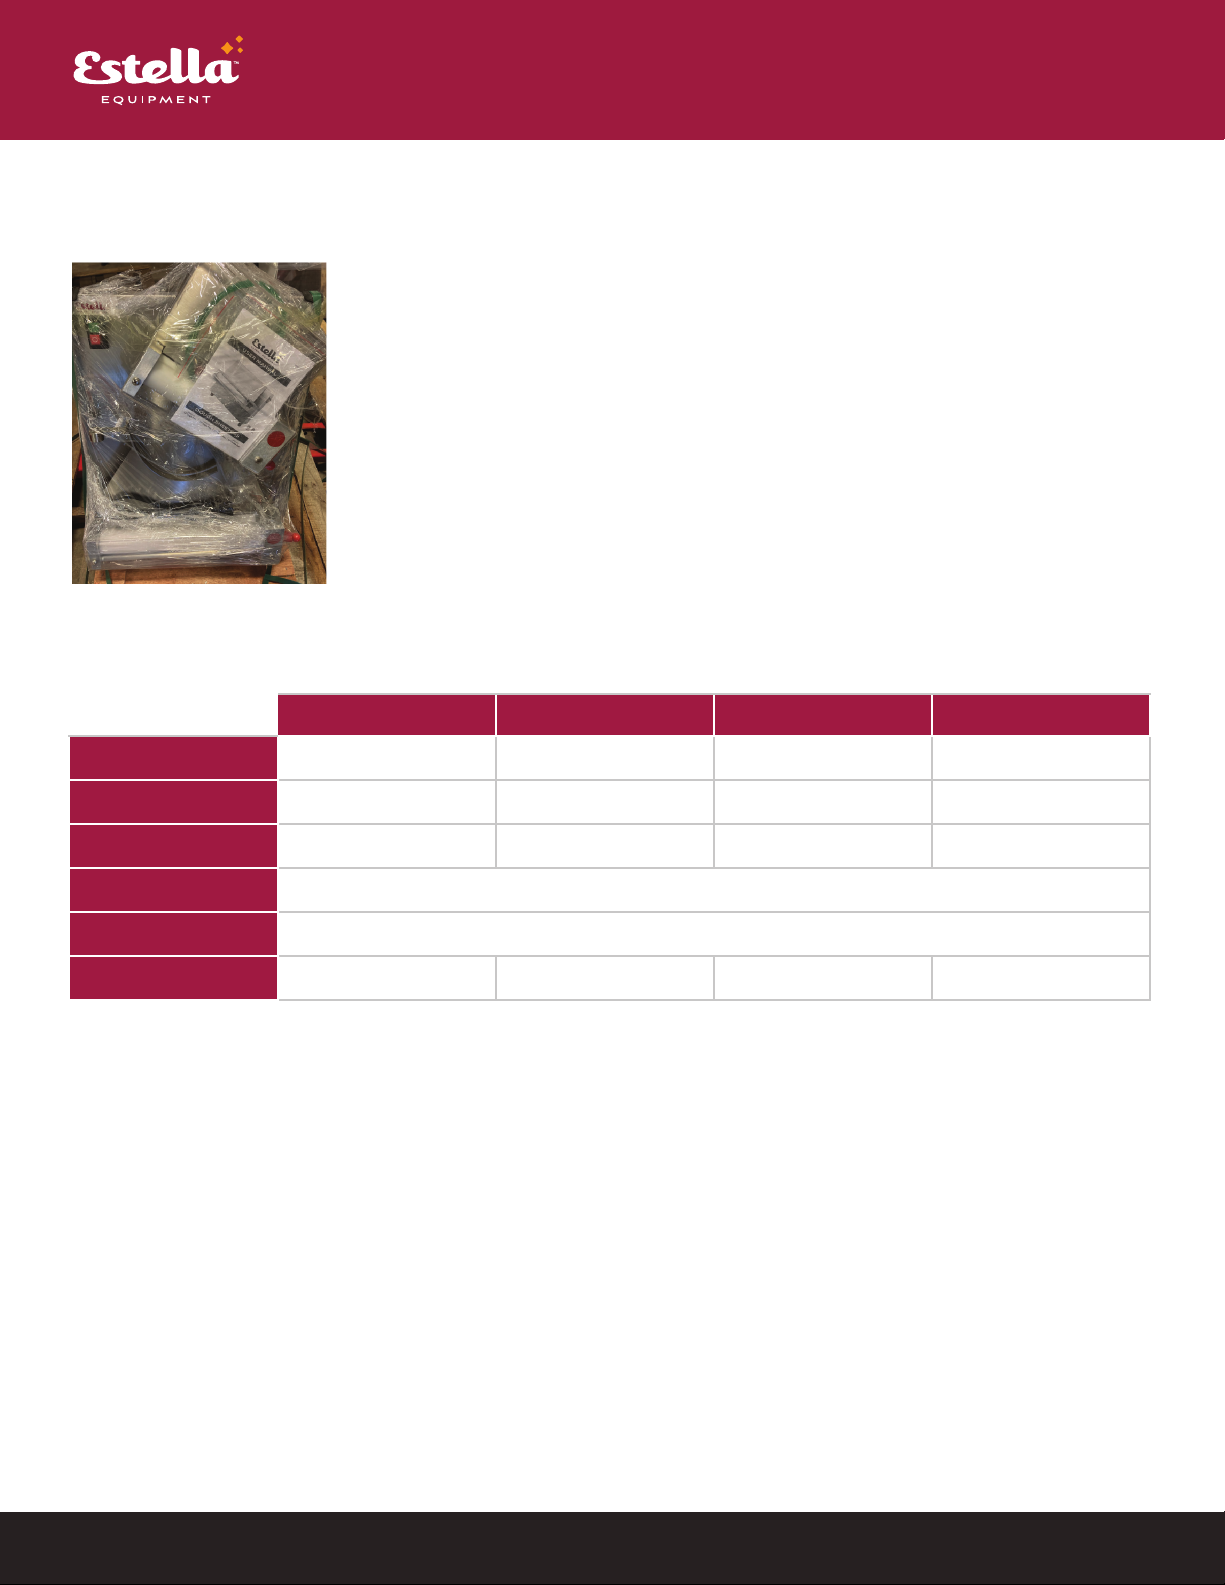
INITIAL SETUP
1. Dispose of packaging properly.Put bread onto chute.
2. Find and set aside the rubber boots, spare belts, Thickness adjustment handle,
and transit rings
3. Units are shipped without the rubber boots installed,install them by pushing
onto the metal legs
4. Place unit on a countertop or solid work top space with 6" of clearance
on all sides.
5. Ensure unit is plugged into the correct outlet type and rating, must be
grounded and support 10 amps at 120 volts.
Note: All units must be installed per local standards with regards to electrical.
All connections must be verified by a qualified technician.
SPECIFICATIONS
348EDS12S 348EDS12D 348EDS18S 348EDS18D
Width 19" 20⁄" 24⁄" 23"
Depth 15⁄" 18⁄" 16⁄" 24⁄"
Height 17⁄" 22" 18" 32⁄"
Voltage 120V
Wattage 420W
Stages Single Double Single Double
www.EstellaEquipment.com4
USER MANUAL
OPERATION
WARNING: MOVING PARTS
CAN CRUSH & CUT
Keep hands, feet, and all objects away from the rollers prior to
turning on the machine!
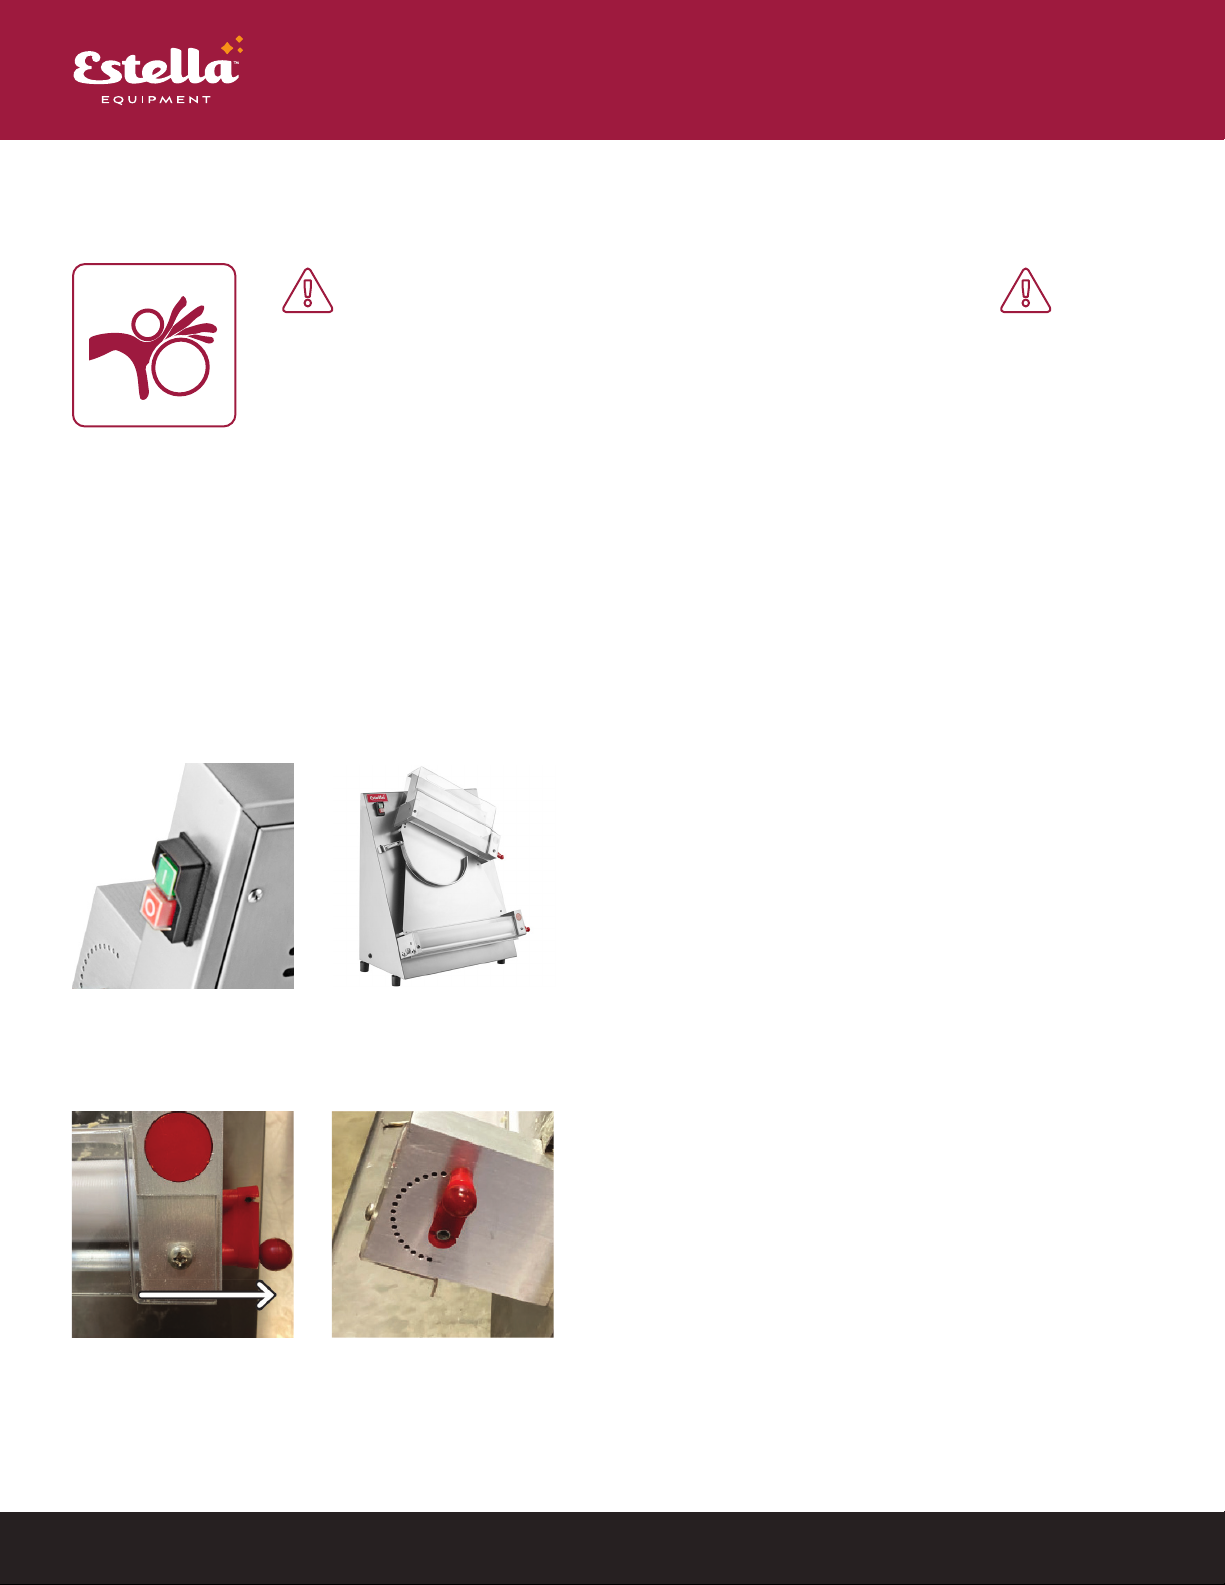
FUNCTIONAL TEST
WARNING: Do not remove plastic covers.
1. Ensure the unit is plugged into the correct outlet type.
2. Press the green button to start the unit rollers. (Fig. 1 & 2)
3. Ensure all rollers are spinning
4. Place a small amount of dough that has been flattened by hand and is not thicker than 7/16"
into the top of the unit.
NOTE: Dough should be treated with dry flour to allow it to move through the rollers.
fig. 1 fig. 2
DOUGH THICKNESS ADJUSTMENTS
1. Turn o the unit before making adjustments.
2. Pull back on knob handle ball top (fig. 4)
3. Rotate to desired thickness:
Clockwise = reduce thickness
Counter-clockwise = increase thickness
4. Release knob handle to set into tickness holes. (fig. 5)
fig. 3 fig. 4
www.EstellaEquipment.com 5
USER MANUAL
MAINTENANCE
CLEANING
NOTE: To ensure the best quality, longevity, and warranty status, these units should be cleaned
after each use.
1. Ensure the unit is turned o and unplugged.
2. Clean all flour and dough o of the unit with a soft brush.
3. Remove the upper and lower roller covers.
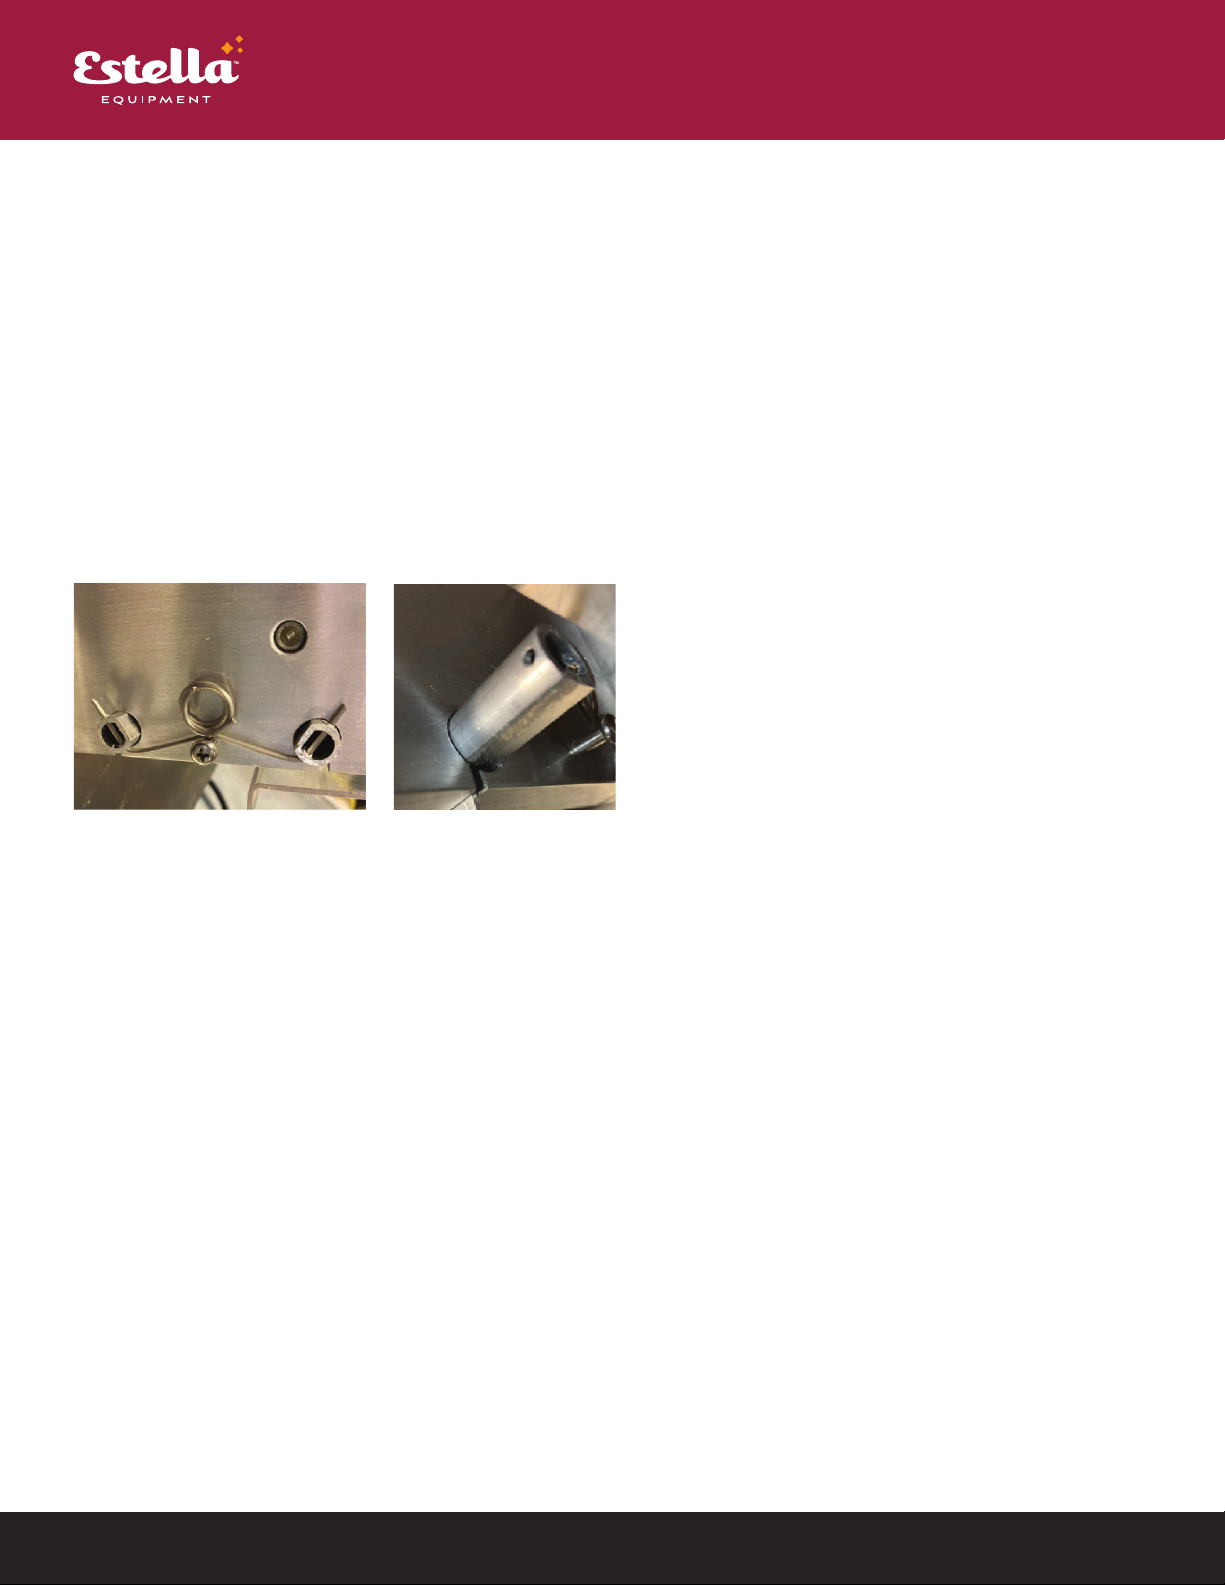
4. Remove springs from left side of lower roller support block (fig. 6)
5. Remove dough scrapers by turning and sliding out of the slots in the support blocks (fig. 7)
6. Turn thickness adjustment handle to maximum thickness to allow for easy cleaning access.
7. Carefully clean the machine and parts with a soft cloth or sponge with water and detergent.
Recommended cleaner - Noble Chemical Sunbright #999SUNBRIGHT
Recommended sanitizer - Noble Chemical QuikSan #147QUIKSAN
8. Rinse throughly and dry all parts.
9. Reassembly is reverse of above steps.
fig. 5 fig. 6
www.EstellaEquipment.com6
USER MANUAL
LUBRICATING SHAFTS & ROLLERS
• It is necessary to grease shafts and rollers annually
• It is recommended to use a qualified technician to preform this service.
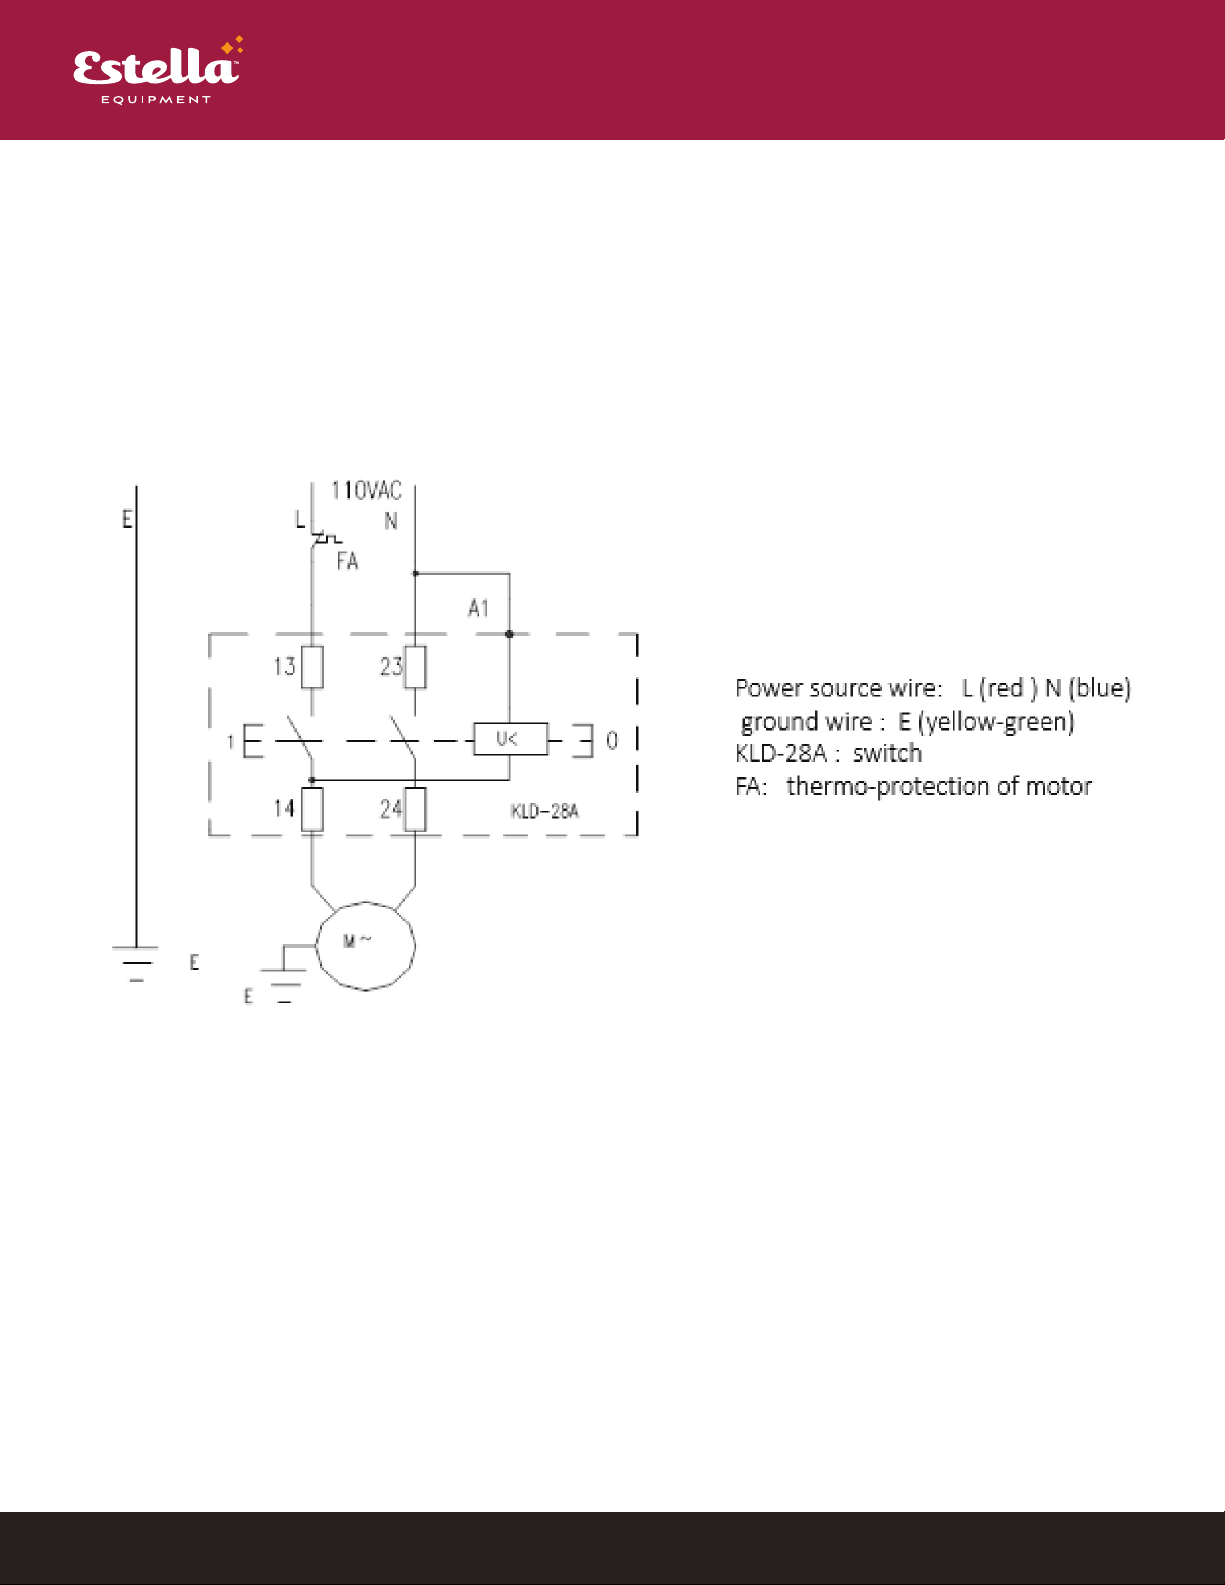
CIRCUIT DIAGRAM

www.EstellaEquipment.com 7
USER MANUAL
TROUBLESHOOTING
ISSUE CAUSE SOLUTION
The machine
won't start
The machine is not plugged in or
connected to a source of power Check the general switch, the plug, and the feeding cable
The voltage input is incorrect Use the proper voltage.
There is another issue with the
machine.
Stop using the machine immediately and contact the
manufacturer for assistance.
The machine
causes an
electric shock
Wires are touching the structure
of the machine.
Check the wires, confirming that they are not touching the
structure of the machine.
Only one set of
rollers is working
The belt is broken Change the belt
The worm wheel is worn out Change the worm wheel
Roller doesn't
spin
Worm wheel & transit ring
connection issue Replace transit ring
Roller makes
clicking &
thumping noise
Worm wheel & transit ring
connection issue Replace transit ring
Roller skips
around when
turning
Worm wheel & transit ring
connection issue Replace transit ring
Other manuals for 348EDS12S
1
This manual suits for next models
3
Table of contents
Other Estella Kitchen Appliance manuals


