2
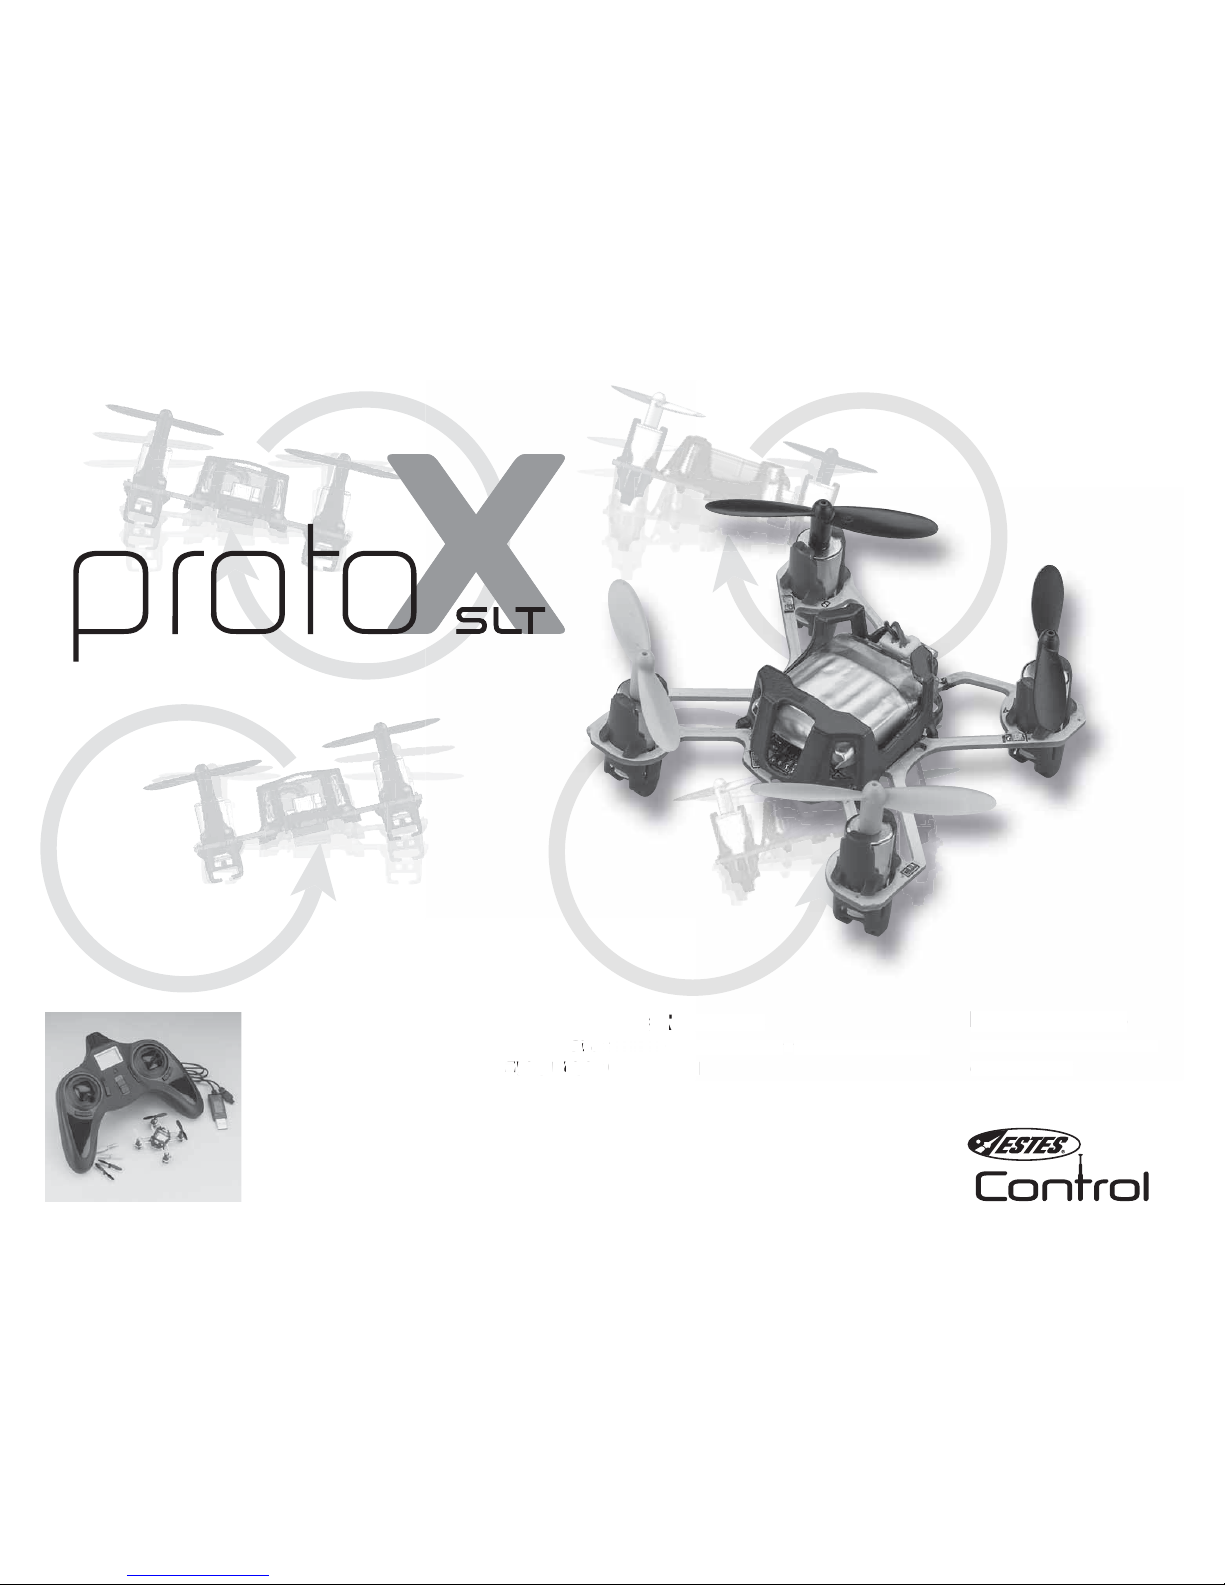
Thank you for purchasing the Proto-X SLT Quadcopter. We are certain you
will get many hours of enjoyment out of this model. If you should have any
questions or concerns please feel free to contact us at Hobby Services.
SAFETY PRECAUTIONS
Follow these safety precautions when operating this or any model helicopter.
•
Adult supervision required.
•
Changes or modifications to this product not expressly approved by
the party responsible for compliance may void the user’s authority to
operate the equipment.
•
Do not touch the spinning blades or fly over another person’s head.
Keep your face and body as well as all spectators away from the rotors
whenever the battery is connected.
•
Stay clear of buildings, trees and power lines. AVOID flying in or near
crowded areas. DO NOT fly close to people, children or pets.
•
Maintain a safe pilot-to-helicopter distance while flying.
•
Your Proto-X SLT quadcopter should not be considered a toy, but rather a
small, working model. If not operated correctly, the model could possibly
cause injury to you or spectators and damage to property.
•
Do not alter or modify the model, as doing so may result in an unsafe or
unflyable model.
•
You must check the operation of the model before every flight to ensure
that it is structurally sound.
90-DAY LIMITED WARRANTY
PLEASE DO NOT RETURN YOUR PRODUCT TO THE STORE
Proto-X will repair or replace factory defects for 90 days from the date of
purchase. This warranty specifically does not cover crash damage, misuse or
abuse. To make a warranty claim, please contact our product support team at
If requested by Product Support, please send your defective product to:
Hobby Services
3002 N Apollo Dr., Suite #1
Champaign, IL 61822
Please include a note about the problem, your contact information, and a
copy of the receipt.
This warranty applies only if the product is operated in compliance with the
instructions and warnings provided with each model. Proto-X assumes no
liability except for the exclusive remedy or repair of parts as specified above.
Proto-X SLT shall not be liable for consequential or incidental damages. Some
states do not allow the exclusion of consequential or incidental damages so
the above exclusion may not apply to you. This warranty gives you specific
legal rights and you may also have other rights which vary from state to state.
FCC STATEMENT AND
INDUSTRY CANADA NOTICE
1. This device complies with Part 15 of the FCC Rules and RSS-210 of
Industry Canada. Operation is subject to the following two conditions:
(1) This device may not cause harmful interference, and
(2) This device must accept any interference received, including interference
that may cause undesired operation.
2. Changes or modifications not expressly approved by the party responsible
for compliance could void the user’s authority to operate the equipment.
Remark: This device is in accordance with the digital device grade B
limitation and the 15th regulation of FCC. This limitation requires reasonable
anti-interference protection around the residence. The device can transmit
radio wave during use and can interrupt the mobile communication without
proper installment. Interruption will occur for special device. If the device do
interrupt the radio or television, please turn the device off then turn it on to
adjust. Below are some resolution for your reference:
•
Move the receiving antenna
•
Enlarge the distance between the device and receiver
•
Try to not connect the device and the receiver on the same circuit
•
Ask for professional help from experts
3. This digital apparatus does not exceed the Class B limits for radio noise
emissions from digital apparatus set out in the Radio Interference Regulations
of Industry Canada.
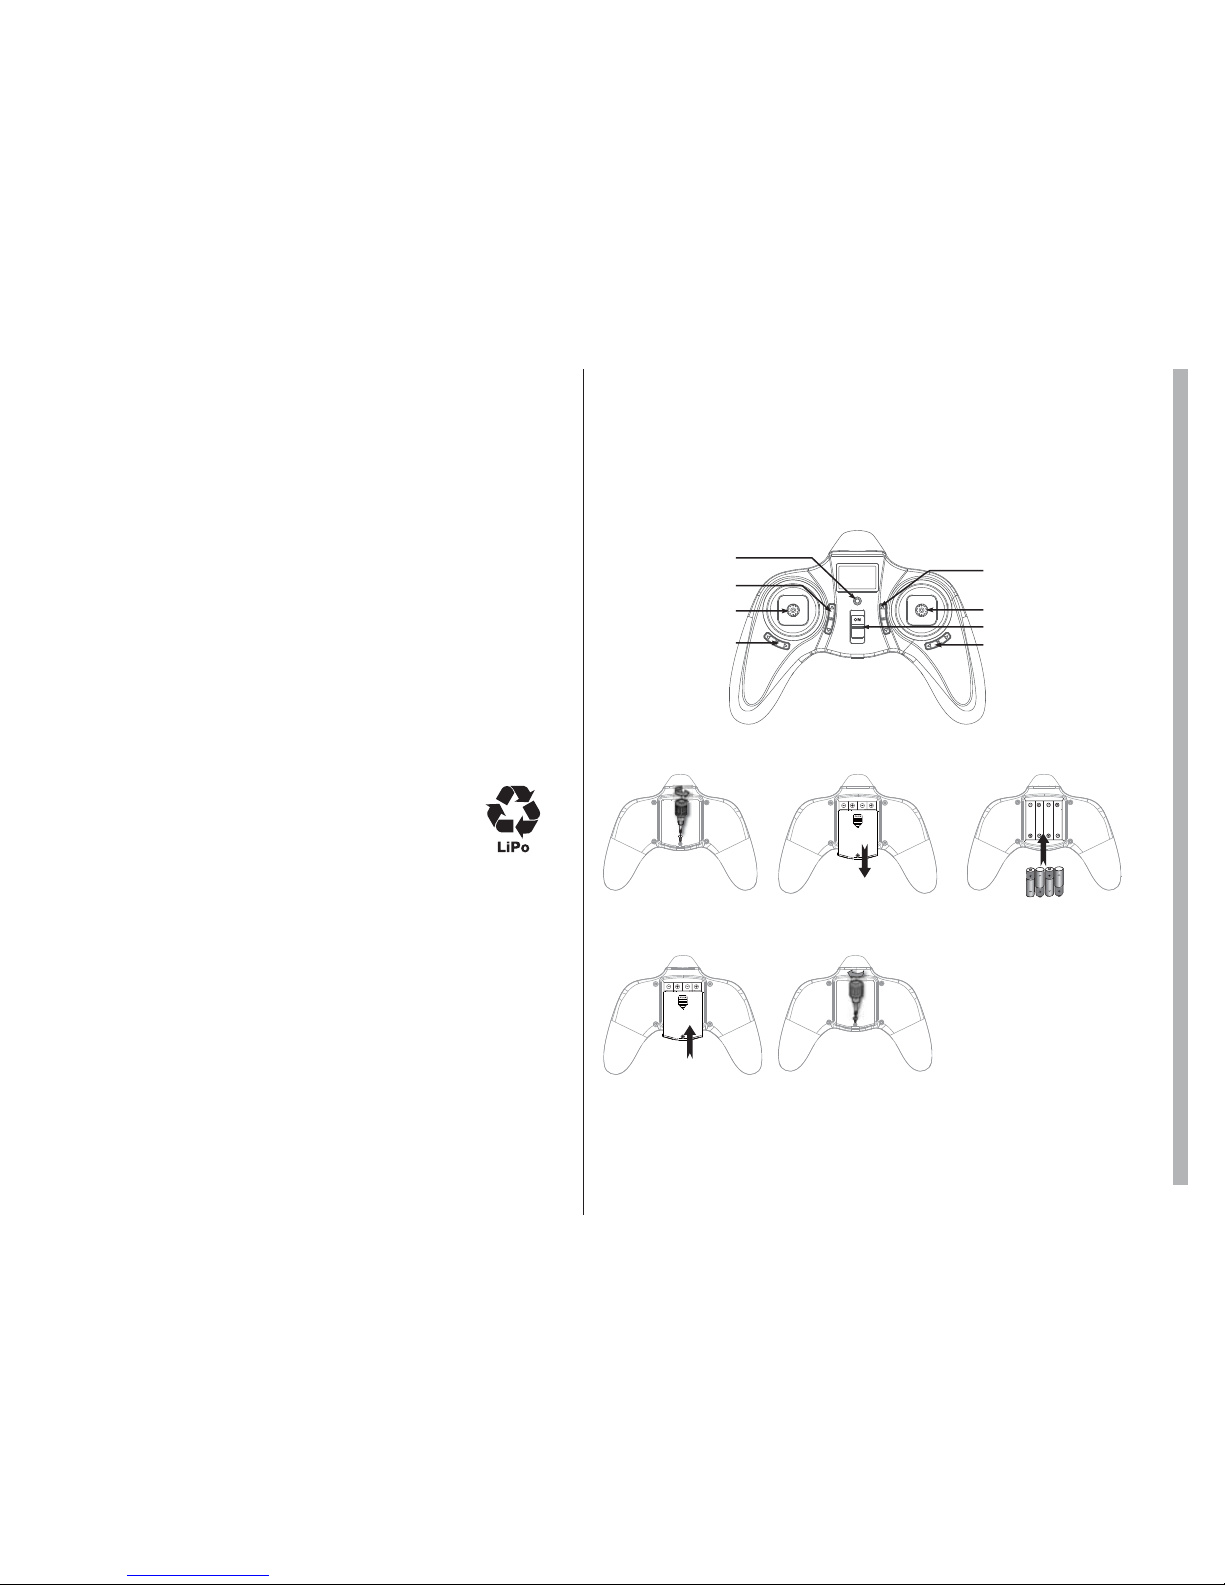
BATTERY PRECAUTIONS
This Proto-X SLT Nano Quadcopter uses a lithium polymer (LiPo) battery.
Follow these precautions to ensure safe and trouble-free operation.
•
Only use the included charger with the flight battery.
•
Do not attempt to use this charger with NiCd or NiMH battery packs.
•
Do not attempt to use a damaged battery.
•
This product contains a LiPo battery. Must be recycled or disposed of
properly.