Eton ATV8F - SERVICE User manual
Other Eton Offroad Vehicle manuals

Eton
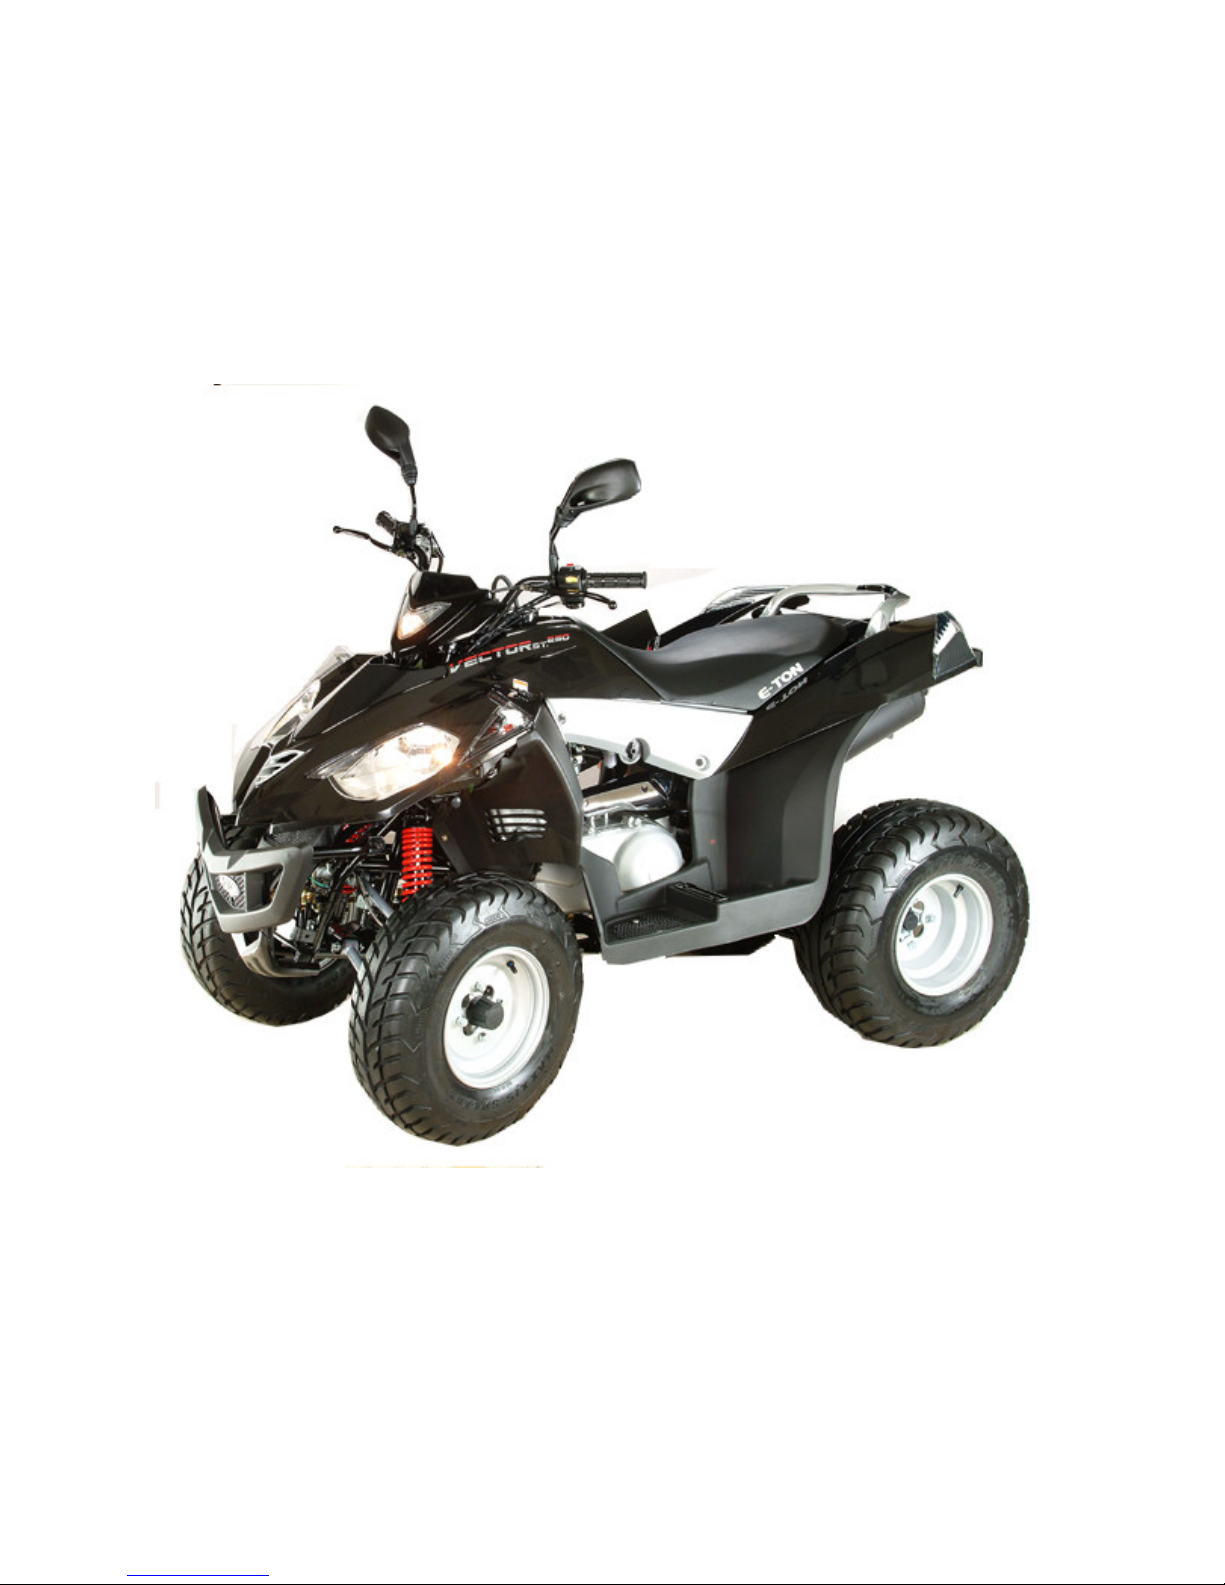
Eton VECTOR ST 250 User manual

Eton
Eton ROVER User manual

Eton
Eton Lightning-AXL50 User manual

Eton
Eton ATV RXL 50 User manual

Eton
Eton ATV3F-150 - SERVICE User manual

Eton
Eton DXL90 User manual
 User manual")
Eton
Eton Viper Jr. (RXL-40) User manual

Eton
Eton CXL-150 User manual

Eton
Eton Vector 250R User manual

Eton
Eton ATV8E - SERVICE User manual

Eton
Eton 2006 Viper 70 User manual

Eton
Eton DXL90 User manual

Eton
Eton IXL 40 User manual
 User manual")
Eton
Eton Viper 40E (RXL-40E) User manual

Eton
Eton Viper 90R User manual

Eton
Eton Vector 250R User manual

Eton
Eton EXL-50 - SERVICE User manual

Eton
Eton Viper 70 User manual

Eton
Eton ATV6A 90 User manual

Eton
Eton VIPER 50 ST - SERVICE User manual