Eurocave CC064 Installation and operation manual

page 3 Description of your Cigar humidor
page 4 Installing your Cigar humidor
page 6 Using for the first time
page 6 Adjusting the temperature
page 7 Setting the humidity
page 8 Adjusting the humidity level
page 9 Important safety instructions
page 9 Connecting to mains supply
page 10 Fittings, storage
page 12 Routine maintenance
page 14 Technical characteristics
Instructions for using
your Cigar humidor
8200115-Modifs Notice CacG#D82D 16/01/06 14:11 Page 1

Warning
The information contained in this document may be modified
without prior notice.
EuroCave does not guarantee this unit if it is used for a purpose
other than that for which it was designed. EuroCave cannot be
held liable for errors in the present manual nor for any damage
related to or consecutive upon the supply, performance or use
of this unit.
This document contains original information that is protected
by copyright. All rights reserved. It is forbidden to photocopy,
reproduce or translate this document in whole or in part
without the previous written agreement of EuroCave.
page 2
8200115-Modifs Notice CacG#D82D 16/01/06 14:11 Page 2

page 3
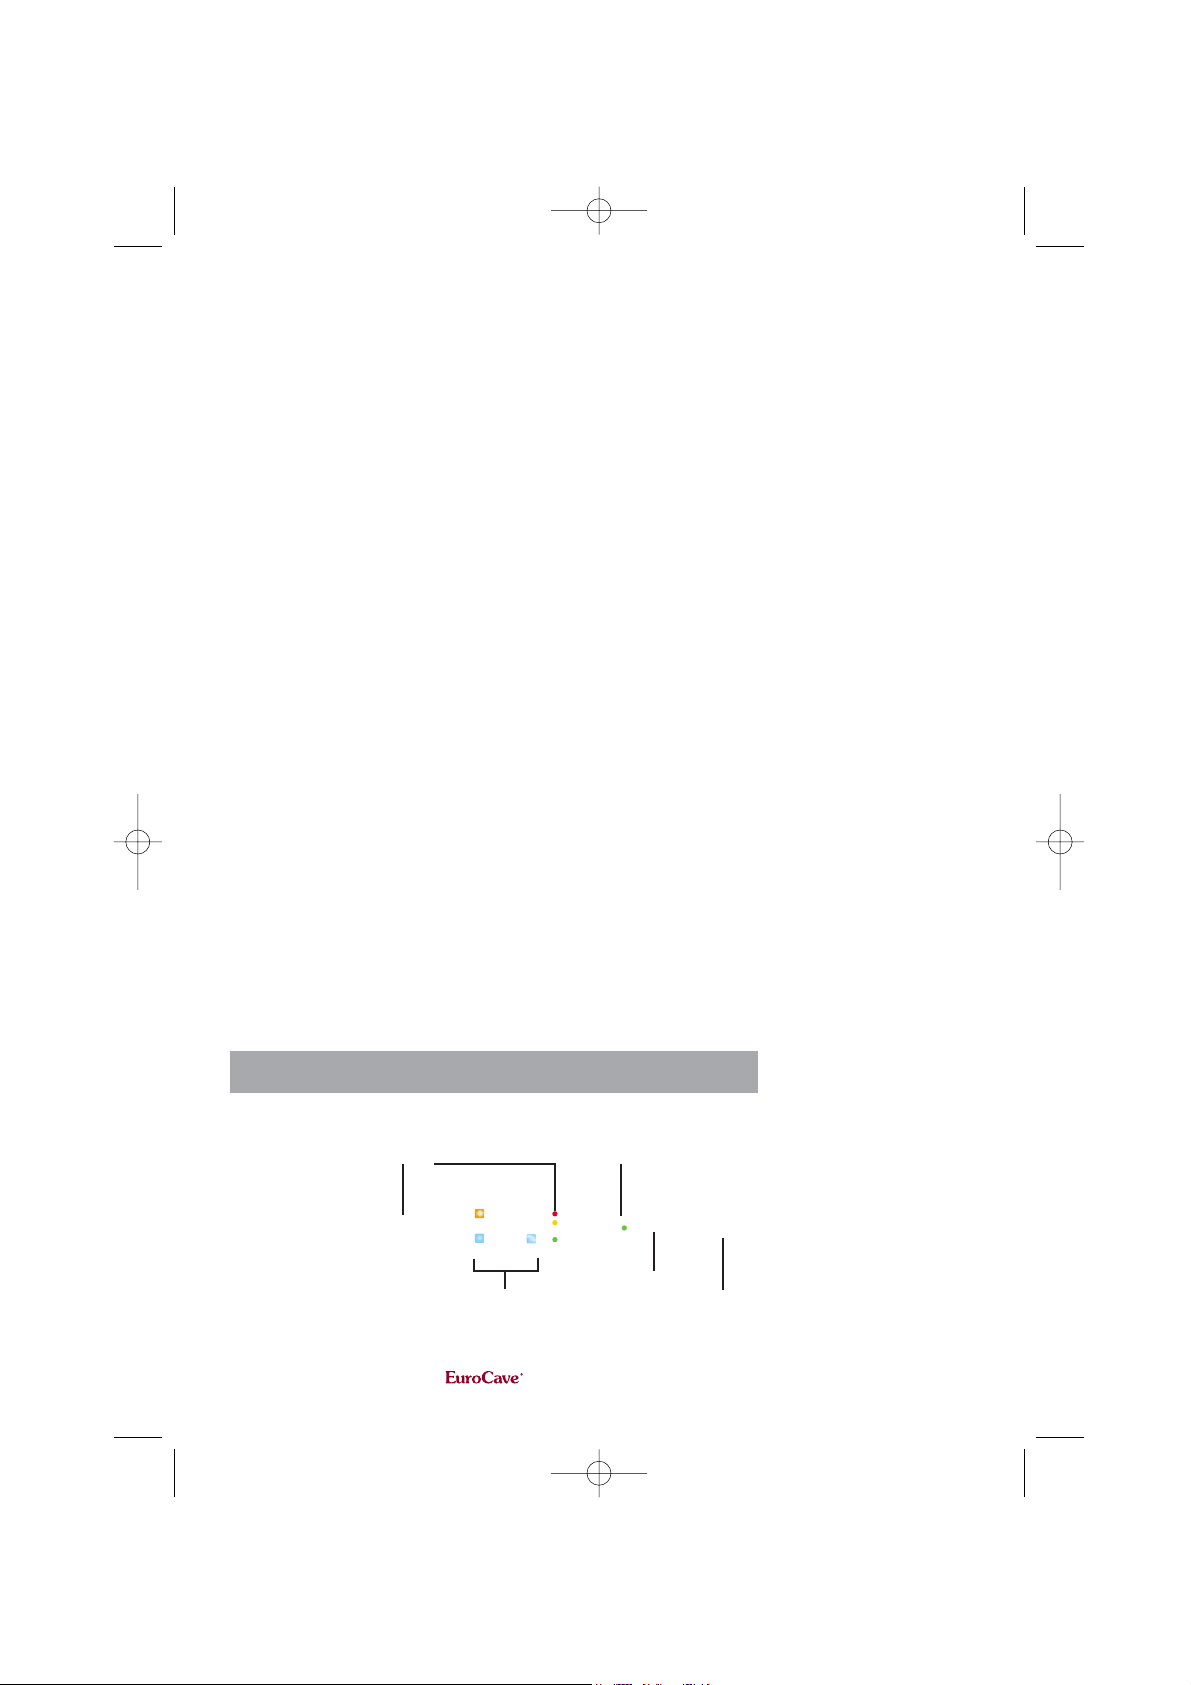
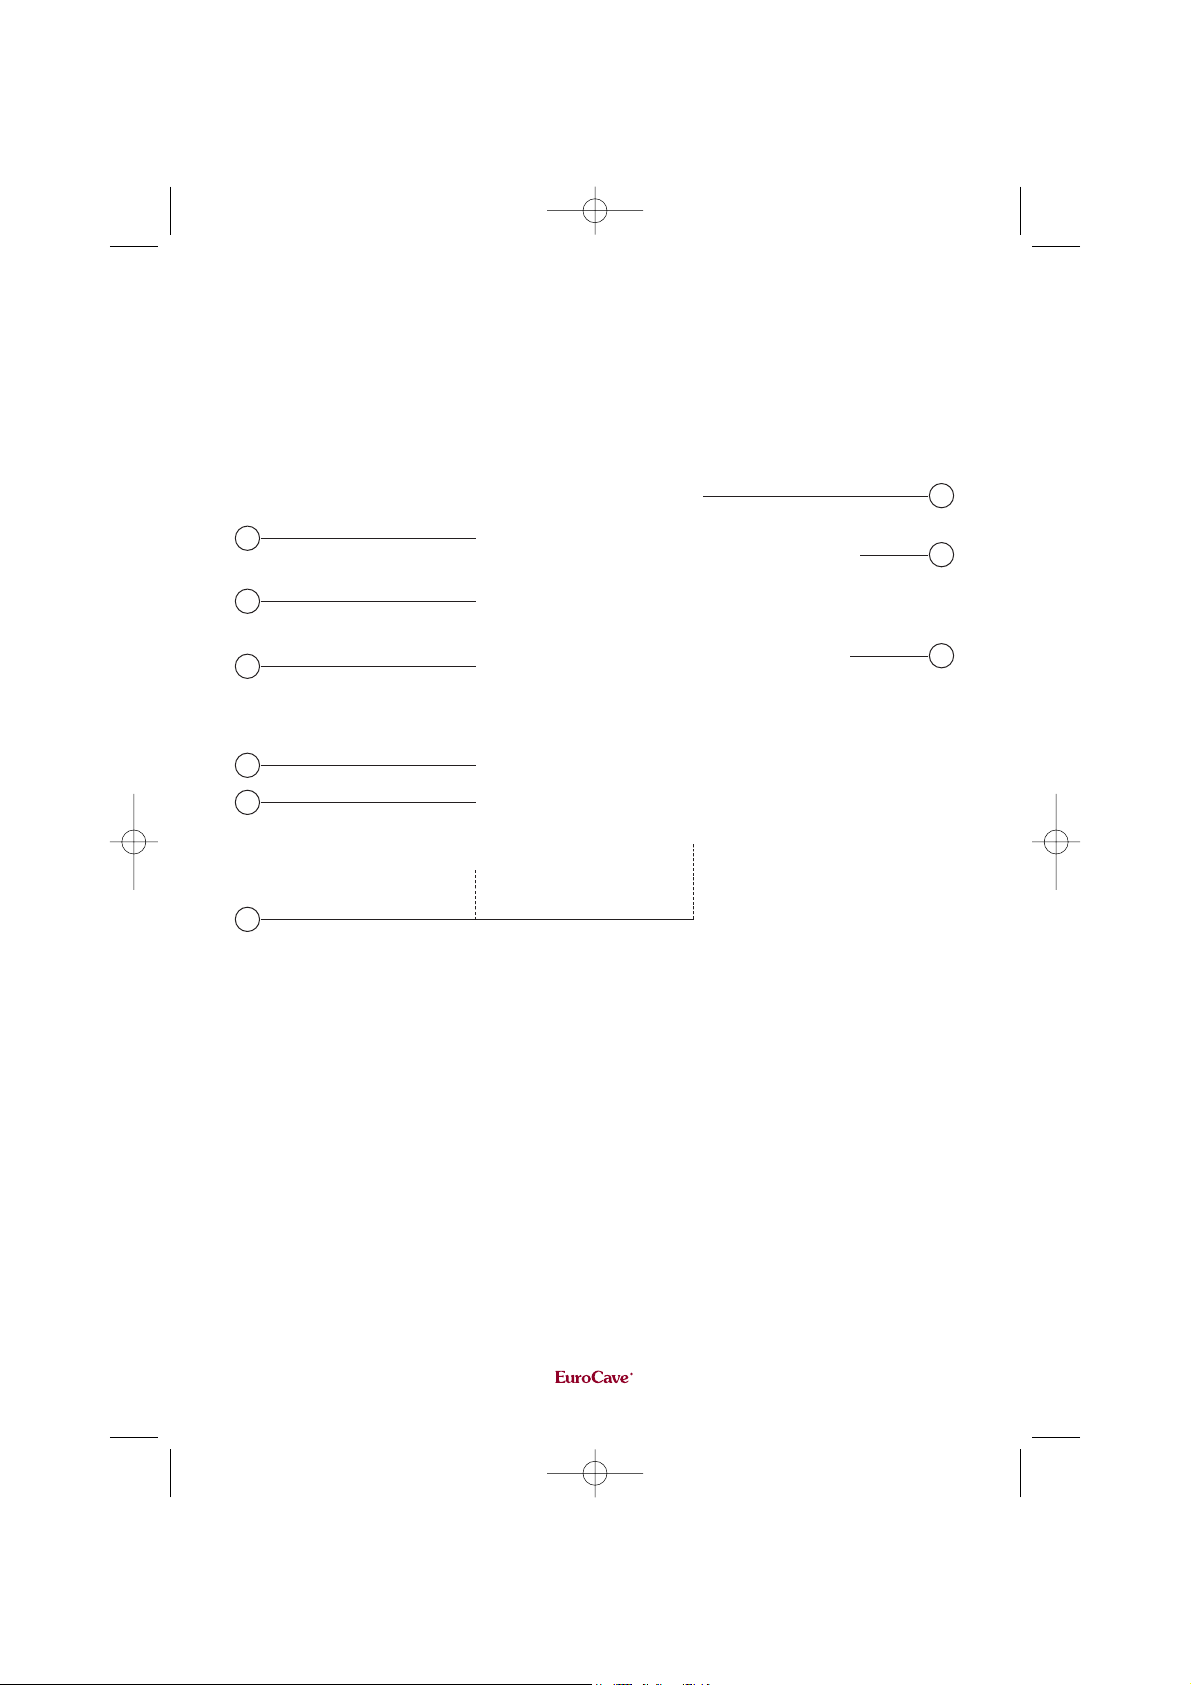
1Control panel
2Display tray
3Sliding drawer
41/2 fixed shelf
5Cassettes of pozzolan stone
6Ajustable feet
7Hinge
8Door handle
9Lock
1
2
3
4
5
6
7
8
9
8200115-Modifs Notice CacG#D82D 16/01/06 14:11 Page 3

Installing your
Cigar humidor
W hen your unit has been delivered and unpacked, make
sure that there is no damage (such as might be caused by bumps,
etc.).
- Open the door and verify that the inside of your unit is in good
order (as regards walls, thermostats, shelves, hinges, etc.). If you
find any defects, please notify the carrier in writing.
- Then move your humidor to the location you have chosen for it.
This should be:
- in an open space, to allow air to circulate (not in a closed
cupboard, for example),
- at moderate temperature and well away fom any source of
heat,
- not too humid (such as a utility room, bathroom, etc...),
- on a firm, flat floor,
- be equipped with a plug (standard plug complying with
country standards with earth connection and differential
circuit-breaker).
- Unwind the power supply lead so that it can be accessed and
place the appliance so as to leave a space between 8 and 10 cm
between the wall and the back of the humidor.
page 4
8200115-Modifs Notice CacG#D82D 16/01/06 14:11 Page 4

page 5
- Place the water recovery tank, that you will find in the accesso-
ries pouch of your humidor, at the back of the unit near the com-
pressor, the lower part of the tank being placed under the pipe.
- Adjust the front feets of the humidor (by screwing in or out)
until it is levelled (we recommend the use of a spirit level).
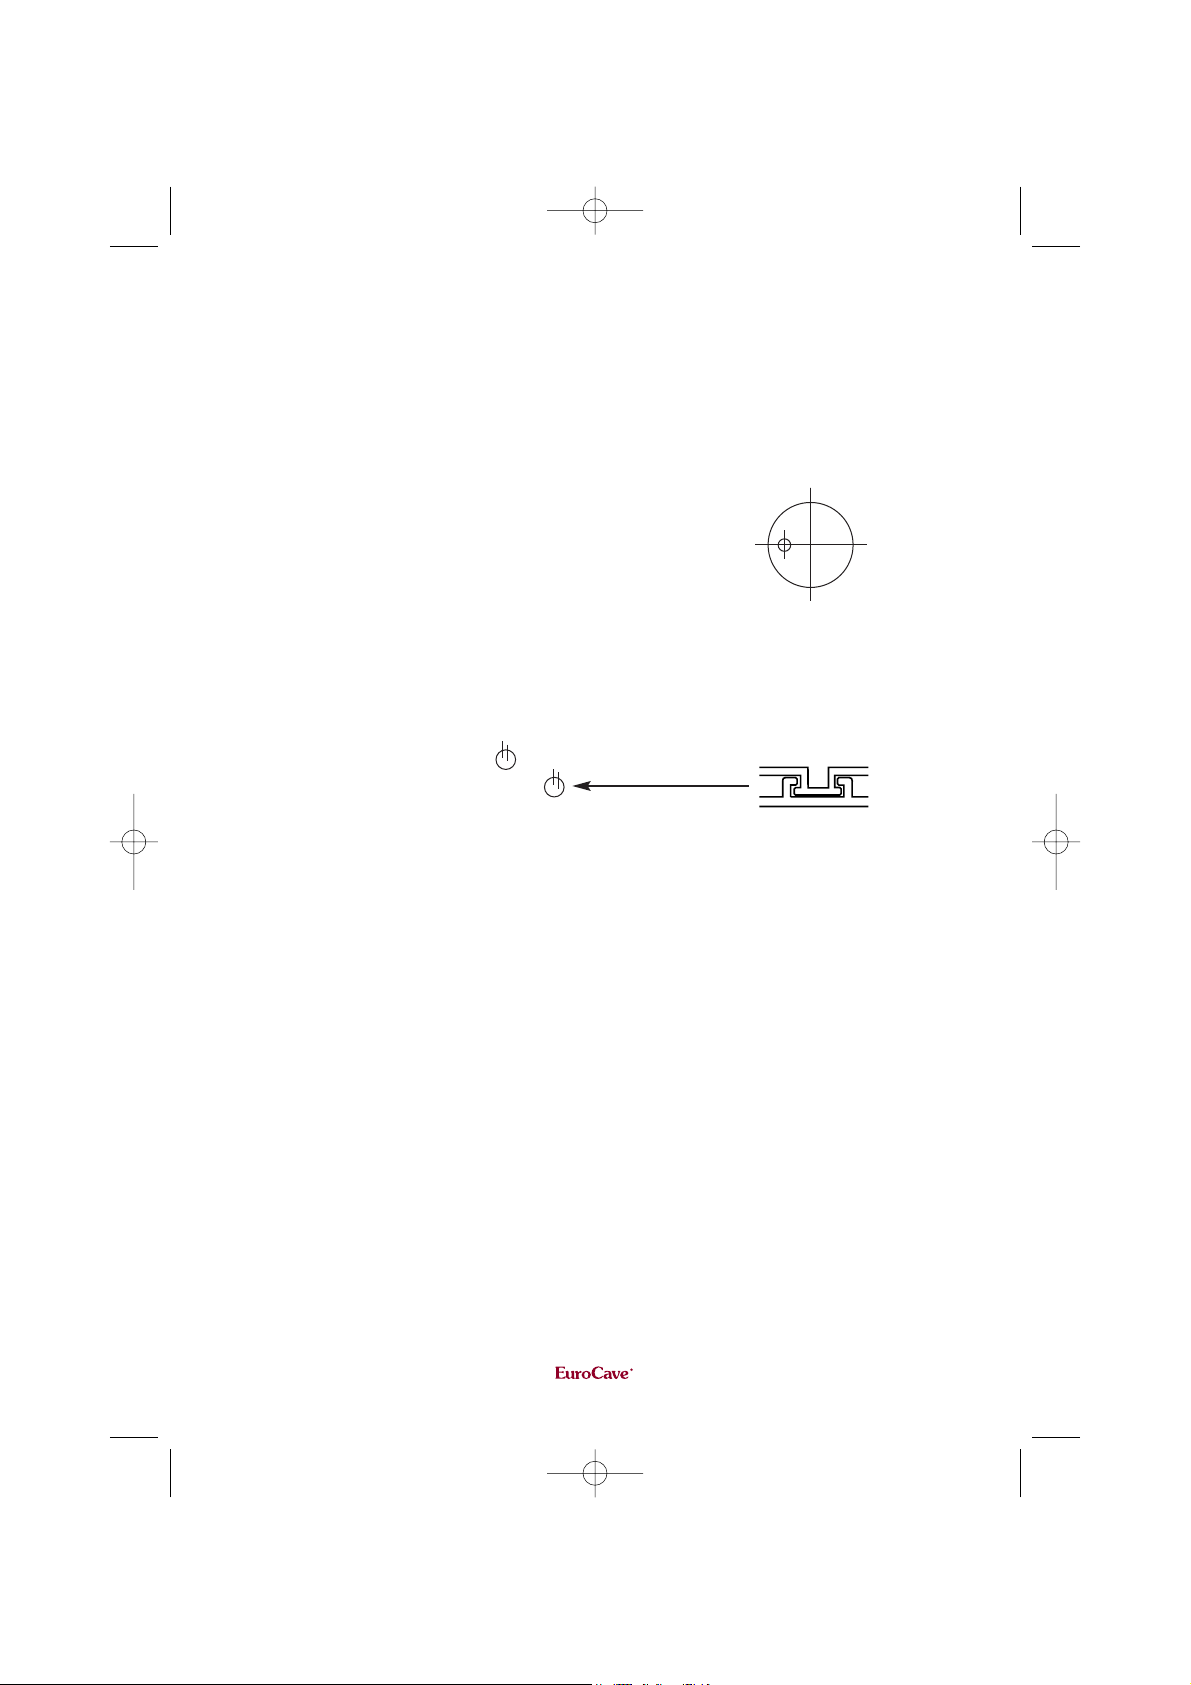
- Check that the plastic cap on the drain pipe at
the bottom of the inside back wall (left side) is
the correct position as follows:
- Then place the three cassettes of lava stone in
the bottom tray of the unit and connect them together by the
studs.
- Remove the protective devices from inside your humidor.
- Remove the protective paper from the charcoal filter that you
will find in the accessories pouch of your humidor, and position
the filter, from the inside of the humidor, in the ventilation hole at
the top left.
- Secure the handle of your humidor by screwing it in without
forcing (in the case of a solid door).
- Arrange the shelves to suit your convenience (see page 10 of the
instructions manual).
- Wait 48 hours before plugging in a humidor which has been
delivered, to allow fluids to settle. (return your guarantee form,
otherwise it will not be recorded).
- Plug your humidor in the power socket (page 6 of the instruc-
tions manual).
Note: Whenever you move the humidor, do not tilt it by more
than 45°, and always towards the side of the main lead.
8200115-Modifs Notice CacG#D82D 16/01/06 14:11 Page 5
page 6
Commencing use
and adjusting
the temperature
A fter waiting 48 hours, connect your unit to the mains, after
checking that the socket is live and that the voltage supplied is the
same as that indicated on the identification label (check that the
fuses are in place, that their rating is correct minimum 2 amps - and
that the circuit breaker is in proper working order. If necessary,
plug in another electrical appliance to check the power supply).
- The temperature setting is adjusted on the control panel
shown on page 3.
Setting the temperature
Humidor temperature
display Circuit warning
and ON light Compressor ON light
Knobs for adjusting
the temperature and humidity
in your humidor
TEST button
ON/OFF
switch
8200115-Modifs Notice CacG#D82D 16/01/06 14:11 Page 6

page 7
Like all natural products, cigars require particular care. It is necessary
to protect them from extreme temperatures and to preserve them in
a humidified place. The ideal ranges between 15 et 18°C and 65 to
75% humidity.
It is possible, even if the settings in this manual are respected, that you will be
unable to obtain the precise temperature/humidity desired. Each case is individual
and slight setting adjustments may be necessary.
Setting the temperature
Press the button to show the temperature setting. The setting
can be changed by holding the button down and pressing the
or buttons. Release the button to save the setting
selected.
Setting the humidity
Humidity is essential for the proper preservation of the cigars stored
inside your humidor.
Press the button to show the humidity setting. The setting
can be modified by holding the button down and pressing
the or buttons.
Release the button to save the value selected.
See details page 8 of the brochure.
Setting the time
To set the time, simultaneously press the two buttons and ,
until the following message is displayed:
Release the keypad and adjust the time using the and buttons.
The setting is saved after 5 seconds with no further action on the
keypad.
8200115-Modifs Notice CacG#D82D 16/01/06 14:11 Page 7

Adjusting the humidity level
Instructions to increase humidity in your unit
The humidity level displayed on the screen is made to inform you (alarm when it
flashes) when there is not enough water to increase the humidity level to the
setting value. If you need to increase the humidity level then:
• Add 10 cl of water in each lava stone cassette only if the humidity alarm
flashes.
• Then, count the number of days between the first day you add water and
the day the humidity level will flash again (function of the surrounding tem-
perature and humidity levels of the room the humidor is installed in). That
will give you the period to add water again.
Instructions to decrease humidity in your unit
1 - If your unit can not decrease the humidity level, then:
• Empty your humidor, put the lava stone cassettes outside and clean them.
• Place the cap of the drain pipe as follows:
• Set the humidity level to 75 % but don’t install the lava stone
cassettes or exchange them by new ones. Add water only if
the humidity alarm flashes.
2 - If this is still not enough to decrease the humidity level, then put the cap
of the drain pipe outside of your humidor.
3 - Contact your dealer if the problems are not corrected.
1
2
3
4
Marks 1 & 2: Green lights go on when the compressor works to decrease the temperature.
Mark 3: Yellow light goes on when the fan works to increase the humidity level.
Mark 4: Red light goes on when the resistance coil warms up to increase the temperature level.
page 8
It is possible, even if the settings in this manual are respected, that you will
be unable to obtain the precise temperature/humidity desired. Each case is
individual and slight setting adjustments may be necessary.
8200115-Modifs Notice CacG#D82D 16/01/06 14:11 Page 8

Important safety
instructions
The power cable is fitted with an earthed plug standard to the country of consignment. It
is essential that, for your safety, the electrical supply to the cabinet be earthed. Please
have the suitability of the socket checked by a qualified electrician, who will make sure
that it is properly earthed and, if necessary, repair it.
PLEASE NOTE: Only a qualified electrician should make any repairs or inspections to
your electrical supply.
For your safety, the cigar humidor must be correctly earthed
You must always observe some basic precautions when using your Cigar humidor,
including:
- Only use your cigar humidor for the use intended, as described in this guide.
- Never unplug the cigar humidor by pulling on the power cord. Grip the plug firmly and
pull straight out to remove from wall socket.
- Never use a cord that is split or which shows signs of wear along its length. If the cord
is damaged, have it immediately replaced by a qualified electrician.
- Do not allow children to climb on, sit on or stand on the cigar humidor, nor hang from
its shelves. They could damage the cabinet and injure themselves seriously.
- Be sure to always keep your keys out of childrens’ reach, to avoid them locking
themselves in.
Make sure the socket is correctly earthed
and that your installation is protection by
a differential circuit-breaker.
Connecting to
mains supply
page 9
8200115-Modifs Notice CacG#D82D 16/01/06 14:11 Page 9
page 10
Arrangement
Storage
Your EuroCave cigar humidor has been designed to be
adapted to your needs and the storage arrangements can be
altered:
EuroCave cigar humidors have two types of storage specially
designed for cigar boxes:
Different types of storage
Sliding shelf + display tray
Ref. APC
Sliding drawer
Ref. ATC
8200115-Modifs Notice CacG#D82D 16/01/06 14:11 Page 10

Recommendations for filling your cigar humidor
Your EuroCave cigar humidor has been designed to contain the
maximum possible number of cigars in completed safety. To
optimise storage capacity, please proceed as follows:
- Arrange your boxes of cigars evenly, taking care to leave space
for air to circulate.
- Also keep the loading density in your humidor uniform (don’t
put all the boxes at the top or at the bottom).
- If you have sliding shelves, it is best to position these in the top
of the unit to facilitate daily access.
- Similarly, place a few of each type of cigar in the compartmented
display tray, and store the remaining cigars in their boxes. You
can then simply top up the display tray as the cigars are used.
Fitting shelf brackets
To move a sliding shelf, first remove all cigars, then remove the sliding shelf by sliding it
towars you while lifting the front part. Remove the sliding guides from the walls, while
making sure not to mix up the right and left guides. Then refit them as shown below:
WALL
GUIDE
WALL
GUIDE
GUIDE
SLIDING SHELF
GUIDE
WALL
Fitting the rear part of the guide Fitting the front part of the guide
Then refit the sliding shelf as shown below:
page 11
GUIDE
WALL
8200115-Modifs Notice CacG#D82D 16/01/06 14:11 Page 11
Routine maintenance
Y our EuroCave cabinet is easy to operate and has proven
its reliability. It will provide long-lasting satisfaction if you follow
the simple maintenance and cleaning operations listed below.
- Replace the activated charcoal filter in your cabinet's upper
ventilation hole each year. The charcoal filter is available from
your usual dealer. It must be replaced using a manufacturer
guaranteed part.
- Remove dust from the heat exchanger (metal screen on the
back of the cabinet) twice a year.
- Clean the inside of your cabinet thoroughly once a year, after
unplugging and unloading it (use water and a mild cleaning
product, then rinse carefully).
If your regularly inspect your unit and check anything that
seems anormal (such as noise, smells, etc.) and report any mal-
function to your dealer, you will ensure a very long life for your
cigar humidor.
Important:
The refrigeration unit must only be serviced by a refrigeration
technician, who must check the circuit for leaks before putting
back into service. Any servicing of the electrical circuit must
only be performed by an electrician.
page 12
8200115-Modifs Notice CacG#D82D 16/01/06 14:11 Page 12
page 13
In the four cases above, if the malfunction persists even after changing the settings and
checking the indicator lights, contact your dealer.
Note: to assure that your Cigar humidor provides long-lasting service, you should
check it regularly and inform your dealer if you note anything unusual.
Malfunctions
The compressor does not run.
1 • Check the power supply by plugging in any electrical appliance.
2 • Change the temperature setting to a value below the indicated
temperature: after 5 minutes (safety delay) the green “cooling circuit”
light should come on.
3 • If the compressor still does not start: contact your dealer.
The compressor never stops.
1 • Put a hand on the condenser (metal grid along the outer rear
wall of your unit). If the condenser is cold: contact your dealer.
2 • If the condenser is hot, change the temperature settings to a
value above that displayed: after 5 minutes (safety delay) the green
“cooling circuit” light should go out. If the compressor does not stop,
unplug the unit and contact your dealer.
The thermometer inside your unit shows a temperature below the value you set.
1 • Verify the temperature settings from the information given on
page 7.
2 • Verify that the green “cooling circuit” light is out. If it is on, increase
the temperature setting. If the light still does not go out after 5 minutes,
contact your dealer.
The thermometer inside your unit shows a temperature above the value you set.
1 • Check the temperature setting according to the information
given on page 7.
2 • Check that the green “cooling circuit” light is on. If it is not,
reduce the setting. If the light has still not come on after 5 minutes,
contact your dealer.
8200115-Modifs Notice CacG#D82D 16/01/06 14:11 Page 13

8200 115 - 100 - 12/2005
page 14
Technical
Characteristics
Dimensions (mm) Consumption
over 24h
0,6 KWh
Model: CC064 860 654 689
HWD
Operating limits Regulation
Precision
Display
Precision
+/-1°C
+/-1°CModel: CC064 35°C
Min. T° Max. T°
Gas Weight
R134a 45 Kg
0°C
These cabinets are CE certified.
8200115-Modifs Notice CacG#D82D 16/01/06 14:11 Page 14
24, rue Francis de Pressensé
69628 VILLEURBANNE
FRANCE
Tél. (33) 4 72 43 39 00
Fax (33) 4 72 43 38 99
8200115-Modifs Notice CacG#D82D 16/01/06 14:11 Page 15

page 3 Description de votre Cave à Cigares
page 4 Installation de votre Cave à Cigares
page 6 Mise en service
page 6 Réglage de la température
page 7 Réglage de l’hygrostat
page 8 Réglage de l’hygrométrie
page 9 Consignes de sécurité importantes
page 9 Alimentation électrique
page 10 Aménagement, rangement
page 12 Entretien courant
page 14 Caractéristiques Techniques
Notice d’utilisation
de votre Cave à Cigares
8200114-Modifs Notice CacF#D82C 16/01/06 14:03 Page 1
Avertissement
L es informations contenues dans ce document sont sujettes
à modifications sans préavis.
EuroCave n’offre aucune garantie sur cet appareil lorsqu’il est
utilisé pour un usage autre que celui pour lequel il a été prévu.
EuroCave ne pourra être tenu pour responsable des erreurs
contenues dans le présent manuel, ni de tout dommage lié ou
consécutif à la fourniture, la performance ou l’utilisation de cet
appareil.
Ce document contient des informations originales, protégées
par copyright. Tous droits réservés. La photocopie, la repro-
duction ou la traduction totales ou partielles de ce document
sont formellement interdites, sans le consentement préalable et
écrit d’EuroCave.
page 2
8200114-Modifs Notice CacF#D82C 16/01/06 14:03 Page 2
page 3
1Bandeau de contrôle
2Plateau de présentation
3Tiroir coulissant
41/2 clayette fixe
5Cassettes de pierres de laves
6Pieds réglables en hauteur
7Charnière
8Poignée
9Serrure
1
2
3
4
5
6
7
8
9
8200114-Modifs Notice CacF#D82C 16/01/06 14:04 Page 3

Installation de votre
Cave à Cigares
L ors de la livraison de votre appareil, assurez-vous, après
déballage, que votre appareil ne présente aucun défaut d’aspect
extérieur (choc, déformation,...).
- Ouvrez la porte et vérifiez l’intégrité de l’intérieur de votre
appareil (parois, thermostats, clayettes, charnières,...).
- Transportez alors votre cave vers l’emplacement que vous lui
avez choisi. Cet emplacement devra :
- être ouvert sur l’extérieur pour ménager une circulation
d’air (pas de placard fermé,...),
- être éloigné d’une source de chaleur,
- ne pas être trop humide (lingerie, buanderie, salle de
bains,...),
- avoir un sol stable et plan,
- disposer d’une alimentation électrique (prise standard aux
normes du pays, reliée à la terre avec disjoncteur différentiel).
- Dégagez le cordon secteur pour qu’il soit accessible et afin
qu’il n’entre en contact avec aucun composant de la cave.
Positionnez votre appareil en ménageant un espace de 8 à 10 cm
entre le mur et la paroi arrière de votre cave.
page 4
8200114-Modifs Notice CacF#D82C 16/01/06 14:04 Page 4
page 5
- Placez le bac de récupération d’eau, que vous trouverez dans le
sachet d’accessoires de votre cave à cigares, sur le support du
compresseur. Veillez à ce que la partie la plus profonde du bac se
trouve sous le tuyau.
- Procédez au réglage des pieds avant de la cave (réglage par
vissage ou dévissage), de manière à mettre votre cave de niveau
(utilisation d’un niveau à bulle recommandée).
- Vérifiez que le bouchon plastique du tuyau
d’écoulement, situé à l’intérieur de votre cave,
dans la partie basse (côté gauche), est bien
positionné selon le schéma ci-contre :
- Placez alors les trois cassettes de pouzzolane (pierre de lave)
dans le bac en bas de l’appareil et liez les entre elles par les ergots.
- Enlevez les éléments de protection disposés à l’intérieur de votre
cave.
- Enlevez les protections en papier situées sous le filtre à charbon
que vous trouverez dans la pochette accessoires de votre cave, et
positionnez ce filtre en le rentrant par l’intérieur de votre cave,
dans le trou d’aération situé en haut à gauche de la cave.
- Fixez la poignée de votre cave en la vissant sans forcer, dans le
cas d’une porte pleine.
- Organisez la disposition de vos étagères à votre convenance
(voir page 10).
- Attendez 48 h 00 afin de laisser reposer les fluides (renvoyez
votre bon de garantie, faute de quoi elle ne sera pas enregistrée).
- Raccordez votre cave au secteur (voir page 6).
NB : Lors de tout déplacement de votre cave, ne pas l’incliner
à plus de 45°, et toujours sur la face latérale côté sortie cordon.
8200114-Modifs Notice CacF#D82C 16/01/06 14:04 Page 5
Table of contents
Languages:
Other Eurocave Kitchen Appliance manuals


Popular Kitchen Appliance manuals by other brands


Range Master
Range Master Classic Deluxe 110 Dual Fuel User's guide & installation instructions

Concept2
Concept2 SO2041 operating manual

Arctix Sport
Arctix Sport AirChef 130 user manual

Concept2
Concept2 SO 3000 manual

SensioHome
SensioHome Multi Cooka SHCK001 instruction manual

Magic Vac
Magic Vac Maxima 2 operating manual