•
Pairing multiple remote controls
Each remote control is delivered with its own code preconfigured. If you use multiple remote
controls, the code of one remote control needs to be copied to the other remote controls for
them to operate in sync successfully.
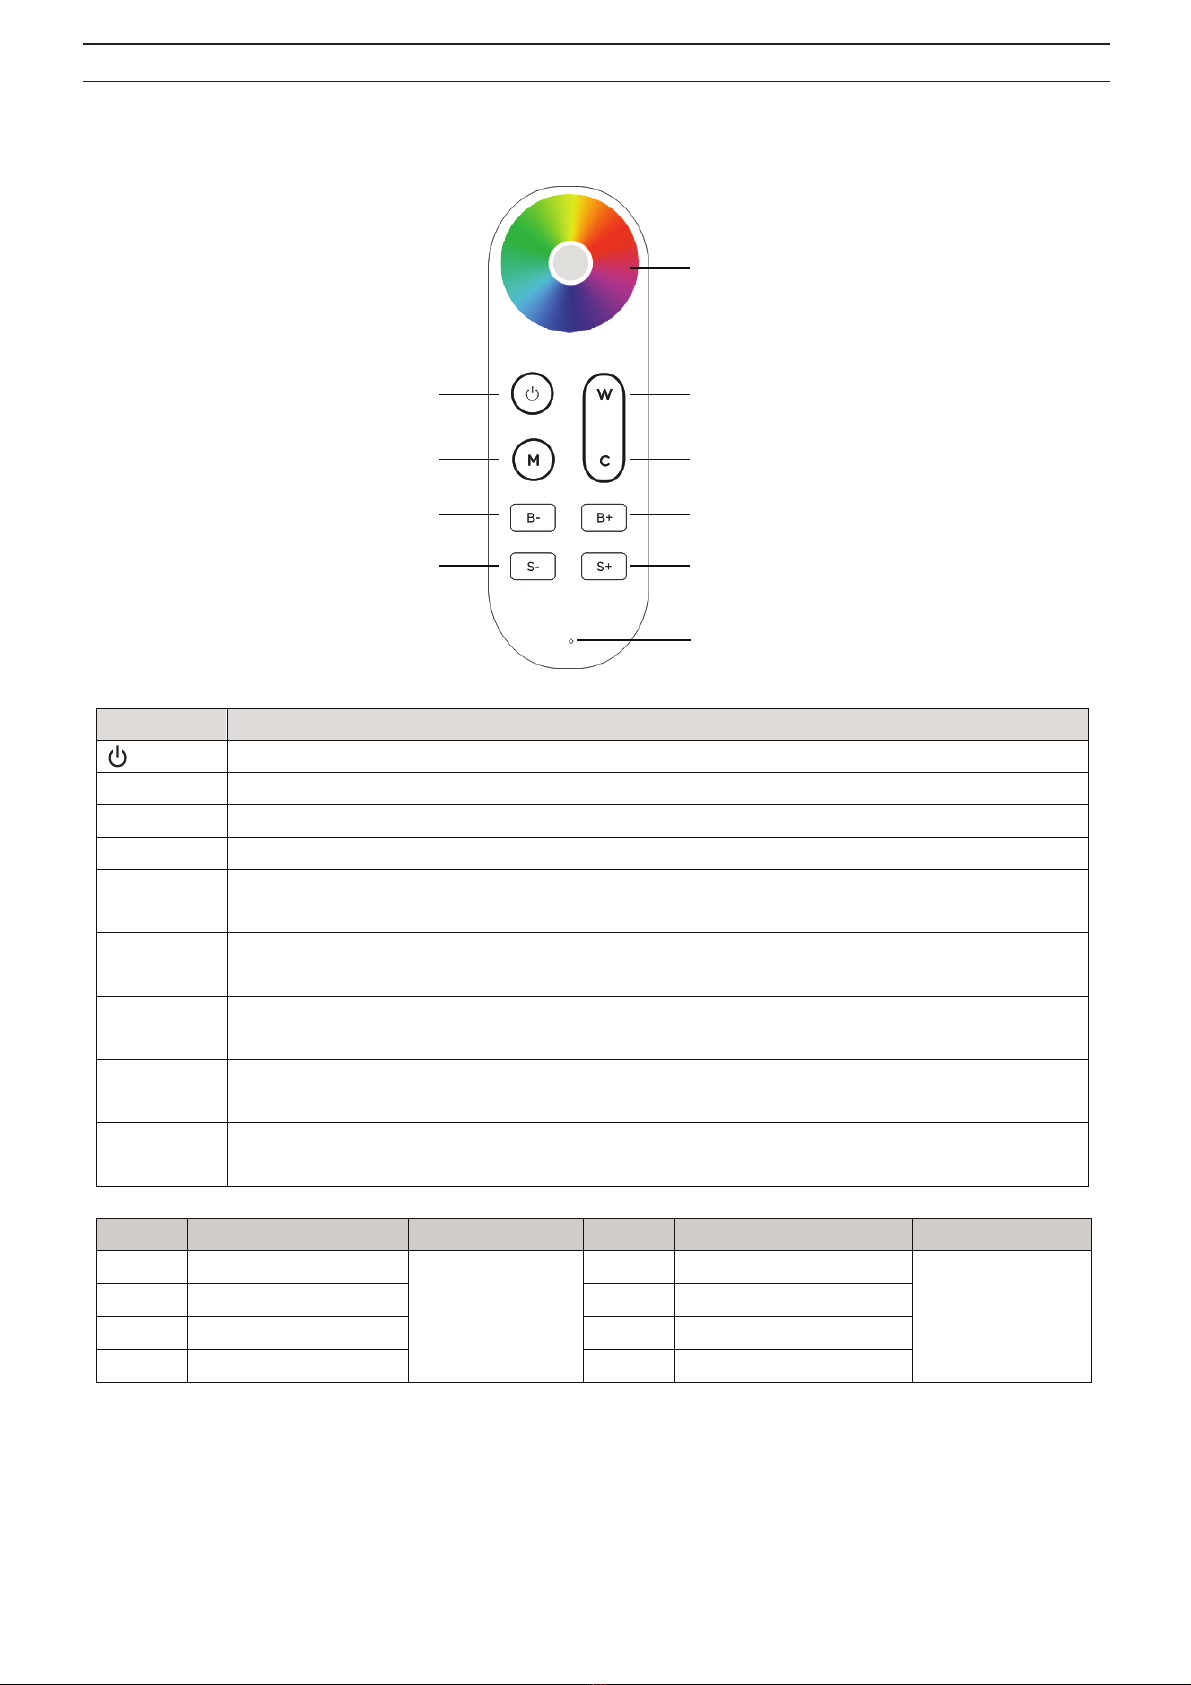
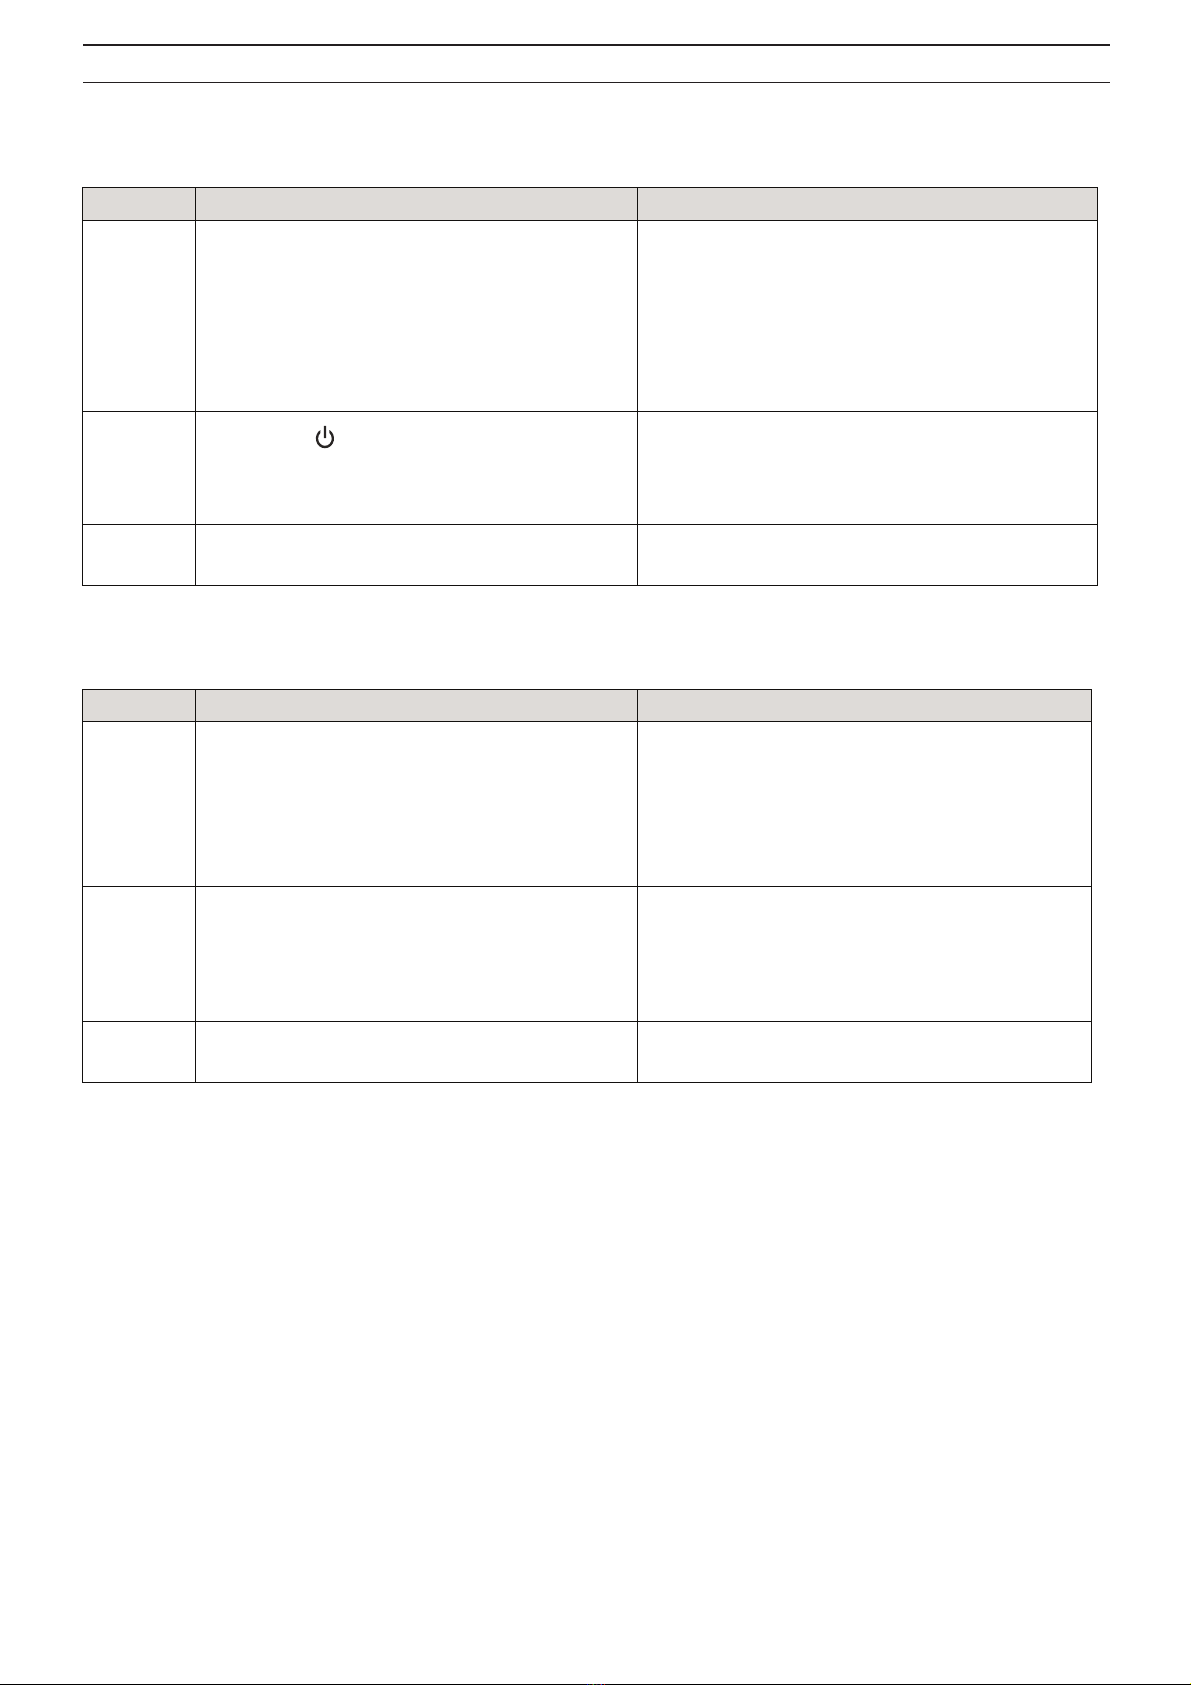
Step Procedure Remarks
1
Keep the button on the master
remote control pressed for 5 seconds to
switch to copying mode. The RF indicator
now flashes rapidly.
The copying process is automatically
terminated after 60 seconds or by
pressing any button.
2
Take the remote control you wish to copy
the code to and keep the W button
pressed for 20 seconds. The RF indicator
switches from 100% brightness to 0%
and flashes. The copying mode has been
activated.
The copying process is automatically
terminated after 30 seconds or after the
code has been copied successfully.
3
The RF indicator on the remote control
the code has been copied to flashes
three times.
The code has been successfully copied
to the new remote control. The device
now automatically quits the copying
mode.
Copying the code from controller to remote control
Codes can also be copied from a controller to a remote control, e.g. if the previously used
remote control was lost and needs to be replaced.
Step Procedure Remarks
1 Switch off the controller.
2
Keep the W button on the remote control
pressed for 20 seconds. The RF indicator
switches from 100% brightness to 0%
and flashes. The copying mode has been
activated.
The copying process is automatically
terminated after 30 seconds or after the
code has been copied successfully.
3 Switch on the controller. The RF indicator
on the remote control flashes three times.
The code has been successfully copied
to the new remote control. The device
now automatically quits the copying
mode.
Notes:
1) The distance between receiver and remote control should not exceed 2 meters during this
procedure.
2) During the copying process, all information of the entire system is being transmitted. It is not
necessary to repeat the procedure for different control ones.
esetting the remote control
The remote control can be reset to factory settings.
Step Procedure Remarks
1 Keep the W button pressed for 30
seconds.
The RF indicator is dimmed down after
20ß seconds. After 30 seconds the
indicator lights with 100% brightness
again, indicating that the resetting
process has been activated.
2 Confirm with the M button. The RF
indicator flashes three times.
The remote control has been reset to
factory settings successfully.