manuals.online logo
Brands
  1. Home
  2. •
  3. Brands
  4. •
  5. EverFocus
  6. •
  7. Security Camera
  8. •
  9. EverFocus EDH5102 User manual

EverFocus EDH5102 User manual

Other manuals for EDH5102

2

Other EverFocus Security Camera manuals
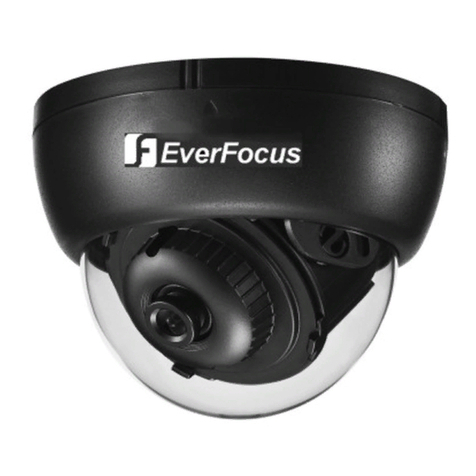
EverFocus EZA1540 eZ.HD Series User manual

EverFocus

EverFocus EZA1540 eZ.HD Series User manual

EverFocus Polestar EZ550 Technical manual
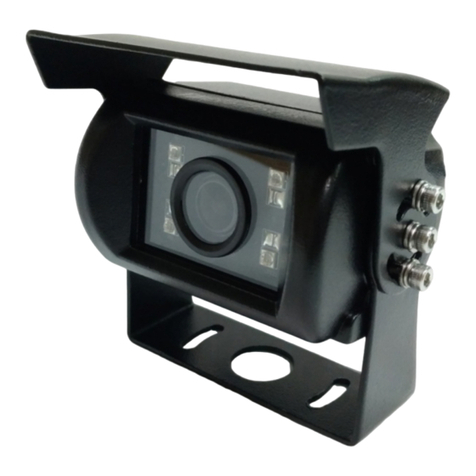
EverFocus

EverFocus Polestar EZ550 Technical manual

EverFocus EZN2550-SG User manual

EverFocus

EverFocus EZN2550-SG User manual

EverFocus ED910 User manual

EverFocus

EverFocus ED910 User manual

EverFocus EPH5212 User manual

EverFocus

EverFocus EPH5212 User manual

EverFocus EHA1280 eZ.HD Series User manual

EverFocus

EverFocus EHA1280 eZ.HD Series User manual

EverFocus EQ350HQ User manual

EverFocus

EverFocus EQ350HQ User manual

EverFocus EQ700 User manual

EverFocus

EverFocus EQ700 User manual

EverFocus EPN Series User manual

EverFocus

EverFocus EPN Series User manual

EverFocus EM700 Owner's manual

EverFocus

EverFocus EM700 Owner's manual

EverFocus M117-N701-001 User manual

EverFocus

EverFocus M117-N701-001 User manual

EverFocus EB200 User manual

EverFocus

EverFocus EB200 User manual

EverFocus EMW990F User manual

EverFocus

EverFocus EMW990F User manual
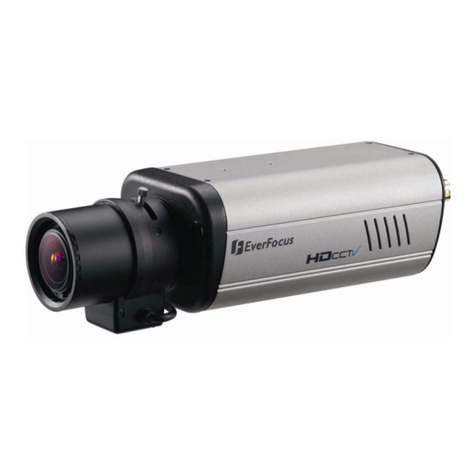
EverFocus ED610 User manual

EverFocus

EverFocus ED610 User manual

EverFocus EHD300 User manual

EverFocus

EverFocus EHD300 User manual

EverFocus ECD900B User manual

EverFocus

EverFocus ECD900B User manual

EverFocus EQH5200 User manual

EverFocus

EverFocus EQH5200 User manual
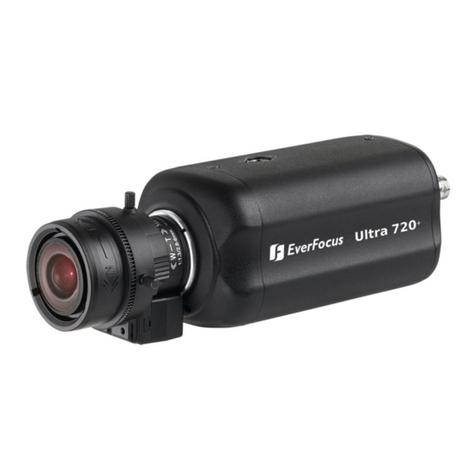
EverFocus NeVio EZN850 User manual

EverFocus

EverFocus NeVio EZN850 User manual

EverFocus EHH5040 Technical manual

EverFocus

EverFocus EHH5040 Technical manual

EverFocus EDN1320 Owner's manual

EverFocus

EverFocus EDN1320 Owner's manual

EverFocus EZ-PLATECAM-002 User manual

EverFocus

EverFocus EZ-PLATECAM-002 User manual

EverFocus NeVio EAN900 User manual

EverFocus

EverFocus NeVio EAN900 User manual

EverFocus ECD900F User manual

EverFocus

EverFocus ECD900F User manual

EverFocus EPTZ3000 User manual

EverFocus

EverFocus EPTZ3000 User manual

Popular Security Camera manuals by other brands

ADEMCO RapidDome Owners Operating & Installation Guide

ADEMCO

ADEMCO RapidDome Owners Operating & Installation Guide

Honeywell OptiCAM-IR Installation and setup guide

Honeywell

Honeywell OptiCAM-IR Installation and setup guide

Uniq UC-600 user manual

Uniq

Uniq UC-600 user manual

OPTICOM NVD-120-S datasheet

OPTICOM

OPTICOM NVD-120-S datasheet

Steren CCTV-221 instruction manual

Steren

Steren CCTV-221 instruction manual

Arm Electronics C420BCDNVFIR Features

Arm Electronics

Arm Electronics C420BCDNVFIR Features

Eneo PLD-2036PTZ installation guide

Eneo

Eneo PLD-2036PTZ installation guide

Axis AXIS M20 Series installation guide

Axis

Axis AXIS M20 Series installation guide

Panasonic KX-HCM230 operating instructions

Panasonic

Panasonic KX-HCM230 operating instructions

COP-USA CC15NV-SL Specifications

COP-USA

COP-USA CC15NV-SL Specifications

Active Silicon HARRIER H.264 quick start guide

Active Silicon

Active Silicon HARRIER H.264 quick start guide

Motorola Avigilon 1.3C-H5SL-BO1-IR installation guide

Motorola

Motorola Avigilon 1.3C-H5SL-BO1-IR installation guide

INSTEON 2864-232 user manual

INSTEON

INSTEON 2864-232 user manual

Wisenet XNB-6002 quick start guide

Wisenet

Wisenet XNB-6002 quick start guide

Axis M5525-E user manual

Axis

Axis M5525-E user manual

Vitek VTC-IR62NZ922 user guide

Vitek

Vitek VTC-IR62NZ922 user guide

Panasonic WV-SF342 Specifications

Panasonic

Panasonic WV-SF342 Specifications

SECO-LARM Dummy Camera VD-10PL Specifications

SECO-LARM

SECO-LARM Dummy Camera VD-10PL Specifications

manuals.online logo
manuals.online logoBrands
  • About & Mission
  • Contact us
  • Privacy Policy
  • Terms and Conditions

Copyright 2025 Manuals.Online. All Rights Reserved.

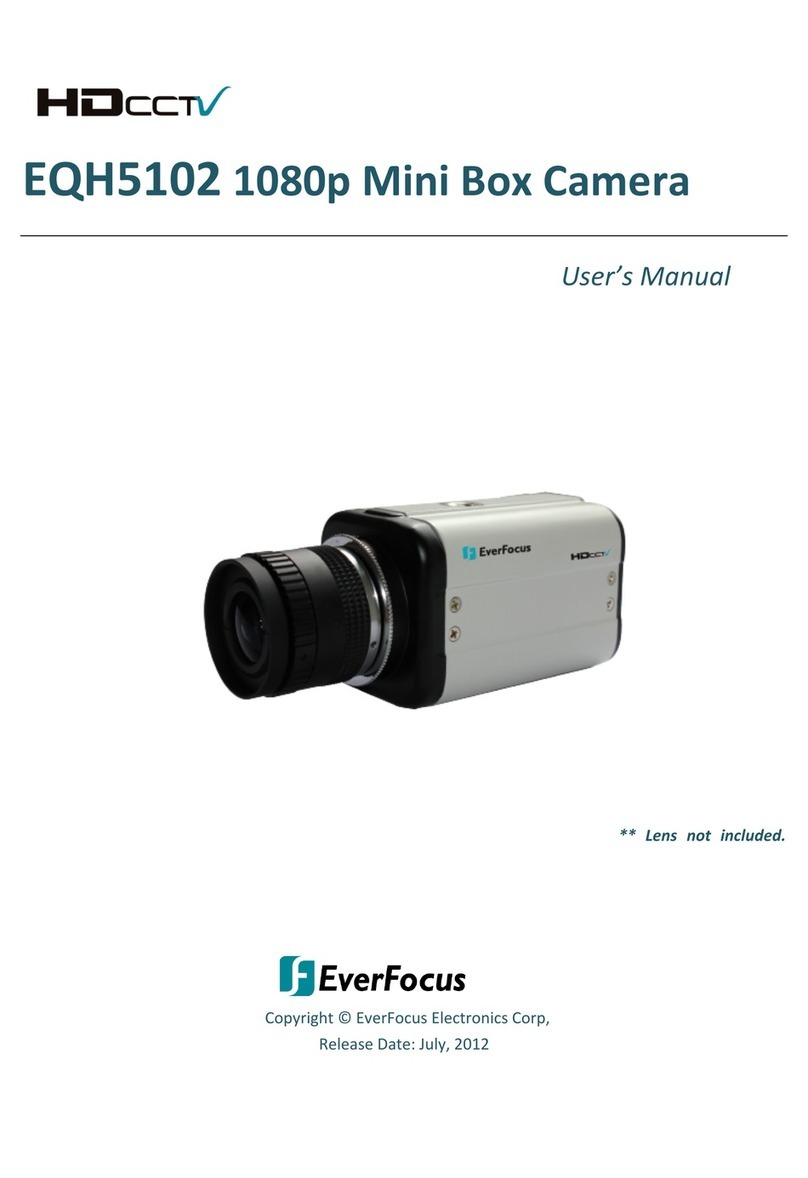
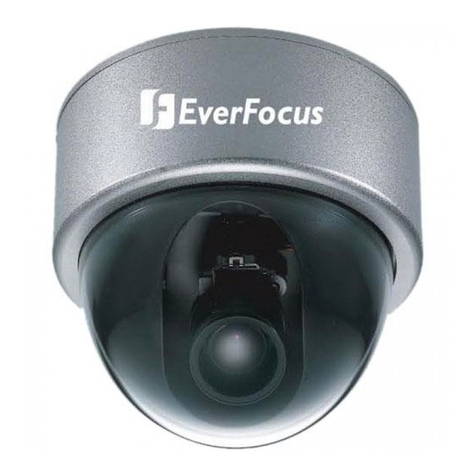
EDH5102
1080p Mini Dome Camera
User’s Manual
Copyright © EverFocus Electronics Corp,
Release Date: October, 2012
i
Cautions
1. Do not install the ca era near electric or agnetic fields.
2. Never disasse ble the ca era beyond the reco endations in this anual nor introduce
aterials other than those reco ended herein.
3. Try to avoid facing the ca era toward the sun.
4. Keep the power cable away fro water and other liquids and never touch the power cord
with wet hands.
5. Never install the ca era in areas exposed to oil, gas or solvents.
6. Do not operate the ca era beyond the specified te perature or hu idity. Use the ca era
at te peratures within -10°C~45°C (14°F~113°F) and hu idity between 20%~ 80%; this
device is not rated as sub ersible.
7. Deter ine the polarity of the power adapter pigtail before connecting the ca era to the
power source. The input power source is 12V DC.
ii
Contents
1. INTRODUCTION....................................................................................1
1.1
P
ACKING
L
IST
....................................................................................................... 1
1.2 F
EATURES
......................................................................................................... 1
2. CABLE DESCRIPTION..........................................................................2
3. INSTALLATION .....................................................................................3
3.1
I
NSTALLATION AND
A
DJUSTMENT
............................................................................. 3
4. CONFIGURATION IN THE OSD MENU.................................................5
4.1
OSD
M
ENU
......................................................................................................... 5
4.1.1
E
XPOSURE
.............................................................................................................................. 5
4.1.2
C
OLOR
.................................................................................................................................... 6
4.1.3
I
MAGE
..................................................................................................................................... 7
4.1.4
BLC........................................................................................................................................ 8
4.1.5
3D-DNR................................................................................................................................. 9
4.1.6
M
OTION
................................................................................................................................ 10
4.1.7
S
YSTEM
................................................................................................................................ 11
5.
SPECIFICATIONS ..............................................................................13
6.
APPENDIX .........................................................................................14
6.1
OSD
M
ENU
S
TRUCTURE
..................................................................................... 14
EDH5102 1080p Mini Box Camera
1
1. Introduction
The EDH5102 is an HDcctv indoor ini do e ca era. Based on a progressive scan CMOS sensor, the
ca era provides 1080p high resolution i ages and superior video quality co pared to traditional
CCTV i ages. This superior resolution not only captures ore critical evidentiary infor ation, but
the inherent ability for egapixel video also extends the area of coverage, expedites co pletion of
investigations, resolves co plaints and reduces both capital and operational costs.
No ajor upgrade to the IT network is required to deploy this powerful technology; HDcctv ca eras
co unicate at digital speeds up to 1.5 Gb/s over existing or new coaxial cable (RG59 or other
types for longer distances), using industry standard BNC connectors. The EDH5102 supports both
NTSC and PAL scanning syste s.
1.1 acking List

Ca era body x 1

User Manual x 1

Power Adapter (with OSD Menu Joystick) x 1

Te plate x 1

Accessory kit x 1 (Screw x 2 , Anchor x 2)

Power Adapter Pigtail x 1
1.2 Features

Real ti e HDcctv 1080p HD video over coax for superlative i age detail

1/3” 2.1 egapixel Color Progressive CMOS sensor

Provides 3D DNR / DSS to i prove i age clarity, particularly in low light scenes

Electronic Lens Shading Co pensation to offset di inished light trans ission through
lens periphery for unifor i age illu ination

CTB [Contrast Boost] to deliver properly exposed i ages despite bright light sources, deep
shadows and/or unbalanced lighting in the sa e scene

Supports Digital Zoo / BLC [Back Light Co pensation] / HLMASK [Highlight Suppression
Mask] / Privacy Zones (up to 32)

DPC [Defect Pixel Correction] Dead pixel co pensation for increased clarity and extended
service life

SD TV Out for ai and focus using a standard hand held test onitor
EDH5102 1080p Mini Box Camera
2
2. Cable Description
No. Name Descriptions
1 ower Cable Connects to a DC 12V power source.
2 HDcctv Output Connects to an HDcctv device, such as a DVR or HD
onitor, using a 75 Oh BNC-type coaxial cable.
3 RS485+ (Green) Connects to an RS-485 device, such as EverFocus’ EKB500
keyboard.
4 RS485- (Blue) Connects to an RS-485 device, such as EverFocus’ EKB500
keyboard.
5 Test-Out Connects to a SD CVBS onitor for setting i age ai and
focus.
EDH5102 1080p Mini Box Camera
3
3. Installation
3.1 Installation and Adjustment
1. Stick the ounting template on the position where you want to attach the ca era.
2. Drill the two holes on the te plate for screwing the ca era with the supplied screws and
anchors, and the circle in the iddle only if you want to wire the cables through the wall /
ceiling.
3. Insert the supplied anchors into the holes.
4. Re ove the cover cap fro the camera body.
5. Attach the ca era body to the correct position and then screw the ca era body to the
wall / ceiling using the supplied two screws.
Screw
EDH5102 1080p Mini Box Camera
4
6. Connect the ca era to the 12V DC power source using the supplied power adapter pigtail
or a power adapter.
7. Connect the ca era to a DVR or a portable onitor using the Test-Out cable for viewing
the ca era view while adjusting ca era angles. You can also use the OSD Menu Joystick
to configure ca era settings.
a. Adjust ca era angles by tilting or rotating the ca era.
b. To configure ca era settings using the OSD Menu Joystick, connect one end of the
Test-Out cable to the Test-Out connector on the ca era odule and the other end
to the portable onitor.
•Push the Joystick up / down to select
a ong enu ite s.
•Push the Joystick left / right to adjust
the level of the selected ite .
•Press the Joystick to enter the sub enu
or exit the OSD Setup Menu.
EDH5102 1080p Mini Box Camera
5
8. Screw the ca era cover cap back to the ca era.
4. Configuration in the OSD Menu
You can use the Joystick on the rear panel of the ca era to configure ca era settings in the OSD
enu. For details on the OSD enu structure, see OSD Menu Structure in Appendix.
4.1 OSD Menu
Press the Enter / Confirm button on the Joystick. The Setup Menu in the OSD appears.
4.1.1 Exposure
Press the Enter / Confirm button to enter the sub enu.
BRIGHTNESS
Use the  and  buttons to increase or decrease the screen brightness fro 0 to 20.
EDH5102 1080p Mini Box Camera
6
MODE
Indoor
Select this ode when the color te perature of the video i age is si ilar to that found in
indoor environ ents (around 5100 to 5300°K).
Outdoor
Select this ode when the color te perature of the video i age is si ilar to that found in
outdoor environ ents (around 3,000°K to 3,200°K)
LENS
You can select the type of the lens. Two types are available: Manual and DC. By default, the
Manual type lens is selected.
Shutter
Use the  and  buttons to adjust the shutter speed. The options include: 1/25 ~ 1/60000, FLK,
and AUTO. Any selection other than AUTO and 1/25 will disable the DSS function.
DSS (Digital Slow Shutter)
DSS is used to aintain a vivid screen i age by auto atically boosting low light levels. The
value is between x2 ~ x4 and OFF.
AGC (Auto Gain Control)
The higher the AGC value, the brighter the screen, but the level of noise will also be increased.
The options include: 0~10.
4.1.2 Color
Press the Enter / Confirm button to enter the sub enu.
AWB (Auto White Balance)
This ode can be used to view areas with a color te perature range. Use the  and 
buttons to select the AWB options. The options include: AUTO, AUTO EXTN, PRESET, MANUAL
COLOR TEMP, R-GAIN and B-GAIN.
EDH5102 1080p Mini Box Camera
7
• AUTO – Around 2500 to 9500°K
• AUTO EXTN (Extension) – Around 2300 to 10800°K
• PRESET – Use a pure white background to preset the white balance value.
• MANUAL COLOR TEMP – Use the  and  buttons to adjust the speed. The options
include: LOW, MIDDLE and HIGH
• R-GAIN and B-GAIN –The options include: 0~20.
CHROMA
Use the  and  buttons to increase or decrease the CHROMA fro 0 to 20.
R-OFFSET/B-OFFSET
Use the  and  buttons to increase or decrease the Red and Blue offset fro 0 to 20.
4.1.3 Image
Press the Enter / Confirm button to enter the sub enu.
SHAR NESS
Use the  and  buttons to increase or decrease the SHARPNESS fro 0 to 10.
MIRROR / FLI
Turn it on to reverse / flip the i age.
DZOOM
Turn it on to set up the zoo level