manuals.online logo
Brands
  1. Home
  2. •
  3. Brands
  4. •
  5. EVOLV
  6. •
  7. Touch Terminal
  8. •
  9. EVOLV FD150 User manual

EVOLV FD150 User manual

FD150 Quick Reference Guide
Step 1: Getting connected
Using your terminal requires an Internet connection,
such as DSL, cable or dial up connection. If you chose
a dialup connection, a dedicated phone line is
recommended.
• Telephone port (Blue)
• Ethernet port (Yellow)
• USB ports (Black)
• RS-232 port (Green)
Getting started with your First Data terminal Wi-Fi (optional)
To support Wi-Fi (wireless) connectivity, you’ll need a
wireless access point, modem or router supporting
802.11 b/g/n; and Broadband Internet Service. To set
up your terminal for connectivity to your Wi-Fi system,
touch the Tool icon displayed on the home screen.
Touch Wi-Fi then Security
Security
Verify the security mode matches your Wi-Fi system’s
settings (That is, WPA1-TKIP,WPA1-AES or WPA2-
AES).To change, touch the drop-down arrow and
select a new option. SSID is the name assigned to your
Wi-Fi network. It is a case sensitive text string up to 32
bytes long. All devices in the network must use the
SSID to communicate over Wi-Fi, and you will also
need your password (key). Ensure that the key and
SSID match your Wi-Fi system settings. A USB
keyboard may be connected to the terminal to enter
this information.
Signal strength
To test signal strength, return to the home screen,
touch the Tool icon, then Wi-Fi and View Status.
Step 2: Add an (optional) device
If you have another device(s) to connect to the
terminal, such as the RP10 PIN pad or MagTek®
MiniMICR Check Reader, you can now connect them to
either the USB or RS-232 port. Please see the device-
specific installation instructions.
Step 3: Load printer paper
To load a roll of paper, open the printer cover’s latch
as shown below. Insert the roll of paper into the
printer. and make sure that the roll has the leading
edge of the paper exiting the bottom edge of the
printer. Close the cover and tear off any excess paper.
Step 4: Connect to a power supply
To assemble the power supply, plug to assemble the
power supply. Plug the power cord into the power
adapter. Next, connect the small end of the power
plug to the terminal. Rotate the plug so that the cord
is pointed toward the back of the terminal and ensure
it lies flat and underneath the terminal. Plug the AC
power cord into a surge protector (recommended) or
a standard electrical outlet. Your terminal should all
be connected and power up. The screen will light up
and display the home screen.
SALE
By inserting a “chip card” into the slot at the front of the
terminal or PIN pad, called the “dip slot.” Reminder: the
chip card must remain in the dip slot until the device
prompts the customer to remove it.
By swiping the card through the magnetic stripe reader.
By tapping a contactless card or phone.
Follow the on-screen prompts
If prompted, your customer will enter their PIN or can
press Cancel X to bypass
The device will automatically print a receipt or prompt
for customer receipt. To skip this step, press ENTER or
CANCEL (red button).
To begin a sale select "Sale". Your customer may then offer a
card for payment in one of three ways:
1.
2.
3.
Then
REFUND
From the home screen, Select “Other.”
Select Refund.
Enter the amount.
Instruct your customer to insert, swipe
or tap their card.
Select Credit.
The device will automatically print a
receipt or prompt for customer
receipt. To skip this step, press ENTER
or CANCEL (red button).
To issue a refund to the cardholder:
1.
2.
3.
4.
5.
6.
Evolv, Inc. is a registered ISO of Wells Fargo Bank, N.A., Concord, CA and Fifth Third Bank, N.A., Cincinnati, OH.
FD150 Quick Reference Guide
SETTLEMENT
From the home screen, select “Other.”
Depending on your specific terminal
model, select “CLOSE” or “Close Batch.”
Select OK via the touch screen (or press 3
for non-touch screen terminals.)
The terminal will now complete the batch
settlement.
To settle the batch on your terminal and clear
it of all transaction information, you can set
the device to auto-close or manually manage
the close.
For auto-close settings, please call the help
desk (see sticker on the side of your device).
To settle the batch manually:
1.
2.
3.
4.
Basic operations
The following operations are meant to cover the most common transactions.

Popular Touch Terminal manuals by other brands

Beijer Electronics X2 extreme 7 12V CO installation manual

Beijer Electronics

Beijer Electronics X2 extreme 7 12V CO installation manual

Harris RF-7800B-DU024 Operation manual

Harris

Harris RF-7800B-DU024 Operation manual

ABB REF 54 Series Technical Reference Manual, General

ABB

ABB REF 54 Series Technical Reference Manual, General

Safescan TA-8000 SERIES manual

Safescan

Safescan TA-8000 SERIES manual

Bilanciai D70E Use and maintenance manual

Bilanciai

Bilanciai D70E Use and maintenance manual

TeleVideo 955 Service manual and maintenance instructions

TeleVideo

TeleVideo 955 Service manual and maintenance instructions

Chainway H100 user manual

Chainway

Chainway H100 user manual

Casio IT-G600 Series manual

Casio

Casio IT-G600 Series manual

Arbor Technology M1858C user manual

Arbor Technology

Arbor Technology M1858C user manual

CoComm CV100 user manual

CoComm

CoComm CV100 user manual

Scame ZENITH Series Installation, operation and maintenance instructions

Scame

Scame ZENITH Series Installation, operation and maintenance instructions

Symbol PDT 7500 Series manual

Symbol

Symbol PDT 7500 Series manual

NCR P1535 Quick reference guide

NCR

NCR P1535 Quick reference guide

DIEBOLD NIXDORF DN 200 Series Operator's manual

DIEBOLD NIXDORF

DIEBOLD NIXDORF DN 200 Series Operator's manual

Omnicomm OKO user manual

Omnicomm

Omnicomm OKO user manual

Omron NT631 Series Reference manual

Omron

Omron NT631 Series Reference manual

Avalue Technology RiPac-10P1 Quick reference guide

Avalue Technology

Avalue Technology RiPac-10P1 Quick reference guide

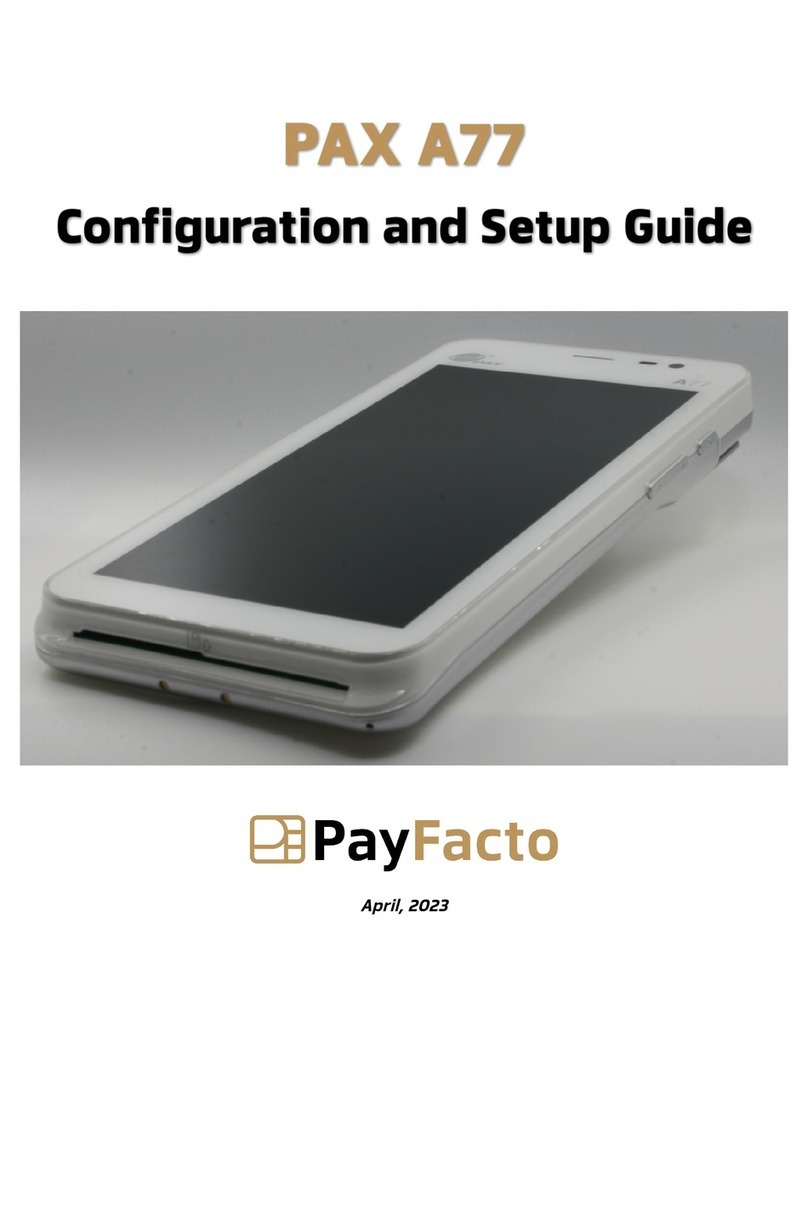
PayFacto PAX A77 Setup guide

PayFacto

PayFacto PAX A77 Setup guide

manuals.online logo
manuals.online logoBrands
  • About & Mission
  • Contact us
  • Privacy Policy
  • Terms and Conditions

Copyright 2025 Manuals.Online. All Rights Reserved.