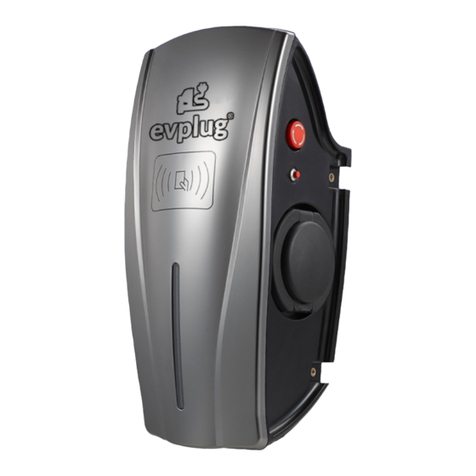
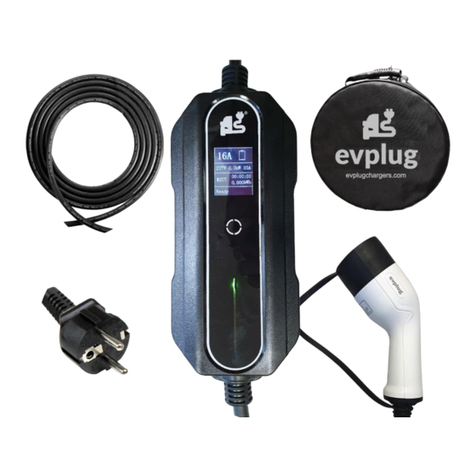
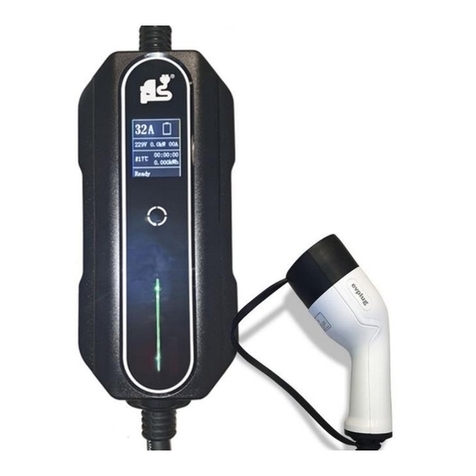
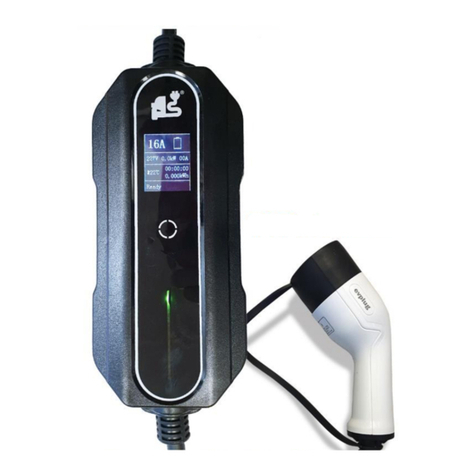
evplug EV32002 User manual

Page | 1 User manual for evplug charger 7.4 kW PN. EV32002 www.evplugchargers.com
Home EV charger manual
7.4 kW PN. EV32002
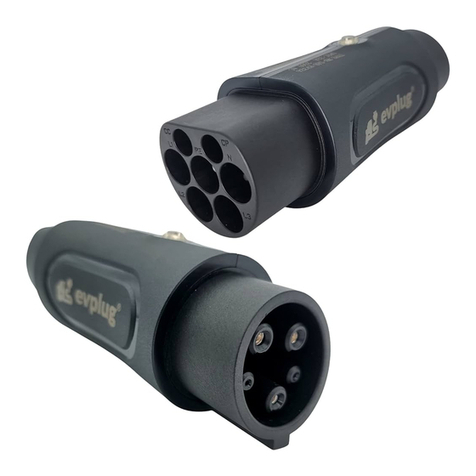
Tipo 2 Mennekes
IEC 62196-2
Ver. 1.2 (03/09/21)

Page | 2 User manual for evplug charger 7.4 kW PN. EV32002 www.evplugchargers.com
Features
Electric Performance
Rated Current and Voltage: 250V AC 32A
oInsulation Resistance: >1000MΩ(DC500V)
oTerminal Temperature Rise: < 50K
oContact impedance: 0.5 mΩ Max
AC Nominal Input:
oPhases/Lines: 1 phase + neutral+ PE
oVoltage: 230V±10%
oFrequency: 50Hz
AC Nominal Output:
oVoltage: 230V±10%
oCurrent: 32A
oPower: 7KW
Structure Design
oHousing Material: Plastic PC940
oInstallation Method: Wall-mount/Floor-
stand
oWall-mount Bracket: Not necessary
oCharging Outlet: One charging gun(Type 2)
oCable Length: 4 M
oLED Indicator: Green/Yellow/Red color for
different status
oEmergency Stop Button: Yes
oRFID Function: Yes
oRFID Card: 2pcs Mifare card
Environmental Index:
oOperating Temperature: - 30~ + 50℃
oWorking Humidity: 5%~95% without
condensation
oWorking Altitude: <2000M
oProtection Grade: IP65
oApplication Site: Indoor/Outdoor
oCooling Method: Natural cooling
Security Protection
oMultiple Protection: Over/Under voltage
protection, Overload protection, Short
circuit protection, Current leakage
protection, Grounding protection, Surge
protection, Over/Under temperature
protection
oMTBF: 100,000 hours
oSafety Standard: IEC 61851-1:2017,IEC
62196-2:2016
oWarranty: 2 years
Control Box Function
Leakage protection (restart recover).
oOver voltage under-voltage protection
(self-checking recover).
oLightning protection.
oOver current protection.
oOverheat protection.
Charger Cord
Specification: 3G6mm² + 0.5mm²
Meets Standards
IEC 62196-2
Cautions
oDO not put the device in the water.
oDO not step on the cable, do not pull it, do not
fold it up and do not know it.
oDO not drop the control unit or put heavy
things on it.
oDO not place the charging cable near high-
temperature objects.
oDO not place the unit in the car or in a closed
room while charging.
oDO not use the device in extreme temperatures
(normal operating range (-30C to +50C).
oThe power supply input cable should have at
least 3*6mm² with a standard 32A jack. It is
proposed to complete the distribution of
electricity by professionals.
oMake sure that the charging plug, the cable
and the control box are free from any signs
of scratches, rust, cracks, etc.
oDO not charge if the power outlet is damaged,
rusted, cracked or loosely connected.
oBefore charging, make sure the power plug and
outlet are compatible.
oThe Green Power LED indicator is always on
when the battery is fully charged.
Warnings
oCarefully read these instructions and your
vehicle owner’s handbook before charging your
EV.
oUse only on the mains with fault current
circuit breaker.
oDO not use this product if the EV charging
cable is damaged.
oFor use with EV charging only.
oThe product must be grounded.
oDO not use this unit with an extension cord

Page | 3 User manual for evplug charger 7.4 kW PN. EV32002 www.evplugchargers.com
or adapter.
oDO not insert any fingers into the charging
plug.
oThe unit contains no user serviceable parts.
DO not try to repair or service the device
yourself.
oIf the unit does not work properly in
accordance with the operating instructions,
do not use this unit. Contact your dealer for
a repair or replacement.
oUse the product under normal away from
high temperature erosive materials or
ignition source.
oDO not contact metal conductor to prevent
electric shock accident.
oProduct shell is made of thermoplastic,
please do not pound it to avoid reducing
performances.
Installation Steps
1. According to the installation illustration, drill
3pcs Ø6 * 35mm holes, and insert the expansion
pipe.
2. Insert 2pcs M4 * 32 self-tapping screws into
the expansion pipe, and leave 5mm distance.
3. Open the charger's front panel, hang the
charger's body to the self-tapping screws, and
lock the M4*32 self-tapping screw at the
bottom.
4. Through the waterproof joint, connect 3pcs
6mm² power cord to the corresponding input
terminals.
5. Close the charger's front panel according to
the installation illustration, and lock the M4*8
screw to prevent the charger from theft.
Power On Checking
Check before power on
1. The charger's location should be easy for
operation and maintenance.
2. Make sure the power cords are properly
connected and installed securely.
3. Ensure the AC input cable's current leakage
protection switch type is reasonable.
Check after power on
1. Turn on the leakage protection circuit breaker
for AC current input.
2. After the charger is power on, it will self-
check for about 30S. The LED indicator will
display colors of red, yellow and green in turns
for 1S separately.
3. Observe the color status of LED indicator
after the self-check. Standby status: Green LED
flash, 1S on, 3S off.
Fault status: Red LED always on.
Charging Operation
1. Plug in the charging gun to EV.
2. Start charging by swiping the provided card in
the card-swiping area.
3. Stop charging by swiping the card again.
4. Disconnect the charging gun.
Precautions
1. Install the power cords in accordance to the
input terminal of L (Live wire), N (Neutral wire),
PE (Earth wire) , and do not reverse L and N
wires.
2. PE (Earth wire) has to be grounded reliably.
3. After power on, make sure the emergency
stop button is in the pop-up status.
4. Make sure the charging gun is free of dirt and
water before the charging.
5. Do not put the charger into EV while
charging.
Warranty:
Damage caused for the following reasons is not
covered by the warranty:
1. Improper handling, installation, use and
maintenance by the user.
2. Product falls into the water.
This warranty is for the original purchaser only
and is NOT transferable.
PLEASE NOTE: This document includes the latest
information at the time of printing. EVplug
Chargers, S.L. reserves the right to make changes
to this product without further notice. Changes
or modifications to this product by other than an
authorized service facility could void the product
warranty

Page | 4 User manual for evplug charger 7.4 kW PN. EV32002 www.evplugchargers.com
J5 J4 J3 J2 J5 J4 J3 J2
16A 27A
3.7kW 6.2kW
J5 J4 J3 J2 J5 J4 J3 J2
23A 32A
5.3kW 7,4kW
SPECIAL CONFIGURATION:
1. Cancel on RFID card
Make this modification if you want to remove the security of the charger, so that when plugged in it starts
charging without having to activate it through the RFID card.
J5 pin setting, the first counting from the left.
RFID ACTIVE: The jumper is inserted into the
bottom two pins (bottom + middle) and the
RFID card starts / stops charging.
RFID OFF: The jumper is inserted in the two
upper pins (upper + middle) and works plug &
play. You do not need an RFID card.
2. Change from 7.4kW to 6,2 - 5,3 - 3,7 kW of maximum load
Reduce the maximum load power in the event that you cannot install a higher power due to installation
limitations. Being able to reduce the maximum power of the load from 7.4 to 6,2 - 5,3 - 3,7 kW.
Place the jumpers for connectors J3 and J4, in
this case the second and third from the left.
For example 7.4kW (32A), the jumper is
inserted into the bottom two pins (bottom +
middle) and the output current is 32A.
For 3.6kW (16A), the jumper of Jumper J4 is
inserted in the two upper pins (upper +
middle) and the output current is 16A.

Page | 5 User manual for evplug charger 7.4 kW PN. EV32002 www.evplugchargers.com
Installation Illustration

Page | 6 User manual for evplug charger 7.4 kW PN. EV32002 www.evplugchargers.com
Electric instalation
powerBacku
p
controlRelay

Page | 7 User manual for evplug charger 7.4 kW PN.
EV32002
www.evplugchargers.com
Table of contents
Other evplug Batteries Charger manuals

