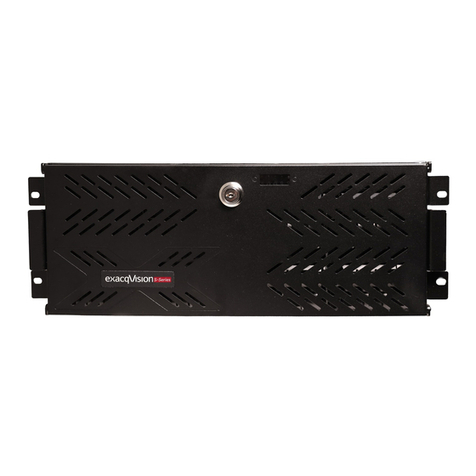
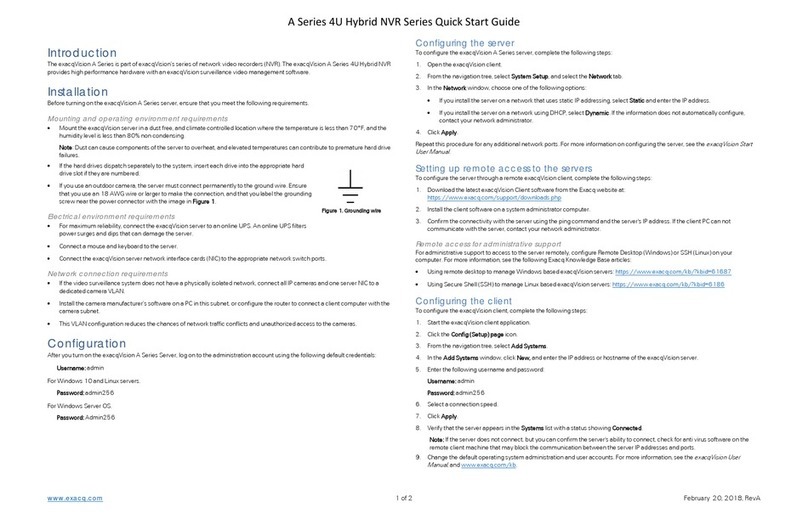
Exacq Una User manual

Una Quick Start
Una Quick Start
www.exacq.com
+1.317.845.5710
+44.1438.310163
USA (Corporate Headquarters)
Europe/Middle East/Asia
www.exacq.com
+1.317.845.5710
+44.1438.310163
USA (Corporate Headquarters)
Europe/Middle East/Asia
Camera Configuration without EasyConnect
If EasyConnect does not produce Connected status, perform the following steps.
NOTE: logging in to the admin account may be required for some steps below (default password: admin256)
1. Connected - A successfully connected EasyConnect camera
2. Invalid username or password - The recorder does not have the correct camera username or password.
a. Resolution A: Reset camera to default settings using the hard reset button found on camera, then power cycle camera
b. Resolution B: Go to the Add IP Cameras page and configure proper credentials
c. Resolution C: Using admin account, launch the Firefox browser and navigate to camera’s web interface to change the
credentials back to default
3. Manual intervention required - A camera has been detected but has a static IP address
a. Resolution A: Reset camera to default settings using the hard reset button found on camera, then power cycle camera
b. Resolution B: Hover over the status message to gain a tooltip message about how to proceed (as shown above)
c. Resolution C:Go to Configure System | Network tab. Check the box to “Show individual PoE
adapters” and select “PoE3” (In this example). Change the IP address to 10.16.5.1. Click Apply.
Use the Firefox browser and navigate to the camera’s web interface to set the camera for DHCP
or set the static IP to 192.168.203.2. When complete, set the Una port back to its original IP
address, (which would be 192.168.203.1 in this example)
4. No camera detected - A device has been plugged in to this port and is drawing power
a. Resolution A: Ensure camera is found on the supported camera list https://exacq.com/integration/ipcams
b. Resolution B: Unplug and re-plug in the camera
c. Resolution C: Go to the Add IP Cameras page, click the “Rescan Network” button
in the lower left corner of the page.
5. Not Present - No device is connected or drawing power
General troubleshooting may require you to delete and let exacq rediscover a
camera. Go to Add IP Cameras page, select camera and click Delete. Then use the
Rescan Network button (above) to perform a new scan.
©2015 ExacqTechnologies #500-00057
1 Connections
Main Back Panel Connections
WARNING: Do not connect non-camera or encoder devices (such as switches, routers, computers or printers) to the camera PoE
ports.
Important information about Una’s PoE ports
Each port is a unique network interface, not a network switch or hub
Each port is a unique IP subnet where one, and only one, IP camera shall be connected
Each port provides DHCP addressing services to connected cameras
Each port is assigned an IP address in a selectable range (192.168.2xx.1 or 172.16.2xx.1 or 10.16.2xx.1) with a subnet mask
of 255.255.255.0
Item #
Description
Notes
1
PS-2 port
Compatible mouse or keyboard
2
USB (x2)
Compatible keyboard, mouse, USB memory device, or DVD burner;
3
VGA video out
4
RS232 COM port
5
HDMI video out
6
USB 3.0
7
USB (x2)
8
10/100/1000 Ethernet
Use this for normal network connectivity
9
Microphone input
10
Audio output
11
Line input
12
10/100 PoE Camera ports
DHCP enabled ports for IP based cameras only (SEE WARNING BELOW)
13
Power switch
14
Power plug
2
1
4
3
11
5
9
10
12
7
8
6
13
14
1
2
3
4
Tooltips will provide instructions on how to proceed

Una Quick Start
Una Quick Start
www.exacq.com
+1.317.845.5710
+44.1438.310163
USA (Corporate Headquarters)
Europe/Middle East/Asia
www.exacq.com
+1.317.845.5710
+44.1438.310163
USA (Corporate Headquarters)
Europe/Middle East/Asia
2Installation
Before powering on the exacqVision server, complete the following steps:
1. Mounting and operating environment requirements
a. Mount the exacqVision server in a dust-free, climate-controlled (<70o F, <40% non-condensing) location. Dust
causes component overheating. Elevated temperatures contribute to premature hard drive failures.
b. If using outdoor cameras, the exacqVision server must have a permanent connection to earth
ground. Use a wire 18AWG or larger to make the connection, and use the grounding screw labeled
with this icon near the power connector.
c. All outdoor cameras must have a suitable surge suppressor between the camera and recorder.
2. Electrical environment requirements
a. Connect the exacqVision server to a true online UPS for maximum reliability. A true online UPS completely filters
power surges and dips that can damage the server.
b. Connect the exacqVision server’s main network interface to the company network or network with Internet
access.
c. Connect a keyboard, monitor, and mouse to the server.
d. Power the server on
The exacqVision system will automatically log in to the user account and launch the exacqVision client. If required, log in to the
administrator account. Default credentials for this account are: admin/admin256.
3Client/Server Connection
With the exacqVision client open, complete the following steps:
1. In the system configuration tree navigate to Configure System | Network tab
a. If the server is installed on a network using static IP addressing, select Static, enter the appropriate IP address and
settings, and click Apply.
b. If the server is installed on a network using DHCP select Dynamic and click Apply. After a brief delay, all four
parameter boxes should auto-fill with network settings. If not, contact your network administrator.
2. If the server will be configured via a remote client machine download and install the latest client application software (7.4
or later) before proceeding. https://exacq.com/support/downloads.php Once installed:
a. Launch the exacqVision Client application.
b. Select the Config (Setup) page button
c. In the configuration tree, select Add System
d. Click New and enter the IP address or hostname of the exacqVision server, username (default =admin), password
(default=admin256), and select connection speed (Remote, WAN, LAN, Local). Then click Apply
e. Verify the server appears in the list with a status of Connected.
f. If the server does NOT connect, but server connectivity can be confirmed then check for anti-virus software on the
remote client machine that may be blocking communications with the server IP addresses and ports.
g. Change the default operating system and exacqVision admin and user account passwords:
See www.exacq.com/kb for instructions on changing the operating system password on exacqVision servers.
See Ch. 4 of the exacqVision user manual for instructions on changing exacqVision admin and user passwords.
The manual can be downloaded: https://www.exacq.com/support/manspecs/
4Camera Connections
EasyConnect Cameras
EasyConnect automatically discovers, addresses and configures most DHCP enabled cameras.
1. Ensure the cameras are in the factory default state that normally enables DHCP addressing.
2. In the System configuration tree navigate to the Configure System | PoE Ports
3. Plug cameras into the rear panel of the exacqVision Una system.
4. Monitor each port as the camera is automatically configured and connected. (This procedure can take up to 6 minutes.)
5. When port color turns green, the camera is ready.
Gray = Camera not connected
Yellow = Camera discovery, port scanning, or no camera detected
Green = Camera connected
Red = Camera no longer streaming video, invalid username or password, or requires further configuration
Other Exacq Network Hardware manuals
Popular Network Hardware manuals by other brands
Precision Digital Corporation
Precision Digital Corporation PDW30 quick start guide
ADTRAN
ADTRAN NetVanta 2000 Series System manual
AMX
AMX NXF-MINI Specifications

Exinda
Exinda EXNV-3062 Administration guide
Spirent
Spirent PX3-QSFP-DD-8 Quick reference guide
System Q
System Q IP-Mule IP-TX101 quick start guide
Valcom
Valcom IP Solutions VIP-824 user guide
Patton electronics
Patton electronics SL402X Specification sheet
Juniper
Juniper SRX3400 instructions

Nexcom
Nexcom DTA 1164W user manual

Adaptec
Adaptec LSM-FC2002 - Loop Resiliency And SES Module... installation guide
Qvis
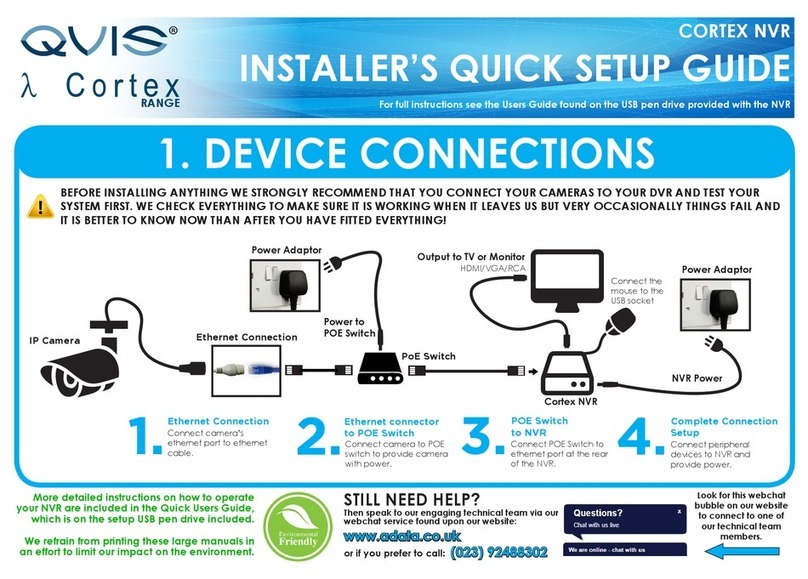
Qvis CORTEX Installer's quick setup guide
