5
magnification of 30x, then an object viewed through the telescope will appear 30 times larger than it
would with the naked eye. To calculate the magnification of your telescope setup, divide the focal length
of the telescope tube by the focal length of the eyepiece.
NOTE:
The magnifying power of a telescope is determined by dividing the focal length of the telescope by
the focal length of the eyepiece. This means that as the focal length of your eyepiece increases, the
magnifying power decreases.
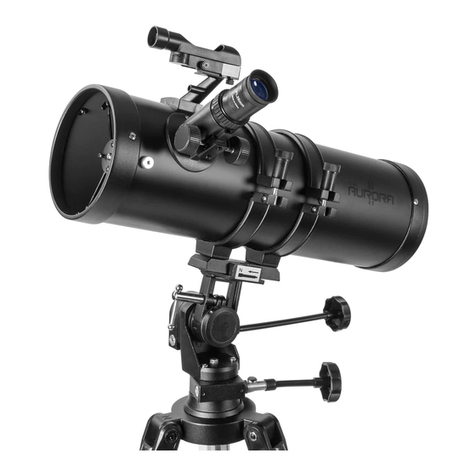
Using/Aligning the Red Dot Viewfinder:
The viewfinder is powered by a CR-2032 battery that is included. Before using the viewfinder for the first
time, remember to remove the plastic insulator that is blocking the battery from connecting.
When it is time to replace the battery, remove the battery cap by loosening the set screw. Take out the
old battery and slide a new battery in place with the positive side showing. Replace the cap, and tighten
the set screw.
For The Viewfinder To Be
Effective, It Must Be Aligned. To
do this:
• Insert the 20 mm eyepiece into the
diagonal and power on the viewfinder by
sliding the switch on its right side to an
“On” position.
• Point the eyepiece at an easy to identify
target like a telephone pole that is
approximately 200 yards away. Center the
object in the eyepiece. Lock the telescope
into place by tightening the panhandle.
• Without moving the telescope, position the
red dot using the two adjustment screws
so that it shares the same view as the one
in your eyepiece. The front screw will move
the viewfinder up and down, and the other
will move it side to side. Your viewfinder is
now aligned.
Note: To preserve battery life, don’t forget to turn off the viewfinder after use.
Using Your Telescope:
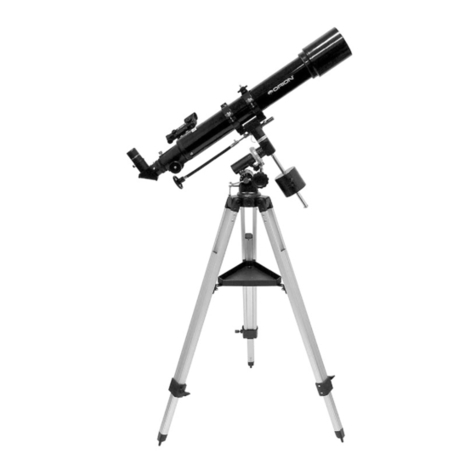
After you have assembled your telescope, you are ready to start observing. Put the 20mm eyepiece
into the diagonal to get the widest field of view. This wider field of view will make it easier to locate
and track objects.
To move the scope up, down and side to side, loosen the locking screws slightly and grip the telescope
near where the tube meets the focuser and steadily move the tube until your target comes into view in
the eyepiece. Once you have found and focused on your desired target, you can lock the telescope into
position by tightening the two locating screws.
The Red Dot Viewfinder is
powered by a battery type
CR-2032 (3V); if a replacement is
necessary, remove cap (Fig. 1) by
unscrewing set screw (Fig. 2) and
sliding battery towards the front.
Slide new battery in place with the
positive (+) side showing. Replace
cap and tighten with
set screw (Fig. 2).
Fig. 1 Fig. 2
Front
Red Dot Viewfinder
(bottom view)
El Visor Red Dot es
impulsado por un tipo de batería
CR-2032 (3V); si un reemplazo es
necesario, retire la tapa (fig. 1),
desenroscando el tornillo de ajuste
(fig. 2) y la batería de deslizamiento
hacia la parte delantera. Deslice la
pila en el lugar con la positiva
proyección lateral (+). Reemplace
la tapa y apriete con
el tornillo de
fijación (fig. 2).
fig. 1 fig. 2
frente
Red Dot visor
(vista desde abajo)
English
Le Dot Viseur rouge est
alimenté par une batterie de type
CR-2032 (3V), si un remplacement
est nécessaire, enlever le bouchon
(Fig. 1) en dévissant la vis de
réglage (Fig. 2) et la batterie de
glissement vers l'avant. Glisser la
nouvelle pile en place avec la
borne positive (+) côté montrant.
Remettre le bouchon et
le serrer avec
la vis de
pression
(Fig. 2).
Fig. 1 Fig. 2
de devant
Red Dot Viseur
(vue de dessous)
FrenchSpanish


