Exposure Lights LINK Daybright User manual

HANDLEBAR MOUNTING - TRACE
HELMET MOUNTING - LINK & LINK+
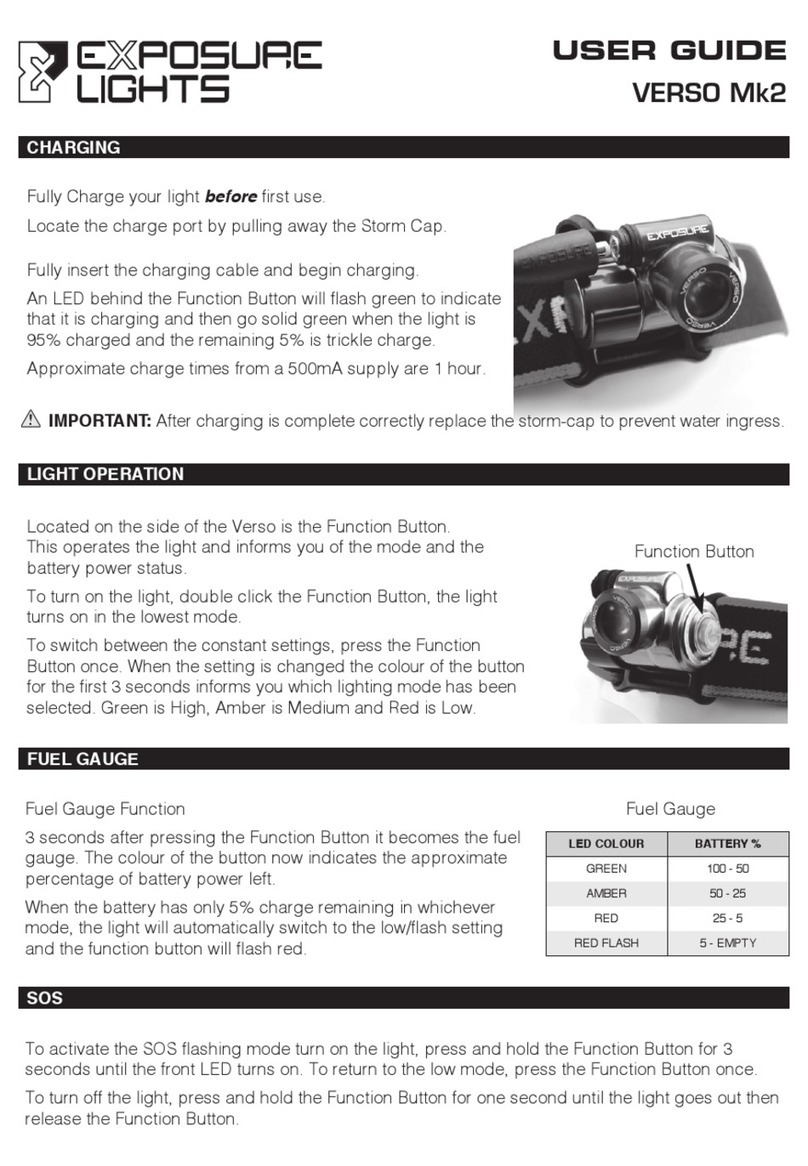
CHARGING
LIGHT OPERATION & BATTERY LIFE
USER GUIDE
LINK • LINK+• TRACE • TRACER • TRACER ReAKT
Fully Charge your light before rst use.
Locate the USB charging port by pulling away and down on the tab of the silicone band where the
USB symbol is etched onto the light’s body.
IMPORTANT: After charging is complete correctly replace the silicone band to prevent water ingress.
Fully insert the USB charging cable and
begin charging from a USB supply.
An LED behind the lens will flash
green to indicate that it is charging
and then turn solid green when the light
is 95% charged, then the remaining 5%
is trickle charged.
Approximate charge times from a 500 mA
supply are:
Link/Trace/TraceR: 1.5 hours
Link+: 7 hours
To turn the light on press the function button twice in quick
succession.
Trace/TraceR: The light will turn on in the mode that was last
used. A single press of the function button will cycle between
a constant beam and a pulse.
Link/Link+: The light will turn on in the mode that was last
used. There are 7 modes that include having either the front
or rear LED lit, press the function button once to cycle to the
next mode.
To turn any of the above lights OFF hold the function button
down until there is a double ash and then release.
Immediately after the light is turned off the LED colour
indicates the percentage (see table) of the remaining battery
life, functioning as a ‘Fuel Gauge’.
For more information please visit:
For more information please visit:
exposurelights.com
exposurelights.com
WARRANTY & SERVICE - LIGHT FOR LIFE
WARNING: Ensure that brake and other cables do not catch on the light or its bracket.
MAINTENANCE
WARNING
Inspect and test your light and bracket apparatus before every ride.
Keep your light clean and free of dirt, be careful when cleaning any mud or dirt from lens to
avoid scratching.
Never use a high pressure spray or hose on your light.
Do not use harsh abrasive or corrosive materials to clean your light.
For extended periods when your light is not in use fully recharge the light once a month, as a long
duration with no charge is detrimental to the cells.
Please do not send any products back to us without contacting our service team rst to
discuss your issue and for a valid returns number.
All our lights come with a 2 year warranty.
If you have a servicing or technical question you can contact us using the information below. If you
return your light for repair, no work will be carried out until you have been contacted with the cost
for the repair. If you are outside of the UK it would be quicker in the rst instance to contact your
local distributor.
+44 (0)1798 839300
Exposure Lights are very powerful lighting systems, please take care when operating. Do not
look directly into the light or shine directly at others, including other road users.
Exposure Lights / Ultimate Sports Engineering Ltd. accept no liability for any injuries or other
damages arising from the use of their product in any circumstances.
NOTE: Patents apply.
Try the short bolt rst - if this isn’t long enough use the longer bolt. Do not over-tighten.
NOTE: The angle of the light can be adjusted by rotating and tilting the ball joint.
HELMET
HELMET
Function Button
Fuel Gauge
LED COLOUR BATTERY %
GREEN 100 - 50
AMBER 50 - 25
RED 25 - 5
RED FLASH 5 - EMPTY
BAR
Requires a
5mm hex-key
EXPUG1.4
#ownthenight
Ultimate Sports Engineering Ltd
Unit 4 Bury Mill Farm
Bury
West Sussex
RH20 1NN
United Kingdom
EXPUG1.4.indd 1-3EXPUG1.4.indd 1-3 13/08/2020 14:5213/08/2020 14:52

DAYBRIGHT
ReAKT & PELOTON MODE (TRACER ReAKT ONLY)
OMS: TRACE & TRACER
OMS LINK & LINK+
OPTIMISED MODE SELECTOR (OMS)
OMS allows you to select a runtime tailored to your needs, the longer the runtime the lower the
lumen output, if you double runtime, you halve lumen output.
Additional brackets, silicone bands and a saddle rail bracket are available from exposurelights.com
The Trace & TraceR have three programs with different intensities and run times:
To select a program, start with the light off. Hold the Function Button down and wait for the light to
emit regular ashes. Then for example, if you want Medium (Program 2), release the button after
the second ash. The light will remain in Program 2 regardless of it being turned on and off.
The Table below is etched onto the light:
We recommend using your light in DayBright mode during the day for your safety.
To access DayBright mode you need to be in Program 1 for the Trace and TraceR, or High for the
Link and Link+, and then cycle to the Flash mode using the function button.
ReAKT and Peloton mode work in all three of the programs, if you are in Program 2 and you want
to activate ReAKT you would follow the same method as the OMS, but release after the fourth ash.
Your light will then be in Program 2 with ReAKT activated. There is is a break down below:
Flash 1 – Program 1.
Flash 2 – Program 2.
Flash 3 – Program 3.
Flash 4 – ReAKT activated (light remains in the Program is in).
Flash 5 – Peloton Mode activated (light remains in the Program is in).
Flash 6 – Deactivate ReAKT and Peloton (light remains in the Program is in).
LINK/LINK+
The Link & Link+ have three programs with different intensities and run times, within those
programs are options that use either 1 or 2 LEDs with ash or constant modes, or a combination.
To select a program, start with the light off. Hold the Function Button down and wait for the light to
emit regular ashes.
For example, if you want Program 2, release the button after the second ash. The light will remain
in Program 2 regardless of it being turned on and off.
For a breakdown of runtimes and modes please refer to the table below:
The etch on the underside of the Link and Link+ does not display all modes due to space.
It shows the number of LEDS in use to condense information.
PGM - Program
CW - Constant White LED
CR - Constant Red LED
FW - Flash White LED
FR - Flash Red LED
F W/R - Flash White and Red
C - Constant
F - Flash
Link Link+
LINK LINK+
WHITE LED RED LED MODE 1 HIGH 2 MEDIUM 3 LOW 1 HIGH 2 MEDIUM 3 LOW
CONSTANT CONSTANT 1 1 hrs 3 hrs 6 hrs 3 hrs 6 hrs 12 hrs
CONSTANT PULSE 2 2 hrs 4 hrs 8 hrs 4 hrs 8 hrs 16 hrs
PULSE PULSE 3 3 hrs 7 hrs 15 hrs 8 hrs 16 hrs 32 hrs
CONSTANT OFF 4 2 hrs 5 hrs 11 hrs 5 hrs 10 hrs 20 hrs
OFF CONSTANT 5 2 hrs 5 hrs 11 hrs 5 hrs 10 hrs 20 hrs
PULSE OFF 6 5 hrs 11 hrs 23 hrs 12 hrs 24 hrs 48 hrs
OFF PULSE 7 5 hrs 11 hrs 23 hrs 12 hrs 24 hrs 48 hrs
PROGRAM MODE
CONSTANT PULSE
HIGH (PGM 1) 3 hrs 6 hrs
MEDIUM (PGM 2) 6 hrs 12 hrs
LOW (PGM 3) 12 hrs 24 hrs
SEATPOST MOUNTING - TRACER
Click the TraceR
securely into place.
The tab-end fastens onto the lug.
WARNING: The TraceR
bracket is angled so the light
will shine directly back when
correctly attached, make sure
it is in the correct orientation.
CON - Constant
PUL - Pulse
H - High
M - Medium
L - Low
EXPUG1.4.indd 4-6EXPUG1.4.indd 4-6 13/08/2020 14:5213/08/2020 14:52
This manual suits for next models
8
Other Exposure Lights Lighting Equipment manuals
Popular Lighting Equipment manuals by other brands
Politec
Politec ALES WS manual
Strand Lighting
Strand Lighting Circular Saw user manual
Ibiza
Ibiza MUSHROOM-LED (15-1084) instruction manual
Clevertronics
Clevertronics L10 LBLLED-REC-WM Series quick start guide

Sinyifeng Technology
Sinyifeng Technology SYF-7368 Series installation instructions
HUBBELL LIGHTING
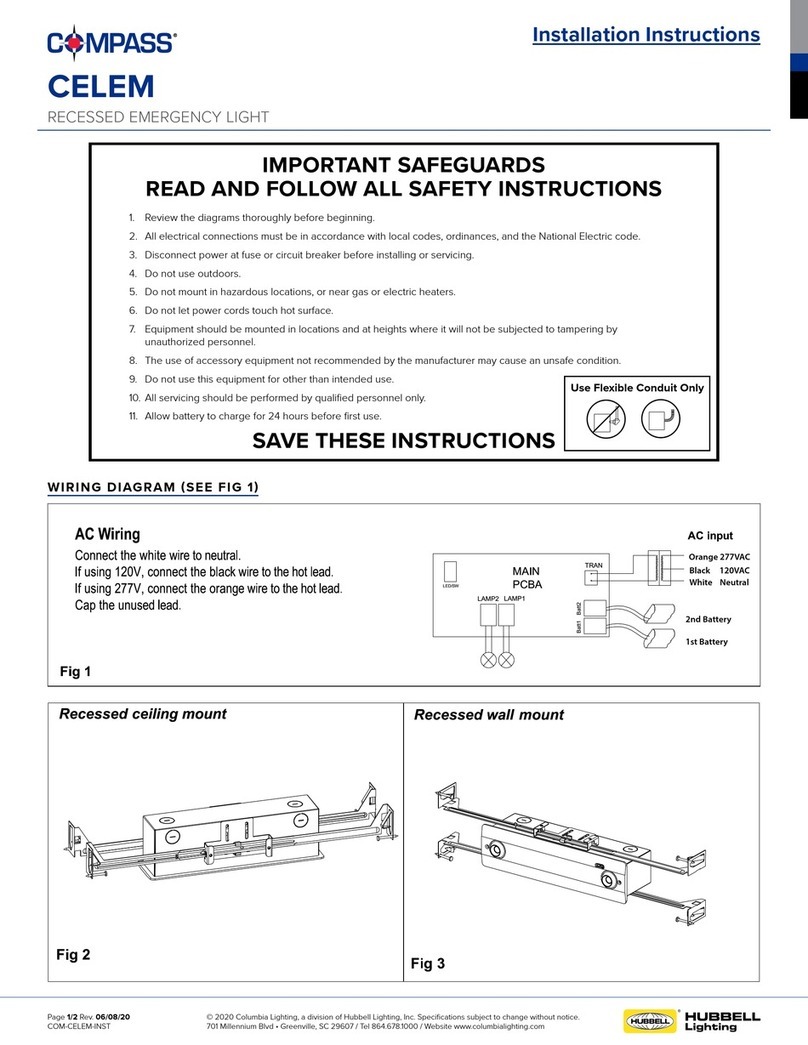
HUBBELL LIGHTING Compass CELEM installation instructions
