Exterior Lights AlvaLED GU10 User manual

250mm
60mm
110mm
70mm
16mm
INSTRUCTIONS
AlvaLED GU10 Spike Light –240v
All finishes
WARNINGS
PLEASE READ THESE INSTRUCTIONS CAREFULLY PRIOR TO INSTALLATION / MAINTENANCE
•If a fitting is found to be damaged, cease use immediately.
•This is a Class 1 product and must be earthed.
•This unit must be fitted by a competent person –if in doubt consult a qualified electrician.
•Install in accordance with IEE wiring regulations and current Building Regulations.
•To prevent electrocution, switch off mains supply before installing or maintaining this fitting. Ensure other persons
cannot restore the electrical supply without your knowledge.
•This light fitting should be connected to a circuit with a 30Ma RCD fitted.
•If replacing an existing fitting, make a careful note of the connections.
•When changing the bulb, always switch off at the mains & allow the bulb to cool before handling –LAMP WILL GET HOT
WHEN IN USE.
•All connections should be made as watertight as possible to avoid electrical shortage.
•Always use the correct type & wattage of bulb. Never exceed the wattage stated.
•The unit may get warm whilst on for a period of time.
•DO NOT INSTALL INTO THE GROUND BY PUSHING THE HEAD OF THE PRODUCT
SILICA GEL & O-RINGS (DO NOT REMOVE):
A small pack of silica gel has been included with this spike light, which is to be located inside the head with the bulb holder. This
should not be removed. Condensation inside the spike light is inevitable due to the heat generated from lamps and cold weather
conditions, especially if installed on a damp day. The pack of silica gel will collect the moisture inside the fitting, preventing this. It
is recommended that the silica gel is replaced when the light bulb is replaced, if not before, and the white rubber o-ring checked.
This fitting should not be used if there are any signs of damage.
CLEANING:
Occasional cleaning and care is recommended for this product. Please refer to our website for the best way to clean different
materials.
RETURNS & DISPOSAL:
If purchased from a 3rd party, please contact your supplier.
If purchased direct, contact us by phone or email:
Exterior Lights UK Ltd, P.O. Box 794, Orpington, Kent. BR6 1FB.
Tel: +44 1689 606342 Email: sales@exteriorlights.co.uk
Our full returns policy is available on our website.
Waste Electrical Products should not be disposed of with household waste. Please check with your local authority or contact us
for more information. Please recycle packaging wherever possible. Producer Registration Number: WEE/KC3440XY
Full product range & more information: www.exteriorlights.co.uk
Voltage: 220 - 240v 50Hz
Max Wattage: 20w
Bulb Holder: GU10
IP Rating: IP65
Cable Length: 3 core rubber cable 0.75mm (approx. 1m)
Head: Adjustable
Materials: Aluminium & Tempered Glass
Finishes: Black (Powder Coated) / Titanium & Cocoa (Anodised)
Mount: Spike Mount or Surface Mount
Additional accessories available –sold separately
✔✔✔
3 YEAR
GUARANTEE
see website for
more details

Full product range & more information: www.exteriorlights.co.uk
Light
Fitting
N
L
Live Cables
Earth
Cable
Mains
Power
Cable
Neutral
Cables
Earth Cable
Earth = Yellow &
Green
Neutral = Blue
Live = Brown
WIRING / CONNECTION:
Always use a waterproof Junction Box or Tubecon Connector to connect the fitting to the mains power supply.
IMPORTANT: Cable should be laid inside armoured conduit or piping to protect
from water-logging, chemicals found in soil and damage. If buried, it should be
buried to at least 0.5m below ground to reduce damage risk. If this method is not
used, cable warranty will be void.
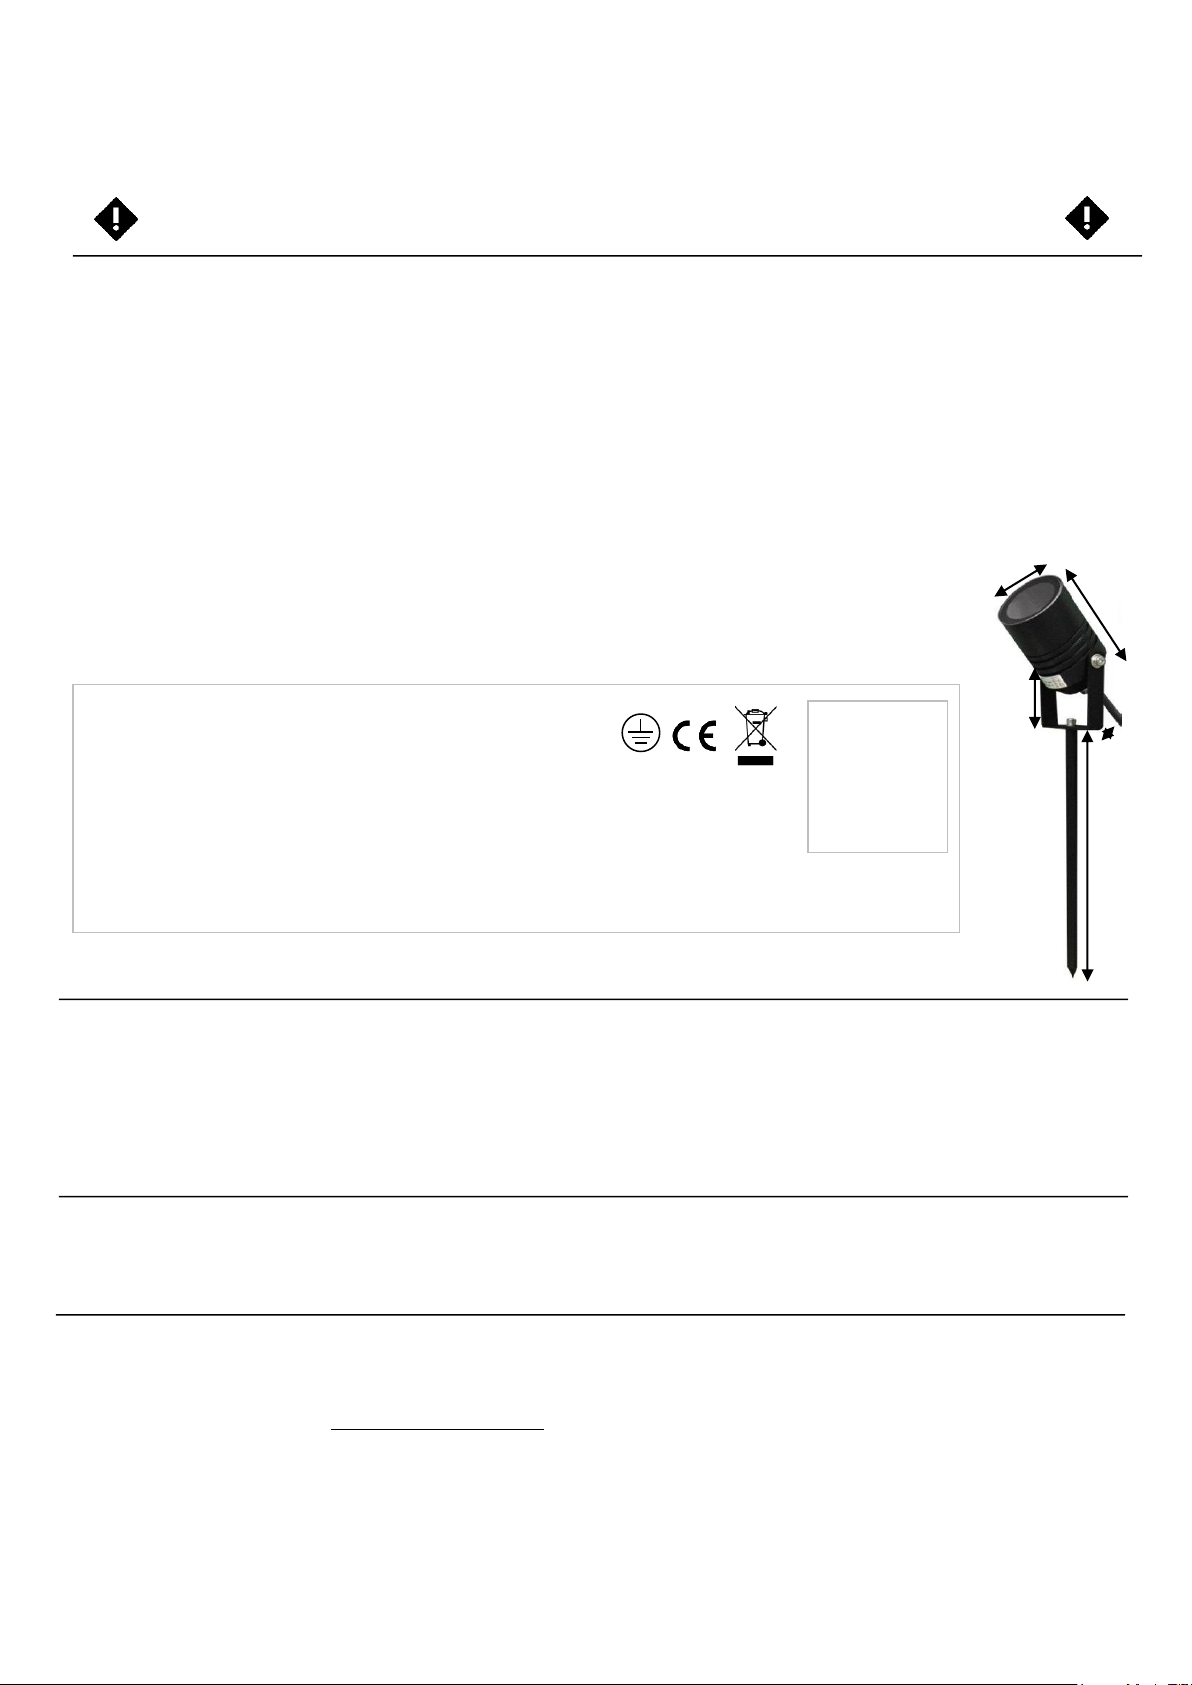
1. Decide on the positioning of the spike light. See below for mounting
installation.
2. Locate the mains electrical supply (pre-installed armoured cable).
3. Connect the fitting to the mains supply via a waterproof junction box or
Tubecon connector (see diagram A for wiring information).
4. Ensure all terminals of the connector block are secure with no stray wires
and that the connection is watertight.
5. Cable supplied with fitting is not armoured, therefore it should be laid inside
armoured conduit or hooked up safely out of reach in protective piping.
6. Install lamp (see below).
7. Once fully installed, turn on the mains power.
SPIKE MOUNTING:
1. Tilt the spotlight head to create plenty of room between the head and bracket (see below).
2. Remove the socket screw from the ground spike with the allen key provided.
3. Place the spike underneath the U bracket, lining up with the predrilled / threaded holes.
4. Secure the spike to the bracket with the socket screw / washer by hand, then tighten fully with the allen key
provided (image B). TIP: for ease of tightening (due to little clearing for the allen key) hold the socket screw
securely with the allen key and turn the spike to tighten.
5. Dampen the ground in the area where the fitting is to be installed.
6. Carefully, push the spike into the ground to the desired depth with the base of the U bracket. Do NOT put
pressure on the spotlight head.
7. Gently compact the earth around the spike to ensure the spike is mounted firmly in the ground and does not move from side to
side.
SURFACE MOUNTING:
1. Remove the spotlight head to release the U Bracket.
2. Hold the bracket in position and mark the desired location for mounting (the head can be fully removed if
required).
3. Attach the bracket to the surface with the relevant screws / washers for the material (not supplied) –see
image C.
4. Reattach the head, as per image D.
5. Adjust the head to the desired position and secure by tightening the 2 x socket screws on each side of the U
Bracket.
ADJUSTING THE SPOTLIGHT HEAD:
The head can be adjusted and set at various angles via the U Bracket. If this is too secure to adjust, follow the following
steps:
1. Support the head and slightly loosen the 2 x socket screws found on each side of the U Bracket using the
allen key provided by turning anti-clockwise –one turn should be enough to allow the head to move up and
down (do not fully remove).
2. Angle the head in the desired position and tighten the loosened screws to secure in place.
3. If a screw becomes fully removed, return into the outer side of the bracket with a washer on each side as per
image (D).
INSTALLING / CHANGING LAMP:
•Unscrew the cap of the spotlight by hand (anti-clockwise).
•Push in the GU10 using a push and twist action (clockwise) –note the bulb holder will be greased.
•Ensure silica gel pack is present (change if damp).
•Ensure o-ring is present on the male thread of the body and is not twisted.
•Replace cap and tighten securely by hand (clockwise).
Wiring of Connector Block
Inside Junction Box
A
B
C
D
Table of contents
Popular Lantern manuals by other brands

Quoizel
Quoizel ELB9009MB installation guide

BEGA
BEGA 84 385 Instructions for use

LUG
LUG OFFICE LB LED N/T Installation instruction

Green Lighting
Green Lighting TRI-SENSOR GL4612LU Assembly & fitting instructions

Nature Power
Nature Power BAYPORT 23106 instruction manual

esotec
esotec Cube operating instructions

Intermatic
Intermatic Malibu LZ11771HK instructions

Sealite
Sealite SL-70 Installation & service manual

Traxon
Traxon Allegro Washer AC Accessories Mounting Guide

Techko
Techko STL-213 user manual

Hess
Hess Varese Installation and operating instructions

Gama Sonic
Gama Sonic Imperial Bulb II instruction manual