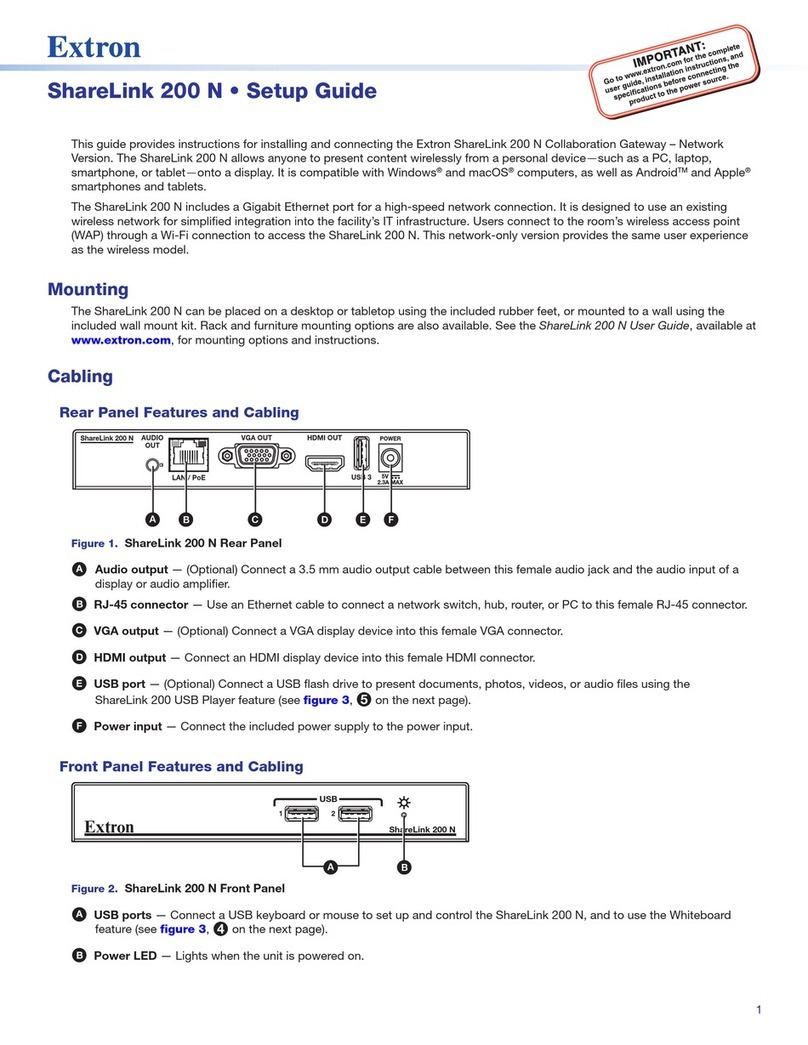
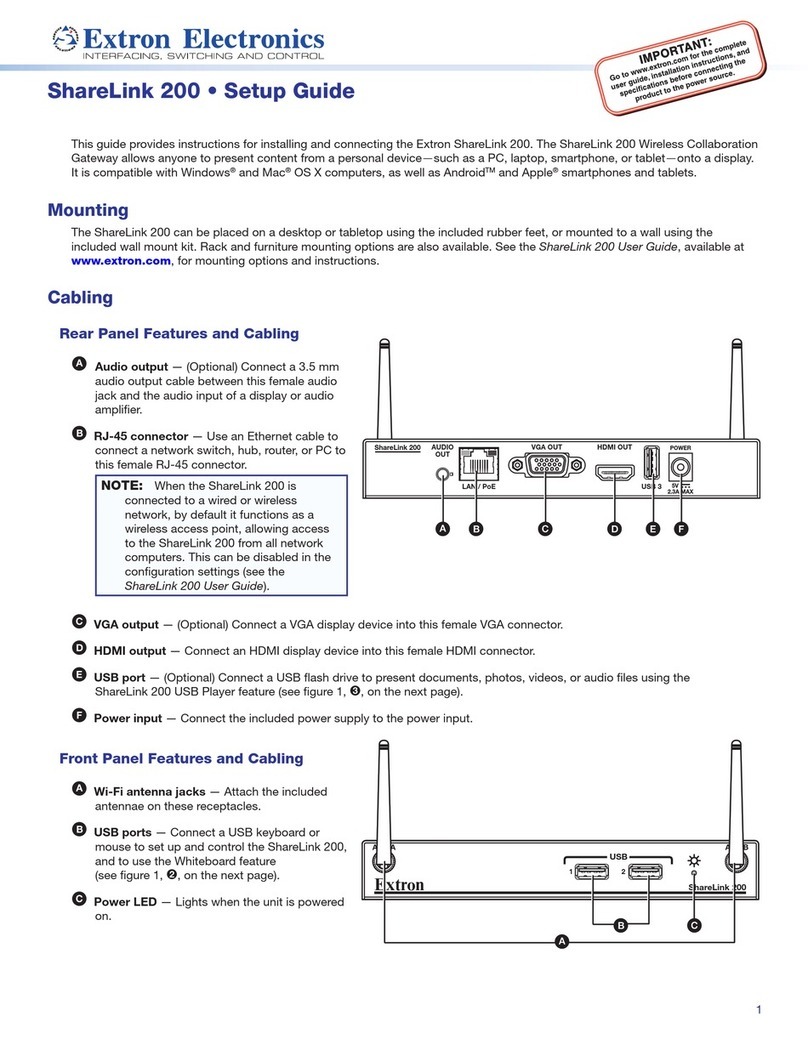
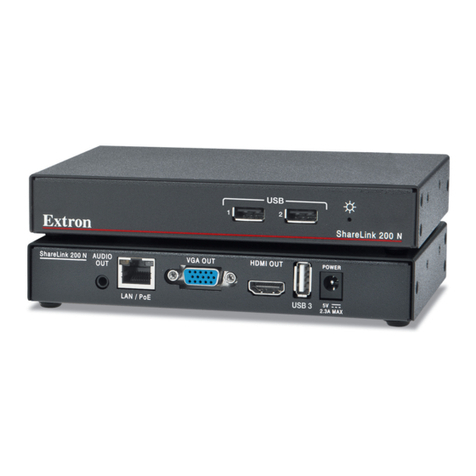
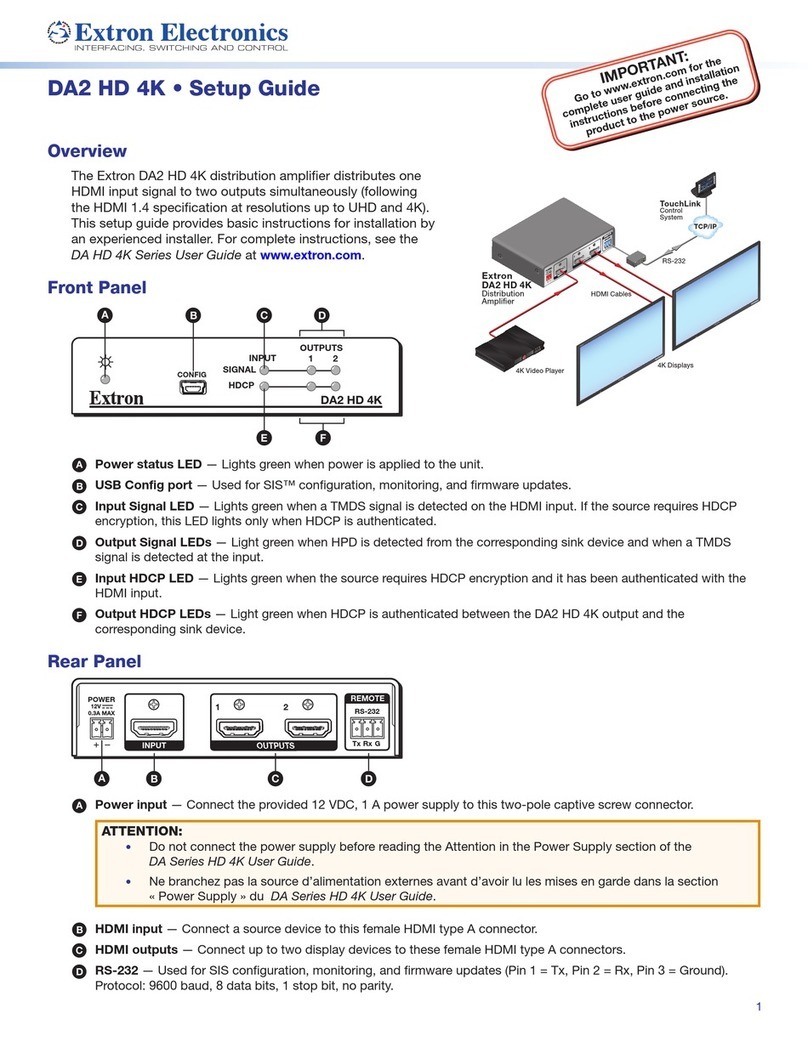
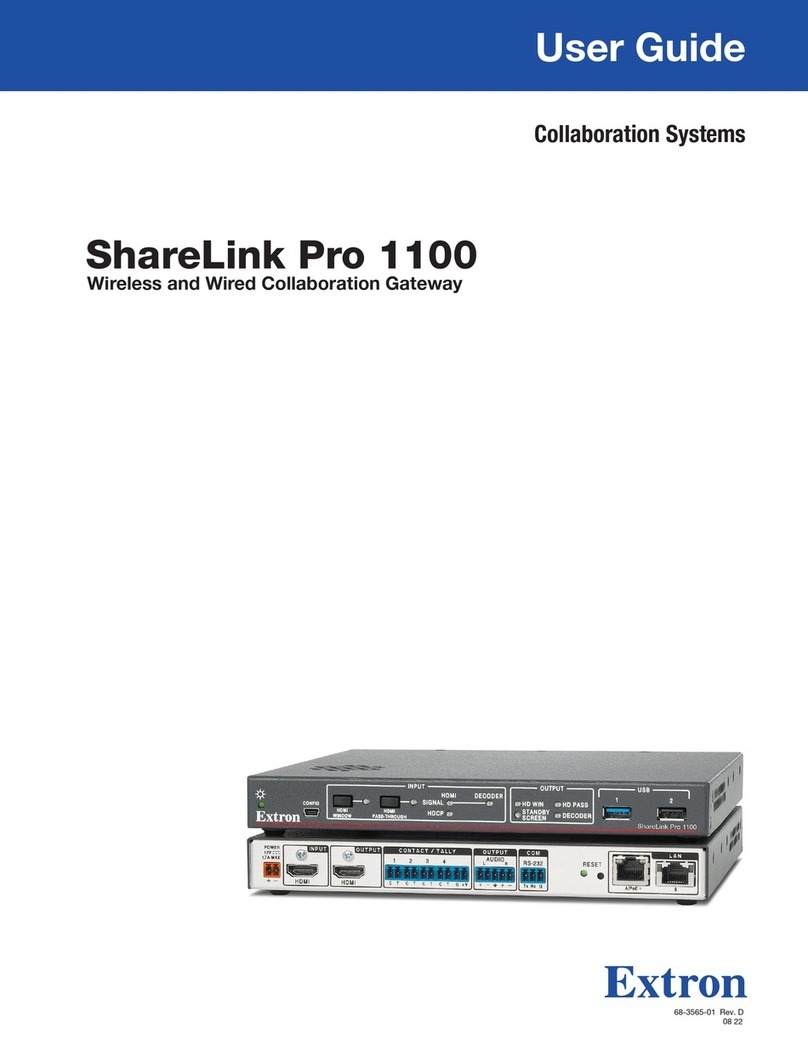
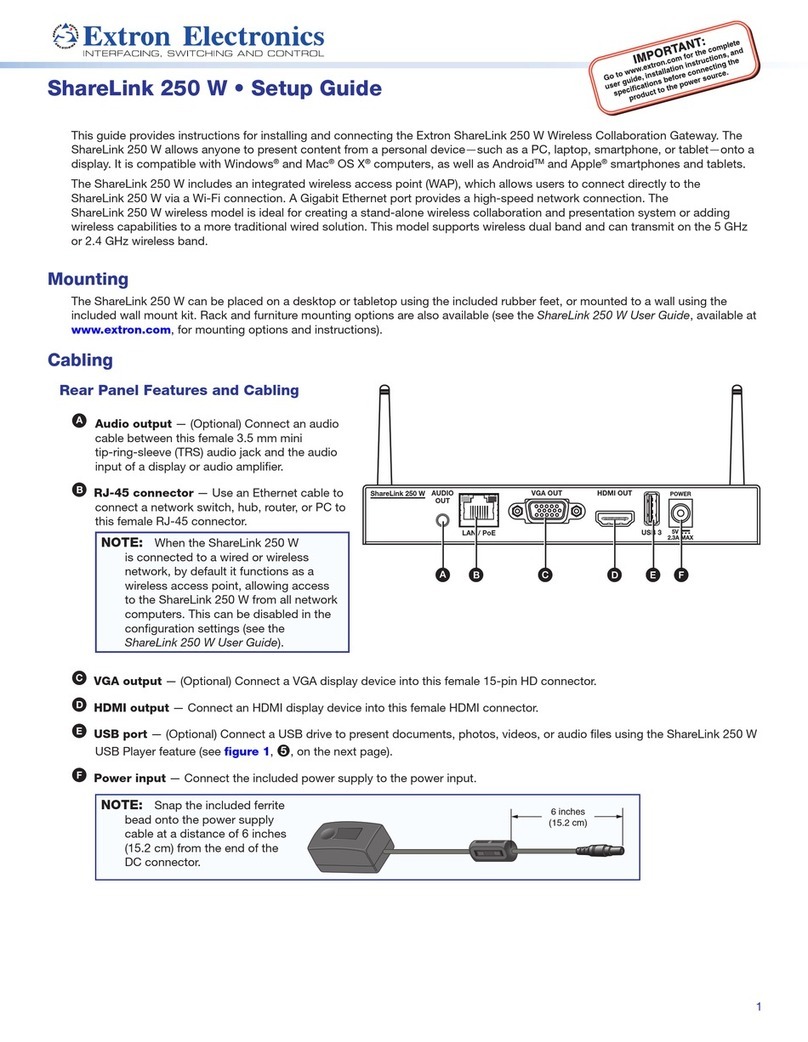
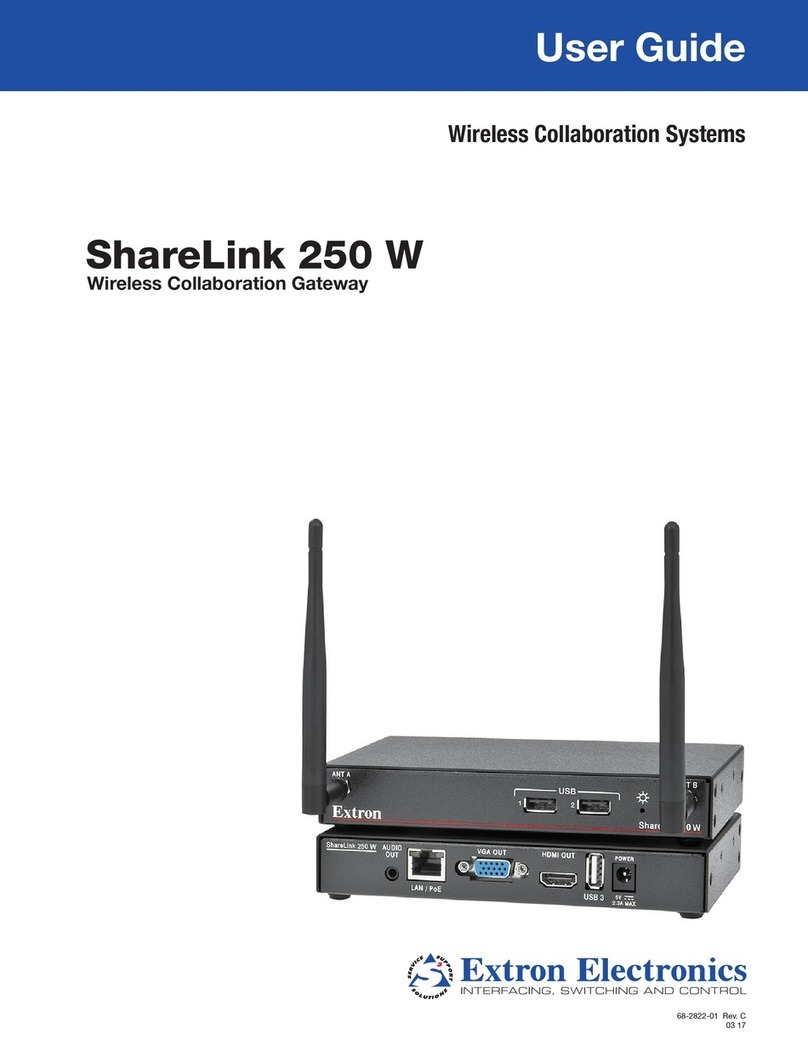
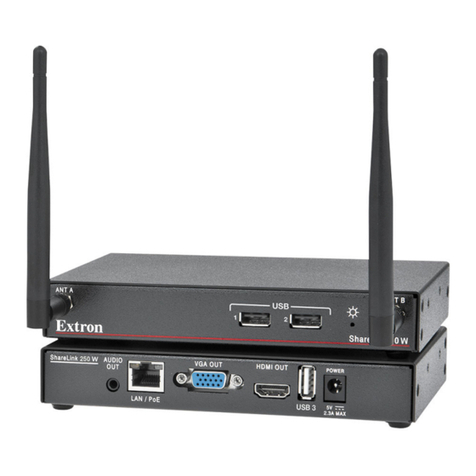
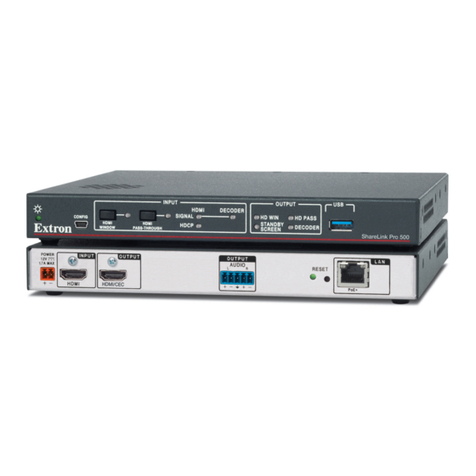
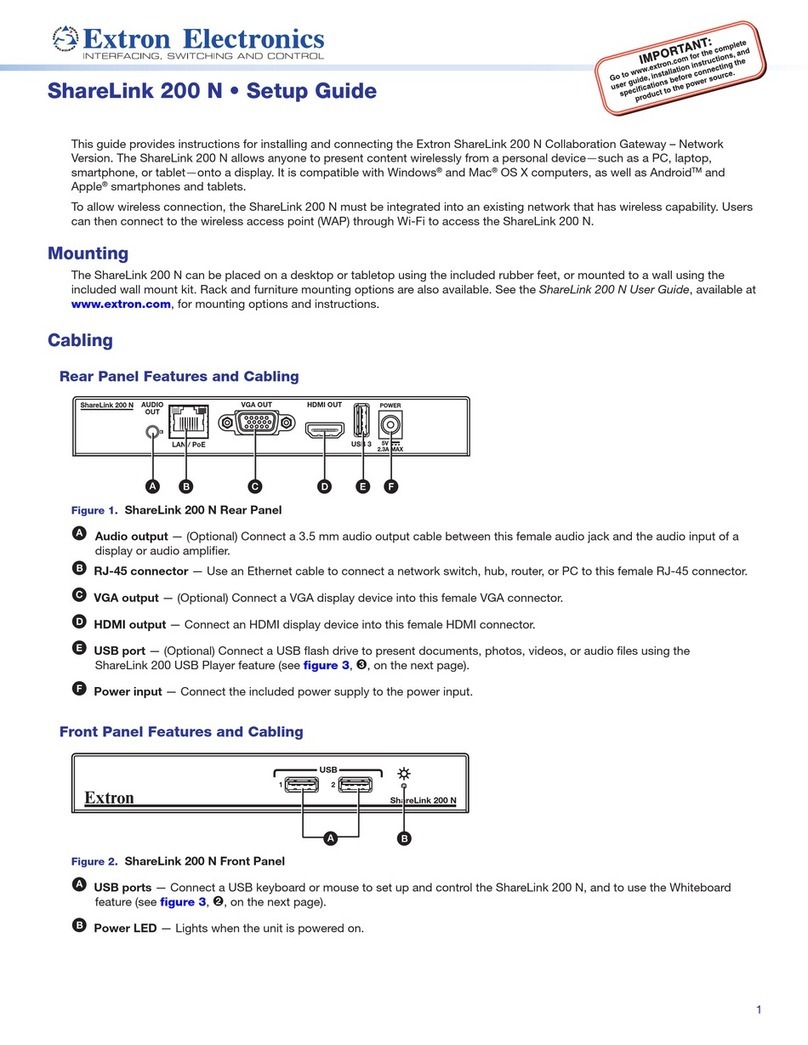
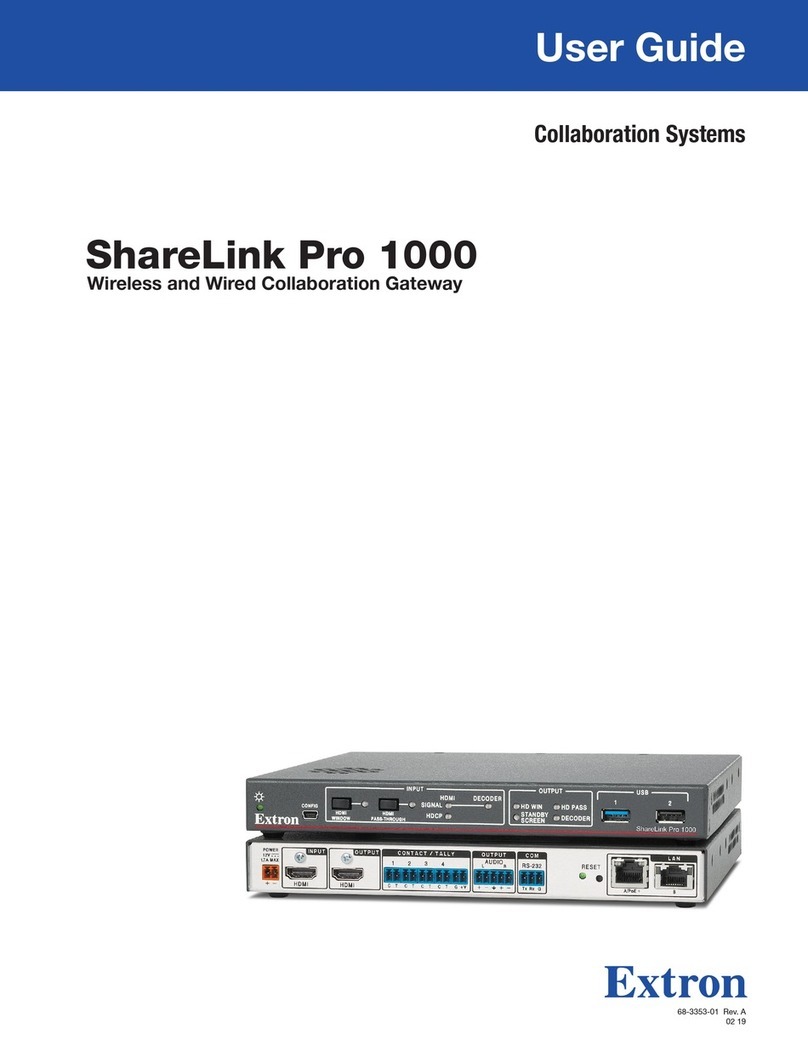
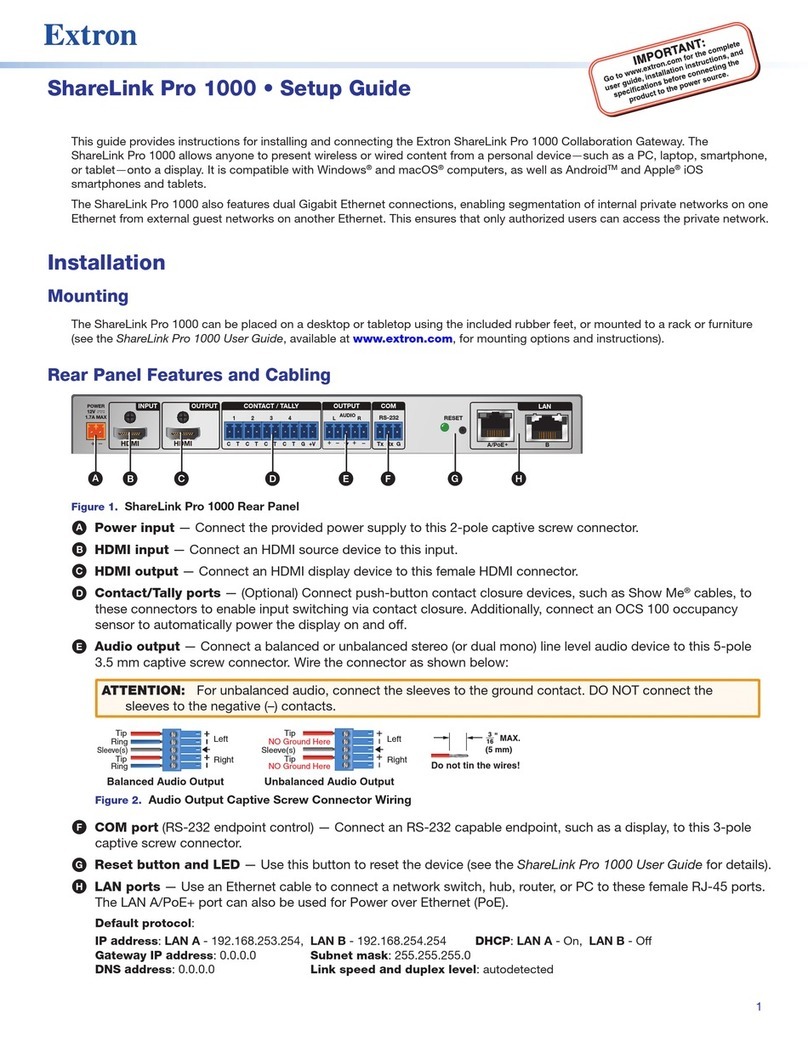
Extron electronics ShareLink 200 User manual

User Guide
ShareLink 200
Wireless Collaboration Systems
Wireless Collaboration Gateway
68-2687-01 Rev. A
01 15

Safety Instructions • English
WARNING:This symbol, , when used on the product, is intended
to alert the user of the presence of uninsulated dangerous voltage
within the product’s enclosure that may present a risk of electric
shock.
ATTENTION: This symbol, , when used on the product, is intended
to alert the user of important operating and maintenance (servicing)
instructions in the literature provided with the equipment.
For information on safety guidelines, regulatory compliances, EMI/EMF
compatibility, accessibility, and related topics, see the Extron Safety and
Regulatory Compliance Guide, part number 68-290-01, on the Extron
website, www.extron.com.
Instructions de sécurité • Français
AVERTISSEMENT: Ce pictogramme, , lorsqu’il est utilisé sur
le produit, signale à l’utilisateur la présence à l’intérieur du boîtier
du produit d’une tension électrique dangereuse susceptible de
provoquer un choc électrique.
ATTENTION: Ce pictogramme, , lorsqu’il est utilisé sur le produit,
signale à l’utilisateur des instructions d’utilisation ou de maintenance
importantes qui se trouvent dans la documentation fournie avec le
matériel.
Pour en savoir plus sur les règles de sécurité, la conformité à la
réglementation, la compatibilité EMI/EMF, l’accessibilité, et autres sujets
connexes, lisez les informations de sécurité et de conformité Extron,
réf. 68-290-01, sur le site Extron, www.extron.fr.
Sicherheitsanweisungen • Deutsch
WARNUNG: Dieses Symbol auf dem Produkt soll den
Benutzer darauf aufmerksam machen, dass im Inneren des
Gehäuses dieses Produktes gefährliche Spannungen herrschen,
die nicht isoliert sind und die einen elektrischen Schlag
verursachen können.
VORSICHT: Dieses Symbol auf dem Produkt soll dem Benutzer in
der im Lieferumfang enthaltenen Dokumentation besonders wichtige
Hinweise zur Bedienung und Wartung (Instandhaltung) geben.
Weitere Informationen über die Sicherheitsrichtlinien, Produkthandhabung,
EMI/EMF-Kompatibilität, Zugänglichkeit und verwandte Themen finden Sie
in den Extron-Richtlinien für Sicherheit und Handhabung (Artikelnummer
68-290-01) auf der Extron-Website, www.extron.de.
Instrucciones de seguridad • Español
ADVERTENCIA:Este símbolo, , cuando se utiliza en el producto,
avisa al usuario de la presencia de voltaje peligroso sin aislar dentro
del producto, lo que puede representar un riesgo de descarga
eléctrica.
ATENCIÓN: Este símbolo, , cuando se utiliza en el producto, avisa
al usuario de la presencia de importantes instrucciones de uso y
mantenimiento recogidas en la documentación proporcionada con
el equipo.
Para obtener información sobre directrices de seguridad, cumplimiento
de normativas, compatibilidad electromagnética, accesibilidad y
temas relacionados, consulte la Guía de cumplimiento de normativas
y seguridad de Extron, referencia 68-290-01, en el sitio Web de Extron,
www.extron.es.
Chinese Simplified(简体中文)
警告:产品上的这个标志意在警告用户该产品机壳内有暴露的危险
电 压 ,有 触 电 危 险 。
注意:产品上的这个标志意在提示用户设备随附的用户手册中有
重要的操作和维护(维修)说明。
关于我们产品的安全指南、遵循的规范、EMI/EMF 的兼容性、无障碍
使用的特性等相关内容,敬请访问 Extron 网站 www.extron.cn,参见 Extron
安全规范指南,产品编号 68-290-01。
Chinese Traditional(繁體中文)
警告: 若產品上使用此符號,是為了提醒使用者,產品機殼內存在著
可能會導致觸電之風險的未絕緣危險電壓。
注意 若產品上使用此符號,是為了提醒使用者。
有關安全性指導方針、法規遵守、EMI/EMF 相容性、存取範圍和相關主題的詳細
資訊,請瀏覽 Extron 網站:www.extron.cn,然後參閱《Extron 安全性與法規
遵守手冊》,準則編號 68-290-01。
Japanese
警告:この記号 が製品上に表示されている場合は、筐体内に絶縁されて
いない高電圧が流れ、感電の危険があることを示しています。
注意:この記号 が製品上に表示されている場合は、本機の取扱説明書に
記載されている重要な操作と保守(整備)の指示についてユーザーの
注意を喚起するものです。
安全上のご注意、法規厳守、EMI/EMF適合性、その他の関連項目に
つ い て は 、エ ク スト ロ ン の ウェブ サ イト www.extron.jpより
『Extron Safety and Regulatory Compliance Guide』 (P/N 68-290-01) をご覧ください。
Korean
경고: 이 기호 , 가 제품에 사용될 경우, 제품의 인클로저 내에 있는 접지되지
않은 위험한 전류로 인해 사용자가 감전될 위험이 있음을 경고합니다.
주의: 이 기호 , 가 제품에 사용될 경우, 장비와 함께 제공된 책자에 나와
있는 주요 운영 및 유지보수(정비) 지침을 경고합니다.
안전 가이드라인, 규제 준수, EMI/EMF 호환성, 접근성, 그리고 관련
항목에 대한 자세한 내용은 Extron 웹 사이트(www.extron.co.kr)의
Extron 안전 및 규제 준수 안내서, 68-290-01 조항을 참조하십시오.
Safety Instructions
FCC Class B Notice
NOTE: This device complies with part 15 of the FCC rules. Operation is subject to the
following two conditions: (1) This device may not cause harmful interference, and (2)
This device must accept any interference received, including interference that may
cause undesired operation.
This equipment has been tested and found to comply with the limits for a Class B digital
device, pursuant to part15 of the FCC rules. These limits provide reasonable protection
against harmful interference in a residential installation. This equipment generates, uses,
and can radiate radio frequency energy and, if not installed and used in accordance with
the instructions, may cause harmful interference to radio communications. There is no
guarantee that interference will not occur. If this equipment does cause interference to radio
or television reception, which can be determined by turning the equipment off and on, you
are encouraged to try to correct the interference by one or more of the following measures:
• Reorient or relocate the receiving antenna.
• Increase the separation between the equipment and receiver.
• Connect the equipment into an outlet on a circuit different from that to which the receiver is
connected.
• Consult the dealer or an experienced radio/TV technician for help.
In order to maintain compliance with FCC regulations, shielded cables must be used with
this equipment. Operation with non-approved equipment or unshielded cables is likely to
result in interference to radio and TV reception. The user is cautioned that changes and
modifications made to the equipment without the approval of the manufacturer could void
the user’s authority to operate this equipment.
ATTENTION:
• This equipment complies with FCC radiation exposure limits set forth for an
uncontrolled environment. This equipment should be installed and operated with
minimum distance 20 cm (7.9 inches) between the radiator and your body.
• Cet équipement est conforme aux limites de radiation de la FCC établies pour un
environnement non géré. Il doit être installé et contrôlé à une distance minimale de
20 cm (7,87 inches) entre le radiateur et votre corps.

Safety
Compliance IC
Canada, Industry Canada (IC) Notices
CAN ICES-3 (B)/NMB-3(B)
This device complies with Industry Canada licence-exempt RSS standard(s). Operation is
subject to the following two conditions: (1) this device may not cause interference, and
(2) this device must accept any interference, including interference that may cause
undesired operation of the device.
Radio Frequency (RF) Exposure Information
The radiated output power of the Extron Wireless Device is below the Industry Canada
(IC) radio frequency exposure limits. The Extron Wireless Device should be used in such a
manner such that the potential for human contact during normal operation is minimized.
Extron Unit IC ID: IC: 10862A-EXT60150801
IC Antenna Statement
Under Industry Canada regulations, this radio transmitter may only operate using an antenna
of a type and maximum (or lesser) gain approved for the transmitter by Industry Canada.
To reduce potential radio interference to other users, the antenna type and its gain should
be so chosen that the equivalent isotropically radiated power (e.i.r.p.) is not more than that
necessary for successful communication.
This radio transmitter (IC:10862A-EXT60150801) has been approved by Industry Canada
to operate with the antenna types listed below with the maximum permissible gain and
required antenna impedance for each antenna type indicated. Antenna types not included
in this list, having a gain greater than the maximum gain indicated for that type, are strictly
prohibited for use with this device.
Type: Dipole
Maximum Peak Gain: 2 dBi
Impedance: 50 Ohm
MPE 20cm Applied
This equipment complies with IC RSS-102 radiation exposure limits set forth for an
uncontrolled environment. This equipment should be installed and operated with minimum
distance 20cm between the radiator & your body.

Sécurité
IC conformité
Canada, avis d’Industry Canada (IC)
CAN ICES-3 (B)/NMB-3(B)
Le présent appareil est conforme aux CNR d’Industrie Canada applicables aux appareils
radio exempts de licence. L’exploitation est autorisée aux deux conditions suivantes :
(1) l’appareil ne doit pas produire de brouillage, et (2) l’utilisateur de l’appareil doit accepter
tout brouillage radioélectrique subi, même si le brouillage est susceptible d’en compromettre
le fonctionnement.
Informations concernant l’exposition aux Fréquence Radio (RF)
La puissance de sortie émis par l’appareil de sans fil Extron est inférieure à la limite
d’exposition aux fréquences radio d’Industry Canada (IC). Utilisez l’appareil de sans fil
Extron de façon à minimiser les contacts humains lors du fonctionnement normale.
Extron Unit IC ID: IC: 10862A-EXT60150801
Déclaration d’antenne d’Industrie Canada(IC)
Conformément à la réglementation d’Industrie Canada, le présent émetteur radio peut
fonctionner avec une antenne d’un type et d’un gain maximal (ou inférieur) approuvé
pour l’émetteur par Industrie Canada. Dans le but de réduire les risques de brouillage
radioélectrique à l’intention des autres utilisateurs, il faut choisir le type d’antenne et son
gain de sorte que la puissance isotrope rayonnée équivalente (p.i.r.e.) ne dépasse pas
l’intensité nécessaire à l’établissement d’une communication satisfaisante.
Le présent émetteur radio (IC:10862A-EXT60150801) a été approuvé par Industrie Canada
pour fonctionner avec les types d’antenne énumérés ci-dessous et ayant un gain admissible
maximal et l’impédance requise pour chaque type d’antenne. Les types d’antenne
non inclus dans cette liste, ou dont le gain est supérieur au gain maximal indiqué, sont
strictement interdits pour l’exploitation de l’émetteur.
Type: Dipole
Gain maximum: 2 dBi
Impédance: 50 Ohm
MPE 20cm appliquée
Cet équipement est conforme IC RSS-102 des limites d’exposition aux radiations dans un
environnement non contrôlé. Cet équipement doit être installé et utilisé à distance minimum
de 20cm entre le radiateur et votre corps.

Conventions Used in this Guide
Notifications
The following notifications are used in this guide:
ATTENTION:
• Risk of property damage.
• Risque de dommages matériels.
NOTE: A note draws attention to important information.
Specifications Availability
Product specifications are available on the Extron website, www.extron.com.
Copyright
© 2015 Extron Electronics. All rights reserved.
Trademarks
All trademarks mentioned in this guide are the properties of their respective owners.
The following registered trademarks®, registered service marks(SM), and trademarks(TM) are the property of
RGBSystems, Inc. or Extron Electronics:
Registered Trademarks (®)
AVTrac, Cable Cubby, CrossPoint, eBUS, EDID Manager, EDID Minder, Extron, Flat Field, GlobalViewer, Hideaway, Inline, IPIntercom,
IPLink, Key Minder, LockIt, MediaLink, PlenumVault, PoleVault, PowerCage, PURE3, Quantum, SoundField, SpeedMount, SpeedSwitch,
SystemINTEGRATOR, TeamWork, TouchLink, V-Lock, VersaTools, VN-Matrix, VoiceLift, WallVault, WindoWall, XTP, and XTPSystems
Registered Service Mark(SM) : S3 Service Support Solutions
Trademarks (™)
AAP, AFL (Accu-Rate Frame Lock), ADSP (Advanced Digital Sync Processing), Auto-Image, CableCover, CDRS (Class D Ripple Suppression),
DDSP (Digital Display Sync Processing), DMI (Dynamic Motion Interpolation), Driver Configurator, DSP Configurator, DSVP (Digital Sync
Validation Processing), DTP, eLink, EQIP, FastBite, FlexOS, FOXBOX, Global Configurator, IP Intercom HelpDesk, LinkLicense, MAAP,
MicroDigital, ProDSP, QS-FPC (QuickSwitch Front Panel Controller), Scope-Trigger, ShareLink, SIS (Simple Instruction Set), Skew-Free,
SpeedNav, Triple-Action Switching, WebShare, XTRA, ZipCaddy, ZipClip

viiShareLink 200 • Contents
Contents
Introduction............................................................ 1
About the ShareLink 200.................................... 1
Features ............................................................. 2
Installation.............................................................. 3
Rear Panel Features and Cabling........................ 3
Front Panel Features and Cabling ....................... 4
Bottom Panel Features ....................................... 4
Setting Up the Standby Screen .......................... 5
Using the Whiteboard Feature......................... 6
Using the USB Player ..................................... 7
Operation Using a Computer ............................ 8
Connecting a Computer to the ShareLink 200.... 8
Connecting through the ShareLink 200’s
Internal WAP.................................................. 8
Connecting through an External WAP............. 8
Connecting through a Network Hub,
Switch, or Router........................................... 8
Setting Up the ShareLink 200 Software .............. 9
Downloading and Installing the
ShareLink 200 Software................................. 9
Connecting to the ShareLink 200 Receiver ... 10
Using the ShareLink 200 Software.................... 12
Presenting the Computer Screen (Share my
Screen Tab) ................................................. 12
Presenting a Media File (Share Media Tab) .... 13
Using the Software Menu.............................. 14
Sharing on Multiple Screens ......................... 15
Creating a USB Thumb-drive App .................... 15
Creating a Room File ........................................ 16
Operation Using a Mobile Device................... 17
Downloading MirrorOp for Extron ShareLink ..... 17
Using MirrorOp for Extron ShareLink................. 17
Connecting to a Receiver.............................. 17
Main Menu Overview .................................... 18
Presenting Documents and Photos............... 19
Presenting Dropbox Files .............................. 22
Presenting Web Pages ................................. 23
Presenting the Device Camera...................... 24
Presenting Device Screenshots..................... 24
Making Annotations...................................... 25
Settings ........................................................ 25
Downloading MirrorOp Sender for Galaxy......... 26
Using MirrorOp Sender for Galaxy .................... 26
Using the Embedded Web Pages................... 27
Opening the Embedded Web Pages................. 27
Watching a Presentation (WebShare) ................ 28
Moderating a Presentation................................ 29
Configuring ShareLink 200 Settings.................. 30
Device Setup ................................................ 32
Network Setup ............................................. 33
WiFi Setup.................................................... 34
SNMP Setup ................................................ 37
OSD Setup ................................................... 38
WebShare Setup .......................................... 39
Change Passwords ...................................... 40
Firmware Update .......................................... 41
Reset to Default............................................ 41
Reboot System............................................. 42
Reference Information ...................................... 43
Mounting .......................................................... 43
Wall Mounting............................................... 43
Rack Mounting ............................................. 44
Under-desk and Furniture Mounting.............. 44
Downloading ShareLink 200 Firmware.............. 45
Extron Warranty .................................................. 46


ShareLink 200 • Introduction 1
Introduction
This section covers the following:
• About the ShareLink 200
• Features
About the ShareLink 200
The Extron ShareLink 200 Wireless Collaboration Gateway allows users to present wirelessly
from their mobile device or computer onto a display device. The ShareLink 200 is compatible
with Windows®and OS X®computers as well as AndroidTM and Apple®smartphones and
tablets.
ShareLink 200 AUDIO
OUT
LAN / PoE
VGA OUTHDMI OUT
USB 3
POWER
5V
2.3A MAX
MODEL 80
FLAT PANEL
Wireless
WirelessWireless
Network
Extron
ShareLink 200
Wireless Collaboration
Gateway
Ethernet
Ethernet
HDMI
DisplayComputer
Laptop
Tablet
Smartphone
Figure 1. ShareLink 200 Application Diagram

ShareLink 200 • Introduction 2
Features
• Wirelessly share content from personal mobile devices — Allows users to
connect a wide variety of devices to the system wirelessly or through a wired LAN
connection.
• Outputs — HDMI connector, 15-pin HD connector, 3.5 mm stereo audio mini jack
• Supports Microsoft Windows and OS X computers as well as Apple and
Android smartphones and tablets
• Full screen or four-window display — Full screen display of content from a single
personal device or simultaneous display of multiple devices into four windows on a
single display.
• Dropbox integration within the MirrorOp®for Extron ShareLink™ app
provides easy access to content stored in the cloud.
• Content sharing from a computer to as many as four ShareLink 200
units — Allows a Windows or OS X computer to send content to multiple
ShareLink 200 units on the network, supporting up to four displays.
• Full-motion video playback from laptops — Enables a Windows or OS X
computer to send full motion video with audio to the display for a smooth viewing
experience.
• Supports display of documents, graphics, images, and videos directly from
a USB flash drive — Enables content presentation without requiring a laptop or
computer.
• WebShare™ technology enables attendees to view slide images on
personal devices via a Web browser — ShareLink 200 enables meeting content to
display on each participant’s mobile device, ensuring visibility regardless of sight lines.
• Power over Ethernet, or PoE, eliminates the need for a local power
supply — Offers easy installation, reduced labor, and fewer devices to install. Data and
power are delivered over the single cable.
• Integrated wireless access point — Offers a local connection point for attendees,
enabling segmentation of guest and private networks.
• USB ports for peripheral support — Allows connection of a USB keyboard or
mouse, and enables simple annotation capabilities with devices such as an interactive
whiteboard.
• HDMI and VGA video outputs — Offers flexibility to work with digital and analog
display devices or a system switcher to easily add wireless capabilities to existing video
systems.
• SNMP support for remote monitoring — Supports network monitoring for the
operational health of network-attached devices.

ShareLink 200 • Installation 3
Installation
This section covers the following:
• Rear Panel Features and Cabling
• Front Panel Features and Cabling
• Bottom Panel Features
• Setting up the Standby Screen
Rear Panel Features and Cabling
The following section covers rear panel features and cabling procedures. If mounting is
necessary before connecting cables, see Mounting on page 43.
BB
ShareLink 200 AUDIO
OUT
LAN / PoE
VGA OUT HDMI OUT
USB 3
POWER
5V
2.3A MAX
Extron
ANT A ANT B
12
USB
ShareLink 200
CC
AA BB CC DD EEFF
AA
Figure 2. Rear Panel
AAudio output — (Optional) connect a 3.5 mm audio output cable between this female
audio jack and the audio input of a display or audio amplifier.
BRJ-45 connector — use an ethernet cable to connect a network switch, hub, router,
or PC to this female RJ-45 connector.
NOTE: When the ShareLink 200 is connected to a wired or wireless network, by
default it functions as a wireless access point, allowing access to the
ShareLink 200 from all network computers. This feature can be disabled in the
WiFi Setup configuration settings (see figure 35, 1, on page 34).
CVGA output — (Optional) connect a VGA display device into this female VGA
connector.
DHDMI output — connect an HDMI display device into this female HDMI connector.
EUSB port — (Optional) connect a USB flash drive to present documents, photos,
videos, or audio files using the ShareLink USB player feature (figure 4, 3on page 5).
FPower input — Connect the included power supply to the power input (see the
Attention on the next page for important information).

ShareLink 200 • Installation 4
ATTENTION:
• This product is intended to be supplied by a Listed Power Unit marked “Class 2”
or “LPS,” rated 5 VDC, 2.6 A minimum. Always use a power supply supplied by
or specified by Extron. Use of an unauthorized power supply voids all regulatory
compliance certification and may cause damage to the supply and the end product.
• Ce produit est destiné à une utilisation avec une source d’alimentation listéeUL
avec l’appellation «Classe2» ou «LPS» et normée 5Vcc, 2,6A minimum. Utilisez
toujours les sources d’alimentation recommandées par Extron. L’utilisation d’une
source d’alimentation non autorisée annule toute conformité réglementaire et peut
endommager la source d’alimentation ainsi que le produit final.
• Unless otherwise stated, the AC/DC adapters are not suitable for use in air handling
spaces or in wall cavities.
• Sauf mention contraire, les adaptateurs AC/DC ne sont pas appropriés pour une
utilisation dans les espaces d’aération ou dans les cavités murales.
• The installation must always be in accordance with the applicable provisions of
National Electrical Code ANSI/NFPA 70, article 725 and the Canadian Electrical
Code part 1, section 16. The power supply shall not be permanently fixed to a
building structure or similar structure.
• Cette installation doit toujours être en accord avec les mesures qui s’applique
au National Electrical Code ANSI/NFPA70, article725, et au Canadian Electrical
Code, partie1, section16. La source d’alimentation ne devra pas être fixée de
façon permanente à une structure de bâtiment ou à une structure similaire.
Front Panel Features and Cabling
BB
ShareLink 200 AUDIO
OUT
LAN / PoE
VGA OUT HDMI OUT
USB 3
POWER
5V
2.3A MAX
Extron
ANT A ANT B
12
USB
ShareLink 200
CC
AA BB CC DD EEFF
AA
Figure 3. Front Panel
AWi-Fi antenna jacks — Attach the included antennae to these receptacles.
BUSB ports — Connect a USB keyboard or mouse to setup and control the
ShareLink 200, and to use the Whiteboard feature (see figure 4, 2 on the next page).
CPower LED — Lights green when the unit is powered on.
Bottom Panel Features
The bottom panel contains a reset button for resetting the device, if
necessary. To reset the ShareLink 200:
1. Disconnect power from the device.
2. Press the reset button using a small tool (such as a paperclip).
3. While pressing the reset button, apply power to the device and
hold the reset button down for at least 10 seconds. After 10
seconds, the reset process starts on the device.

ShareLink 200 • Installation 5
Setting Up the Standby Screen
Once the ShareLink 200 is connected and powered on, the default standby screen (figure 4)
appears on the display.
33
22
11
44
66
55
Figure 4. Standby Screen
1Instructional Screen — Provides instructions for starting a presentation. The
background image of the instructional screen can be customized (see OSD Setup on
page 38).
2Whiteboard icon ( )— Click to use the display as a whiteboard. This feature allows
the presenter to draw on a blank screen using a mouse or touchscreen (see Using the
Whiteboard Feature on the next page).
3USB Player icon ( )— Click to access the USB Player. This feature allows the
presenter to access photos, videos, audio files, and documents directly from the
connected USB flash drive (see Using the USB Player on page 7).
4IP Address — Use this IP address to identify and access the ShareLink 200 during
connection (see Setting up the ShareLink 200 Software on page 9).
5Receiver — Use this SSID (WI-FI name) to identify and access the
ShareLink 200 during connection.
6Code — Use this code to access the ShareLink 200 device through the software
(see Connecting to the ShareLink 200 Receiver on page 10). The code can be
customized or disabled (see Device Setup on page 32).

ShareLink 200 • Installation 6
Using the Whiteboard Feature
To use the Whiteboard feature, click the Whiteboard icon on the standby screen (figure 4,
2, on the previous page).
The Whiteboard screen appears:
8877
66
5544
3322
11
Figure 5. Whiteboard Screen
1Whiteboard — draw on a white background
2Blackboard— draw on a black background
3Pen mode — there are two modes for using the pen (click this button to switch
between modes):
• Default mode: allows the user to draw without erasing previous strokes.
• One-stroke mode: allows the user to draw only one stroke at a time (the previous
annotation is cleared when a new stroke is made).
4Pen color and size — select pen color (red, green, or blue), and pen size
5Eraser — erase selected parts within drawing
6Delete — delete entire drawing on the screen
7Return — return to the standby screen
8Minimize/Open — minimize or open the menu

ShareLink 200 • Installation 7
Using the USB Player
This feature allows the presenter to display photos, videos, audio files, and documents from
a USB flash drive connected to the rear panel USB port (see figure 2, Eon page 3). To
use the USB Player:
1. Ensure that a USB drive is connected to the USB port on the rear panel (see figure 2,
E).
NOTE: The USB drive connected to this port must be FAT32 formatted and single
partition. Also, external hard drives must use external power (hard drives cannot
be powered from this USB port).
2. Click the USB Player icon on the standby screen (see figure 4, 3 on page 5). The
USB Player screen opens:
Figure 6. USB Player Screen
Home icon ( ) – return to standby screen
Photo – enter photo viewer
Video – enter video player
Music – enter music player
Office Viewer – enter Office Viewer (to view Microsoft®Office documents)
Setup – enter Setup page
NOTE:
The following file formats are supported:
• Image: JPG, BMP, PNG, GIF
• Video: MP4, MPG, MPEG, MPEG-2 TS, AVI, MOV, MKV, WMV
• Audio: MP3, WAV, WMA, AAC
• Document: Microsoft®Word (.doc, .docx), PowerPoint (.ppt, .pptx), Excel
(.xls, xlsx); PDF
The following codecs are supported:
• Image: JPG, BMP, PNG, GIF
• Video: MPEG-2, MPEG-4 (Microsoft MPEG-4 v1-3 is not supported),
Motion JPEG, WMV9 (only WMV3/WVC1 is supported)
• Audio: LPCM, AAC, MP3, WMA

ShareLink 200 • Operation Using a Computer 8
Operation Using a
Computer
Users can present from a Windows or Mac computer using the ShareLink 200 software.
This section covers the following:
• Connecting a Computer to the ShareLink 200
• Setting Up the ShareLink 200 Software
• Using the ShareLink 200 Software
NOTE:
Mac computer minimum system requirements:
• Dual Core, 1.4 GHz processor or better
• Mac OS X 10.7 - 10.10
• Graphics card with 64MB VRAM or better
Windows computer minimum requirements:
• Dual Core, 1.8 GHz processor or better
• Microsoft Windows XP SP2, 7, or 8
• Graphics card with 64MB VRAM or better
Connecting a Computer to the ShareLink 200
There are three ways to connect a computer to the ShareLink 200:
zWirelessly, through the ShareLink 200’s internal wireless access point (WAP)
zWirelessly, through an external WAP
zWired through a network device
See instructions below for your preferred connection method.
Connecting through the ShareLink 200’s Internal WAP
1. Ensure that the ShareLink 200 is powered and that wireless
network capability is enabled on your computer.
2. Open the wireless networks on your computer (see image at
right) and connect to the ShareLink 200 unit.
NOTE: The ShareLink 200 SSID is shown on the standby
screen (figure 4, 5 on page 5).
Connecting through an External WAP
1. Ensure that the external WAP and the ShareLink 200 are wired
to the same network.
2. Ensure that the ShareLink 200 is powered on and that wireless
network capability is enabled on your computer.
3. Open the wireless networks on your PC and connect to the external WAP.
Connecting through a Network Hub, Switch, or Router
1. Ensure that your computer is connected to the network through a hub, switch, or router.
2. Connect the RJ-45 connector of the ShareLink 200 to the network device using an
RJ-45 cable.

ShareLink 200 • Operation Using a Computer 9
Setting Up the ShareLink 200 Software
Downloading and Installing the ShareLink 200 Software
The ShareLink 200 software can be downloaded from the embedded web pages or from
the Extron website. Follow the instructions below for your preferred download method.
Downloading the software from the embedded Web pages
1. Ensure that your computer is connected to the ShareLink 200 device, either through
Wi-Fi or through a physical network connection. The computer and the ShareLink 200
must be on the same network.
2. Launch your internet browser and enter the IP address of the ShareLink 200 into the
browser.
NOTE: The IP address is shown on the standby screen (see figure 4, 4on page 5).
The ShareLink 200 landing page should appear on the browser.
3. Click Windows or Mac (depending on your operating system) to launch the software
installer on your computer.
4. Follow the instructions on the web browser to run the the executable ShareLink 200
Software installer file.
5. Follow the steps on the installation wizard to install the software.
Downloading the Software from the Extron Website
1. Go to www.extron.com and click the Download tab at the top of the page (figure 7,
1).
22
1
1
Figure 7. Download Page on the Extron Website
2. Click Software on the left menu (2).
3. Scroll down to the alphabetical menu and click the letter S.
4. Scroll down to the software names and look for ShareLink 200. Click Download in the
ShareLink 200 section.
5. On the next screen (Download Center), enter the requested information and click the
download button.
6. When download is complete, open the executable ShareLink 200 Software installer file
and follow the steps on the installation wizard to install the software.

ShareLink 200 • Operation Using a Computer 10
Connecting to the ShareLink 200 Receiver
Use the software to connect to the ShareLink 200 receiver as follows:
1. Open the ShareLink 200 software. The software searches for available receivers on your
network and the Choose a Receiver window opens.
NOTE: The Other Receivers button allows Wi-Fi users to search and connect
to ShareLink 200 receivers on other Wi-Fi networks (see Other Receivers on the
next page for instructions).
Figure 8. Choose a Receiver Window
2. Select your ShareLink 200 device from the Receiver Name section and click
Connect.
NOTE: The receiver name is shown on the standby screen. If your ShareLink 200
unit is not listed, click the refresh button. If the device still does not appear, click
Manual and enter the receiver IP address manually.
3. If the login window appears, enter the login code into the Code field of the Login
window and click Connect.
NOTE: The login code is shown on the standby screen (see figure 4 on page 5).
Figure 9. Login Window
NOTE: A file can be created for the ShareLink 200 software to connect automatically to
a designated receiver (see Creating a Room File on page 16).

ShareLink 200 • Operation Using a Computer 11
Other Receivers
The Other Receivers button allows Wi-Fi users to search and connect to ShareLink 200
receivers on all available Wi-Fi networks. To do so:
1. Click Other Receivers. The Choose a Connection window opens.
• Select Show Receiver
Wi-Fi networks to see a list
of the ShareLink receivers on all
available Wi-Fi networks.
NOTE: This option filters
by SSID name. It only lists
receivers whose SSID starts
with “ShareLink.” If the SSID is
changed and no longer starts
with “ShareLink,” the receiver
is not shown.
• Select Show all Wi-Fi networks to see a list of the ShareLink receivers as
well as a list of all available Wi-Fi networks.
NOTE: If you connect to a Wi-Fi network, and the Wi-Fi network is password
protected, you will be asked to enter the network password.
2. Click on the ShareLink 200 receiver or network that you wish to connect to, and click
Connect.

ShareLink 200 • Operation Using a Computer 12
Using the ShareLink 200 Software
When a connection is established, the control screen appears. This screen has three main
sections:
• Share my Screen tab (see Presenting the Computer Screen below)
• Share Media tab (see Presenting a Media File on the next page)
• Software menu (see Using the Software Menu on page 14)
Presenting the Computer Screen (Share my Screen Tab)
Use the Share my Screen tab to present your computer screen on the display device.
11
22
33
Figure 10. Share my Screen Tab
1Mute — Click to mute or unmute the source device audio.
2Drop-down menu — Click to see the presentation options shown in figure 11.
One computer screen can be shared full screen on the main display (default option), or
up to four screens can be shared simultaneously on separate quadrants (top left, top
right, bottom left, or bottom right).
Figure 11. Drop-Down List
NOTE: When multiple screens are shared, audio is output from the first (top left)
quadrant only.
3Play button — Click to display the screen as specified in the drop-down menu. The
button becomes a Stop button, which can be clicked to stop displaying the screen.
Other manuals for ShareLink 200
3
Table of contents
Other Extron electronics Gateway manuals

Extron electronics
Extron electronics ShareLink 200 N User manual

Extron electronics
Extron electronics ShareLink 250 W User manual

Extron electronics
Extron electronics ShareLink 250 W User manual

Extron electronics
Extron electronics ShareLink 200 N User manual

Extron electronics
Extron electronics ShareLink Pro 1000 User manual

Extron electronics
Extron electronics ShareLink 200 User manual

Extron electronics
Extron electronics ShareLink Pro 1100 User manual

Extron electronics
Extron electronics ShareLink Pro 500 User manual

Extron electronics
Extron electronics ShareLink 200 N User manual

Extron electronics
Extron electronics ShareLink 200 User manual