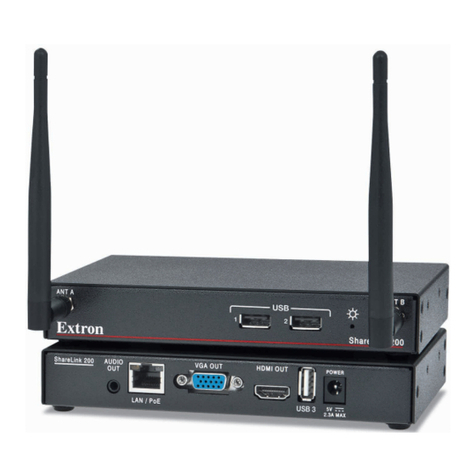
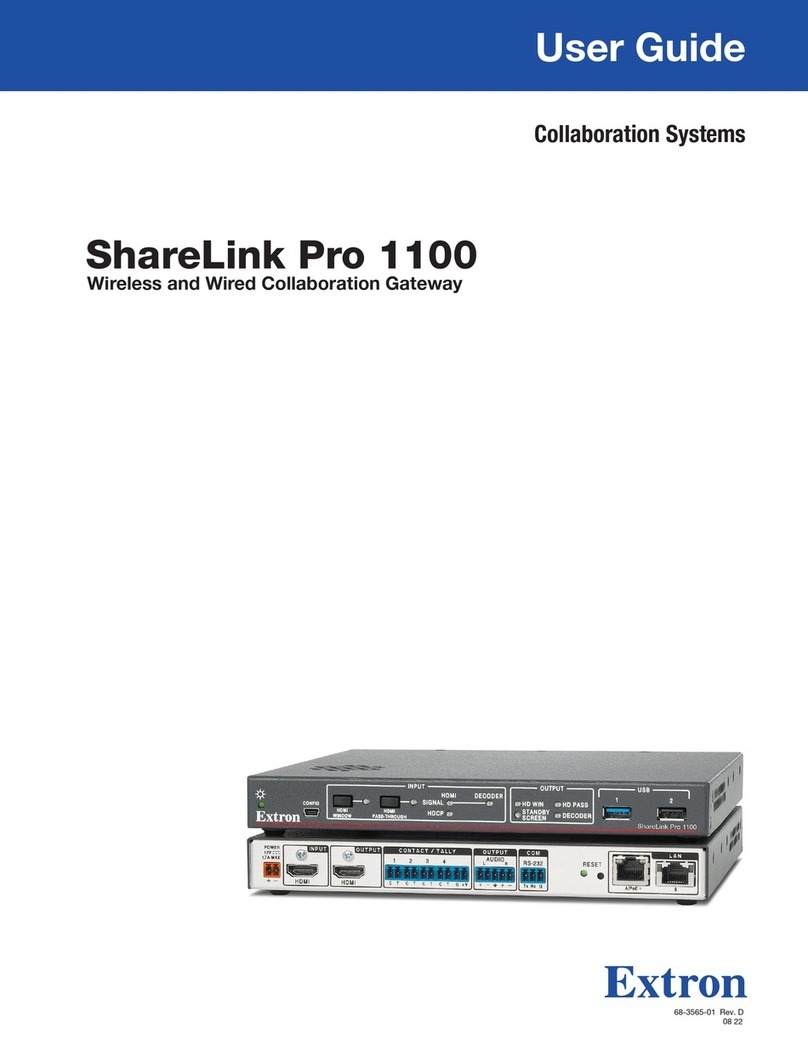
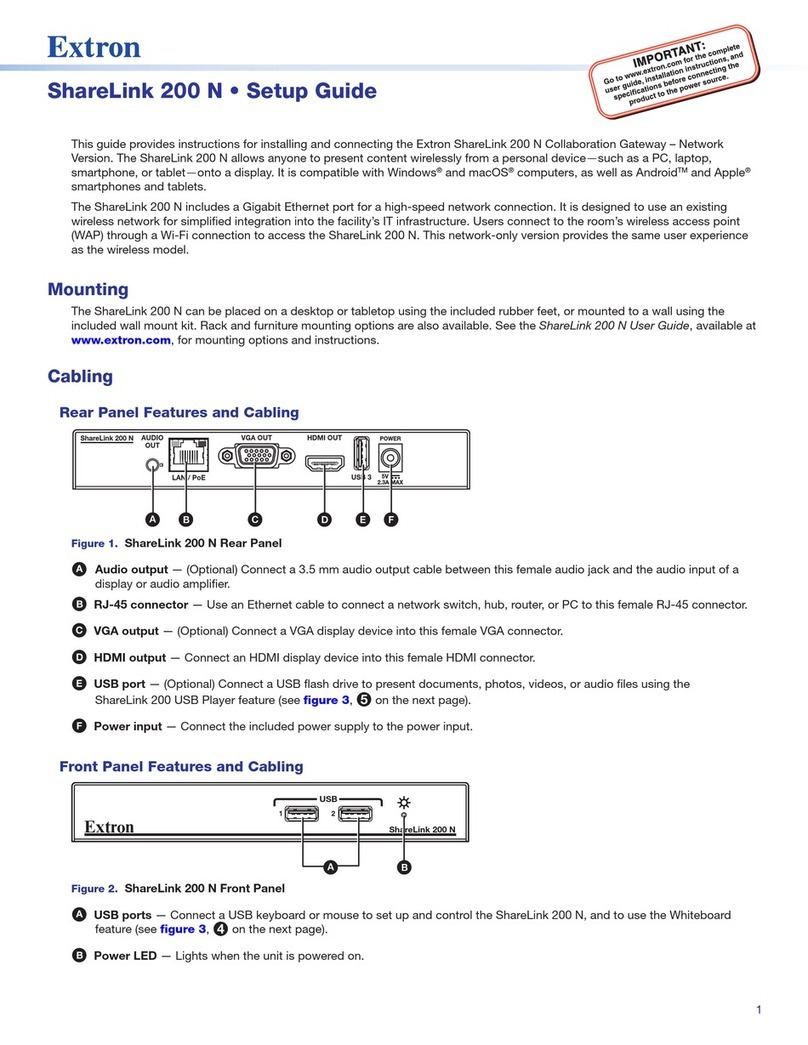
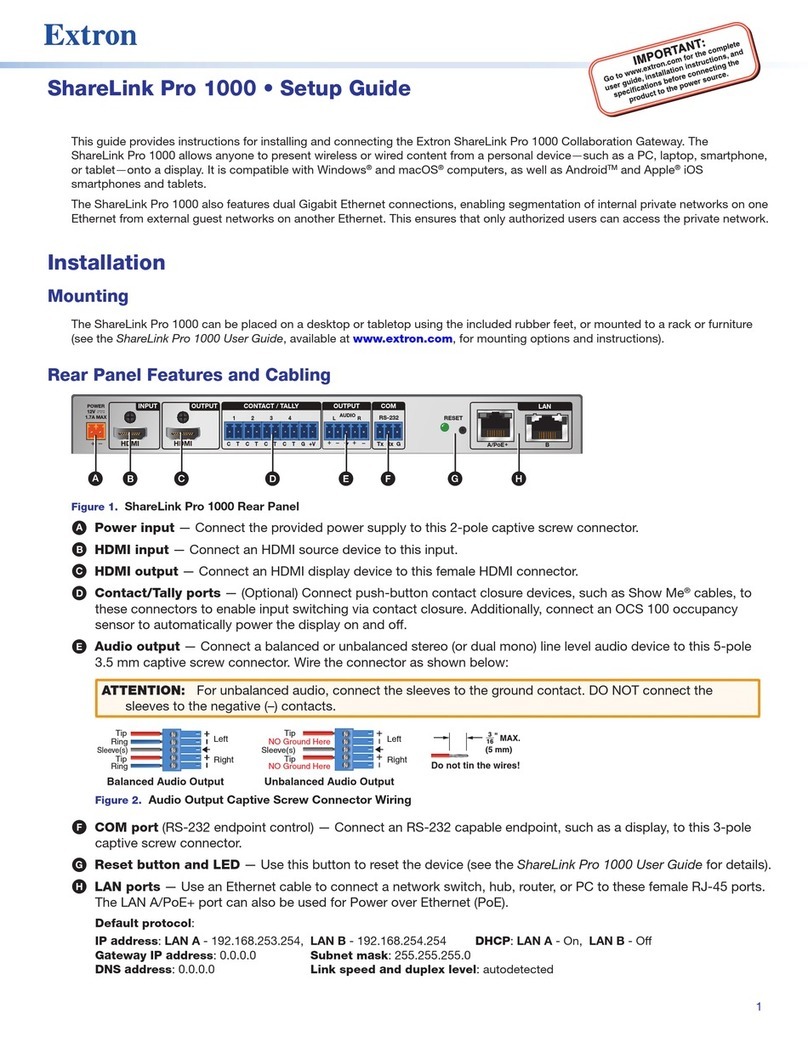
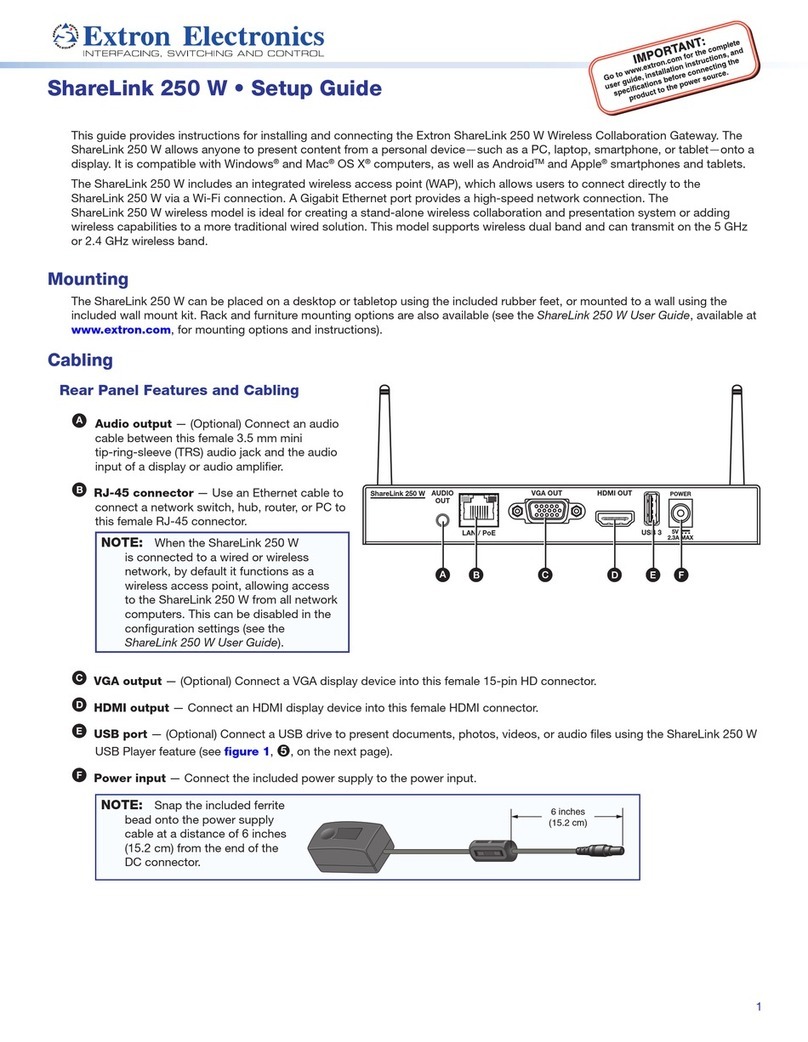
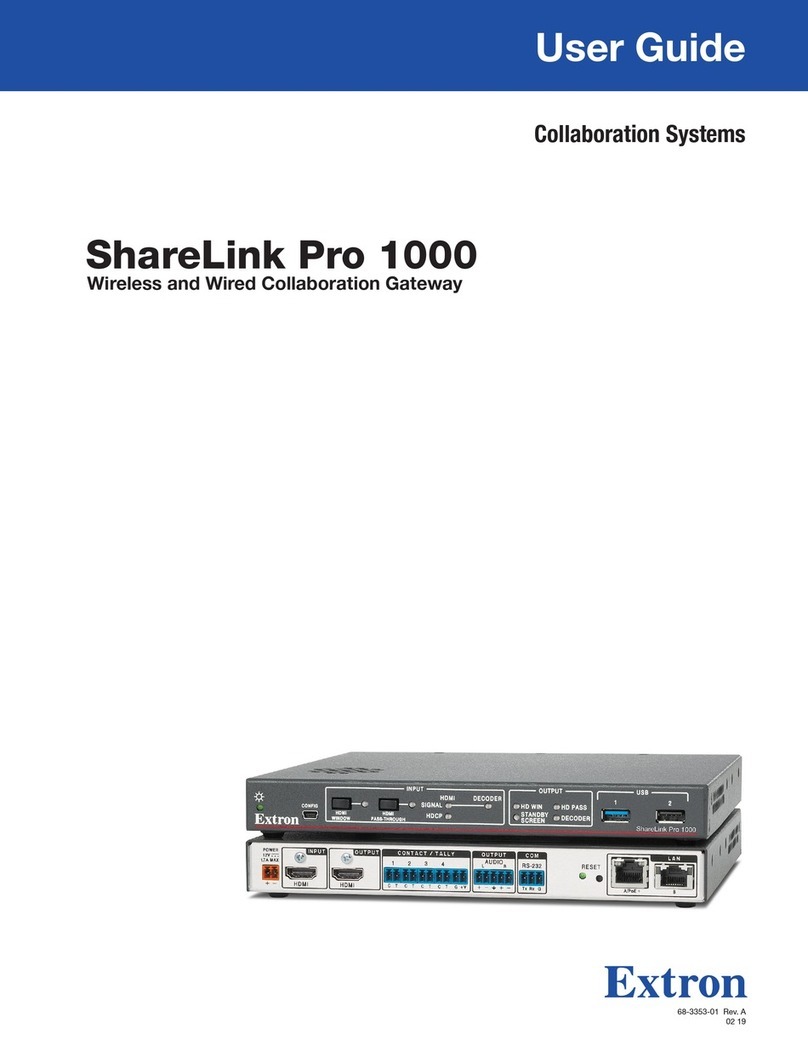
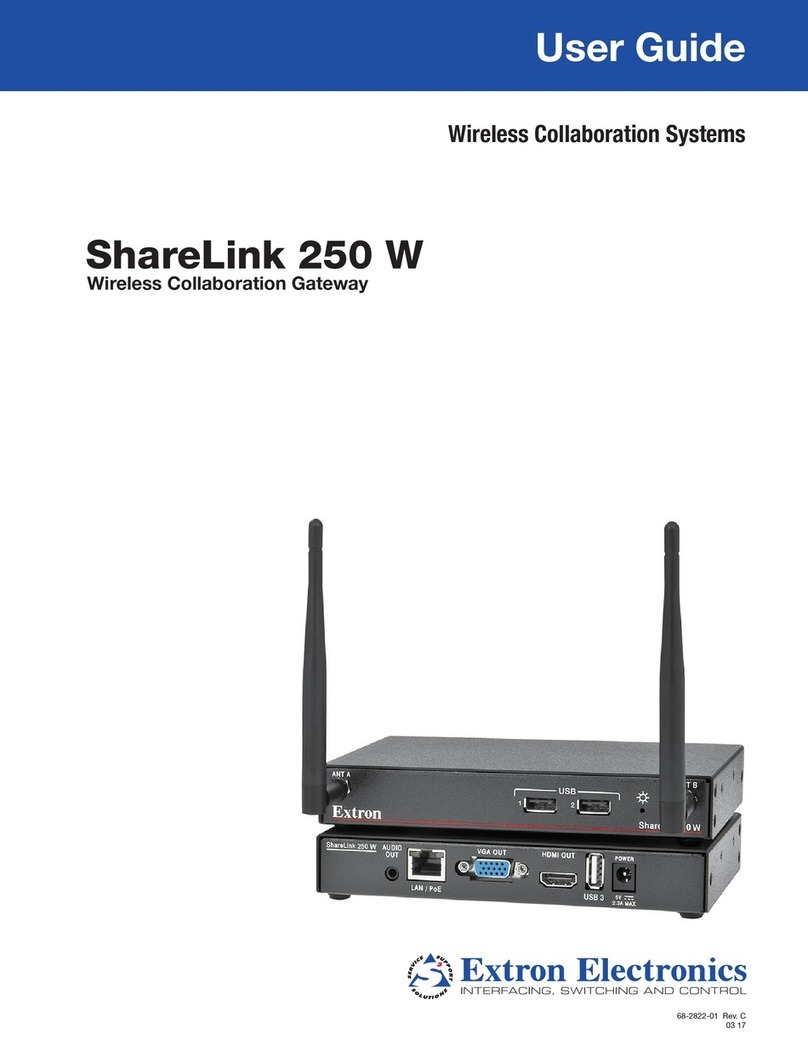
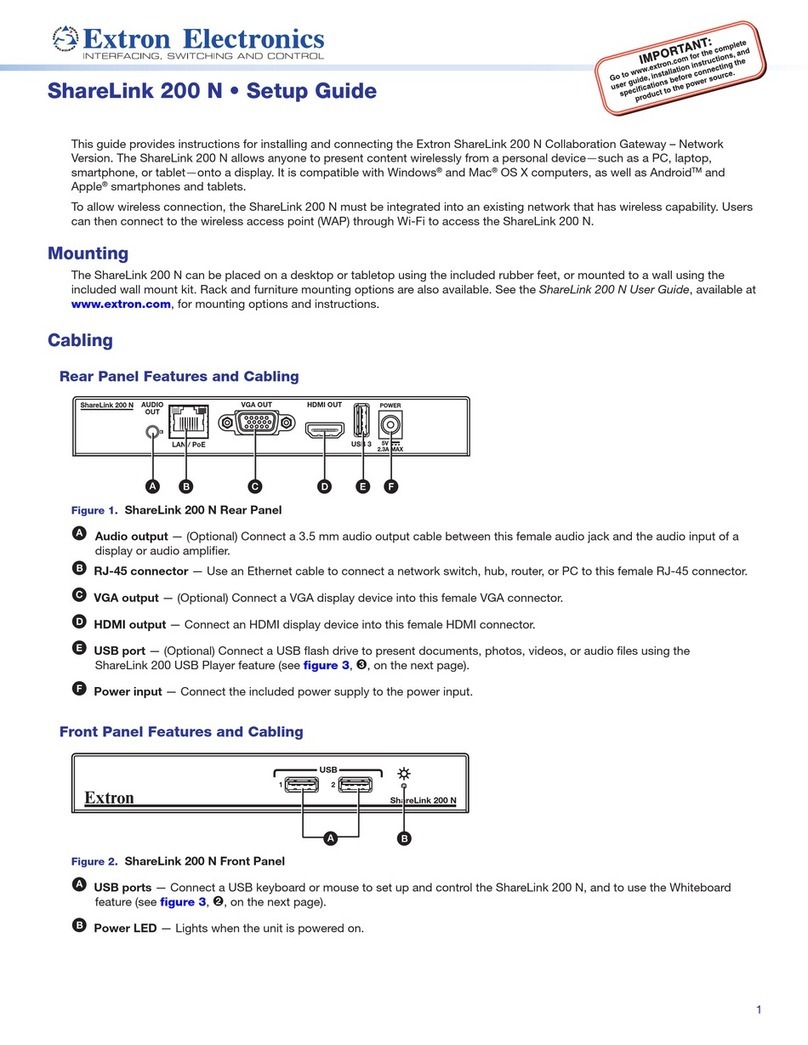
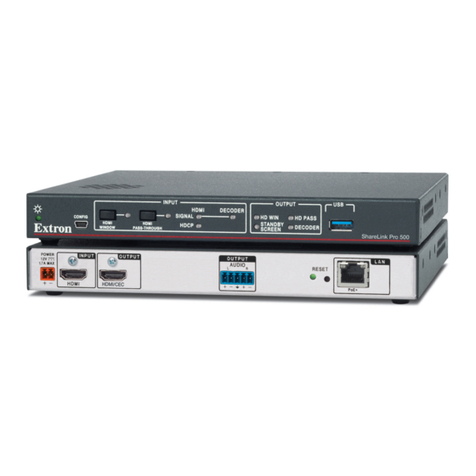
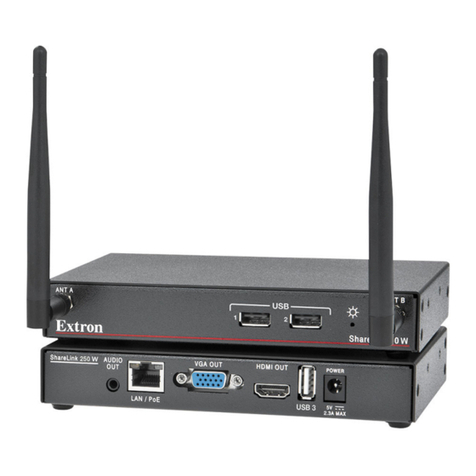
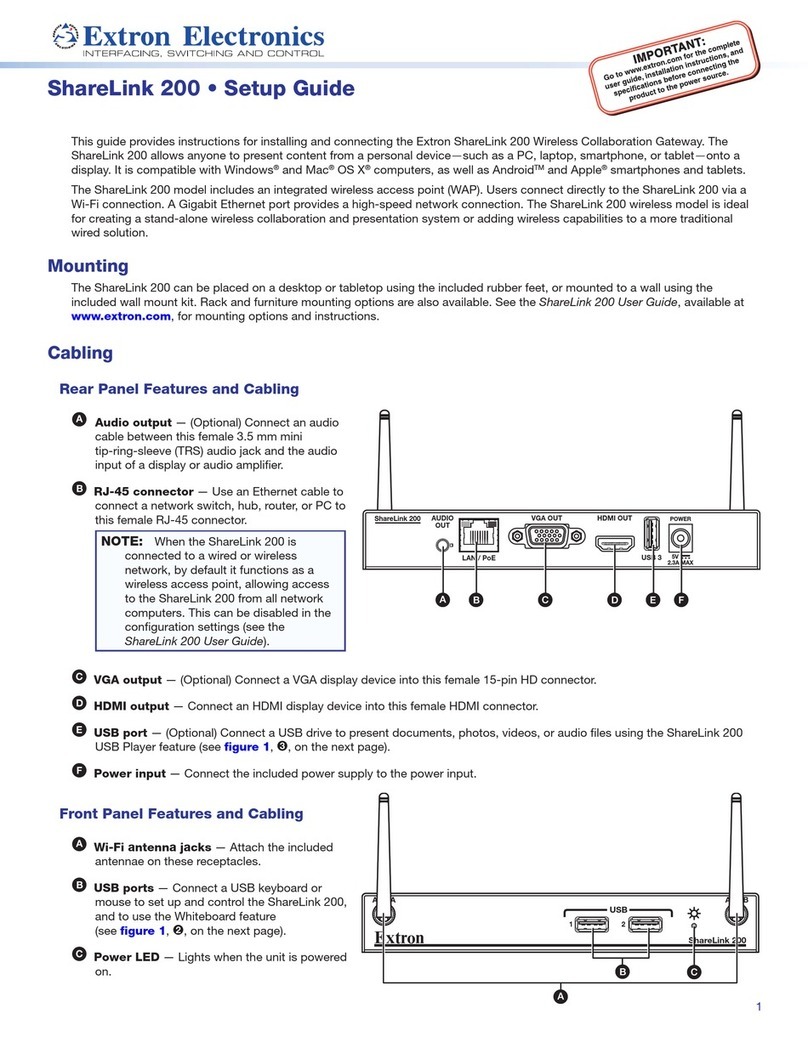
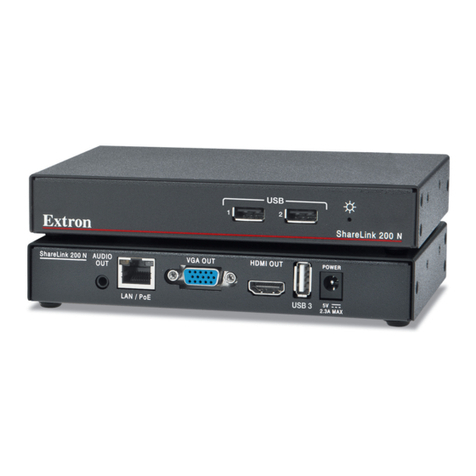
Extron electronics ShareLink 200 User manual

User Guide
ShareLink 200
Wireless Collaboration Systems
Wireless Collaboration Gateway
68-2687-01 Rev. A
01 15
HYDE 116

viiShareLink 200 • Contents
Contents
Introduction............................................................ 1
About the ShareLink 200.................................... 1
Features ............................................................. 2
Installation.............................................................. 3
Rear Panel Features and Cabling........................ 3
Front Panel Features and Cabling ....................... 4
Bottom Panel Features ....................................... 4
Setting Up the Standby Screen .......................... 5
Using the Whiteboard Feature......................... 6
Using the USB Player ..................................... 7
Operation Using a Computer ............................ 8
Connecting a Computer to the ShareLink 200.... 8
Connecting through the ShareLink 200’s
Internal WAP.................................................. 8
Connecting through an External WAP............. 8
Connecting through a Network Hub,
Switch, or Router........................................... 8
Setting Up the ShareLink 200 Software .............. 9
Downloading and Installing the
ShareLink 200 Software................................. 9
Connecting to the ShareLink 200 Receiver ... 10
Using the ShareLink 200 Software.................... 12
Presenting the Computer Screen (Share my
Screen Tab) ................................................. 12
Presenting a Media File (Share Media Tab) .... 13
Using the Software Menu.............................. 14
Sharing on Multiple Screens ......................... 15
Creating a USB Thumb-drive App .................... 15
Creating a Room File ........................................ 16
Operation Using a Mobile Device................... 17
Downloading MirrorOp for Extron ShareLink ..... 17
Using MirrorOp for Extron ShareLink................. 17
Connecting to a Receiver.............................. 17
Main Menu Overview .................................... 18
Presenting Documents and Photos............... 19
Presenting Dropbox Files .............................. 22
Presenting Web Pages ................................. 23
Presenting the Device Camera...................... 24
Presenting Device Screenshots..................... 24
Making Annotations...................................... 25
Settings ........................................................ 25
Downloading MirrorOp Sender for Galaxy......... 26
Using MirrorOp Sender for Galaxy .................... 26
Using the Embedded Web Pages................... 27
Opening the Embedded Web Pages................. 27
Watching a Presentation (WebShare) ................ 28
Moderating a Presentation................................ 29
Configuring ShareLink 200 Settings.................. 30
Device Setup ................................................ 32
Network Setup ............................................. 33
WiFi Setup.................................................... 34
SNMP Setup ................................................ 37
OSD Setup ................................................... 38
WebShare Setup .......................................... 39
Change Passwords ...................................... 40
Firmware Update .......................................... 41
Reset to Default............................................ 41
Reboot System............................................. 42
Reference Information ...................................... 43
Mounting .......................................................... 43
Wall Mounting............................................... 43
Rack Mounting ............................................. 44
Under-desk and Furniture Mounting.............. 44
Downloading ShareLink 200 Firmware.............. 45
Extron Warranty .................................................. 46
ShareLink 200 • Introduction 1
Introduction
This section covers the following:
• About the ShareLink 200
• Features
About the ShareLink 200
The Extron ShareLink 200 Wireless Collaboration Gateway allows users to present wirelessly
from their mobile device or computer onto a display device. The ShareLink 200 is compatible
with Windows®and OS X®computers as well as AndroidTM and Apple®smartphones and
tablets.
ShareLink 200 AUDIO
OUT
LAN / PoE
VGA OUTHDMI OUT
USB 3
POWER
5V
2.3A MAX
MODEL 80
FLAT PANEL
Wireless
WirelessWireless
Network
Extron
ShareLink 200
Wireless Collaboration
Gateway
Ethernet
Ethernet
HDMI
DisplayComputer
Laptop
Tablet
Smartphone
Figure 1. ShareLink 200 Application Diagram

ShareLink 200 • Operation Using a Computer 8
Operation Using a
Computer
Users can present from a Windows or Mac computer using the ShareLink 200 software.
This section covers the following:
•Connecting a Computer to the ShareLink 200
•Setting Up the ShareLink 200 Software
•Using the ShareLink 200 Software
NOTE:
Mac computer minimum system requirements:
•Dual Core, 1.4 GHz processor or better
•Mac OS X 10.7 - 10.10
•Graphics card with 64MB VRAM or better
Windows computer minimum requirements:
•Dual Core, 1.8 GHz processor or better
•Microsoft Windows XP SP2, 7, or 8
•Graphics card with 64MB VRAM or better
Connecting a Computer to the ShareLink 200
There are three ways to connect a computer to the ShareLink 200:
zWirelessly, through the ShareLink 200’s internal wireless access point (WAP)
zWirelessly, through an external WAP
zWired through a network device
See instructions below for your preferred connection method.
Connecting through the ShareLink 200’s Internal WAP
1. Ensure that the ShareLink 200 is powered and that wireless
network capability is enabled on your computer.
2. Open the wireless networks on your computer (see image at
right) and connect to the ShareLink 200 unit.
NOTE: The ShareLink 200 SSID is shown on the standby
screen (figure 4, 5 on page 5).
Connecting through an External WAP
1. Ensure that the external WAP and the ShareLink 200 are wired
to the same network.
2. Ensure that the ShareLink 200 is powered on and that wireless
network capability is enabled on your computer.
3. Open the wireless networks on your PC and connect to the external WAP.
Connecting through a Network Hub, Switch, or Router
1. Ensure that your computer is connected to the network through a hub, switch, or router.
2. Connect the RJ-45 connector of the ShareLink 200 to the network device using an
RJ-45 cable.
- PSU users must connect manually with the IP address shown on the screen.
158.136.28.9
- Use the four digit code on the screen in the classroom

ShareLink 200 • Operation Using a Computer 9
Setting Up the ShareLink 200 Software
Downloading and Installing the ShareLink 200 Software
The ShareLink 200 software can be downloaded from the embedded web pages or from
the Extron website. Follow the instructions below for your preferred download method.
Downloading the software from the embedded Web pages
1. Ensure that your computer is connected to the ShareLink 200 device, either through
Wi-Fi or through a physical network connection. The computer and the ShareLink 200
must be on the same network.
2. Launch your internet browser and enter the IP address of the ShareLink 200 into the
browser.
NOTE: The IP address is shown on the standby screen (see figure 4, 4on page 5).
The ShareLink 200 landing page should appear on the browser.
3. Click Windows or Mac (depending on your operating system) to launch the software
installer on your computer.
4. Follow the instructions on the web browser to run the the executable ShareLink 200
Software installer file.
5. Follow the steps on the installation wizard to install the software.
Downloading the Software from the Extron Website
1. Go to www.extron.com and click the Download tab at the top of the page (figure 7,
1).
22
1
1
Figure 7. Download Page on the Extron Website
2. Click Software on the left menu (2).
3. Scroll down to the alphabetical menu and click the letter S.
4. Scroll down to the software names and look for ShareLink 200. Click Download in the
ShareLink 200 section.
5. On the next screen (Download Center), enter the requested information and click the
download button.
6. When download is complete, open the executable ShareLink 200 Software installer file
and follow the steps on the installation wizard to install the software.
Hyde 116 is: 158.136.28.9

ShareLink 200 • Operation Using a Computer 10
Connecting to the ShareLink 200 Receiver
Use the software to connect to the ShareLink 200 receiver as follows:
1. Open the ShareLink 200 software. The software searches for available receivers on your
network and the Choose a Receiver window opens.
NOTE: The Other Receivers button allows Wi-Fi users to search and connect
to ShareLink 200 receivers on other Wi-Fi networks (see Other Receivers on the
next page for instructions).
Figure 8. Choose a Receiver Window
2. Select your ShareLink 200 device from the Receiver Name section and click
Connect.
NOTE: The receiver name is shown on the standby screen. If your ShareLink 200
unit is not listed, click the refresh button. If the device still does not appear, click
Manual and enter the receiver IP address manually.
3. If the login window appears, enter the login code into the Code field of the Login
window and click Connect.
NOTE: The login code is shown on the standby screen (see figure 4 on page 5).
Figure 9. Login Window
NOTE: A file can be created for the ShareLink 200 software to connect automatically to
a designated receiver (see Creating a Room File on page 16).
- PSU users must connect manually with the IP address shown on the screen.
158.136.28.9
- Use the four digit code on the screen in the classroom

ShareLink 200 • Operation Using a Computer 12
Using the ShareLink 200 Software
When a connection is established, the control screen appears. This screen has three main
sections:
• Share my Screen tab (see Presenting the Computer Screen below)
• Share Media tab (see Presenting a Media File on the next page)
• Software menu (see Using the Software Menu on page 14)
Presenting the Computer Screen (Share my Screen Tab)
Use the Share my Screen tab to present your computer screen on the display device.
11
22
33
Figure 10. Share my Screen Tab
1Mute — Click to mute or unmute the source device audio.
2Drop-down menu — Click to see the presentation options shown in figure 11.
One computer screen can be shared full screen on the main display (default option), or
up to four screens can be shared simultaneously on separate quadrants (top left, top
right, bottom left, or bottom right).
Figure 11. Drop-Down List
NOTE: When multiple screens are shared, audio is output from the first (top left)
quadrant only.
3Play button — Click to display the screen as specified in the drop-down menu. The
button becomes a Stop button, which can be clicked to stop displaying the screen.

ShareLink 200 • Operation Using a Computer 13
Presenting a Media File (Share Media Tab)
Use the Share Media tab to stream a media file from your computer onto the display
device.
NOTE: This feature requires the source device and receiver to be on the same subnet.
The file will not play if the source device and receiver are not on the same subnet.
NOTE:
The following file formats are supported:
• Image: JPG, BMP, PNG, GIF
• Video: MP4, MPG, MPEG, MPEG-2 TS, AVI, MOV, MKV, WMV
• Audio: MP3, WAV, WMA, AAC
The following codecs are supported:
• Image: JPG, BMP, PNG, GIF
• Video: MPEG-2, MPEG-4 (Microsoft MPEG-4 v1-3 is not supported), Motion
JPEG, WMV9 (only WMV3/WVC1 is supported)
• Audio: LPCM, AAC, MP3, WMA
11
22
33
44
55 66
Figure 12. Share a Video Tab
1File folder icon — Click to browse for and select a media file.
2Volume — Click to control the volume of the video or audio file.
3Play button — Click to play the selected media file. This button is disabled until a
media file is selected.
4Stop button — Click to stop playing the file. This button is disabled until a file is
selected.
5Progress bar — Displays the progress of the video or audio playback. When a file is
selected, you may click and drag the icon on the progress bar to skip ahead or to go
back to a specific point.
6Repeat icon — Click to automatically replay the video or audio when it is finished.

ShareLink 200 • Operation Using a Computer 14
Using the Software Menu
Click the icon on the bottom right side of the control screen to open the software menu:
Figure 13. ShareLink 200 Software Menu
This menu includes the following options:
• Share on Multiple Screens — Allows the computer screen or media file to be shared
on up to four displays connected to other ShareLink 200 receivers (see Sharing on
Multiple Screens on the next page for instructions).
• Enable WebShare — Click to enable WebShare, which allows your computer screen to
be shared to connected devices during a presentation (see Watching a Presentation
(WebShare) on page 28 for instructions).
• Advanced Settings — Click to open a submenu with the following options:
• Select Source Display — Click Primary Monitor to present the main screen, or
click Secondary Monitor to present a screen connected to the main monitor.
NOTES:
• Not all operating systems support the extended screen function.
• If sharing the secondary monitor, select Secondary Monitor prior to
sharing in order to keep the software window on the primary monitor.
• Image Quality — This option adjusts the image encoding level. Best provides
better image quality and consumes more network bandwidth.
• Aspect Ratio — Choose Full Screen to display the image full screen.
Choose Source Aspect Ratio to maintain the aspect ratio of the source image
(for example, if the source image is 4x3, and the output resolution is 16x9, then the
image is displayed with black vertical bars on each side).
• Enable Tooltips &OSD — Tooltips are shown when the mouse cursor hovers over
certain items on the computer screen. Enable this option to show tooltips on the
display when sharing your computer screen.
• Create USB Thumb-drive App — This feature allows a user to load the
ShareLink 200 software into a USB thumb-drive, and to run the software directly
from the drive (instead of having to install the software on a PC). See Creating a
USB Thumb-drive App on the next page for instructions.
• ShareLink 200 Device Admin — Click to go to the ShareLink 200 Admin
(configuration) web pages (see Configuring ShareLink 200 Settings on page 30).

ShareLink 200 • Operation Using a Computer 15
• Disconnect — Click to disconnect from any connected receivers.
• Show Receiver Info — Click this to show the receiver information (IP address, SSID,
and login code) briefly on the screen during a presentation, if necessary. The receiver
information overlays on top of the screen for 30 seconds, then disappears.
• About — Click to see the ShareLink 200 software version number.
• Exit — Click to exit the software program.
Sharing on Multiple Screens
This feature allows the computer screen or media file to be shared on up to four screens
connected to other ShareLink 200 recievers.
To use this feature:
1. Click Share on Multiple Screens on the software menu. The Connected
Receivers window opens:
33
22
44
Figure 14. Connected Receivers Screen
2. Click Add New (2) to add a new reciever. Up to four receivers can be added.
3. Check the Screen (3) checkbox to share content to that receiver. Content is only
shared to the selected receivers.
4. Click the Audio button (4) to share audio to a receiver. Audio can only be shared to
one receiver.
Creating a USB Thumb-drive App
This feature allows a user to load the ShareLink 200 software into a USB thumb-drive, and
to run the software directly from the drive (instead of having to install the software on a PC).
Follow these steps to load the software into, and to run the software from, a USB drive:
1. Click Create USB Thumb-drive App in the ShareLink 200 software Advanced
Settings menu. The USB Auto Setup Wizard screen opens.
2. Follow the steps in the wizard screen to save the software to your USB drive. The
software requires approximately 25 MB of space.
3. When software loading is complete, a folder named “ShareLink 200” is saved to the
USB drive.
4. To run the software:
a. Plug in the USB drive to the PC that will be used for presentation.
b. Open the folder named “ShareLink 200” that was saved to the USB drive.
c. Open the ShareLink200.exe file in the folder to run the software.

ShareLink 200 • Operation Using a Mobile Device 17
Operation Using a
Mobile Device
Two mobile apps can be used with the ShareLink 200:
• MirrorOp for Extron ShareLink (for Android and Apple devices) allows you to
present photos, documents, videos, web pages, device screenshots, and the device
camera.
• MirrorOp Sender for Galaxy (compatible with Samsung Galaxy devices only) allows
you to mirror your mobile device screen onto the display.
This section covers the following:
zDownloading MirrorOp for Extron ShareLink
zUsing MirrorOp for Extron ShareLink
zDownloading MirrorOp Sender for Galaxy
zUsing MirrorOp Sender for Galaxy
Downloading MirrorOp for Extron ShareLink
This app is supported by Android and Apple mobile devices, including iPad and iPhone.
Follow these steps to download the app:
1. Open the Google Play app store on your Android device, or the App Store on your
Apple mobile device.
2. Search for MirrorOp for Extron ShareLink.
3. Install the app on your mobile device.
Using MirrorOp for Extron ShareLink
Connecting to a Receiver
Follow these steps to connect your mobile device to the ShareLink 200 using the app:
1. Ensure that the ShareLink 200 is powered and connected to the network.
2. Connect your mobile device to the ShareLink 200 unit through Wi-Fi. You may connect
through either of the following options:
a. Connect to the ShareLink’s built-in WAP: Open the Wi-Fi networks list on
your device and look for your ShareLink receiver SSID. The SSID is shown on the
standby screen (figure 4, page 5).
b. Connect to an external WAP that is on the same network as the
ShareLink. Ensure that the external WAP and the ShareLink 200 are wired to the
same network. Open the WiFi networks list and connect your device to the external
W A P.

ShareLink 200 • Operation Using a Mobile Device 18
3. Open MirrorOp and press the receiver icon (1, figure 16) on the top right to open the
receiver selection window.
11 22
33
11 22
33
Figure 16. MirrorOp Menu
4. Select your ShareLink 200 receiver from the discovered receivers list. To refresh the list,
drag down and release the receivers list.
You may also use the search bar to search for the receiver as follows:
• If the ShareLink 200 receiver is on the same network and subnet, you can search
for it by entering the SSID or IP address in the search bar (3).
• If the ShareLink 200 receiver is on a different subnet but on the same network,
press the button next to the receiver icon (2) and enter the IP address manually.
NOTE: The receiver icon turns green ( ) and the main menu appears when the
device is connected to a receiver.
Main Menu Overview
NOTE: The images in this section show the mobile app layout for tablets. The layout is
arranged differently for smaller devices, such as phones.
The Main Menu on the left side of the screen contains the following options:
11 2
2
4
4
5
5
3
3
66
7
7
8
8
11 2
2
4
4
5
5
3
3
66
7
7
8
8
Figure 17. MirrorOp Home Screen
NOTE: The Dropbox (5) and Browser (6) features require internet access (see
Connecting to a Receiver, step 2b, on the previous page).
1Settings – see Settings on page 25
2Menu – tap to hide or unhide the main menu
3Document – see Presenting Documents
and Photos on the next page
4Photo – see Presenting Documents and
Photos on the next page
5Dropbox – see Presenting Dropbox Files
on page 22
6Browser – see Presenting Web Pages on
page 23
7Camera – see Presenting the Device
Camera on page 24
8Shot & Show – see Presenting Device
Screenshots on page 24

ShareLink 200 • Operation Using a Mobile Device 19
Presenting Documents and Photos
NOTE:
• The following document file types are supported: Microsoft Word (.doc, .docx),
PowerPoint (.ppt, .pptx), Excel (.xls, .xlsx), and PDF.
• The following photo file types are supported: JPEG and PNG files.
Import the Document or Photo to Your Device
There are three ways to import a document or photo file to your mobile device:
• Transfer the file from your computer to your device storage (Android devices)
• Transfer the file from your computer to your device using iTunes®(iOS devices)
• Import the file from an email attachment (Android and iOS devices) (see the next page
for instructions)
NOTE: iOS devices only: When you open a file using MirrorOp, the file is
automatically saved to the app and listed under Document.
See the instructions below for your preferred method.
Option 1: Transferring a file from your computer to your device storage
(Android devices)
1. Connect the mobile device to your computer.
2. Locate the file in your computer and copy it to the mobile device storage.
3. Proceed to the next section, Present the Document or Photo,on page 21.
Option 2: Transferring a file from your computer to your device storage using
iTunes (iOS devices)
1. Connect the iPad or iPhone to your computer.
2. Open iTunes and go to the iPhone or iPad as shown at right.
3. Click Apps on the left hand Settings menu:
4. On the Apps page, scroll down to the File Sharing section and click ShareLink:
5. Click Add File. Browse to and select the file you wish present. The file is listed in the
ShareLink Documents panel and added to the Document section of the app.
6. Proceed to the next section, Present the Document or Photo,on page 21.

ShareLink 200 • Operation Using a Mobile Device 20
Option 3: Import the document from an email attachment
1. On your mobile device, open the email containing the attached file that you wish to
present.
2. Import the attachment as follows:
For Android devices, you can either:
• save the file to the device storage and proceed to the next section
(Present the Document or Photo on the next page)
• or open the file directly from the email using the ShareLink app:
NOTE: Options may vary depending on the email app used.
Then, proceed to step 3 of the next section, Present the Document or Photo,
on the next page.
For iOS devices:
NOTE: The following steps apply to the native email app in iOS devices. Results
and options may vary depending on the email app used.
a. In the email, locate the attachment icon and press Tap to Download (if the
download does not start automatically).
b. When download is complete, press and hold the attachment icon. A box opens,
showing installed apps that can open the file:
c. Select Open in ShareLink, and proceed to step 3 of the next section,
Present the Document or Photo, on the next page.

ShareLink 200 • Operation Using a Mobile Device 21
Present the Document or Photo
1. Open MirrorOp and select Document or Photo on the main menu, depending on your
file type. All recognized document and photo files (and folders containing these files) are
displayed.
2. Select the folder containing the file you wish to present, and select the desired file. The
presentation screen appears as shown in figure 18 (for documents) and figure 19 (for
photos).
3. Select the play button (4 on figure 18, and 3 on figure 19) to begin presenting. The
play button becomes a pause button, which can be pressed to stop the presentation.
22
11
33
44
55
11
22
33 4455 66
Figure 18. Document View Screen
22
11
33
44
55
11
22
33 4455 66
Figure 19. Photo View Screen
1Back – Exit document and return to
the previous screen.
2Document view screen – this
section is displayed during
presentation.
3Quadrant view – choose whether
to present the document
full-screen (default) or on a quadrant
(top left, top right, bottom left,
or bottom right) for multiple user
presentations.
4Play – start or stop presentation
5Annotation tool – allows the
presenter to make annotations on
the document during presentation
(see Making Annotations on
page 25).
1Back – Exit document and return to
the previous screen.
2Annotation tool – allows the
presenter to make annotations on
the image during presentation (see
Making Annotations on page 25).
3Play – start or stop presentation
4Quadrant view – choose whether
to present the image full-screen
(default) or on a quadrant (top left,
top right, bottom left, or bottom
right) for multiple user presentations.
5Rotate – rotate the image
clockwise.
6Slideshow – tap this button to start
a slideshow of all the images in the
current folder.

ShareLink 200 • Operation Using a Mobile Device 22
Presenting Dropbox Files
To present documents and photos from a Dropbox account:
1. Select Dropbox on the main menu. A log in screen appears (see figure 20).
2. Enter your Dropbox account log in information.
Figure 20. Dropbox Log In Window
Once logged in, the folders and files in the Dropbox account appear on the screen.
3. Browse to and select the document or photo you wish to present.
Figure 21. File Selection Screen
NOTE: iOS devices only: When you open a file from the Dropbox feature, the file is
automatically copied to the iPad or iPhone and is listed in the Document section of
the app.

ShareLink 200 • Operation Using a Mobile Device 23
Presenting Web Pages
1. Select Browser on the main menu. The MirrorOp built-in browser opens (figure 22).
2. On the address bar (figure 22, 2), enter the web address for the page you wish to
present.
3. Select the play (5) button to begin presenting the web page. The play button becomes
a pause button, which can be clicked to stop the presentation.
44
11
55
22
33
Figure 22. MirrorOp Browser
1Navigation buttons – Navigate between web pages
2Address Bar – Enter the web address
3Refresh – Refresh the web page
4Annotation tool – Make annotations on the web page during presentation (see
Making Annotations on page 25 for instructions)
5Play – Start or stop presentation

ShareLink 200 • Operation Using a Mobile Device 24
Presenting the Device Camera
1. Select Camera on the main menu. The camera view opens (figure 23).
2. Press play (4) to present the camera view on the display.
44
33
11
22
Figure 23. Camera View
1Switch camera view – Switch between front and rear camera.
2Flash – Turn camera flash on or off, if flash is available on the device.
3Take picture – Take a picture using the camera. The picture can also be
presented.
4Play – Start or stop presentation.
Presenting Device Screenshots
1. Choose Shot &Show on the main menu and press play (1) in the Shot & Show
instruction screen (figure 24). The instruction screen appears on the display.
11
22
Figure 24. Shot & Show Instruction Screen
2. Press the Home button on your mobile device to go to the home screen, and navigate
to the screen that is to be shared.
3. Take the screenshot by pressing the appropriate buttons on your mobile device. The
screenshot is shared on the display automatically. You can also take a picture with the
device camera, and the picture will display automatically.
4. Return to the app to pause the presentation (1) or to change the display quadrant (2).

ShareLink 200 • Operation Using a Mobile Device 25
Making Annotations
The annotation tool allows the presenter to draw or highlight items on the screen. Click the
Annotation tool icon to expand the tool menu shown below:
1Pen
2Highlighter
NOTE: One stroke mode: Tap the Pen or Highlighter
icon to enable one-stroke mode, indicated by the number
“1” on the corner of the icon. This allows you to draw one
stroke at a time (the previous annotation is cleared when
a new stroke is made).
3Size — Select pen or highlighter size (small, medium, or
large).
4Color — Select pen or highlighter color.
5Delete all — Delete all annotations in the current image.
6Exit annotation mode
7Hide annotations menu
8Save — Save current image with annotations. The file is
saved as an image file in the mobile device storage.
9Eraser — Erase selected portions of the drawing.
Settings
Press the Settings button to access the following options:
11
22
33
44
55
Figure 25. Settings
1WebShare — Switch to “On” to enable WebShare. WebShare allows the presentation
to be viewed on individual user devices connected to the ShareLink 200 (see Watching
a Presentation (WebShare) on page 28).
2SlideShow interval time — Choose the interval time between each photo during a
slideshow.
3Link to Dropbox — Link to the Dropbox account on the device. If this option is
unchecked, MirrorOp logs out of the current Dropbox account.
4Start Guide — Access the Start Guide that is shown at startup.
5Send problem log — Generate error logs to notify Extron of any problems
encountered with the app.
99
11
44
22
88
77
33
55
66

ShareLink 200 • Operation Using a Mobile Device 26
Downloading MirrorOp Sender for Galaxy
This app is supported by Samsung Galaxy devices. Follow these steps to download the
app:
1. Open the Google Play app store on your Galaxy device.
2. Search for MirrorOp Sender for Galaxy.
3. Install the app on your mobile device.
Using MirrorOp Sender for Galaxy
1. Ensure that the ShareLink 200 is powered and connected to the network.
2. Connect your device to the ShareLink 200 through Wi-Fi (see step 2 of Connecting to
a Receiver on page 17).
3. Open the app. The discovered receivers list appears as
shown at right.
4. Select your ShareLink 200 receiver from the discovered
receivers list.
NOTE: To refresh the list, drag down and release
the list. You may also search for the receiver by
entering the SSID in the search bar.
The login screen appears after a receiver is selected.
5. If the login code is activated, enter the login code shown on the standby screen (see
figure 4, page 5) and press Connect. After login, the main menu appears as shown
below.
55
11 223
34
4
Figure 26. MirrorOp Sender Menu
1Play – Press to begin sharing your screen.
2Stop – Press to stop sharing your screen.
3Pause – Press to pause or unpause screen sharing. This allows the presenter to
navigate through the mobile device while the menu screen remains on the display
device.
4Home – Go to the mobile device home screen.
5Split icons – For multiple user presentations, choose one of the Split (quadrant)
icons to share your screen on the top left, top right, bottom left, or bottom right
of the display. This allows up to four users to present their screens on the display
simultaneously.
Other manuals for ShareLink 200
3
Table of contents
Other Extron electronics Gateway manuals

Extron electronics
Extron electronics ShareLink 200 User manual

Extron electronics
Extron electronics ShareLink Pro 1000 User manual

Extron electronics
Extron electronics ShareLink 200 N User manual

Extron electronics
Extron electronics ShareLink 200 N User manual

Extron electronics
Extron electronics ShareLink 200 N User manual

Extron electronics
Extron electronics ShareLink Pro 1100 User manual

Extron electronics
Extron electronics ShareLink 200 User manual

Extron electronics
Extron electronics ShareLink 200 User manual

Extron electronics
Extron electronics ShareLink 250 W User manual

Extron electronics
Extron electronics DA2 HD 4K User manual