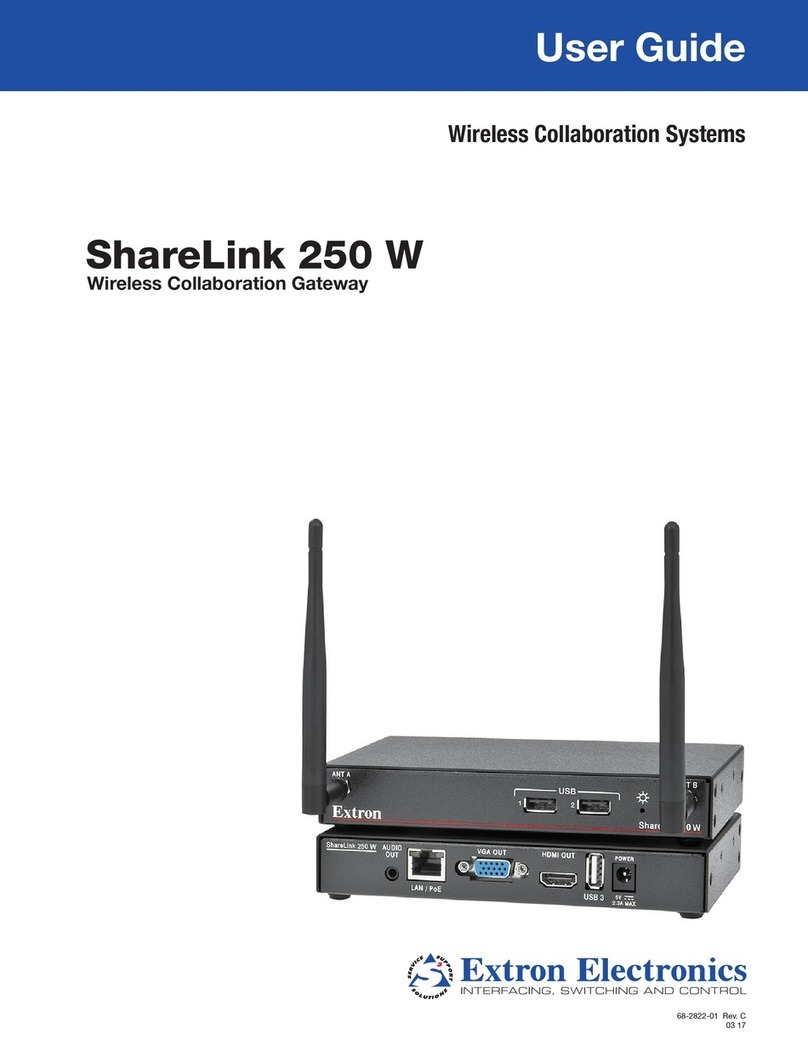
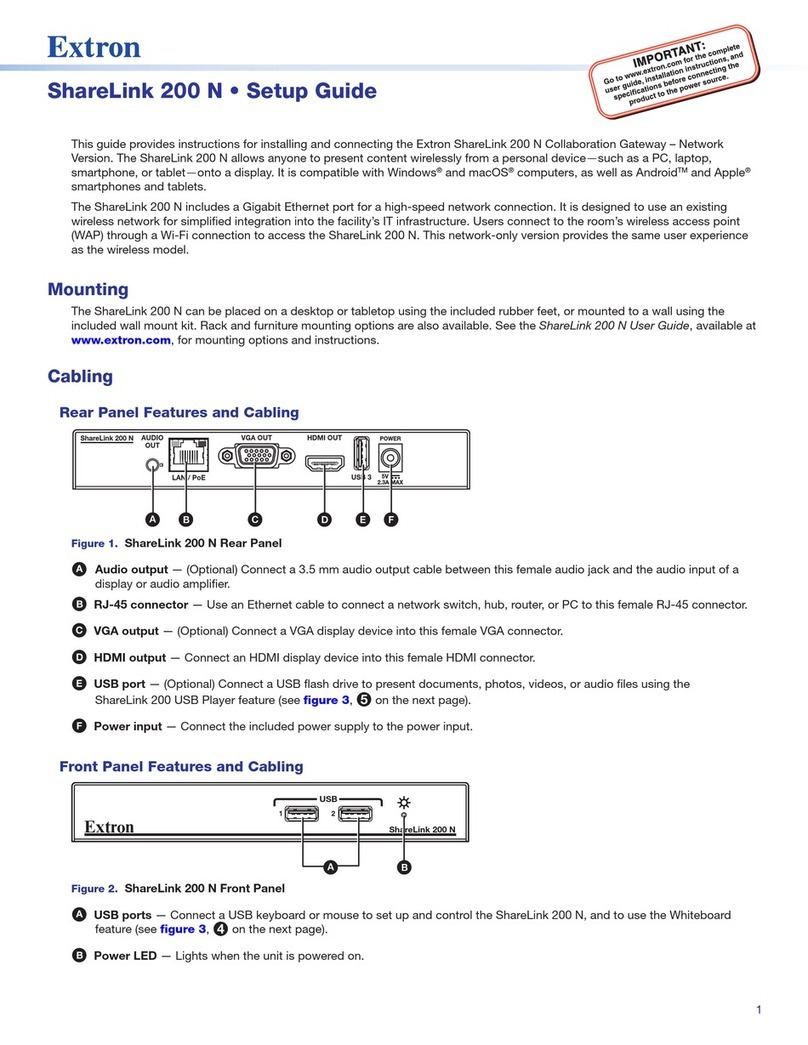
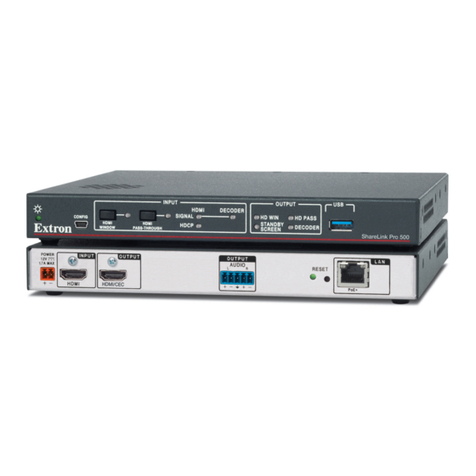
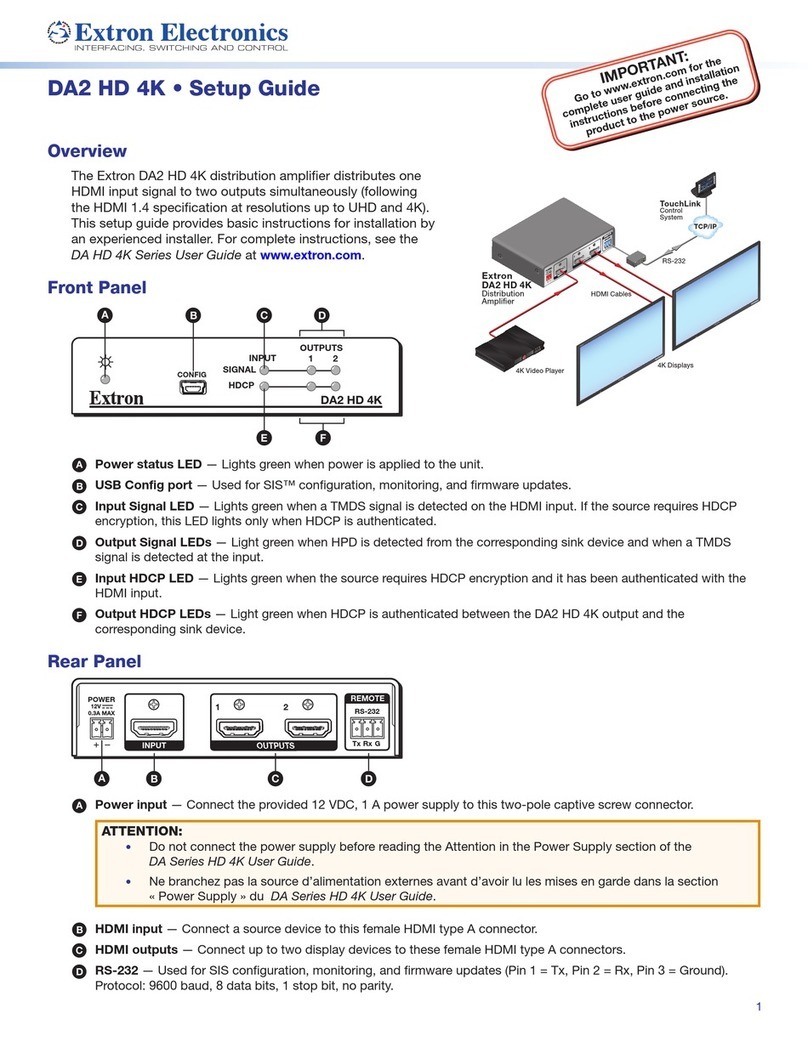
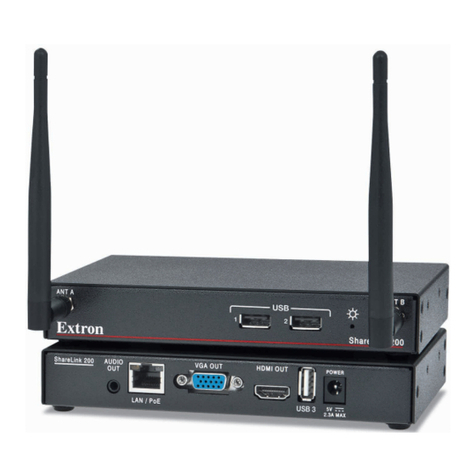
Extron electronics ShareLink 250 W User manual

1
ShareLink 250 W • Setup Guide
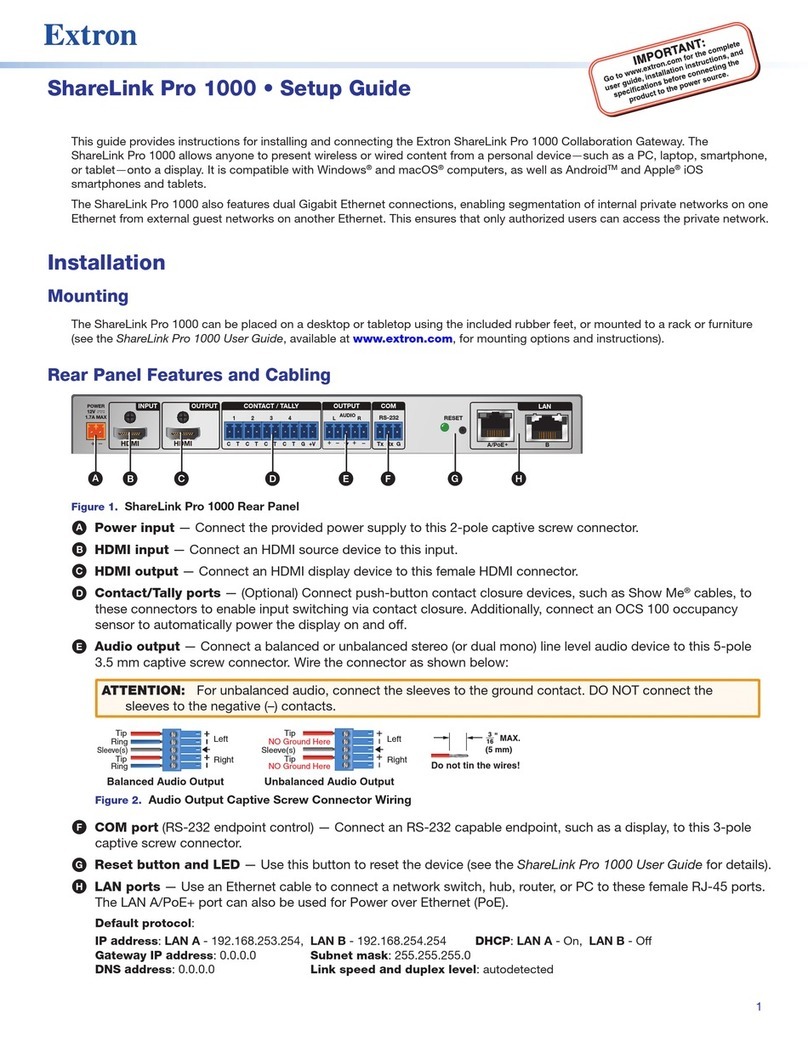
This guide provides instructions for installing and connecting the Extron ShareLink 250 W Wireless Collaboration Gateway. The
ShareLink 250 W allows anyone to present content from a personal device—such as a PC, laptop, smartphone, or tablet—onto a
display. It is compatible with Windows®and Mac®OS X®computers, as well as AndroidTM and Apple®smartphones and tablets.
The ShareLink 250 W includes an integrated wireless access point (WAP), which allows users to connect directly to the
ShareLink 250 W via a Wi-Fi connection. A Gigabit Ethernet port provides a high-speed network connection. The
ShareLink 250 W wireless model is ideal for creating a stand-alone wireless collaboration and presentation system or adding
wireless capabilities to a more traditional wired solution. This model supports wireless dual band and can transmit on the 5 GHz
or 2.4 GHz wireless band.
Mounting
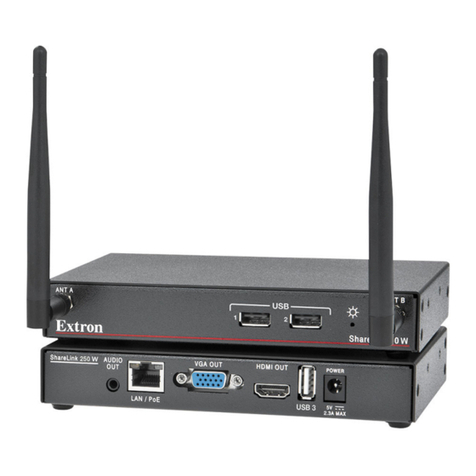
The ShareLink 250 W can be placed on a desktop or tabletop using the included rubber feet, or mounted to a wall using the
included wall mount kit. Rack and furniture mounting options are also available (see the ShareLink 250 W User Guide, available at
www.extron.com, for mounting options and instructions).
Cabling
Rear Panel Features and Cabling
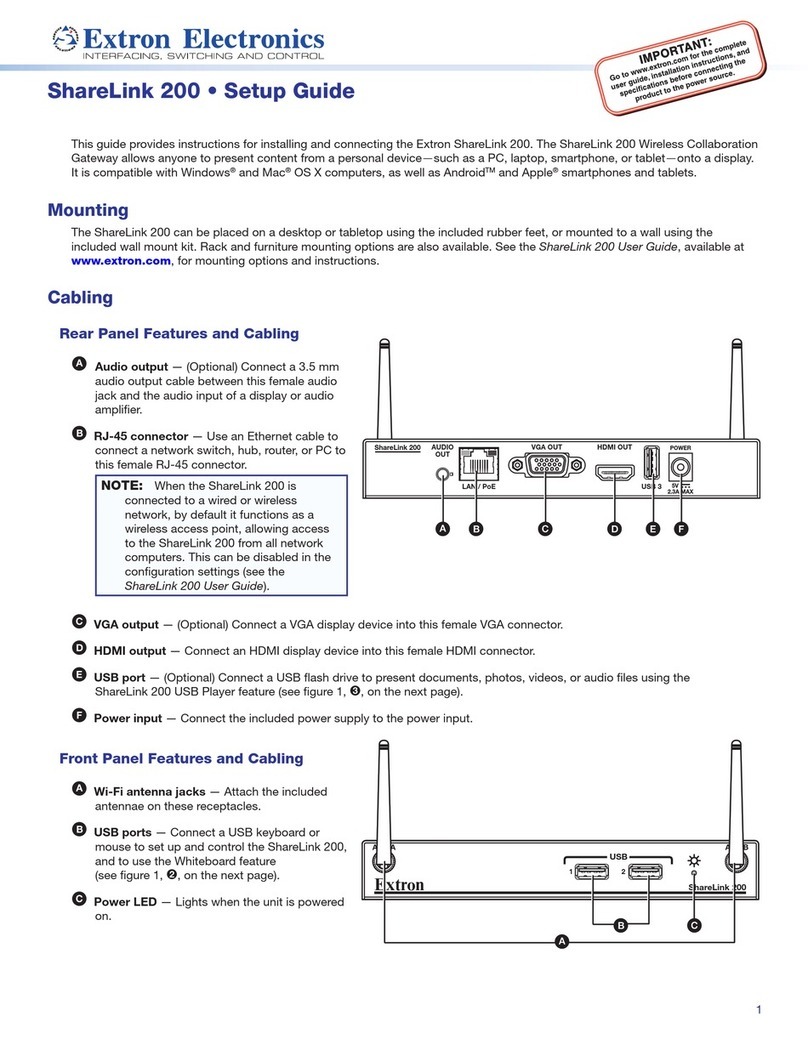
AAudio output — (Optional) Connect an audio
cable between this female 3.5 mm mini
tip-ring-sleeve (TRS) audio jack and the audio
input of a display or audio amplifier.
BRJ-45 connector — Use an Ethernet cable to
connect a network switch, hub, router, or PC to
this female RJ-45 connector.
NOTE: When the ShareLink 250 W
is connected to a wired or wireless
network, by default it functions as a
wireless access point, allowing access
to the ShareLink 250 W from all network
computers. This can be disabled in the
conguration settings (see the
ShareLink 250 W User Guide).
CVGA output — (Optional) Connect a VGA display device into this female 15-pin HD connector.
DHDMI output — Connect an HDMI display device into this female HDMI connector.
EUSB port — (Optional) Connect a USB drive to present documents, photos, videos, or audio files using the ShareLink 250 W
USB Player feature (see figure 1, 5, on the next page).
FPower input — Connect the included power supply to the power input.
NOTE: Snap the included ferrite
bead onto the power supply
cable at a distance of 6 inches
(15.2 cm) from the end of the
DC connector.
6 inches
(15.2 cm)
BB
ShareLink 250 W AUDIO
OUT
LAN / PoE
VGA OUT HDMI OUT
USB 3
POWER
5V
2.3A MAX
Extron
ANT A ANT B
12
USB
ShareLink 250 W
CC
AA BB CC DD EEFF
AA

2
ShareLink 250 W • Setup Guide (Continued)
Front Panel Features and Cabling
AWi-Fi antenna jacks — Attach the included
antennae on these receptacles.
BUSB ports — Connect a USB keyboard or
mouse to set up and control the ShareLink 250 W,
and to use the Whiteboard feature
(see figure 1, 4below).
CPower LED — Lights when the unit is powered
on.
Setting Up the Standby Screen
Once the ShareLink 250 W is connected and powered on, the default standby screen appears on the display:
Figure 1. ShareLink 250 W Standby Screen
1Standby screen — Provides instructions for starting a presentation. The background image of this screen can be
customized (see the ShareLink 250 W User Guide for instructions on changing the background image).
2Calibration tool icon ( )— Double-click to open the Calibration tool (for touchscreens only). This feature allows you to
calibrate a touchscreen for accuracy, if needed (see the ShareLink 250 W User Guide for instructions).
3Screen Resize tool icon ( )— Double-click to use the screen resize tool. This feature allows you to change the size of
the screen presented on the display (see the ShareLink 250 W User Guide for instructions).
4Whiteboard icon ( ) — Click to use the display as a whiteboard. This feature allows the presenter to draw on a blank
screen using a mouse or touchscreen (see the ShareLink 250 W User Guide for instructions).
5USB Player icon ( )— Click to access the USB Player. This feature allows the presenter to access photos, videos, audio
files, and documents directly from the connected USB flash drive (see the ShareLink 250 W User Guide for instructions).
6IP Address — Use this IP address to identify and access the ShareLink 250 W during connection.
7Hostname — Use this hostname to identify and access the ShareLink 250 W during connection through the ShareLink
software. This hostname can be customized (see the ShareLink 250 W User Guide for instructions).
8WiFi — Use this SSID (Wi-Fi name) to identify and access the ShareLink 250 W during connection.
9Code — Use this code to access the ShareLink 250 W device through the software (see Running the Software and
Connecting to the ShareLink 250 W on the next page). This code can be customized or disabled (see the
ShareLink 250 W User Guide for instructions).
BB
ShareLink 250 W AUDIO
OUT
LAN / PoE
VGA OUT HDMI OUT
USB 3
POWER
5V
2.3A MAX
Extron
ANT A ANT B
12
USB
ShareLink 250 W
CC
AA BB CC DD EEFF
AA

3
Operation Using a Computer
Connecting a Computer to the ShareLink 250 W
There are three ways to connect a computer to the ShareLink 250 W (see instructions below for each of the following options):
• Wirelessly, through the internal wireless access point (WAP) on the ShareLink 250 W
• Wirelessly, through an external WAP
• Wired through a network device
Connecting through the ShareLink 250 W internal WAP
1. Ensure that the ShareLink 250 W is powered on and that wireless network capability is enabled on the computer.
2. Open the wireless networks on your PC (see image at right) and connect to the ShareLink 250 W
(see figure 1, 8on the previous page for the ShareLink Wi-Fi name).
NOTE: The ShareLink 250 W internal WAP functions in the 5 GHz or 2.4 GHz wireless band.
However, it cannot operate in both bands at the same time. By default, the ShareLink 250 W
is set to operate in the 5 GHz band. To change the wireless band, go to the Wi-Fi settings in
the configuration Web pages (see the ShareLink 250 W User Guide for details).
Connecting through an external WAP
1. Ensure that the external WAP and the ShareLink 250 W are wired to the same network.
2. Ensure that the ShareLink 250 W is powered on and that wireless network capability is enabled on
your computer.
3. Open the wireless networks on your PC and connect to the external WAP.
Connecting through a network hub, switch, or router
1. Ensure that your computer is connected to the network through a hub, switch, or router
2. Connect the RJ-45 connector of the ShareLink 250 W to the network device using an RJ-45 cable.
Using the ShareLink 250 W Software
Running the Software and Connecting to the ShareLink 250 W
There are two versions of the ShareLink 250 W software:
• Lite software: No installation required. Users can run the Lite software from the embedded Web pages without having to
install the software on the PC. Since installation is not required, users do not need admin rights to run the Lite software.
• Pro software: Installation required. The executable software le can be downloaded from the embedded Web pages (see
figure 2, 3and 5, on page 7) or from the Extron website (see the ShareLink 250 W User Guide for instructions).
NOTE: To see a list of the different Lite and Pro software features, see figure 2, 6on page 7.
The instructions below are for launching the Lite software.
1. Ensure that your computer is connected to the ShareLink 250 W device, either through Wi-Fi or through a physical network
connection. The computer and the ShareLink 250 W must be on the same network.
2. Launch your internet browser and enter the IP address of the ShareLink 250 W in the browser (see figure 1, 6on the
previous page for the IP address). The ShareLink 250 W landing page (figure 2, page 7) opens.
3. Click Windows or Mac (depending on your operating system) to launch the software (see figure 2, 2and 4on page 7).
4. Follow the instructions on the Web browser to run the the executable ShareLink 250 W software le. When the Lite software
opens, it automatically attempts to connect to your ShareLink receiver.
5. If the Login dialog box opens (as shown at right), enter the login code into the
Code eld and click Connect (see figure 1, 9for the login code).
When a connection is established, the software window opens. This window has two
sections: Share my Screen dialog box (see Presenting the Computer Screen on
the next page), and the software menu (see Using the Software Menu on the next
page).
4
ShareLink 250 W • Setup Guide (Continued)
Presenting the Computer Screen (Share my Screen)
Use the Share my Screen dialog box (shown at right) to present
your computer screen on the display device (see the
ShareLink 250 W User Guide for instructions on using the additional
features in the Pro version of the software).
1Mute button — Click to mute or unmute the source device
audio.
2Drop-down list — Click to display the presentation options
shown below. The computer screen can be displayed full
screen (default), or in a quadrant on the top left, top right,
bottom left, or bottom right of the screen.
3Play button — Click to display the screen as specified in the drop-down list. The button changes to a Stop button, which
can be clicked to stop displaying the screen. “Not Sharing” changes to “Sharing” at the bottom of the dialog box.
Using the Software Menu
Click the icon on the bottom right of the software window to open the software menu (as
shown at right). This menu includes the following options:
• Share on Multiple Screens — Allows the computer screen or media le to
be shared on up to four displays connected to other ShareLink receivers (see the
ShareLink 250 W User Guide for instructions).
• Enable WebShare —Click to enable WebShare, which allows your computer
screen to be shared to connected devices during a presentation (see Using
Webshare to Watch a Presentation on page 7 for instructions).
• Select Source Display — See the ShareLink 250 W User Guide for details.
• Disconnect — Click to disconnect from any connected receivers.
• Show Receiver Info — See the ShareLink 250 W User Guide for details.
• About — Click to see the ShareLink 250 W software version number.
• Exit — Click to exit the software menu.
Operation Using a Mobile Device
Two mobile apps can be used with the ShareLink 250 W:
• MirrorOp for Extron ShareLink (compatible with Android and Apple devices) allows you to present photos, documents,
Web pages, device screenshots, and the device camera (see instructions below).
• MirrorOp Sender for Galaxy (compatible with Samsung®Galaxy devices only) allows you to display your mobile device
screen onto the display device (see MirrorOp Sender for Galaxy on page 6).
MirrorOp for Extron ShareLink App
Downloading MirrorOp for Extron ShareLink App
The MirrorOp mobile app is supported by Android phones and tablets, iPad, and iPhone. Follow these steps to download the app:
1. Open the Google PlayTM store on your Android device, or the App StoreSM on your Apple mobile device.
2. Search for MirrorOp for Extron ShareLink.
3. Install the app on your mobile device.

5
Connecting to a Receiver
Follow these steps to connect to the ShareLink 250 W using the app:
1. Ensure that the ShareLink 250 W is powered and connected to the network.
2. Connect your mobile device to the ShareLink 250 W unit through Wi-Fi. You may connect through either of the following
options:
• Connect to the built-in WAP on the ShareLink 250 W: open the Wi-Fi networks list on your device and look for the
ShareLink receiver Wi-Fi name. The Wi-Fi name is shown on the standby screen (see figure 1, 8on page 2).
• Connect to an external WAP that is on the same network as the ShareLink. Ensure that the external WAP and
the ShareLink 250 W are wired to the same network. Connect your device to the external WAP.
3. Open MirrorOp and press the receiver icon on the top right (see 1at right) to open the receiver selection window.
NOTE: The image at right shows the receiver selection window layout for the
iPad. The layout is slightly different for Android tablets and phones, but the
options are the same.
4. Select your ShareLink 250 W receiver from the discovered receivers list. To refresh the
list, drag down and release the list.
NOTE: Press the star (3) to save the receiver as a favorite. The favorite
receivers appear at the top of the list next time the app is open.
If your receiver does not appear, you may search for it as follows:
• If the ShareLink 250 W receiver is on the same network and subnet, you can search for it by entering the Wi-Fi name
(SSID) or IP address in the search bar (2).
• If the ShareLink 250 W receiver is on the same network but on a different subnet, press Manual input (4). The
following window appears:
Apple devices: Android devices:
Enter the IP address and press Connect. Enter the IP address and Login code; then, press Login.
By default, the app uses the device name as the Login Name. You can
enter a new Login Name if necessary.
NOTE: The receiver icon turns green ( ) and the main menu appears when the device is connected to a receiver.
Main Menu Overview
NOTE: The image below at the right shows the mobile app layout for tablets. The layout is arranged differently for smaller
devices, such as phones.
The main menu displays the following options:
1Settings – Configure app settings.
2Menu – Press to hide or open the menu.
3Document – Present documents from the device storage (see Presenting
Documents on the next page).
4Photo – Present photos from the device storage.
5Cloud – Present documents and photos from a cloud storage.
6Browser – Present Web pages using this built-in internet browser.
7Camera – Present the mobile device camera.
8Shot & Show – Present mobile device screenshots.
NOTE: Instructions for Presenting Documents are shown on the next page.
See the ShareLink 250 W User Guide for details on all other features.

6
ShareLink 250 W • Setup Guide (Continued)
Presenting Documents
To present documents from the device storage:
1. Select Document on the main menu. A list of folders containing documents appears.
2. Select the folder containing the le you wish to present.
3. Select the desired le from the folder. The document view screen opens as shown below.
4. Select the Play button (see 4below) to begin presenting the document or photo. The Play
button becomes a Stop button, which can be pressed to stop the presentation.
1Back button – Exit document and return to the
previous screen.
2Document view screen – Displays the section
shown during a presentation.
3Quadrant view button – Choose whether to show
the document full-screen or on a quadrant on the
display device (top left, top right, bottom left, or
bottom right) (see the ShareLink 250 W User Guide
for details).
4Play button – Press to start or stop presentation.
5Annotation tool – Allows the presenter to draw
anywhere on the document screen (see the
ShareLink 250 W User Guide for details).
MirrorOp Sender for Galaxy
Downloading MirrorOp Sender for Galaxy
This app is supported by Samsung Galaxy phones and tablets. Follow these steps to download the app:
1. Open the Google Play store on your device.
2. Search for MirrorOp Sender for Galaxy.
3. Install the app on your mobile device.
Using MirrorOp Sender for Galaxy
1. Ensure that the ShareLink 250 W is powered and connected to the network.
2. Connect your device to the ShareLink 250 W through Wi-Fi (see step 2 of Connecting to a Receiver on the previous page).
3. Open MirrorOp Sender. The discovered receivers list appears as shown at right.
4. Select your ShareLink 250 W receiver from the discovered receivers list.
NOTE: To refresh the list, drag down and release the list. You may also search for the
receiver by entering the SSID in the search bar.
The login screen appears after a receiver is selected.
5. If the login code is activated, enter the login code (see figure 1, 9on page 2) and press
Connect. After login, the main menu opens as shown below.
The main menu has the following options:
1Play button – Press to begin sharing your screen.
2Stop button – Press to stop sharing your screen.
3Pause button – Press to pause or unpause
screen sharing. This allows the presenter to
navigate through the mobile device while the
menu screen remains on the display device.
4Home button – Press to go to the mobile device
home screen.
5Split icons – Choose one of the Split
icons to share your screen on the top
left, top right, bottom left, or bottom
right of the display. This allows up to
four users to present their screens on
the display simultaneously.

7
Using the Embedded Web Pages
The ShareLink 250 W embedded Web pages contain the following features:
• WebShare: allows users to view a presentation remotely on their mobile devices or computers.
• Moderator mode: allows a designated moderator to play or stop user presentations, and to choose where to display the
presentations on the main screen.
• Admin Mode: allows a designated administrator to congure the ShareLink 250 W settings (see the ShareLink 250 W User
Guide for instructions on using the Admin pages).
Opening the Embedded Web Pages
To access the embedded Web pages, enter the ShareLink IP address (shown on the standby screen) into the Web browser.
The landing page appears on the Web browser as shown here:
Figure 2. ShareLink 250 W Landing Page
1Configure — Click to access the Admin pages and configure presentation settings (see the ShareLink 250 W User Guide for
instructions on using the Admin pages).
2Windows — Click to run the Lite version of the ShareLink 250 W software for Windows.
3Install Pro Software for Windows — Click to install the Pro version of the ShareLink 250 W software for Windows (see the
ShareLink 250 W User Guide for details).
4Mac — Click to run the Lite version of the ShareLink 250 W software for Mac.
5Install Pro Software for Mac — Click to install the Pro version of the ShareLink 250 W software for Mac (see the
ShareLink 250 W User Guide for details).
6Information ( ) — Click this icon to see a list of the different Lite and Pro software features.
7Watch Presentation — Click to access the WebShare feature (see “Using WebShare to Watch a Presentation,” below).
8Moderate Presentation — See Using Moderator Mode on the next page.
Using WebShare to Watch a Presentation
WebShare allows audience members to view a presentation on their computers or mobile devices through a Web browser. The
presenter may broadcast the presentation so that the image shown on the display can be viewed remotely.
NOTES:
• WebShare must be enabled on the client software or mobile app in order for the presentation to be viewed remotely by
other users.
• Each user connected through WebShare adds to the wireless bandwidth of the ShareLink 250 W. It is recommended
that the device be connected to an Ethernet network or bridged to a router for best performance.

8© 2015 Extron Electronics All rights reserved. All trademarks mentioned are the property of their respective owners. www.extron.com
68-2822-50
Rev. A
10 15
Audience members must follow these steps to watch a presentation:
1. Open a Web browser on the mobile device or computer and connect to the IP address of the ShareLink 250 W.
2. On the landing page, click Watch Presentation. The presentation page (shown below) opens in the Web browser.
3. Click the 1:1 button (see 4, at right) to watch the presentation.
1Home — Click to go to the ShareLink 250 W landing page.
2Pause — Click to pause the presentation.
3Save — Click to save the slide being presented.
41:1 — Click to watch the presentation.
5Fit Window — Click to fit the presentation screen to the size of
the browser window.
6Refresh — Click to refresh the presentation if necessary.
Using Moderator Mode
Moderator mode allows a single user to control the presentation of all connected users. You can moderate user presentations
through the Moderator Control Web Page (see instructions below) or through an Extron ShareLink driver (see the ShareLink 250 W
User Guide for details).
To moderate presentations through the Moderator Control Web Page:
1. Click Moderate Presentation on the landing page. The login page appears.
2. Enter the default password (moderate) and click Login. This password can be changed (see the ShareLink 250 W User
Guide for instructions). After login, the following page opens:
Figure 3. ShareLink 250 W Moderator Page
1Enable Web Page Moderator Control — This option is unchecked by default, meaning that all connected users are free to
start presentations. The moderator may also control presentations when this box is unchecked.
Check this box to enable moderator control, which allows only the moderator to control presentations from this Web page.
When this option is enabled:
• Only the moderator can start user presentations. If a user tries to share a presentation, the following message appears:
ShareLink Software: ShareLink app:
• The moderator can start or stop user presentations. However, users can also stop their presentations from their devices.
2Connected User — This column lists the user names of all users connected to the ShareLink 250 W.
3Share Control — This column allows the moderator to do the following:
• Play or stop a user presentation: Click Play ( ) next to the Connected User that you wish to present. The row
becomes green and the Play button becomes a Stop button. Click the Stop button to stop sharing content.
• Choose where on the screen to display the presentation (full screen, top left, top right, bottom left, or bottom
right): Click the drop-down list and make a selection. Share to Full Screen is selected by default.
4IP Address — This column lists the IP address of each connected user device.
Other manuals for ShareLink 250 W
2
Table of contents
Other Extron electronics Gateway manuals

Extron electronics
Extron electronics ShareLink 200 N User manual

Extron electronics
Extron electronics ShareLink 200 User manual

Extron electronics
Extron electronics DA2 HD 4K User manual

Extron electronics
Extron electronics ShareLink 200 User manual

Extron electronics
Extron electronics ShareLink Pro 500 User manual

Extron electronics
Extron electronics ShareLink 200 N User manual

Extron electronics
Extron electronics ShareLink Pro 1000 User manual

Extron electronics
Extron electronics ShareLink 200 N User manual

Extron electronics
Extron electronics ShareLink 200 User manual

Extron electronics
Extron electronics ShareLink 250 W User manual