Mitech Technology LLC EYERIDE400/800 Installation Guide
Additional Equipment 6
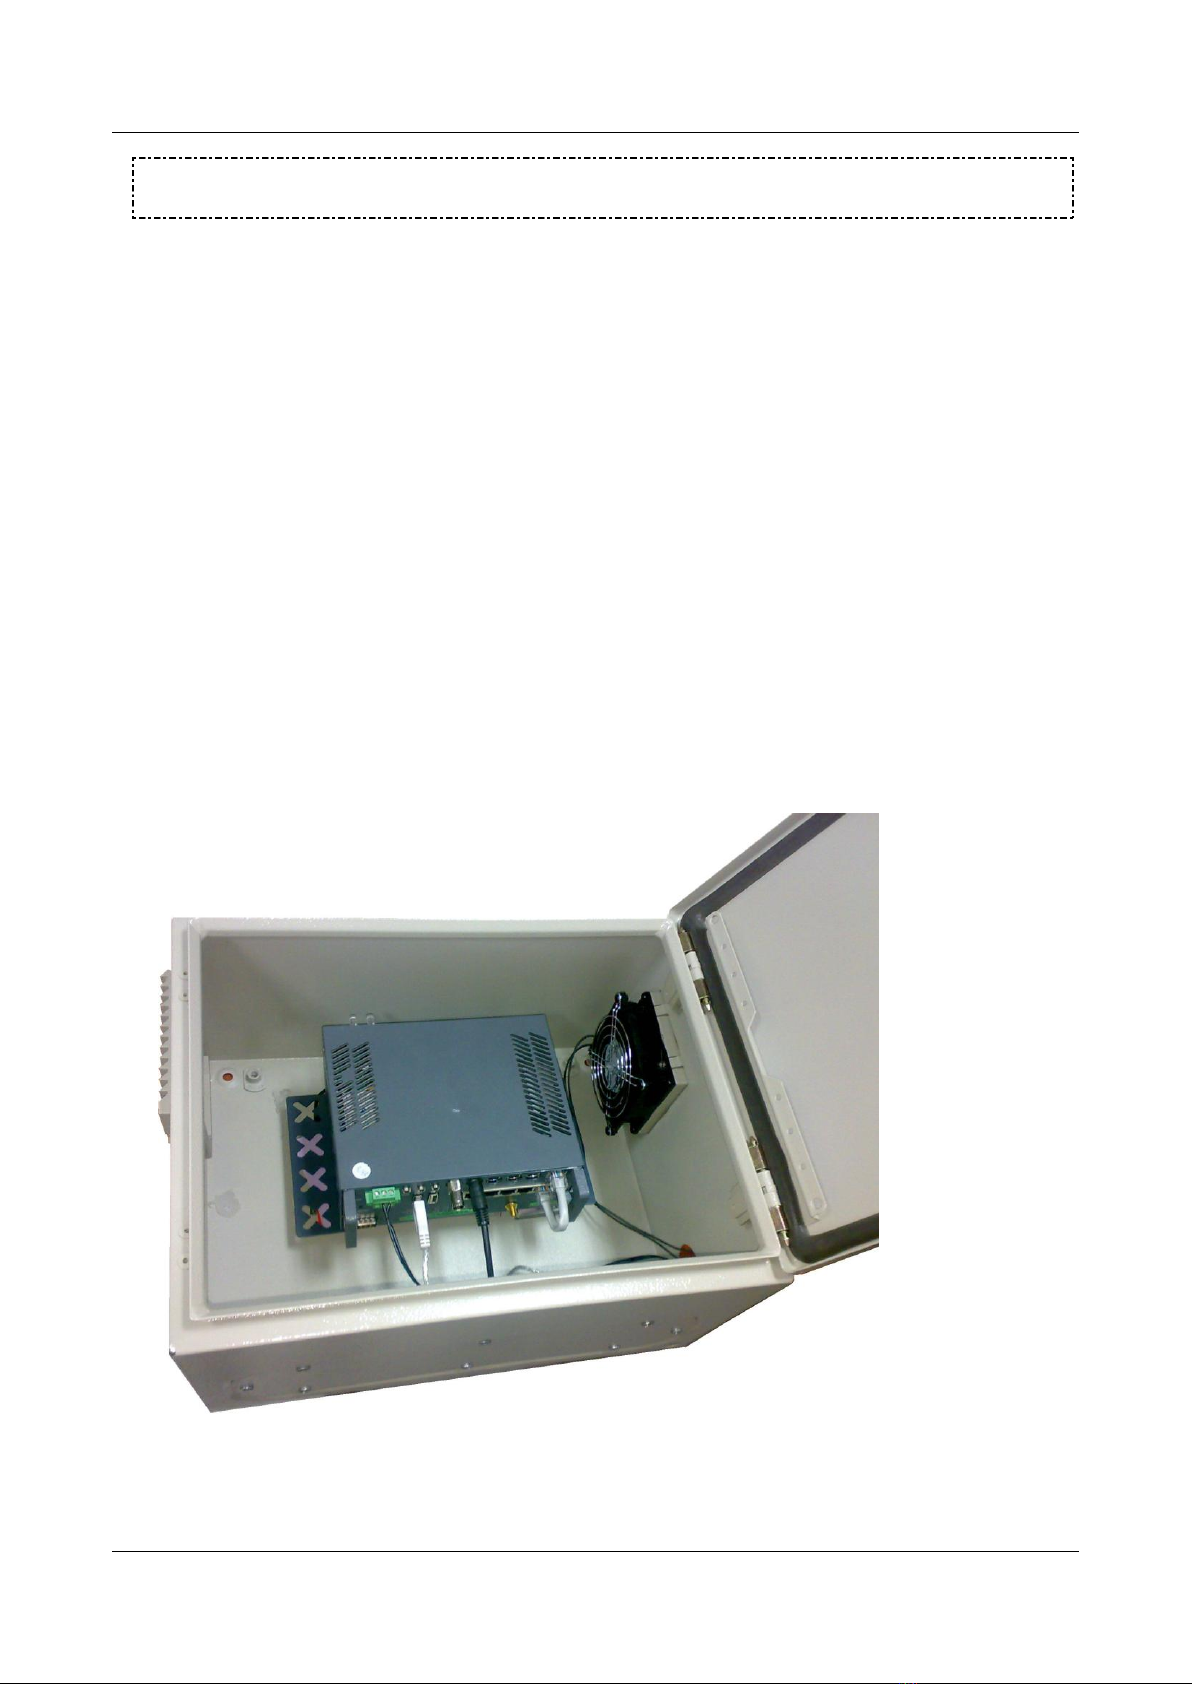
Additional Equipment
Up to four video cameras can be connected to the EYERIDE400/800. You must acquire the cameras you require; they are not
includedintheEYERIDE400/800 package.Forinformationaboutcameracompatibilityandaboutconnectingthecamerastothe
unit, see Connecting Cameras, page 17, or consult your vendor.
In addition to the cameras, you may wish to incorporate some or all of the optional equipment listed below into your
security system. For additional information about these items and the cables required to connect them, please refer
to the installation instructions for each type of device.
NOTE: This equipment is not included in the EYERIDE400/800 package.
Cellular modem with USB adaptor (see Connecting the EYERIDE400/800 to an External Network, page 29)
Note:Notallcellularmodemsaresupported.PleasecontactyourEYERIDE400/800 supplierorMitech Technology LLC technical
support for a list of supported cellular modems.
USB extension cord for connecting the cellular modem to the unit; the modem functions best if it is installed
highinthevehicleinanexposedlocation(seeConnectingtheEYERIDE400/800 toanExternalNetwork, page 29)
Note: The extension cord should not be longer than about 1.5 meters.
WiFi card with USB adaptor (see Connecting the EYERIDE400/800 to an External Network, page 29)
Note:NotallWiFicardsaresupported.PleasecontactyourEYERIDE400/800 supplierorMitech Technology LLC technicalsupportfor
a list of supported WiFi cards.
Up to four dry-contact sensors (see Connecting Sensors, page 19)
Note:Uptofourdry-contactsensorscanbeconnecteddirectlytotheEYERIDE400/800 unit.IfyouuseeitheranADAM
module or an IA relay board, as described below, you can connect an additional 16 dry-contact sensors via the
unit’s RS232/485 connector.
Note:IfyouconnectatouchscreenmonitortotheEYERIDE400/800,youcannotalsoconnectanADAMmoduleoranIA
relay board. In this case, you can only connect up to four dry-contact sensors to the unit.
ADAM Data Acquisition Module and ADAM isolated RS232->RS422/RS485 converter, for connecting up to
16 dry-contact sensors (see Connecting Sensors, page 19)
Intelligent Appliance IA-3126-2 relay board, for connecting up to 16 dry-contact sensors (see Connecting
Sensors and Activators Using an IA Relay Board, page 24) and 16 activators to the EYERIDE400/800 unit
Up to two dry-contact activators (alarms or other devices that are turned on or off in response to the activation
of a sensor; see Connecting Activators, page 23)
Note:UptotwoactivatorscanbeconnecteddirectlytotheEYERIDE400/800 unit.IfyouuseanIArelayboard,as
described above, you can connect an additional 16 activators via the unit’s RS232/485 connector.
Note:IfyouconnectatouchscreenmonitortotheEYERIDE400/800,youcannotalsoconnectanIArelayboard.Inthis
case, you can only connect up to two dry-contact activators to the unit.
Up to two microphones (see Connecting Microphones, page 25)
Speaker or headphones (the unit already contains a built-in speaker; see Connecting a Speaker or Headphones,
page 26)
CCTV monitor for closed-circuit video display (see Connecting a CCTV Monitor, page 26)
Push-button switch to change the display in a connected CCTV monitor (see Connecting a Switch, page 28)
Toggle (on-off) switch to change the active outline (see Connecting Sensors, page 19)