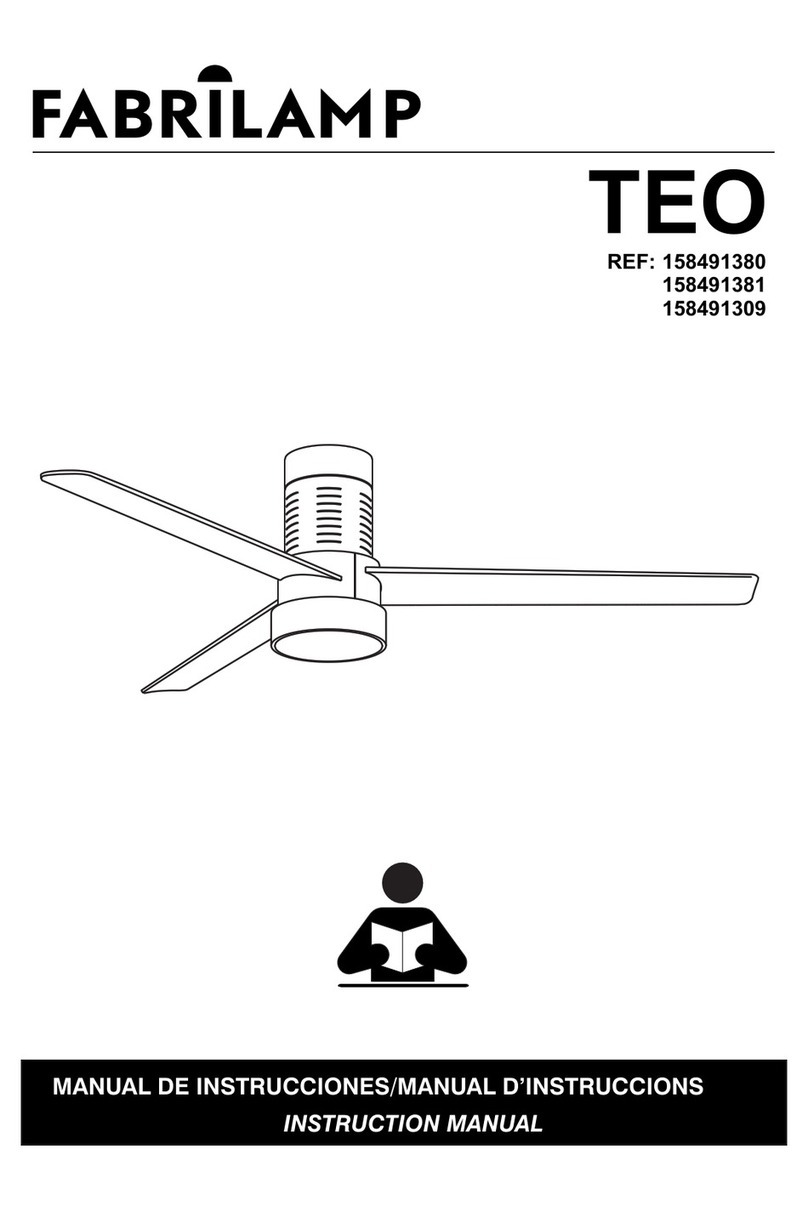
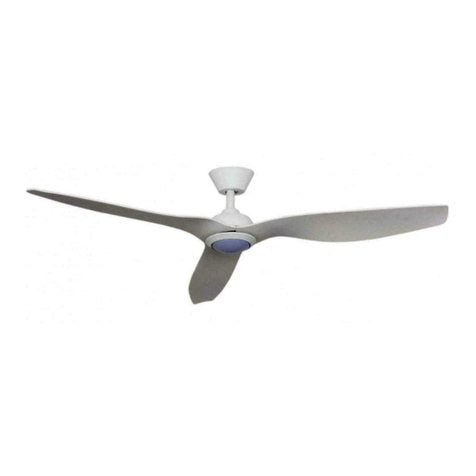
FABRILAMP EINAR 158798110 User manual

MANUAL DE INSTRUCCIONES/MANUAL D’INSTRUCCIONS
INSTRUCTION MANUAL
EINAR
158798110
158798102
REF:

girando
en
que pueda soportarlo
2
ADVERTENCIAS/ADVERTÈNCIES/WARNINGS

CONTENIDO DE LA CAJA/CONTINGUT DE LA CAIXA/BOX CONTENTS
3
Mounting bracket /
Soporte de montaje/
Support de montage/
Aspas/
Aspes/
Blades/
Embellecedor/
Embellidor/
Canopy
Vara y bola de suspensión/
Vara i bola de suspensió/
Downrod&hanger ball
Embellecedor para perno y pasador/
Embellecedor del perú I el passador/
Bolt&Pin Cover
Motor/
Motor/
Motor/
Difusor/
Difusor/
Lamp shade/
Receptor del mando/
Receptor del comandament/
Remote receiver/
Mando a distancia/
Comandament a distància/
Remote control/
Bolsa de tornillos/
Borsa de cargols/
Screws bag/
Bolsa de equilibrio/
Borsa d'equilibri/
Balance bag/
1
2
3
4
5
6
7
11
DD
12 13
1
2
3
4
5
6
7
8
9
10
11
8
14
Brazos de cuchillas/
Braços de fulles/
Blades arms/
12
9
10
Plato base/
Plat base/
Base plate/
LED
LED
LED
13
14

INSTALAR EL VENTILADOR / INSTALL THE FAN
HERRAMIENTAS NECESARIAS / TOOLS REQUIRED
Asegurar que el montage permite un espacio libre de 2,13m hasta el suelo y una distancia de
1m a cualquier pared o obstrucción./
Assegurar-se de que el muntatge permet un espai lliure de 2,13m ns al terra i una distància de
1m a qualsevol paret o obstrucció./
Ensure that the hanging location allows the bleade clearance of 2.13m from the oor and
1m from any wall or obstruction./
Destornillador de estrella
Tornavís d’estrella
Philips Screwdriver
Destornillador plano
Tornavís pla
Flat blade screwdriver
Escalera
Escala
Step ladder
Taladro
Taladre
Drill
Llave inglesa
Clau anglesa
Wrench
INSTALAR EL SOPORTE AL TECHO /
CEILING INSTALLATION FOR THE MOUNTING BRACKET
PARA TECHO DE HORMIGÓN
FOR CONCRETE CEILING PARA TECHO DE MADERA
FOR WOOD CEILING
4

5
INSTALAR EL VENTILADOR / INSTALL THE FAN
HERRAMIENTAS NECESARIAS / TOOLS REQUIRED
x2
1 2 3 4
7
5
4
x8
3 tornillos en total
3 cargols en total
3 screws in total
6
8
3 tornillos en total
3 cargols en total
3 screws in total

INSTALAR EL VENTILADOR / INSTALL THE FAN
HERRAMIENTAS NECESARIAS / TOOLS REQUIRED
6
910
11 12
13
El ventilador debe estar conectado a tierra.
El ventilador ha d'estar connectat a terra.
The fan must be grounded.
Conectar
Connectar
Connect

7
CONTROL REMOTE / CONTROL REMOT / REMOTE CONTROL
Luz: Encendido/Apagado
Llum: Encesa/Apagat
Light: On/Off
Giro en sentido anti-horario
Gir en sentit antihorari
Counter-clockwise Rotation
Control de velocidad
Control de velocitat
Speed control
Aumentar la velocidad
Augmentar la velocitat
Fan speed increase
Temporizador de 1,2,4,8 horas
Temporitzador de 1,2,4,8 hores
Timing of 1,2,4,8 hours
Todo apagado
Tot apagat
All OFF
Giro en sentido horario
Gir en sentit horari
Clockwise rotation
Viento natural
Vent natural
Natural wind
Ventilador: Encendido/Apagado
Ventilador: Encesa / Apagat
Fan: On/Off
Reducir la velocidad
Reduir la velocitat
Fan speed reduced
Tiempo de apagado 30 minutes
Temps d'apagada 30 minuts
Timed 30 minutes off
Immediately after power on, press and hold the”1H+4H” button until you hear a long beep,
indicating success.
Tips: The remote control has completed the learning pairing procedure before leaving the factory.
After installation, it can be used directly. If you want to add or replace a new remote control,
you need to pair it again.
Inmediatamente después del encendido, presione y mantenga presionado el botón ”1H + 4H”
hasta que escuche un pitido largo, lo que indica que se ha realizado correctamente.
Sugerencias: El control remoto ha completado el proceso de aprendizaje de emparejamiento
antes de salir de fábrica. Después de la instalación,se puede utilizar directamente. Si desea
agregar o reemplazar un nuevo control remoto, debe emparejarlo nuevamente.
Immediatament després de l'encesa, premeu i mantingueu pressionat el botó "1H + 4H"
fins que escolti un xiulet llarg, el que indica que s'ha realitzat correctament.
Suggeriments: El control remot ha completat el procés d'aprenentatge d'aparellament abans de
sortir de fàbrica. Després de la instal·lació, es pot utilitzar directament. Si voleu afegir o reemplaçar
un nou control remot, ha de aparellar novament.
EMPAREJAMIENTO DIGITAL/APARELLAMENT DIGITAL/DIGITAL MATCHING

Do not operate reversing switch while the fan are in motion.
No usar el boton de función inversa mientras el ventilador esté en funcionamiento.
El ventilador debe estar apagado y las aspas paradas .
No fer servir el botó de funció inversa mentre el ventilador estigui en funcionament.
El ventilador ha d'estar apagat i les aspes parades
Fan must be turn off and blades stopped.
VERANO
El aire circula hacia abajo
produciendo una brisa fresca
INVIERNO
Un flujo de aire
ascendente empujará el aire caliente
del techo y circulará hacia abajo.
ESTIU
L'aire circula cap avall
produint una brisa fresca
HIVERN
SUMMER WINTER
Air is blown down
Producing a cool breeze
An upward airflow
will push warm air off the ceiling
and circulate it downwards
Un flujo de aire
ascendente empujará el aire caliente
del techo y circulará hacia abajo.
8
ADELANTE E INVERSA /ENDAVANT I ENRERE /FORWARD AND REVERSE
INVIERNO
HIVERN
WINTER
VERANO
ESTIU
SUMMER

1
2
3
4
←
←
Place the clip on the blade that needs the counterweight and try the best
place to place it, from the center to the tip of the blade, until the wobble
disappears.
Glue the counterweight to the height of the clip on the surface of the blade.
Remove the clip and test the fan. If you keep staggering, put another
counterweight. If it gets worse, try another better area to place it.
Pon el clip en el centro de una hoja.Encienda el ventilador y, si el rodaje
persiste, poner el clip en otra hoja hasta que se reduzca el rollo. Será el
hoja que necesitará el contrapeso.
Coloque el clip en la hoja que necesita el contrapeso y prueba el mejor
lugar para colóquelo, desde el centro hasta la punta del hoja, hasta que
el bamboleo desaparezca.
Pegue el contrapeso a la altura del clip en la superficie de la hoja. Quitar
el Clip y prueba el ventilador. Si sigues tambaleándote pon otro
contrapeso. Si empeora prueba otra zona mejor para colocarlo.
9
EQUILIBRIO DEL VENTILADOR / EQUILIBRI DE L'VENTILADOR / FAN BALANCE
Enceneu el ventilador i, si el rodatge persisteix, posar el clip a un altre
full fins que es redueixi el rotllo. serà el full que
necessitarà el contrapès.
Put the clip in the center of a blade. Turn on the fan and, if the
rolling persists, put the clip in another blade until the roll is
reduced. It will be the blade that will need the counter weight.
Col·loqui el clip en el full que necessita el contrapès i prova el millor lloc
per poseu, des del centre fins a la punta de l' fulla, fins que el balanceig
desaparegui.
Enganxeu el contrapès a l'altura de l' clip a la superfície de la fulla.
treure el Clip i prova el ventilador. si segueixes tambaleándote posa un
altre contrapès. si empitjora prova una altra zona millor per posar.

Iluminación, S.L.
C/ Trabajo, 4
41309 La Rinconada SEVILLA
www.fabrilamp.com
This manual suits for next models
1
Other FABRILAMP Fan manuals
Popular Fan manuals by other brands

Teral
Teral CTFII instruction manual

Mitsubishi Electric
Mitsubishi Electric EF-20UYS-UL Installation instructions manual

MALTEC
MALTEC WBS60Wt Operation and maintenance manual

Brookstone
Brookstone STACKFAN manual

Raydan Home
Raydan Home 23039 operating instructions

Maico
Maico WS 160 Flat Installation, commissioning and maintenance instructions

Lorell
Lorell 44551 operating instructions

aerauliqa
aerauliqa AD1400A manual

KDK
KDK W56WV Operating and installation instructions

Savoy House
Savoy House 52-CDC-5RV-13 owner's manual

Sharper Image
Sharper Image FLY 01 owner's guide

Chore-Time
Chore-Time Endura 57" Fan Installation & operator's instruction manual