manuals.online logo
Brands
  1. Home
  2. •
  3. Brands
  4. •
  5. Falkk
  6. •
  7. Indoor Furnishing
  8. •
  9. Falkk IPANEMA 6GV-1500 User manual

Falkk IPANEMA 6GV-1500 User manual

GAVETAS CÔMODA 6GV - 1500
DRAWERS DRESSER
CAJONES CÓMODA
IPANEMA
IPANEMA 6GV - 1500
IPANEMA 6GV - 1500
FKEX-804 01/11/22 Rev. 02
Chave Philips
Philips Screwdriver
Destornillador Philips
Martelo
Hammer
Martillo
Furadeira
Power Drill
Taladro
Fita métrica
Measuring tape
Cinta métrica
Ferramentas Necessárias
required tools / herramientas requeridas
(não fornecidas / not provided / no provisto)
ø
ø 6mm and 10mm
ø 6mm y 10mm
6mm e 10mm
2
INSTRUÇÕES DE MONTAGEM
ASSEMBLY INSTRUCTIONS
INSTRUCCIONES DE MONTAJE
2
Pessoas necessárias.
Necessary people.
Gente necesaria.
Grau de dificuldade - alto.
Difficult level - high.
Nível de dificultad - alto.
Evitar batidas e objetos cortantes.
Avoid bumps and sharp objects.
Evitar golpes y objetos afilados.
Pano levemente umedecido com
água, seguido de pano seco.
Cloth slightly dampened with water,
followed by a dry cloth.
Paño ligeramente humedecido con
agua, seguido de un paño seco.
Deve-se fazer a montagem do módulo em cima
de uma superfície macia. Dica: Usar a caixa.
The module must be mounted on a soft surface.
Tip: Use the box.
El módulo debe montarse sobre una superficie
blanda. Consejo: Usa la caja.
Não utilizar químicos ou abrasivos na
limpeza.
Do not use chemicals or abrasives for
cleaning.
No utilice productos químicos o abrasivos
ŸAntes de iniciar a montagem, verifique se você recebeu todos os componentes e peças do produto.
ŸBefore starting assembly, make sure you have received all the components and parts for the product.
ŸAntes de comenzar el montaje, asegúrese de haber recibido todos los componentes y piezas del producto.
ŸPara montagem, sugerimos contratação de um profissional.
ŸFor assembly, we suggest hiring a professional.
ŸPara el montaje, sugerimos contratar a un profesional.
Ÿ
3
medidas em mm / measures in mm / medidas en mm
Componentes da Gaveta
Drawer Components
Componentes del Cajón
A - Cavilha 8x30 (24x)
A - Peg 8x30 (24x)
A - Espiga 8x30 (24x)
B - Minifix (12x)
B - Minifix (12x)
B - Minifix (12x)
C - Tambor (12x)
C - Drum (12x)
C - Tambor (12x)
D - Tapa Furo Adesivo (12x)
D - Self Adhesive Cap Cover (12x)
D - Tapa Aguejo Autoadhesivos (12x)
F2 - Parafuso 4x14 (24x)
F2 - Screw 4x14 (24x)
F2 - Tornilo 4x14 (24x)
F9 - Parafuso Euro Ø5x35 (10x)
F9 - Screw Euro Ø5x35 (10x)
F9 - Tornilo Euro Ø5x35 (10x)
E - Prego 10x10 (48x)
E - Nail 10x10 (48x)
E - Clavo 10x10 (48x) R1 - Chave Allen (1x)
R1 - Key Allen (1x)
R1 - Llave Allen (1x)
G - Cola (2x)
G - Glue (2x)
G - Pegamento (2x)
I 2 - Corrediça Gaveta (12x)
I 2 - Slide Drawer (12x)
I 2 - Corrediza Cajón (12x)
Partes da Gaveta
Drawer Parts
Partes del Cajón
51 Lateral Gaveta Dir. (6x)
Right Side Drawer (6x) / Cajón Lado Derecho (6x)
53 Base de Gaveta (6x)
Drawer Base (6x) / Base Del Cajón (6x)
52 Fundo de Gaveta (6x)
Drawer Bottom (6x) / Fondo Del Cajón (6x)
54 Frente de Gaveta (6x)
Drawer Front (6x) / Frente Del Cajón (6x)
Lateral Gaveta Esq. (6x)
Left Side Drawer (6x) / Cajón Lado Izquierdo (6x)
50
4
06 Unidades
06 Units
06 Unidades
51
50
52
53
54
Pré montagem da gaveta
Drawer pre-assembly
Premontaje del cajón
5
01
51
50
52
02 PCS
A02 PCS
04 PCS
C
F9
R1 01 PCS
Borda para baixo
E
El borde hacia abajo
dge down
A
02
C
Girar no sentido horário
180°
Rotate clockwise 180°
Rotacionar en el sentido
del reloj 180°
D
C
04 PCS
B
D04 PCS
G01 PCS
F9
A02 PCS
R1
Chave Allen
Key Allen
Ilave Allen
F9
C
Seta para frente
Flecha hacia adelante
Forward arrow
R1
52
51
54
Cola
Glue
Pegamento
G
C
A
B
C
B
50
A
G
6
03
04
Conferir o esquadro da gaveta
Check the drawer square
Revisa la plaza del cajón
52
50
53
54
G
54
50
Aplicação de cola na frente da gaveta
Glue application on the front of the drawer
Aplicación de cola en el frente del cajón
01 PCS
G01 PCS
53
7
05
06
E
52
50
53
54
E
E
E
Observe a quantidade de pregos necessários.
Note the amount of nails needed.
Tenga en cuenta la cantidad de clavos necesarios.
08 PCS
E
04 PCS
F2
02 PCS
I 2
52
50
53
54
I 2
F2
I 2
F2
I 2
F2
F2
Encostar a corrediça na frente da gaveta.
Place the slide in front of the drawer.
Coloque la corredera frente al cajón
8
07
52
50
53
54
08
ŸAntes da utilização da gaveta, deve-se deixar secando por 04 horas.
ŸBefore using the drawer, let it dry for 4 hours.
ŸAntes de usar el cajón, déjelo secar durante 4 horas.
06
kg
11
lbs
9
11
Adesivo de atenção para primeira gaveta
First drawer attention sticker
Adhesivo atención primer cajón
12
Finalizado
Finished
Acabado
15
kg
33
lbs
Ferimentos por esmagamentos graves ou fatais podem ocorrer com a queda do móvel.
Para reduzir o risco de tombamento de móveis:
ŸSEMPRE instale o sistema de antitombamento fornecido.
ŸNUNCA instale uma TV sobre esse produto.
ŸNUNCA permita que crianças fiquem em pé, subam ou se pendurem em gavetas, portas ou
prateleiras.
ŸNUNCA abra mais de uma gaveta ao mesmo tempo.
ŸColoque os objetos mais pesados nas gavetas inferiores.
Ÿ
Informação permanente.
Não remova!
Riesgo de aplastamiento graves o fatales en caso de caídas de los muebles.
Para reducir el riesgo de que los muebles se vuelquen:
ŸInstale siempre el sistema antivuelco proporcionado.
ŸNUNCA instale una TELE en este producto.
ŸNUNCA permita que los niños se paren, trepen o cuelguen de cajones, puertas o estantes.
ŸNUNCA abra más de un cajón al mismo tiempo.
ŸColoque los objetos más pesados 󰾬󰾬en los cajones inferiores.
Información permanente.
¡No retires!
Serious or fatal crushing injuries can occur from the tipover.
To reduce the risk of furniture tipover:
ŸALWAYS install tipover restraint provided.
ŸNEVER put a TV on this product.
ŸNEVER allow children to stand, climb or hang on drawers, doors or shelves.
ŸNEVER open more than one drawer at a time.
ŸPlace haviest items in the lowest drawers.
This is a permanent label.
Do not remove!
10

Other Falkk Indoor Furnishing manuals

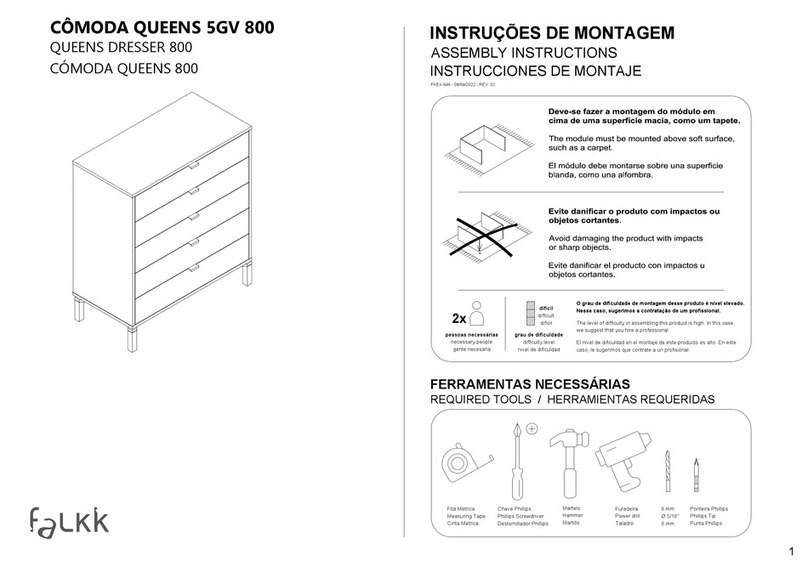
Falkk 800 User manual

Falkk

Falkk 800 User manual

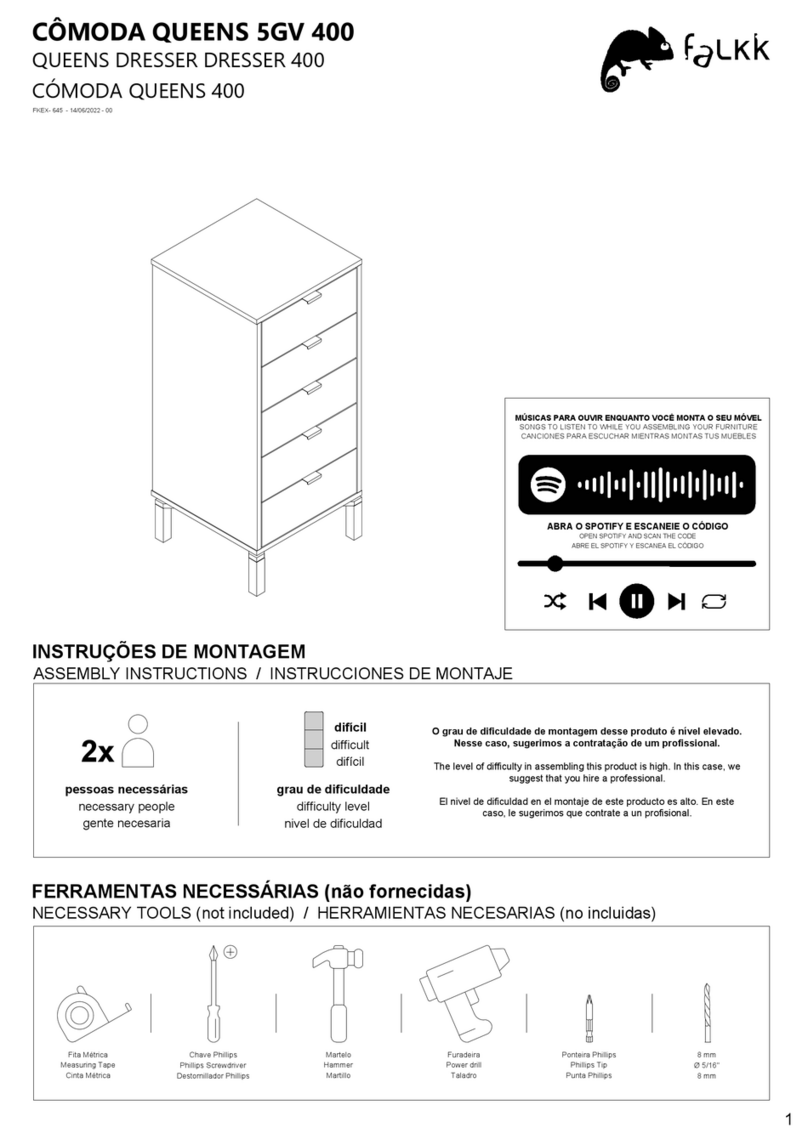
Falkk QUEENS 400 FKEX- 645 User manual

Falkk

Falkk QUEENS 400 FKEX- 645 User manual

Popular Indoor Furnishing manuals by other brands

Regency LWMS3015 Assembly instructions

Regency

Regency LWMS3015 Assembly instructions

Furniture of America CM7751C Assembly instructions

Furniture of America

Furniture of America CM7751C Assembly instructions

Safavieh Furniture Estella CNS5731 manual

Safavieh Furniture

Safavieh Furniture Estella CNS5731 manual

PLACES OF STYLE Ovalfuss Assembly instruction

PLACES OF STYLE

PLACES OF STYLE Ovalfuss Assembly instruction

Trasman 1138 Bo1 Assembly manual

Trasman

Trasman 1138 Bo1 Assembly manual

Costway JV10856 manual

Costway

Costway JV10856 manual

moss DESIGN Caisson Credenza Assembly instructions

moss DESIGN

moss DESIGN Caisson Credenza Assembly instructions

Aquaglide FULL DECK 15.0 owner's manual

Aquaglide

Aquaglide FULL DECK 15.0 owner's manual

AREBOS AR-HE-SW30 user manual

AREBOS

AREBOS AR-HE-SW30 user manual

Till-Hilft Fulda 87005.330 Assembly instructions

Till-Hilft

Till-Hilft Fulda 87005.330 Assembly instructions

Twoey Outside 2010 quick start guide

Twoey Outside

Twoey Outside 2010 quick start guide

Hettich Easys 200 operating instructions

Hettich

Hettich Easys 200 operating instructions

The bedboss RELAX 404 Series owner's manual

The bedboss

The bedboss RELAX 404 Series owner's manual

Oeseder Möbelindustrie Bern 991 720 Assembly instructions

Oeseder Möbelindustrie

Oeseder Möbelindustrie Bern 991 720 Assembly instructions

Costway HW68469 user manual

Costway

Costway HW68469 user manual

Next ALIX A27743 Assembly instructions

Next

Next ALIX A27743 Assembly instructions

BROSA Hans Assembly guide

BROSA

BROSA Hans Assembly guide

Prodigg MINIKA PBA015T-FUR installation manual

Prodigg

Prodigg MINIKA PBA015T-FUR installation manual

manuals.online logo
manuals.online logoBrands
  • About & Mission
  • Contact us
  • Privacy Policy
  • Terms and Conditions

Copyright 2025 Manuals.Online. All Rights Reserved.